3 Easy Tutorials on Upcycling Clothes & How to Make DIY Keepsakes

Today, I'm going to be sharing three tutorials on upcycling clothes. A friend of mine asked me to upcycle some of her late dad's clothing to honor his memory. I think this is an amazing way to create keepsakes when a loved one passes away.
Although I'm sharing step-by-step DIY tutorials on two shirts and a jacket, these upcycle ideas can be applied to any men’s or larger clothing. Here’s how to refashion old clothes with some upcycling tips and a lot of love.
Tools and materials:
- 2 Large button-down shirts
- Jacket/blazer
- Scissors
- Sewing machine
- Pins
- Ruler
- Elastic
- Snap closure
- Marking chalk or fabric pen
- Iron
- Needle and thread
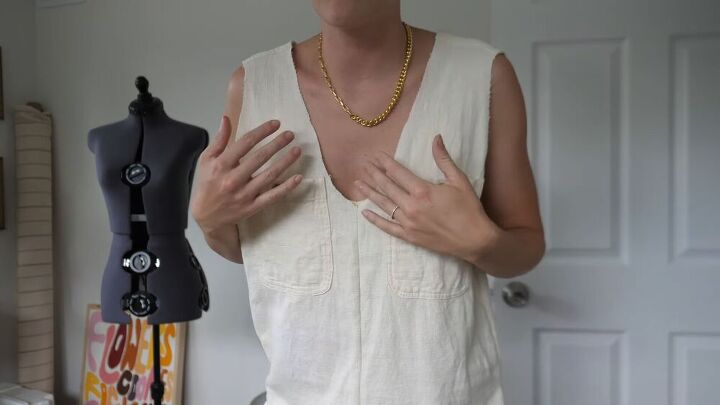
Upcycle project 1: Plain button-down shirt
1. Size the shirt
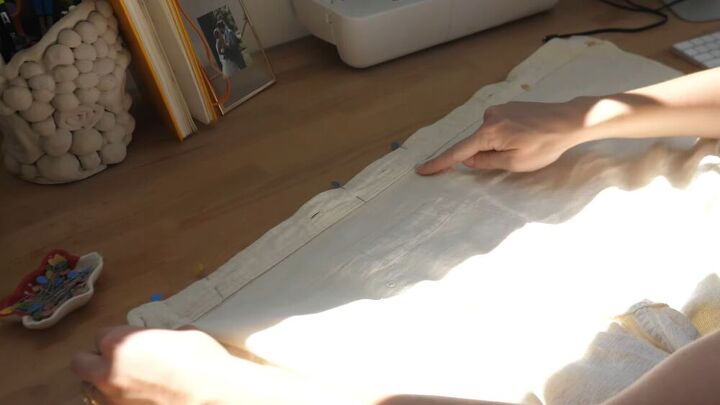
Pin the button plackets right sides together. Sew the inside edge of the plackets. Once sewn, cut the plackets off.
2. Cut the shirt
Cut off the collar and sleeves from the shirt. Cut a V in the front and the back. Trim the sleeves in a few inches for a more elegant look.
Put the shirt on to measure how much to crop. Pin the length, remove the shirt, and cut the shirt to the desired length.
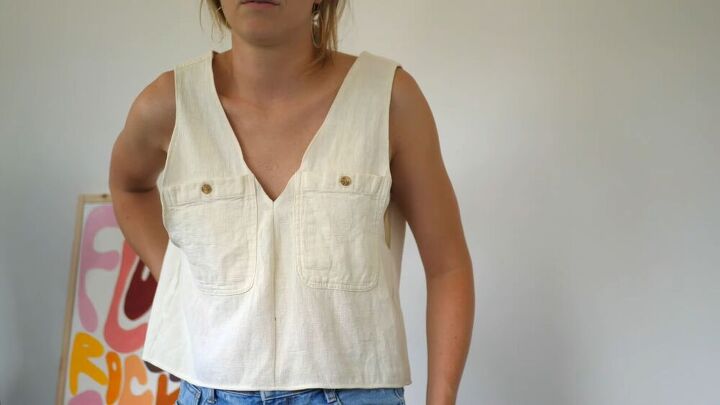
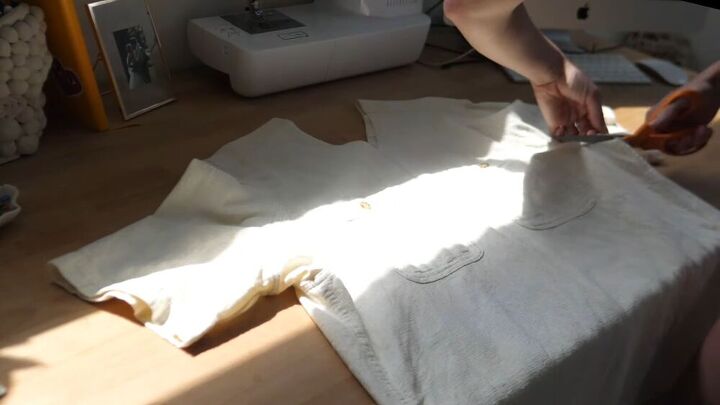
3. Finish the tank top
Serge all the raw ends and hem all the edges. Reattach the shirt label if desired for sentimental reasons, or leave it as is.
Upcycle project 2: Fish design shirt
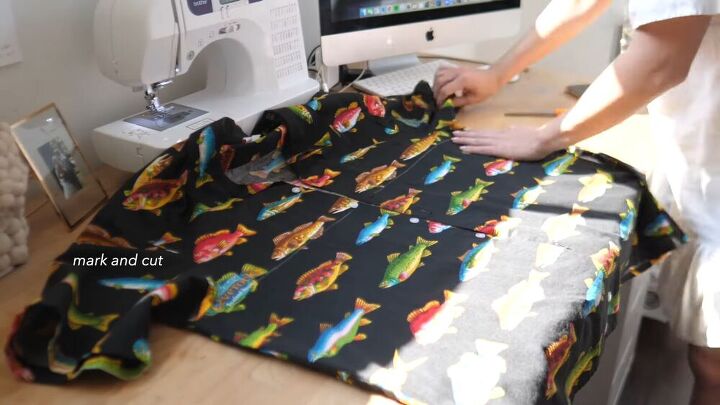
1. Cut the fabric
Place the shirt on a flat surface. Mark and cut across the entire shirt horizontally below the sleeve line. Cut the button plackets off.
Cut two large triangles from the shirt top for front tying tails.

2. Measure the chest size
Measure the chest area. Wrap the fabric around the chest area to see the fit. Pin new side seams based on the measurements.
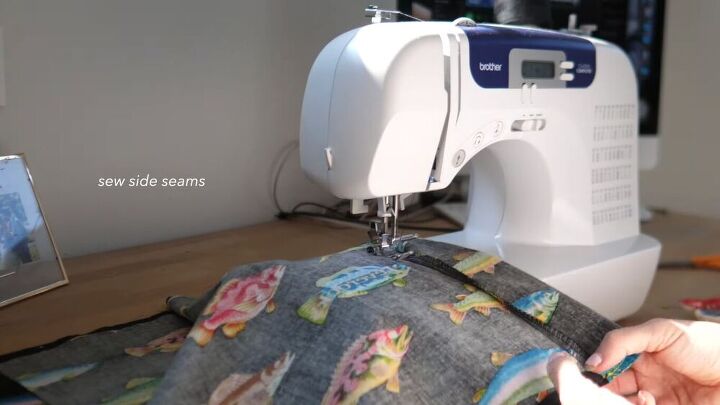
3. Sew the side seams
Sew the new side seams, then sew a triangle on both open sides on the bottom, leaving two long tails for tying.
If needed, sew elastic on the back so the front of the bandeau lies flat and smooth. To add elastic, gather the back into soft pleats and sew about 8 inches (20cm of elastic) just below the top on the inside.
4. Close the front
There are two choices to close the front:
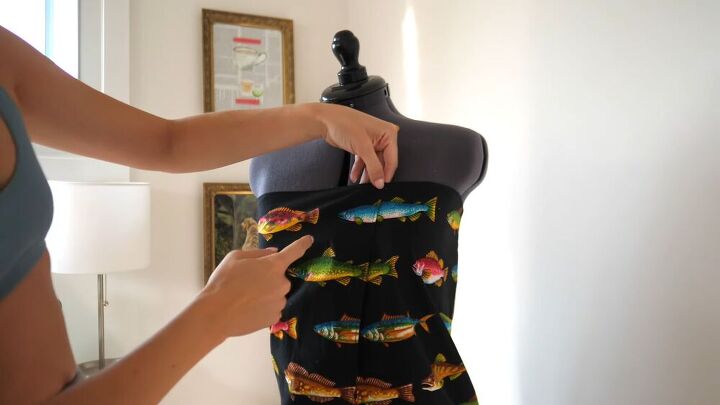
Choice 1: Snap, clasp, or other button style closure. Wrap the bandeau around your body, dressmaker’s dummy, or the person you’re making the shirt for. Mark where to put the closure. Remove from the body. Hand sew the snap or clasp in place.
Choice 2: After measuring and marking where to close the top, pin and then sew in place with a top or invisible stitch at the closure at the very top of the bandeau. The top can be straight across or slightly angled downward.
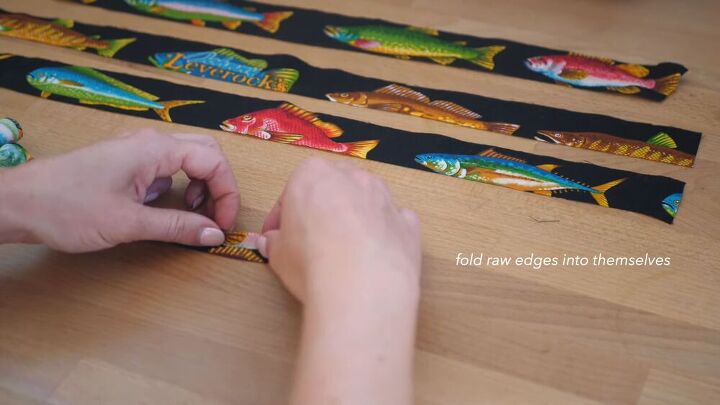
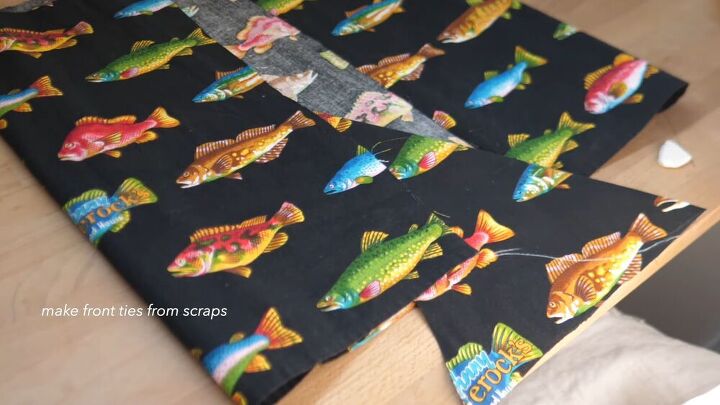
5. Make the straps
Put the bandeau on once the front closure is done. Mark where the straps will go. Make four straps from the scraps of fabric by cutting them 2 inches (5cm) wide and 10 inches (25cm) long.
Fold the raw edges into themselves lengthwise by making small folds until it resembles a strap. Iron them flat.
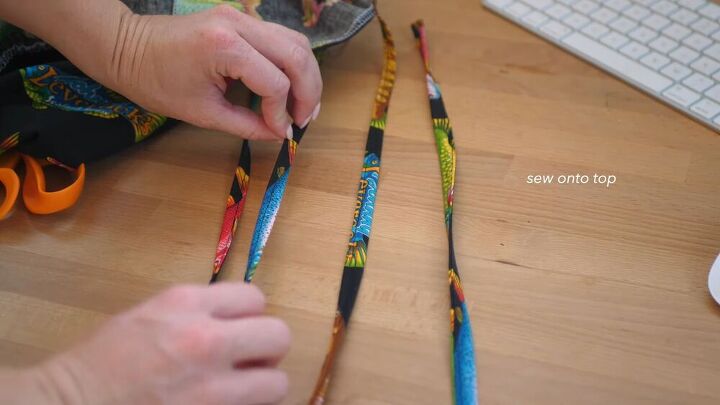
Sew a lengthwise seam and then sew them onto the marked areas.
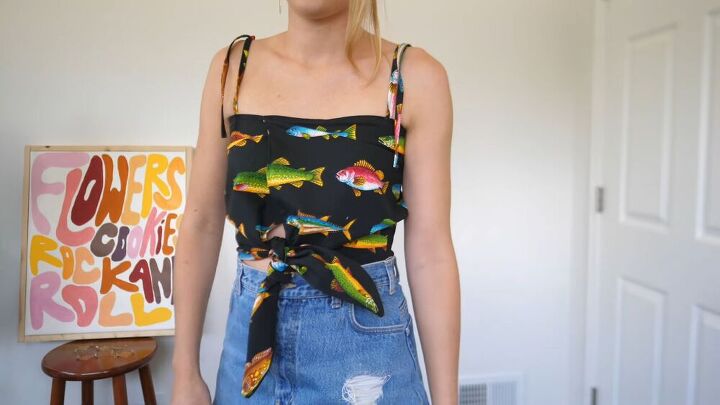
6. Wear the upcycled top
Pull the bandeau over the head (if the front is sewn) or snap into place if using a clasp. Tie the straps together in a flirty bow, and tie the front ends in a lovely, tummy-grazing knot.
Upcycle project 3: men's suit jacket
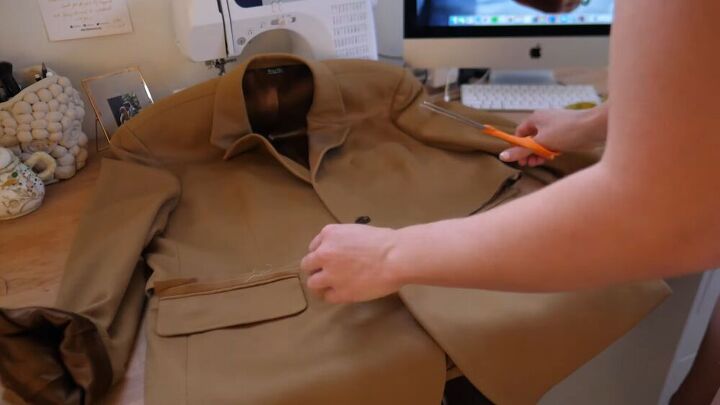
1. Crop the jacket
Lay the jacket on a flat surface and crop the bottom to below the first button on top of the front pockets. Save at least one of the front buttons.
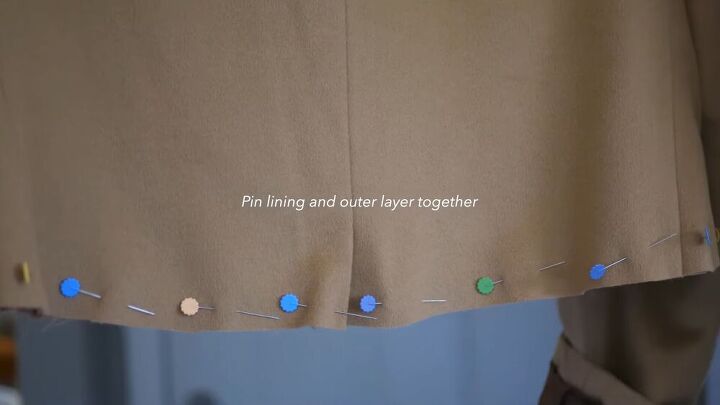
2. Hem the jacket
Pin the lining and outer layer together. Serge and hem the entire bottom of the blazer.
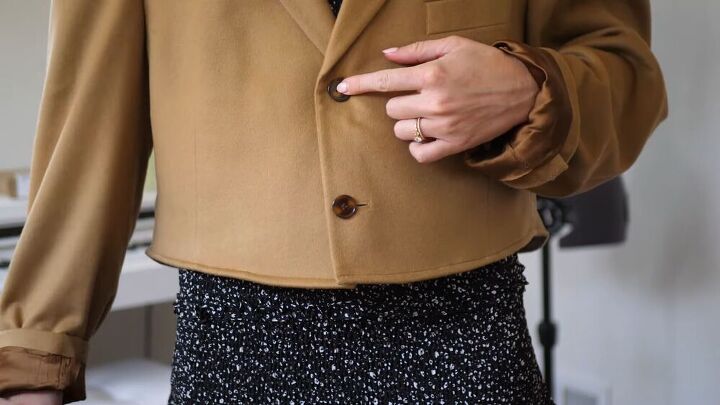
3. Create a second buttonhole
Mark a spot above the existing button. Measure the existing buttonhole, mark with pins, and cut the buttonhole. Sew on one of the saved buttons.
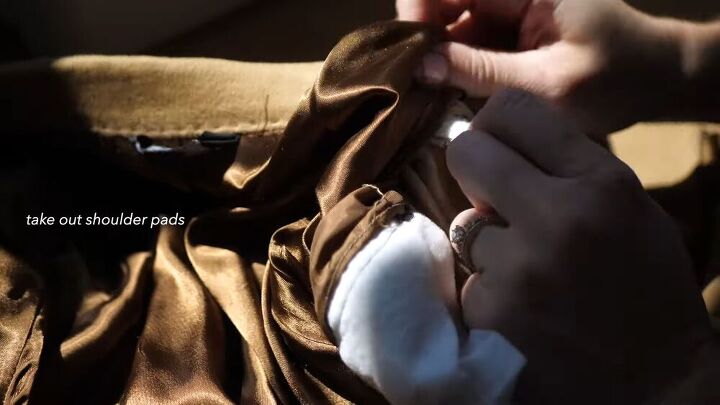
4. Finish the jacket
Open the lining to remove the shoulder pads and stitch back the lining to close. Cuff up the sleeves. Wear this lovely jacket with jeans or an ultra-feminine skirt for a striking contrast.

Upcycling clothes tutorial
Here's the finished DIY jacket! I hope you enjoyed this tutorial on upcycling ideas for clothes. Let me know in the comments which of the three upcycling projects was your favorite and if you’ve ever upcycled a loved one’s clothes to hold onto keepsakes.
The author may collect a small share of sales from the links on this page.


Comments
Join the conversation
The tops are sweet but the jacket rocks! Great Job!
U R a wonderful daughter , long long live daughters like you ....
God Bless you .