Cute and Easy Butterfly Sleeve Top Tutorial

This is a very easy project to make a butterfly sleeve top.
I used 1.25 yards (1 meter) of 60 inch (150 cm) wide chiffon for size 38 - 40 European.
If you’ve never sewn with chiffon before, you might want to use another lightweight fabric for your first attempt.
You’ll also need a tunic style top to use as a template and make your own free blouse sewing pattern from it.
Tools and materials:
- Lightweight fabric
- Tunic top for template
- Ruler
- Fabric marker
- Pins
- Scissors
- Sewing machine
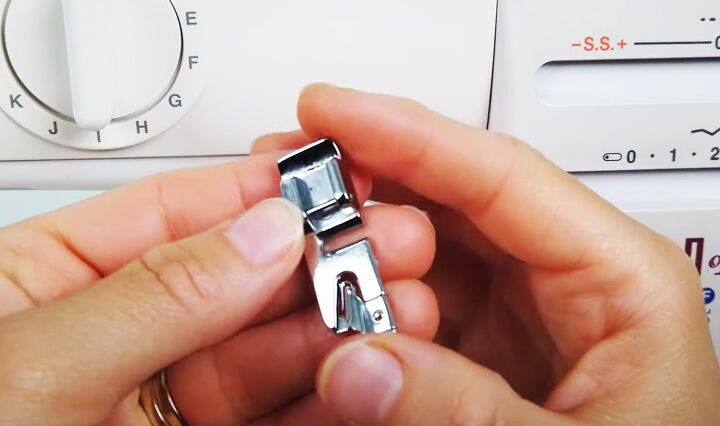
- Narrow rolled hem presser foot
- Serger (optional)
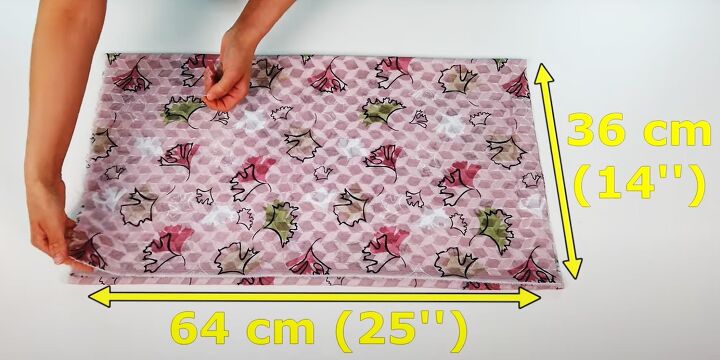
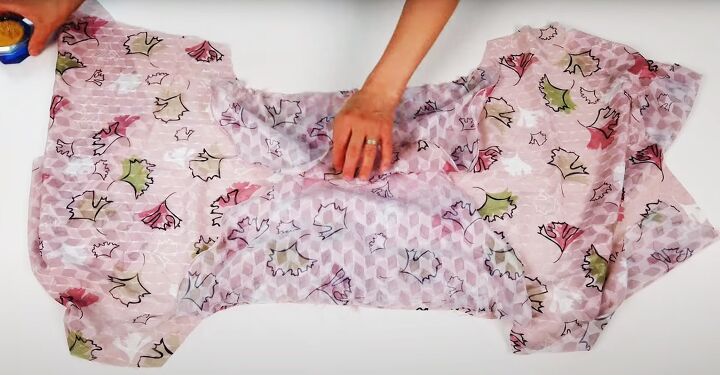
1. Cut out the main pieces
Trim your fabric to 56 inches (144 cm) long by 25 inches (64 cm) wide.
Fold it in half widthwise and in half again. Lay it flat with the folded edge towards you.
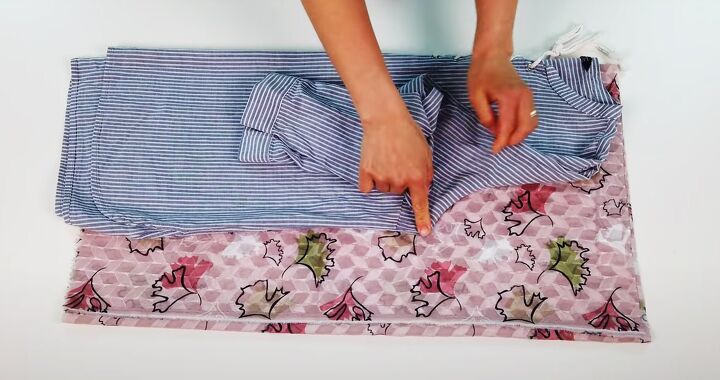
Fold your template top in half lengthways and lay the center front against the fabric fold. Fold the sleeves out of the way.
Make sure the underarm and shoulder seams are aligned.
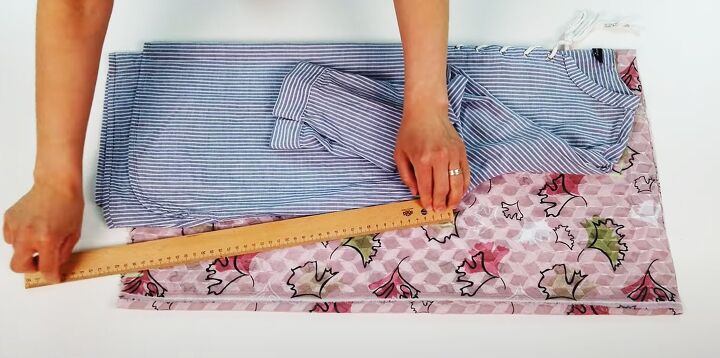
Trace around the back neckline and shoulder seams onto the fabric.
Extend the width of the lower edge by 2 inches (5 cm) if your tunic is too narrow and join that point with a diagonal line to the underarm seam.
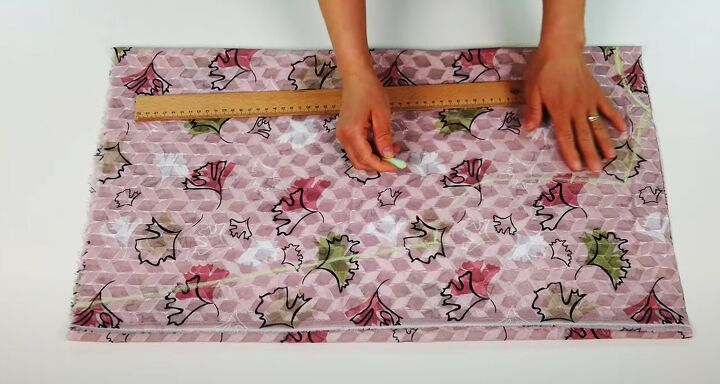
Join the end of the shoulder to the underarm with a curved line.
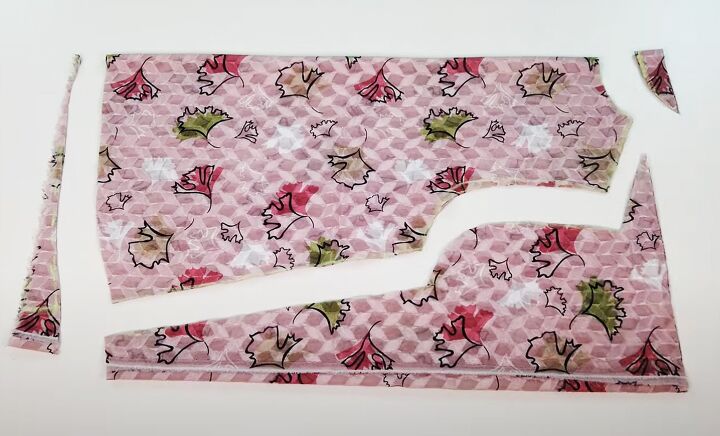
Curve the lower edge by 1.2 inches (3 cm) to the side seam.
Cut out the basic shape.
To shape the front, separate the two pieces.
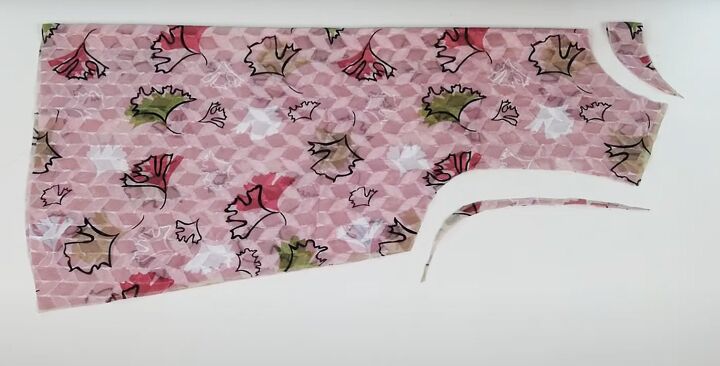
Trim a small amount from the armhole curve on one piece and lower the neckline by two fingers width.
2. Neckline bias binding
Open out the surplus fabric.
Cut a diagonal strip the width of your ruler across the fabric.
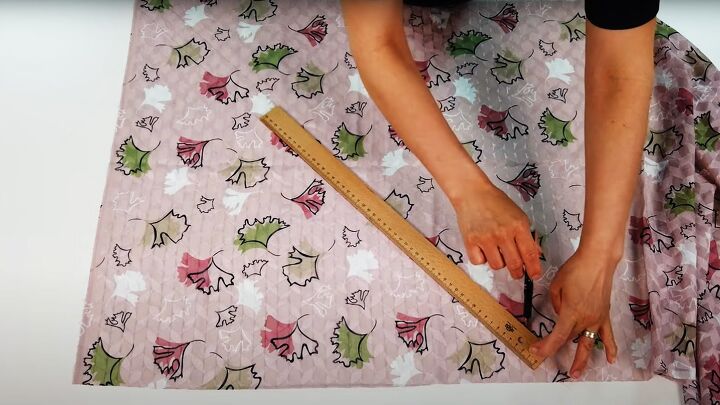
3. Cut out the butterfly sleeves
Fold your remaining fabric in half into a long rectangle.
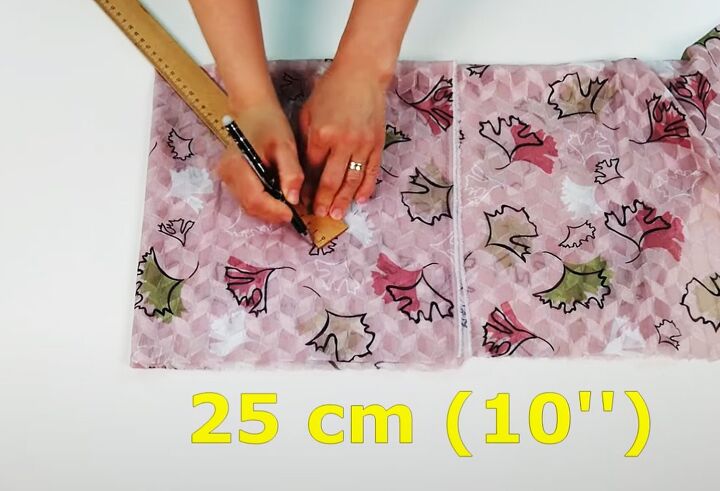
Fold in one edge by 11 inches (27.5 cm).
Mark a quarter circle with a radius of 10 inches (25 cm) from the folded corner.
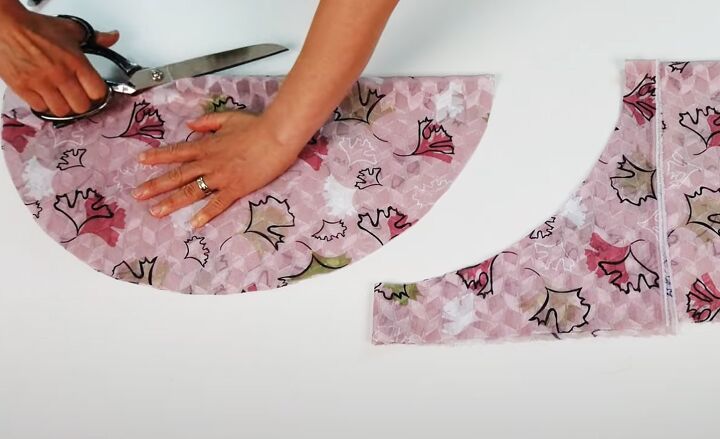
Cut it out. Cut along the fold line to create two semicircles.
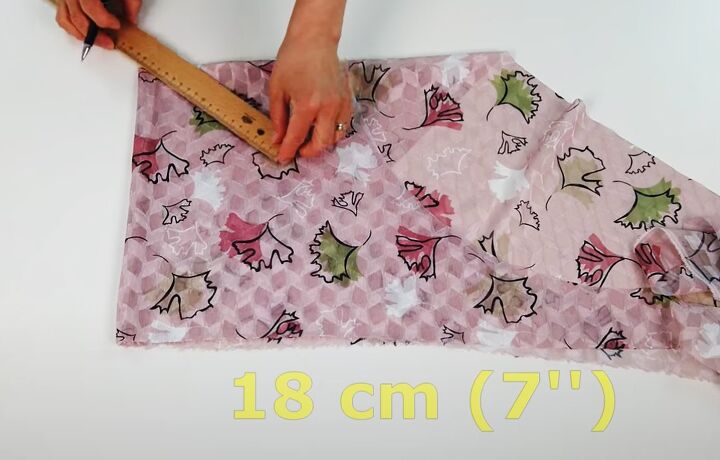
Refold the fabric and cut out two 7 inch (18 cm) semicircles in the same way.
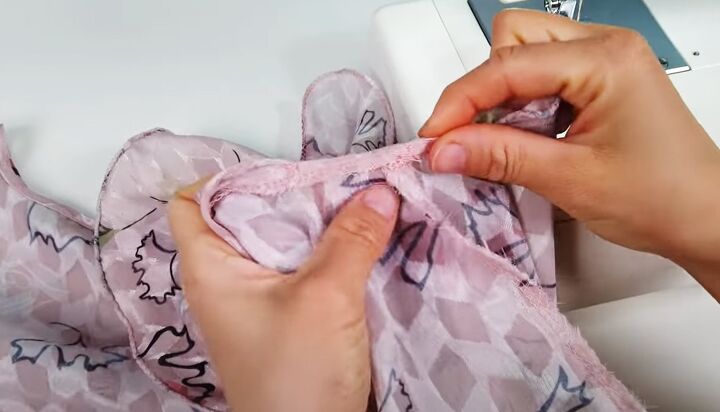
4. Attach the neck binding
Join the two shoulder seams with the right sides facing.
Open out the blouse with the right side uppermost.
Turn in the short end of the bias strip. Fold it in half lengthwise with the wrong side inside.
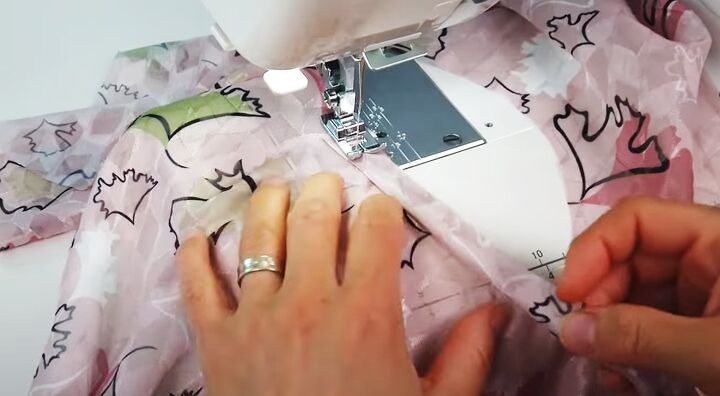
Starting at one shoulder seam, sew the bias strip to the edge of the neckline with the right sides facing.
Overlap the end of the binding and trim off the excess.
Lay the binding flat over the seam and top stitch it to the seam allowance.
Trim the excess seam allowance.
Fold the binding to the inside and sew down the edge on the wrong side to cover the seam allowance.
5. Butterfly sleeves
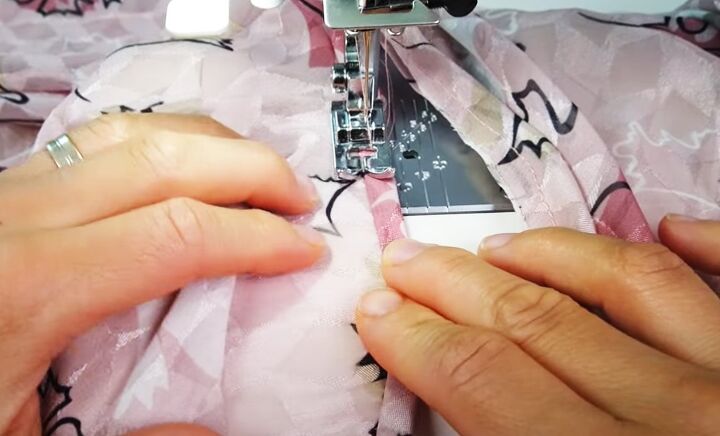
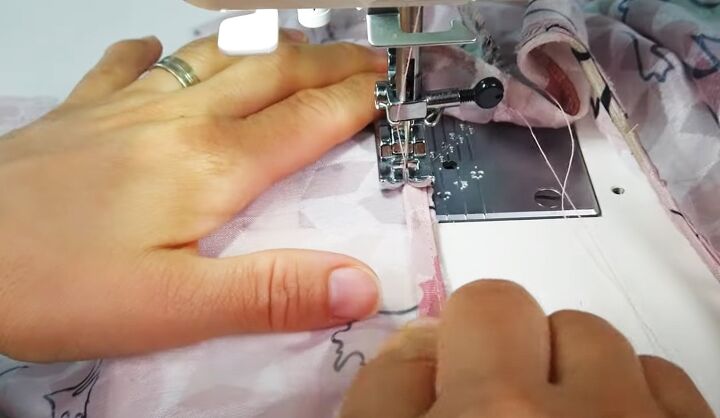
Swap to a narrow hem presser foot and set your machine for a zigzag stitch with a stitch length should be 2.5 and a width of 4.
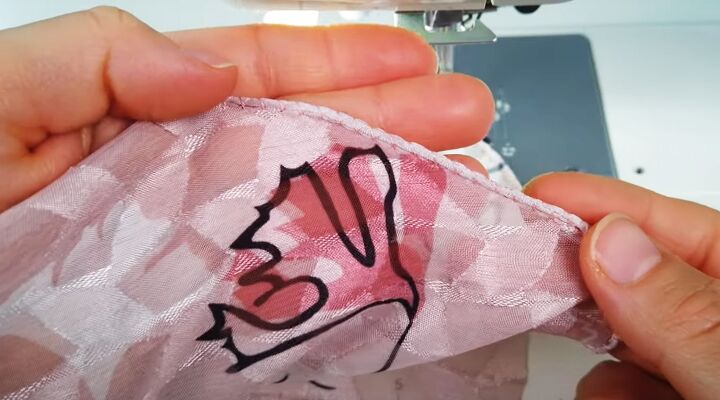
Sew a rolled hem on the curved edge of each semicircle.
Mark the center of the straight edge.
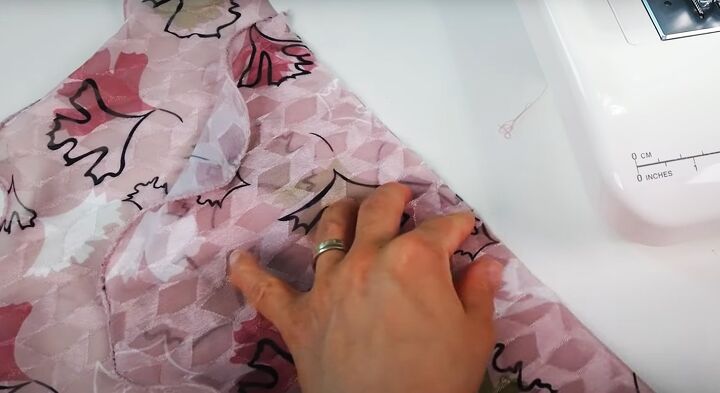
Place a large semicircle flat with the right side uppermost.
Matching the center points place a small semicircle on top, also with the right side uppermost.
Sew them together along the straight edge.
Open the blouse out flat.
Pin the straight edge of the sleeve to the armhole with the right sides facing, matching the center of the sleeve to the shoulder seam.
Sew in place. Finish the raw edges with your serger or an overlock stitch on your machine.
6. Finishing
Join the side seams with the right sides together and finish the raw edges.
Fold the raw edge at the underarm to the inside and top stitch it in place.
Turn up a narrow double hem at the lower edge and sew in place.
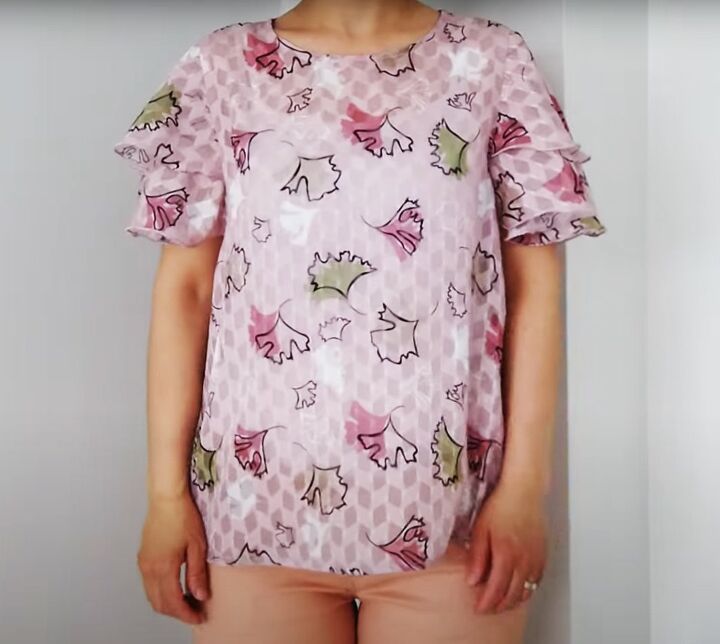
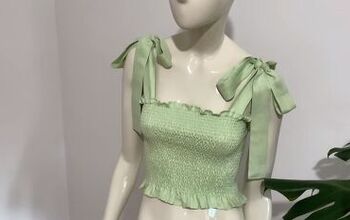
DIY butterfly sleeve top
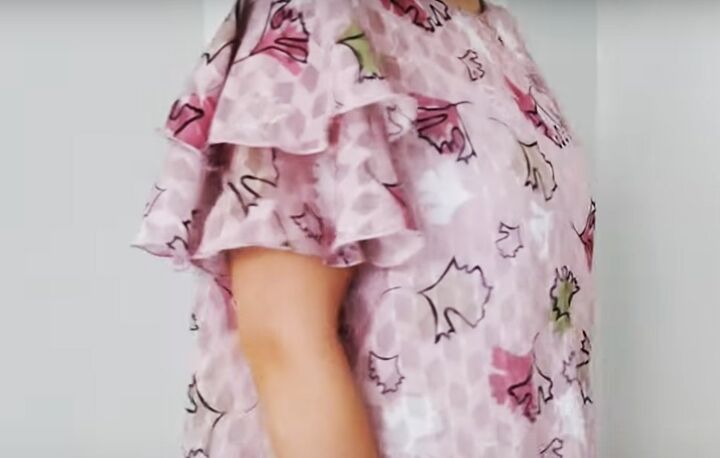
The layered butterfly sleeves make this simple top into something special.
If you wanted, you could hem the lower edge with the narrow hem foot to give a fluted effect to match the sleeves.
You could also make the blouse fuller than I did. Be creative and experiment!
Let me know what you think and for more great sewing patterns and ideas, follow me on TikTok: https://www.tiktok.com/@tugbaisler
How to Turn a Men's Shirt Into a Cute Dress With Butterfly Sleeves
The author may collect a small share of sales from the links on this page.


Comments
Join the conversation