Easy Organza Sleeves Top Tutorial

Organza sleeves are everything! They can take any look from drab to fab! If you are looking to glam up an outfit, then this organza sleeve top tutorial is for you!
I decided to take a simple black T-shirt and add some organza sleeves to it, and the results are incredible!
Follow my step-by-step guide and learn how to make puff sleeves with elastic.
Tools and Materials:
- Organza
- Sewing machine
- Elastic
- Measuring tape
- Seam ripper
- Tailor's chalk
- Pins
- Ruler
- Scissors

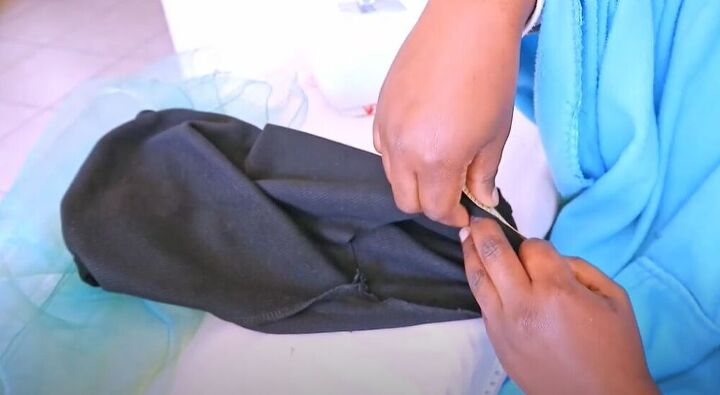
1. Remove the sleeves
To get started on creating these amazing organza sleeves, I removed the sleeves of the T-shirt using my seam ripper.
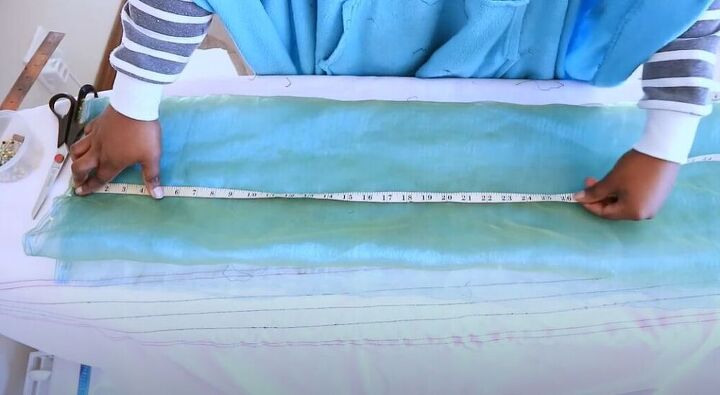
2. Measure the sleeves
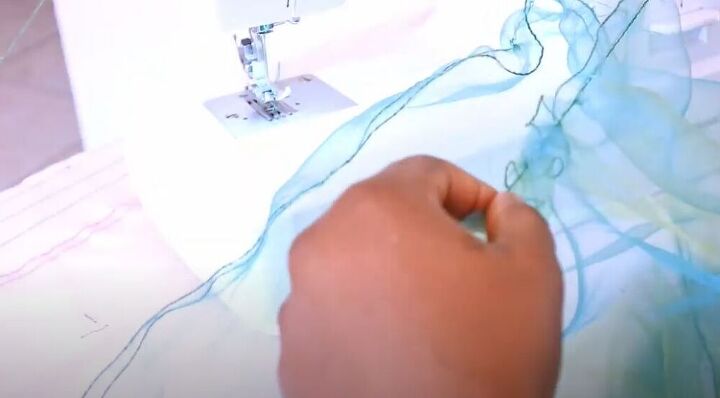
Organza is a slippery material, so to make it easier to work with, I folded it over a few times.
I then measured the length of my sleeve adding 5 inches to create the stunning ruffle effect.
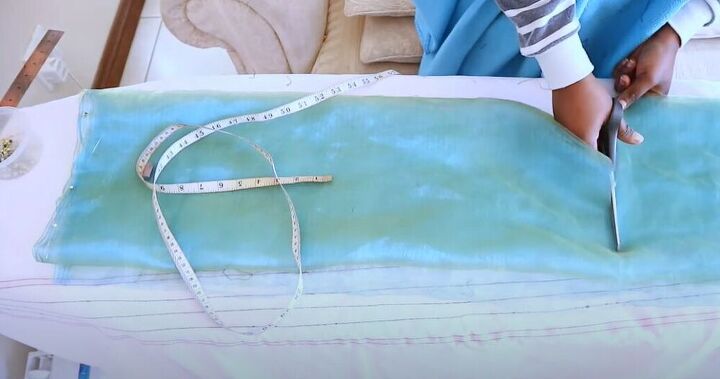
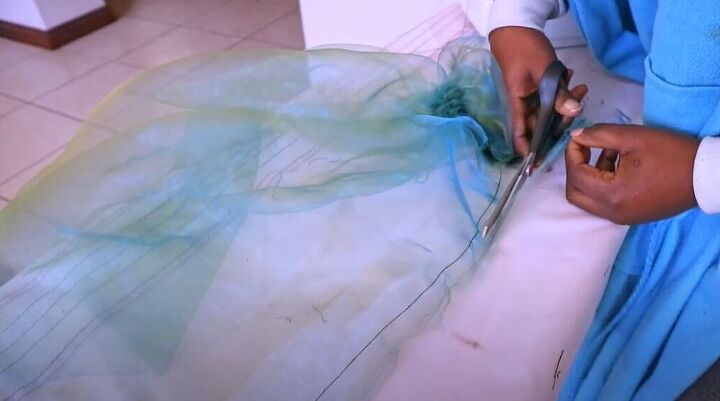
3. Cut the fabric
In this next step, I cut my fabric at the measurement I had just made. For the width of the sleeves, I multiplied the bicep circumference by 2 inches.
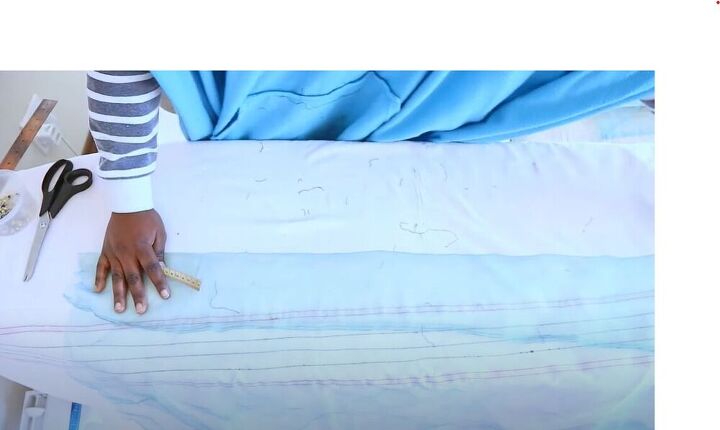
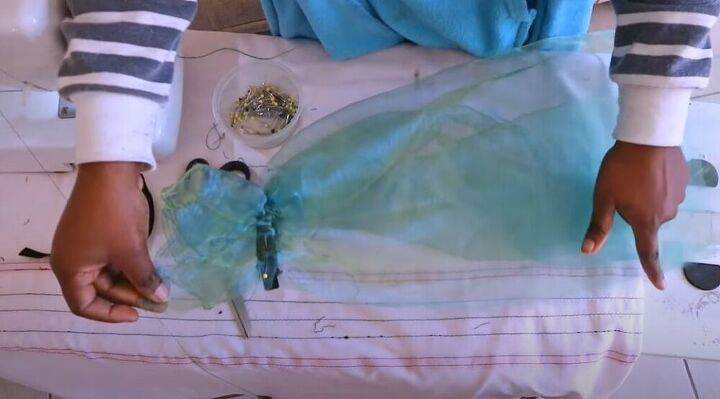
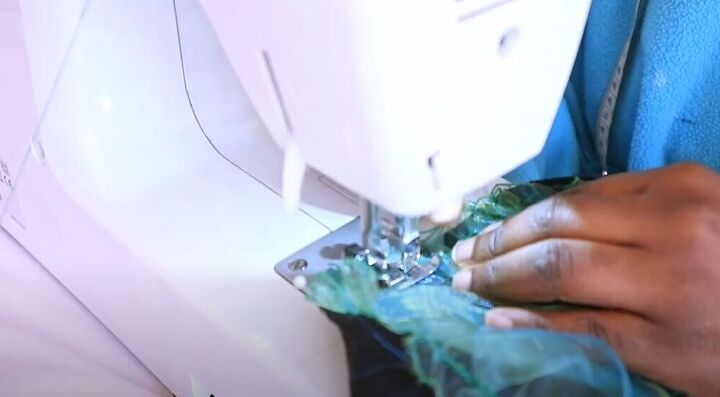
4. Create an elastic channel
To create an elastic channel in the sleeve, I measured 5-inches from the bottom and pinned it in place.
I then moved over to my sewing machine and sewed the edge of the fold at about an inch over from the width of my elastic.
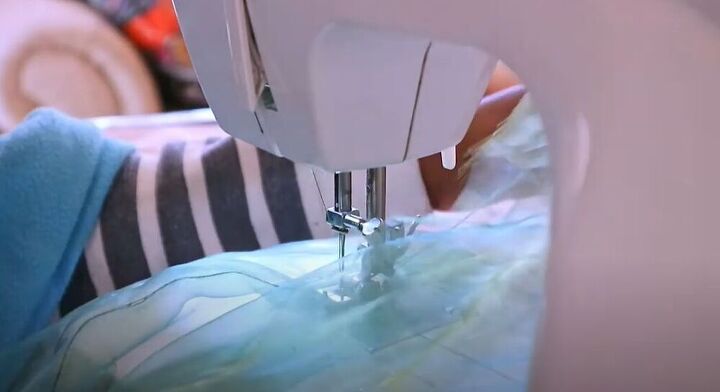
I then folded the channel and sewed it down onto the rest of the fabric.

5. Cut the elastic
To get this gorgeous sleeve, I measured the elastic around my wrist and cut the pieces to size.
I then attached a safety pin to one side of the elastic and threaded it through the channel. I pinned the elastic to the fabric, making sure it wouldn’t move or shift.
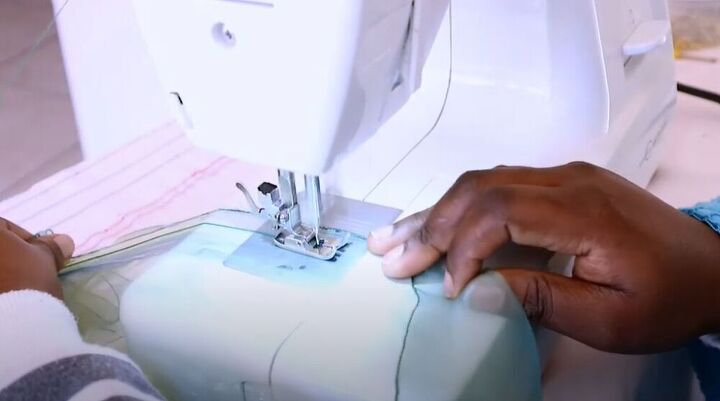
6. Sew the sleeve edge
Once my elastic was in, I folded my sleeve over, right sides together and pinned the raw edges. I then sewed a straight stitch to create the sleeves. I loved seeing my sleeves finally coming together!
I am a bit of a perfectionist and I love giving my pieces a perfect finish!
I trimmed the excess seam allowance and closed the edge with a zig-zag stitch. I also sewed a zig-zag stitch around the top of the sleeve to prevent it from fraying.
7. Gather the sleeve
To get some beautiful gathering on my sleeve, I sewed a loose basting stitch at the top of the sleeve.
I then measured the circumference of the sleeve of my T-shirt to know what length I would need to gather the sleeve to.
To create this awesome gathering, I pulled on one thread and gathered the material to the length of the sleeve I had previously measured.
I pinned the gathered top of my sleeve onto my T-shirt, right sides together, and sewed them. I used a straight stitch and left half an inch for seam allowance.

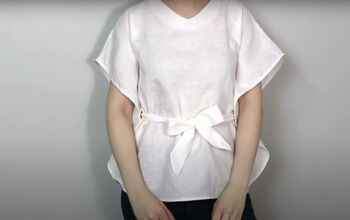
Organza sleeve top
I am so in love with these easy to make organza sleeves. What piece would you attach these amazing sleeves to? Let me know in the comments below!
The author may collect a small share of sales from the links on this page.


Comments
Join the conversation
Turns something plain into elegant. Great idea for those that are not happy with upper arms . Do this and can now wear what use to be sleeveless.
Or can use over long sleeves, and keep em’ guessing while being PRETTY! That’s what I’m gonna do!! Thanks so much!