From Start to Finish: DIY Cut Out Top

Today’s tutorial will feature my very first original pattern! I am so excited to share it with you guys. I worked really hard on it and hope you guys love it as much as I do. So, without further ado, here is my tutorial on how to sew a cut out top.
Tools and materials:
- Handmade by Karly sewing pattern
- Scissors
- Thread
- Yard to yard and a half of knit fabric
- Sewing pins
- Bias tape makers
- Iron
- Sewing machine
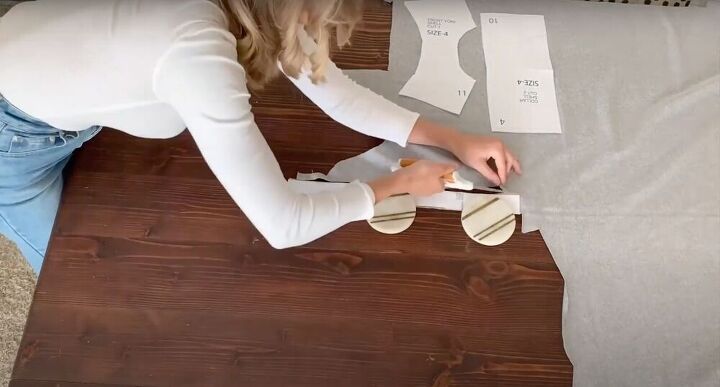
Prepare your pieces
The first step is to print and cut your pattern. Then, you are going to lay your fabric out flat and place your pattern on top. Use your scissors to cut out the pattern - the seam allowance is already included. Notice that the pattern specifies whether something needs to be cut out twice! In the end, you should have a back shell, a front shell, a front yoke, a collar, two sleeves, and two pieces of binding.
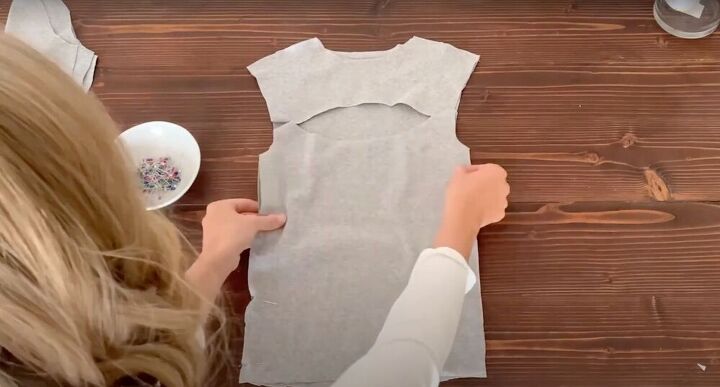
Connect the front and back
Lay your back shell flat, and place the front yoke on top of it. Align the top and pin along the shoulder seams. Using a straight stitch, sew along the shoulders. Next, lay the front shell over the bottom of the back shell and align the sides. Pin along the sides, from the armpit to the bottom, and use a straight stitch down the sides.

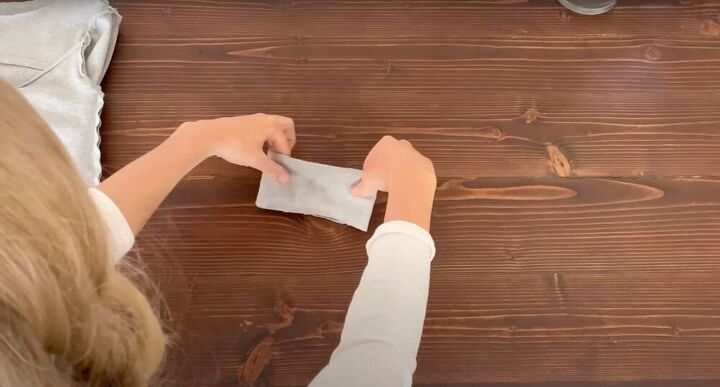
Prepare your binding
Take your binding and put it into the bias tape maker. Using an iron, iron the binding down flat - the way it folds over in the tape maker. Next, fold over the binding one more time (so you have a double fold) and iron that down as well. Repeat this on the second binding piece.
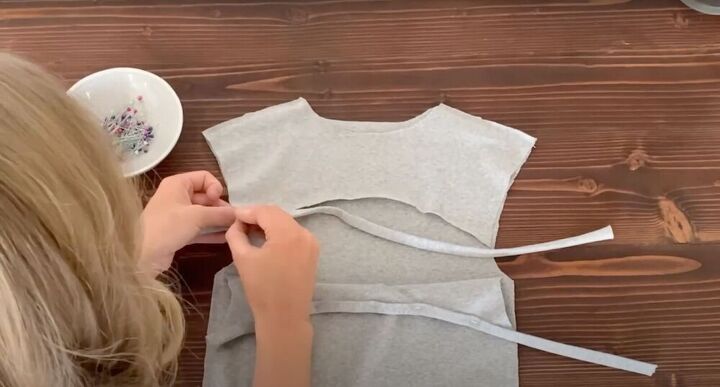
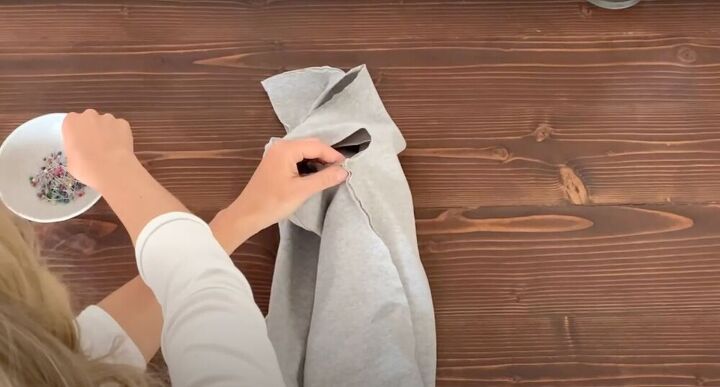
Attach the binding
Take your binding pieces and place them on the fabric of the front shell and the yoke - in between the fold. Pin it to secure. The binding will be a little longer than the cut-out, but we can just trim that later on. Next, use a topstitch on each piece. Make sure to get both sides of the binding, as well as the middle fabric while sewing. After that’s done, you can go ahead and trim off the excess binding pieces.

Try it on
At this point, it’s best to try the top on and make sure it fits you the way you want it to. Use pins to secure and adjust the yoke to the shell until reaching the desired fit. The front of the yoke will overlap the shell.
Connect the yoke and shell
After finding your desired fit, use a top stitch to connect the yoke to the front shell.
Attach the sleeves
Take the sleeves and fold them in half. Then, pin along the edge until you’ve created a tube. Stitch down the pinned area. Next, turn your bodice inside out and keep your sleeves right side out. Put the sleeve inside of the bodice and align it with the seam by the armholes - make sure the seam on the sleeve and the seam on the bodice align. Pin to secure. Take the top part of the sleeve and pin it to the highest point in the bodice and then pin around the rest of the sleeve hole. Make sure the fabric remains evenly stretched. Finally, finish the sleeves with a straight stitch around the sleeve hole.
Attach the collar
Take the collared piece and fold it in half on the long side. Use a straight stitch to create a circle. Next, fold that circle in half so it looks like a collar. Then take the (still inside out) shirt and stick the collar into it, upside down. Align the seam with the halfway point by the back of the neckline and pin. Then pin the middle point by the front and continue on to pin by both shoulders. Make sure all three layers of fabric are being pinned each time. Double-check that your collar is even and sew it down.

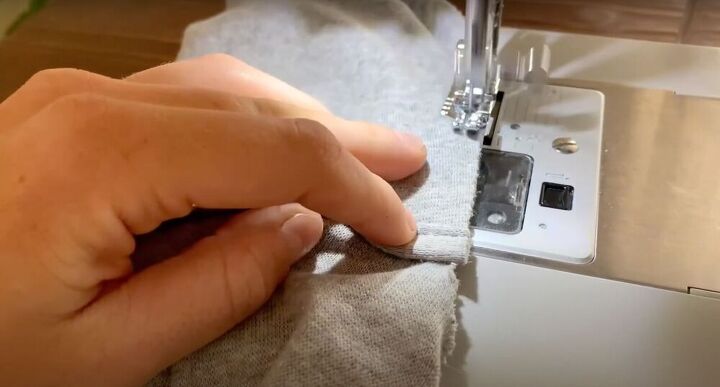
All that’s left to do is hem the bottom of the shirt and the sleeves. And there you have it, an easy cut out top. I’d love to hear what you guys think and see your creations using my new pattern. I’m so excited to see the different colors and fabrics!
The author may collect a small share of sales from the links on this page.


Comments
Join the conversation
Excellent job! Great instructions for your beautiful creation! Thank you for sharing!
Love it!