Breezy and Beautiful: DIY Cami

This summer cami is going to save my summer wardrobe. It is easy, light as a feather, and so easy to make into a dress. For anyone living anywhere hot and humid, this shirt is the perfect answer for those July and August days.
Tools and materials:
- Fabric (1 yard)
- Sewing machine
- Scissors
- Pins
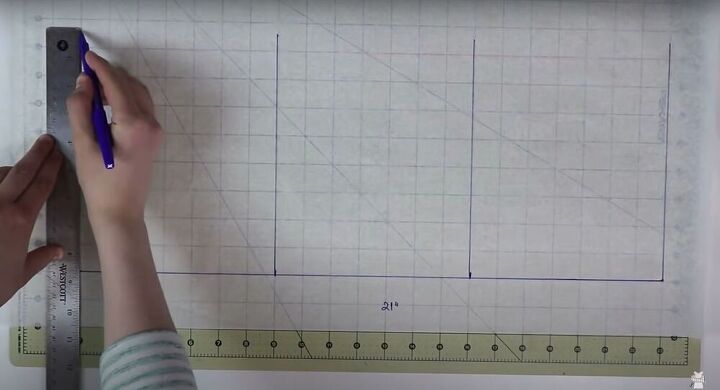
Take your measurements
For your first measurement, take your measuring tape, place it on the middle of your back and drop it until your tailbone. Once done, put that measurement onto your pattern paper and then divide it into three equal parts. This will very approximately mark your bust line, your waistline, and your hip line. Next, take your full bust measurement, quarter it, and add it to the measurements we marked off before (as pictured above).

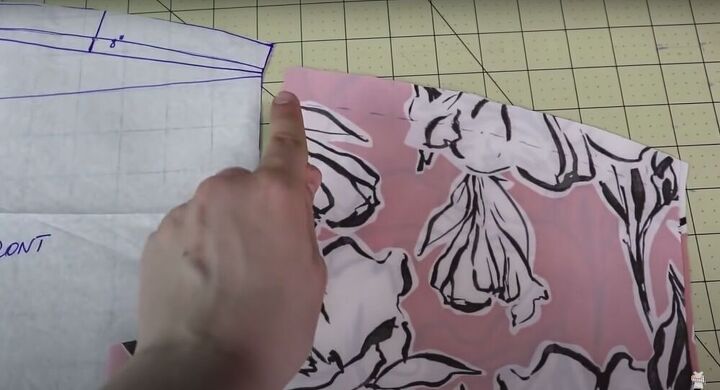
Mark off the neckline (I went with 3.5 inches) by turning your pattern and marking it off across the top. Then, add one inch up and then draw a dash curved line to connect the two corners. Next, measure your shoulder width by placing your measuring tape across your back, from one shoulder edge to another. Add this measurement to your pattern - starting at the edge and past your neckline, and then extend the bust to match that length. (If you like your armholes bigger also make sure to drop your bust line one inch). Finally, to create your armholes and finish your pattern, check out the video at 2:30.
Cut out your fabric
When choosing your fabric, make sure to pick a lightweight fabric with a soft drape. I went with polyester. Now, place your pattern on your fabric and cut it out, including a quarter-inch seam allowance. Additionally, make sure to transfer the markings for the casings on your shoulders, that way you know where to place your seam.
Sew your top
Serge (or zigzag stitch) the sides of your pattern pieces and then place the pieces right sides together. Stitch the two pieces together right outside the seam we just sewed. Press the seams open. Next, fold the edge of the fabric by the armhole about ⅛ of an inch (inwards) and sew it down using a straight stitch. After that, fold it over another ⅛ of an inch and sew it down again, overlapping the first stitch. Press the seams down and repeat this technique across all openings (make the hem a little thicker to add weight to the bottom of the garment).
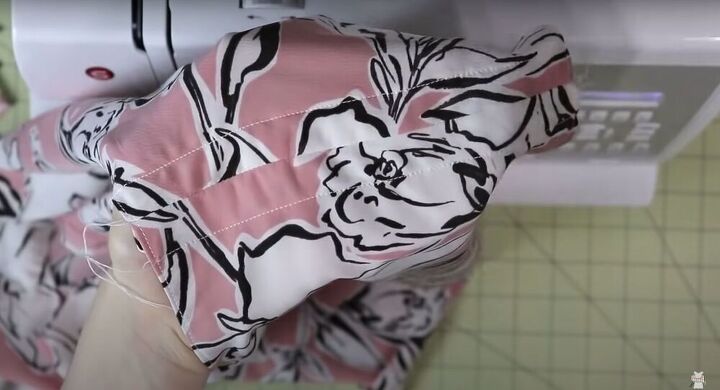
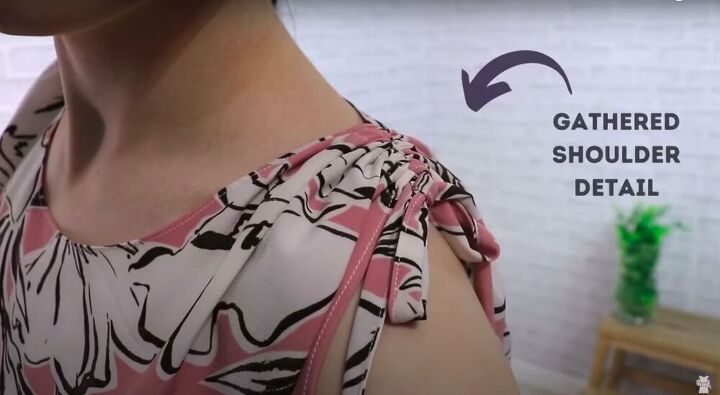
Create the casings
Surge the shoulder seams separately (just like we did from the side seams). Then, stitch the line we marked earlier and press it open. Next, to create the casing for the ties, stitch by the surged line on both sides of the shoulder. Secure all loose threads and tidy up the area.
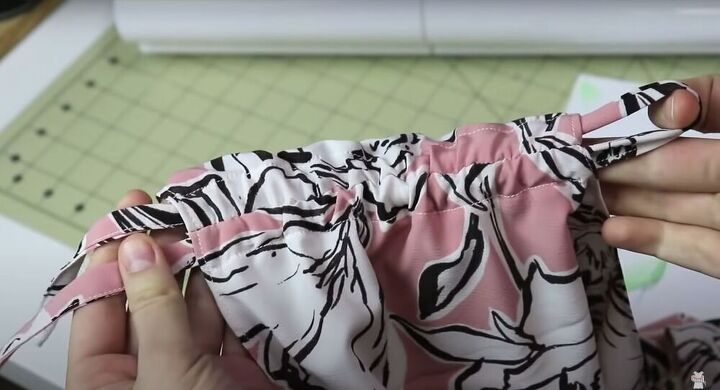
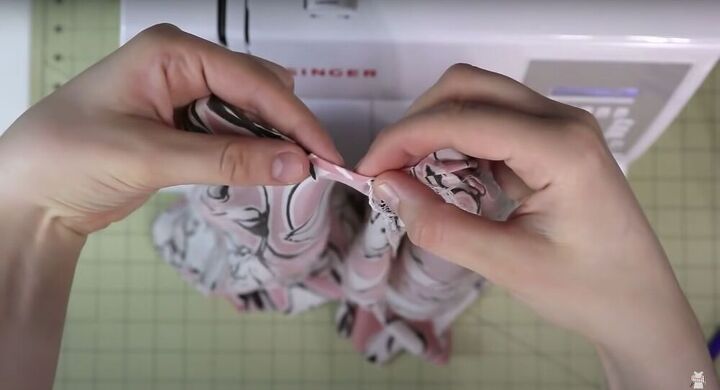
Create the ties
To create the ties cut out two 1.5 inch wide strips of fabric that are at least three times as long as the shoulder length. Fold them in half (the way you would with bias tape) and stitch along the edge. Once the ties are done, pull them through the casing and you’re done!

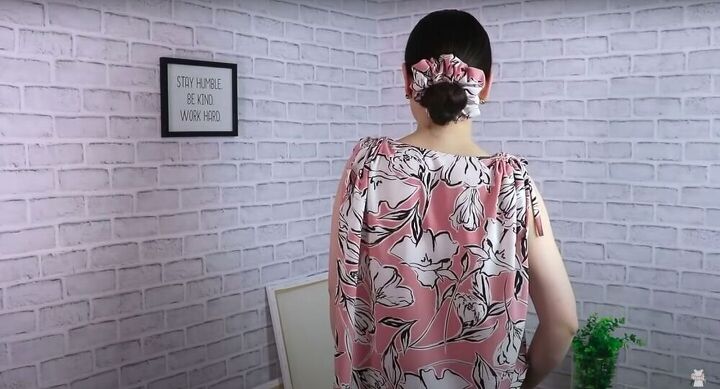

Leave it loose or add a belt, either way, this DIY summer cami will spice up your summer style. It is breezy and loose and you can wear it any day! Just make sure to choose a gorgeous summer fabric that will look great with those shorts and skirts.
The author may collect a small share of sales from the links on this page.


Comments
Join the conversation
This is really a nice top. I like it because it is so decent!