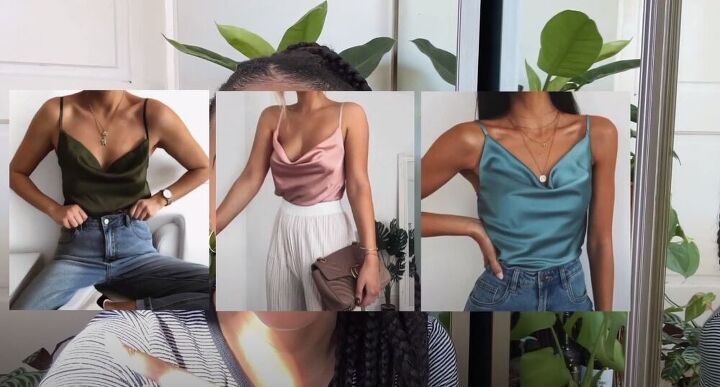
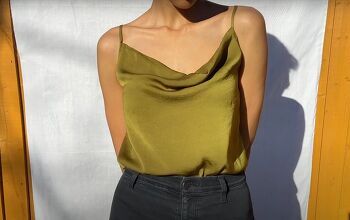
How to Make a Sexy Satin DIY Cowl Neck Top

Want to make your own DIY cowl neck top? You've probably seen this sexy number making its rounds on Pinterest and other social channels. I see why though, it’s such a stunning, sexy, and snazzy piece of clothing to own!
In this tutorial, I am going to show you exactly how to cut and sew a cowl neck top from scratch. So, page down and see the magic happen!
Tools and materials:
- Fabric
- Matching thread
- Measuring tape
- Ruler
- Fabric marker
- Pins
- Sewing machine
- Scissors
- Rotary cutter
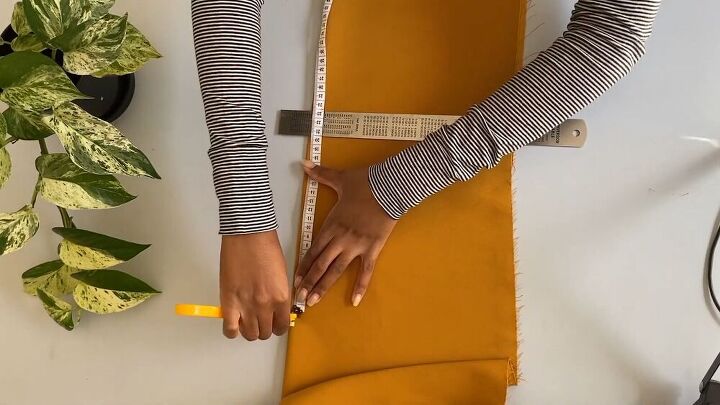
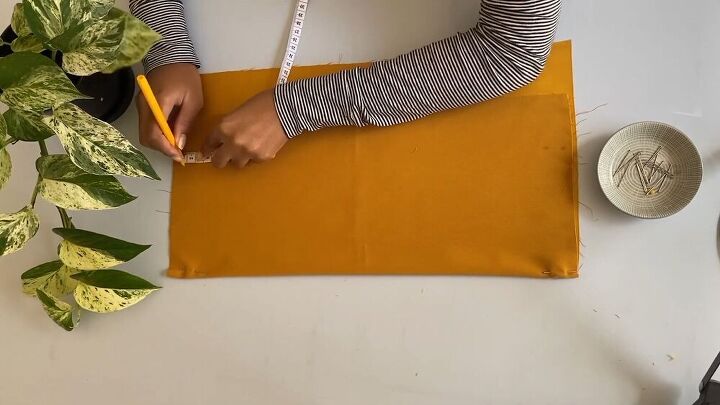
1. Take your measurements
First things first, measure yourself with measuring tape. Measure around your bust and the desired length of your top. Write these measurements down, so you don’t forget them.
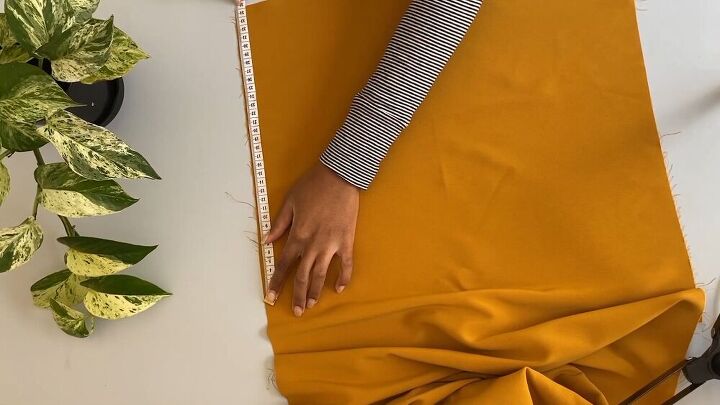
2. Make the cowl neck top pattern
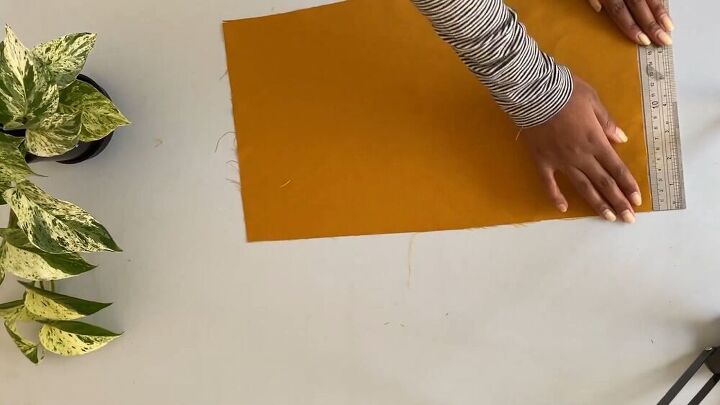
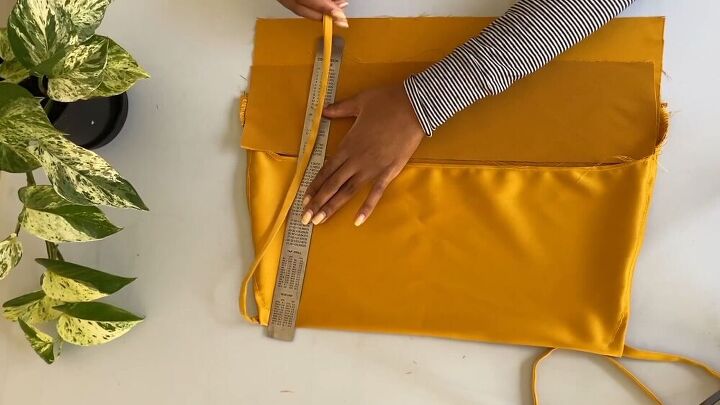
For this satin cowl neck top, you need to cut the pattern pieces according to the measurements you just took. Start by measuring the length.
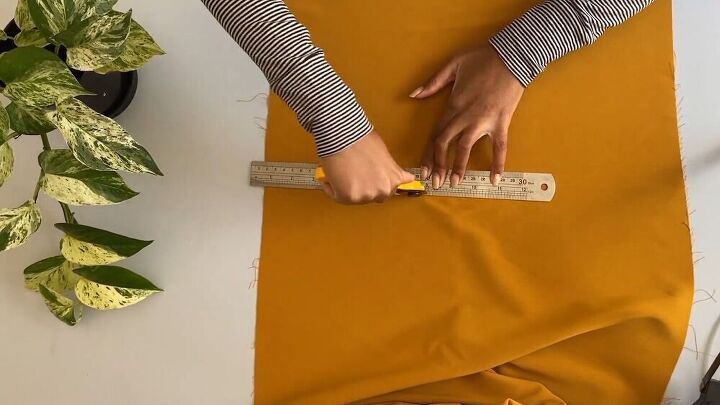
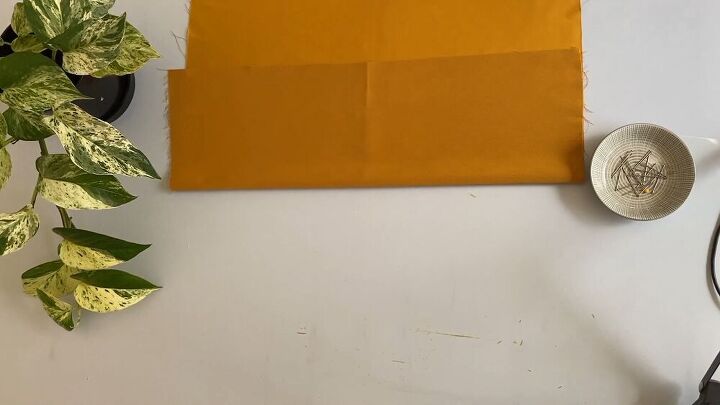
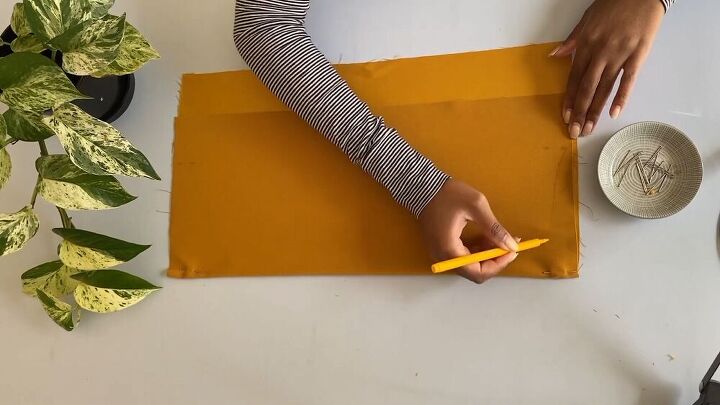
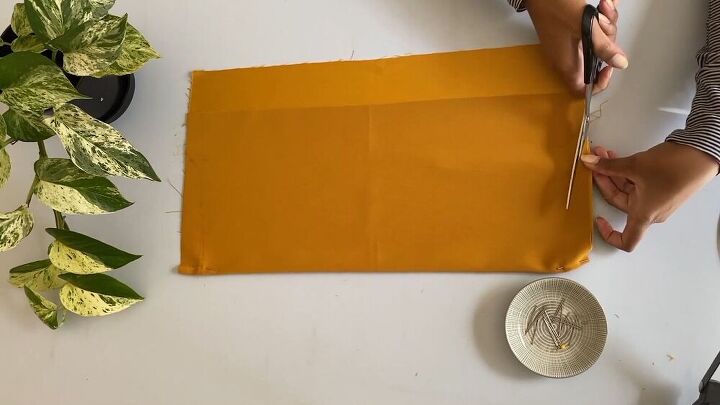
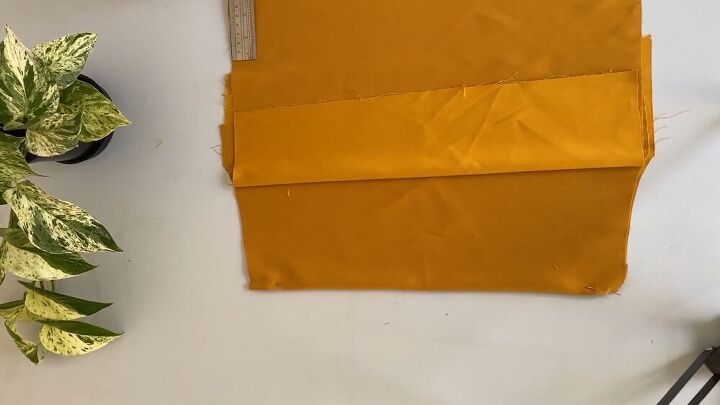
Now cut out the excess fabric. This first piece will make up the back of the bodice.
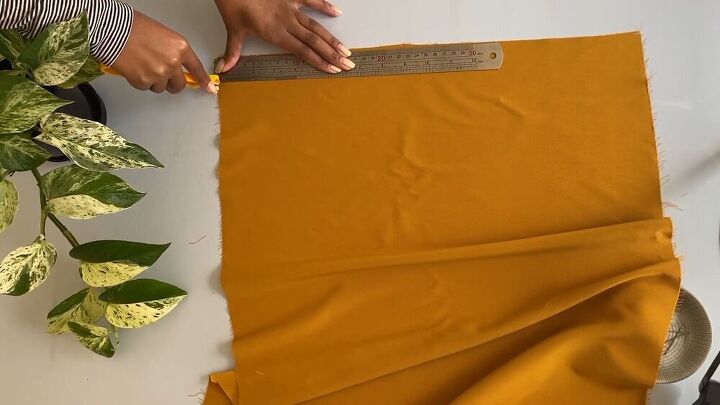
For the front bodice, fold your fabric in half. Measure the length you want your top to be (I put my ruler as a guide), and then add another 20cm (7.87 inches) over and above your original length. This will be for the falling neckline. Then cut, accordingly.
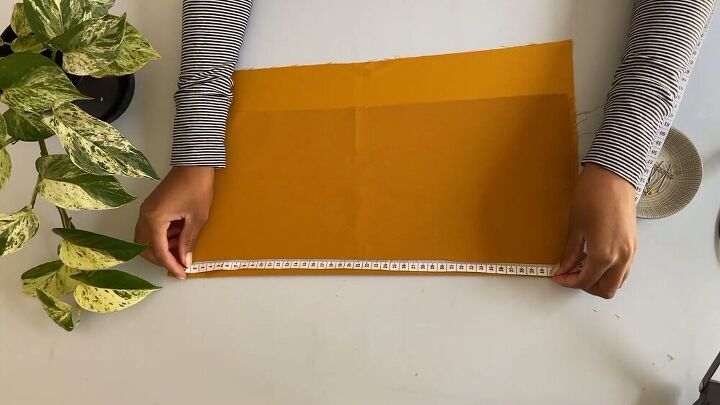
Unfold the fabric and right sides up, fold 20cm (7.87 inches) of fabric towards you ( make sure it’s 20cm on either side). Then, pin the edges on the fold.
Now, mark 2cm (0.78 inches) from either edge and with a fabric marker, make a dot.
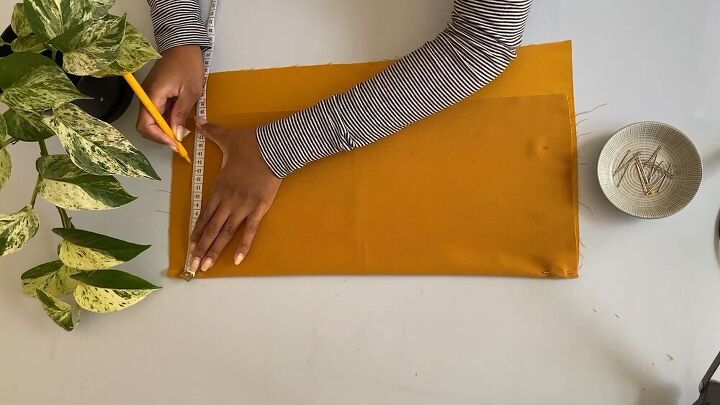
Then, mark 14cm (5.51 inches) down from either side of the 2cm (0.78 inches) mark. Make another mark, as shown.
From the 14cm (5.51 inches) point, mark 1.5cm (0.59 inches) to the side.
Connect the dots on either ends by drawing a slight curve, as shown.
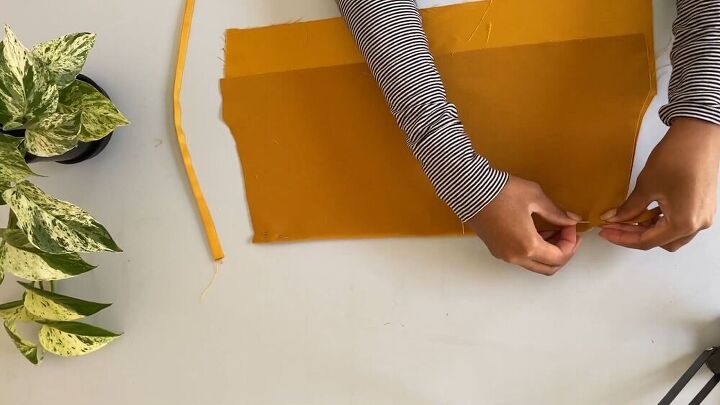
Cut out these side pieces.
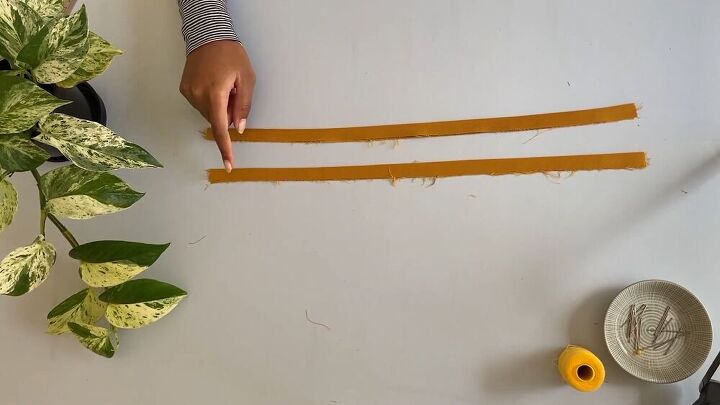
To make the straps, simply cut out a few long pieces, as shown. I used the width of my ruler as a guideline for these straps.
That makes up all the pattern pieces; let’s move on to assembling the cowl neck top.
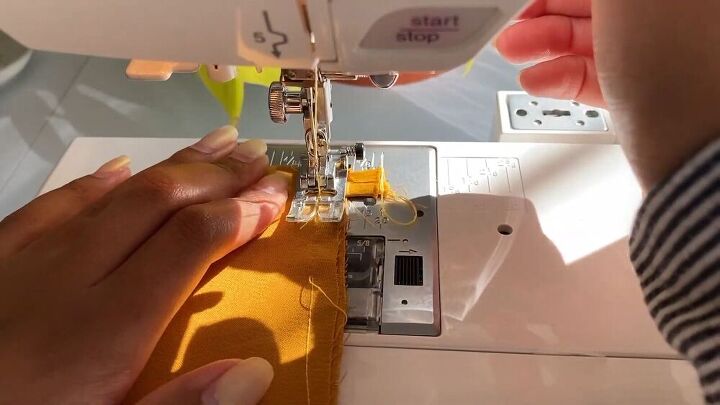
3. Stitch the straps
Fold your straps in half and press to create a neat fold. Then, sew along the edge to secure it.
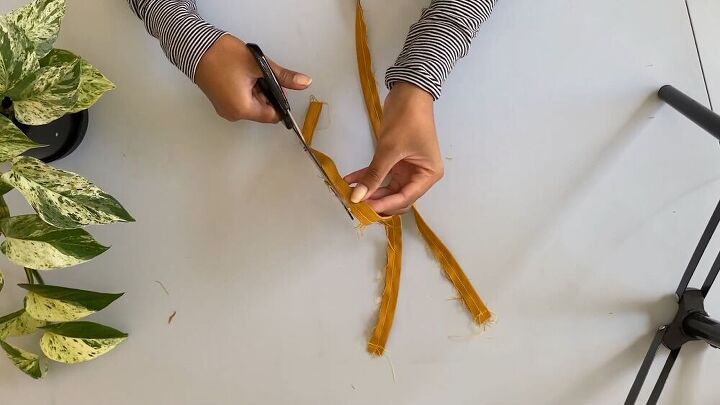
Cut the excess fabric on edge, and turn the straps inside out with a loop turner.
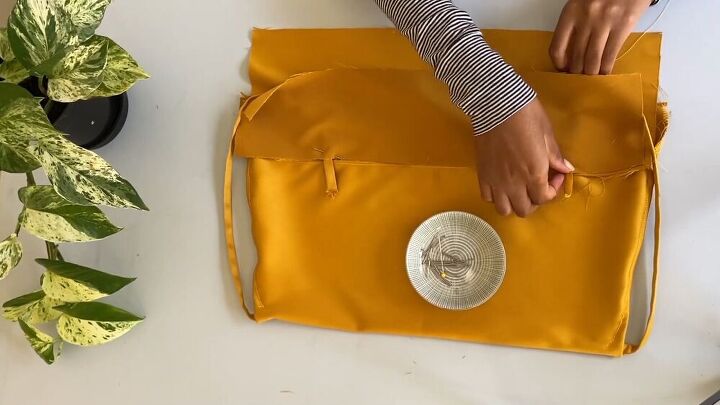
4. Assemble the cowl neck top
My back piece was a little too long for my liking, so I reduced the length by 3cm (1.18 inches).
Then, I folded 10cm (3.93 inches) from the top and cut that off - this will be for my interfacing for the back bodice piece.
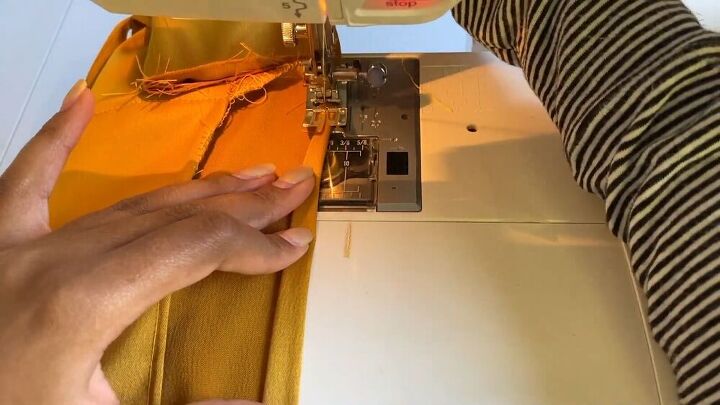
To pin the straps, place them right on the curved area of the front bodice. Make sure the strap is sandwiched in between the fold on the right side of the fabric. I made a mistake and had to seam rip this section.
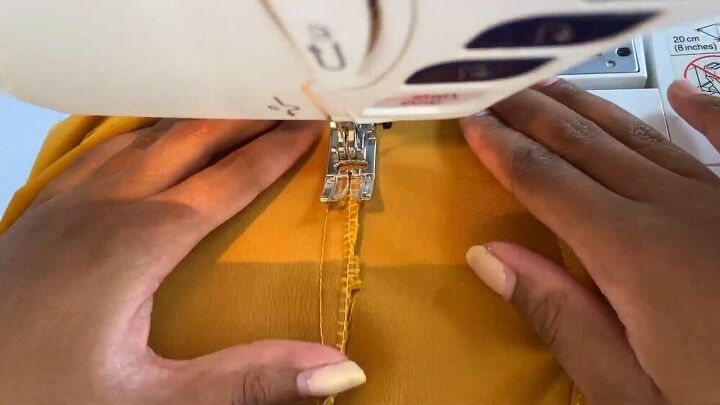
To secure the straps, straight stitch along the curved edge, leaving ½ a cm (0.2 inches) of seam allowance. Repeat on the other side.
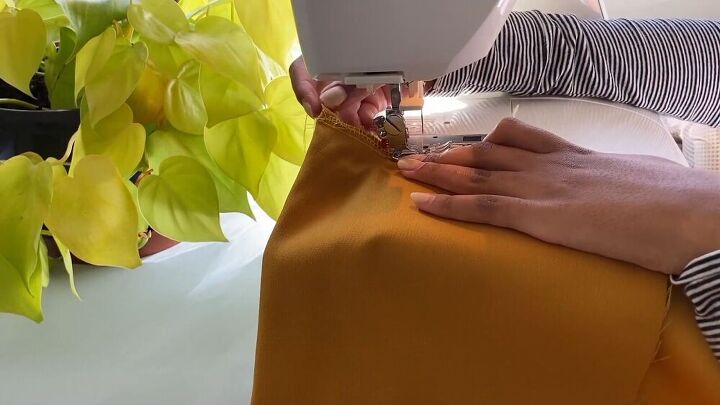
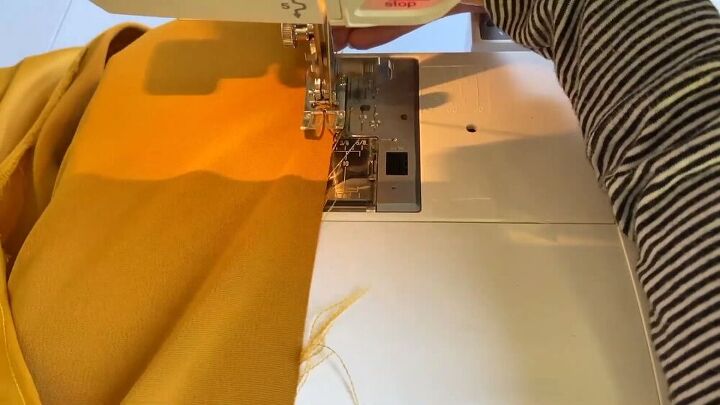
Now, zigzag stitch the edges to prevent fraying.
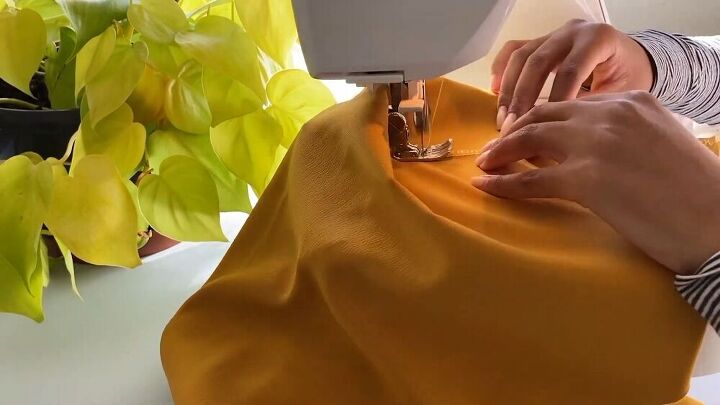
Straight stitch the seam allowance to the facing on both sides of the top.
5. Assemble the back cowl neck top
Place your facing on top of the back piece, right sides facing. Then, decide where you want your straps to go.
Tip: I used a ruler for this part; it made it easier to place the straps in a straightway.
Pin your straps in place, and sandwich them in between the back bodice and the facing.
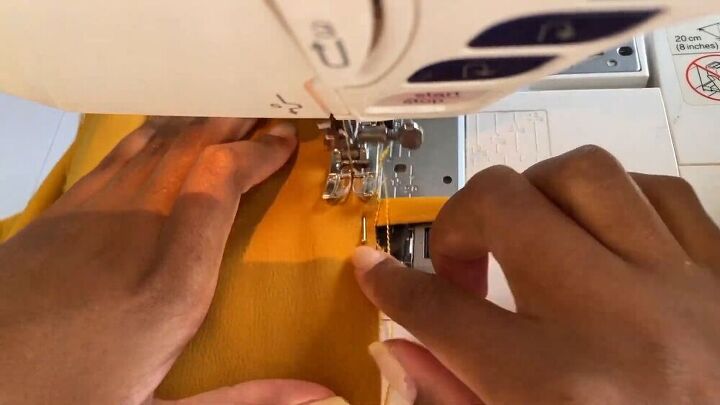
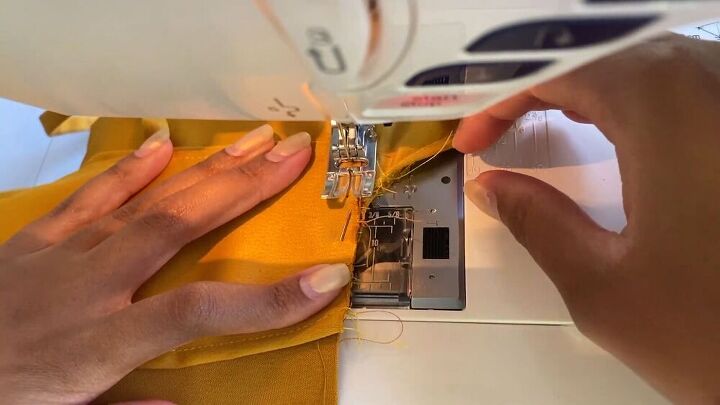
Now, pin the back and front bodice pieces so you have more leverage, then straight stitch along the edge of the back bodice piece to secure the straps and facing. Leave ½ cm (0.2 inches) seam allowance.
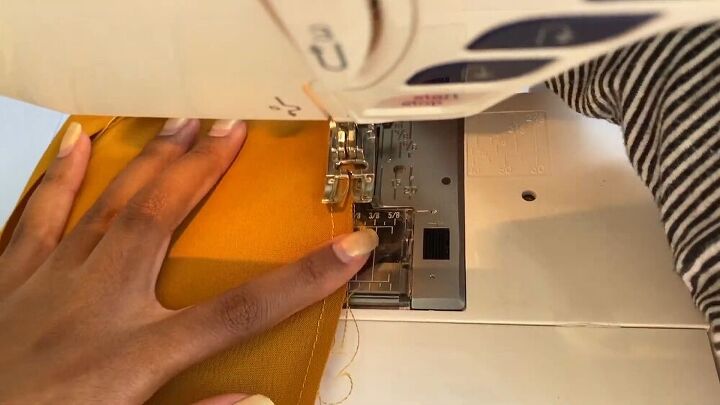
Then, follow with a zigzag stitch.
Straight stitch the seam allowance to the back facing.
Then, go ahead and straight-stitch the front and back edges together.
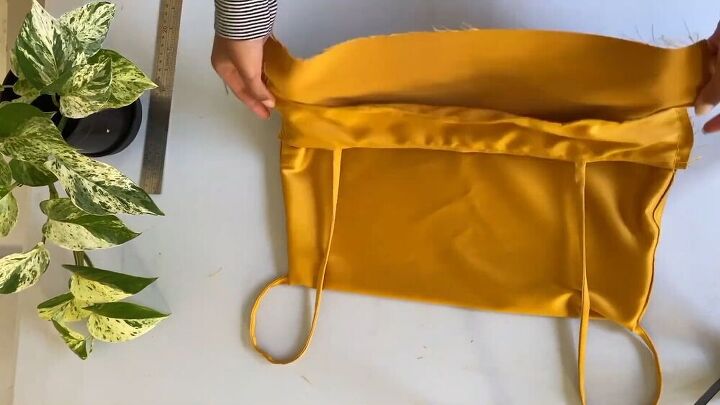
This is what it should look like.
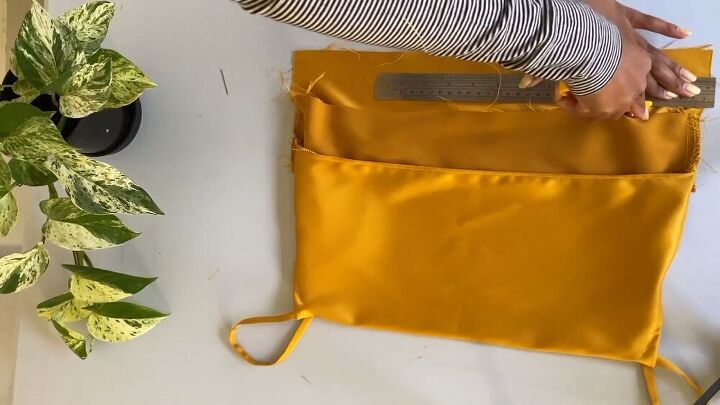
Try the top on, and cut off any excess fabric to the length you want. Obviously, this is optional.
6. Finish the hem
Zigzag stitch the frayed edges.
Then follow that with a double-folded hem.

DIY cowl neck top tutorial
Your DIY cowl neck top is complete! This satin cowl neck top is so elegant and chic, and can be worn casually or for a fun date night. Let me know what you think of this DIY cowl neck top tutorial in the comments below.
The author may collect a small share of sales from the links on this page.


Comments
Join the conversation
Wow, this is so fabulous! Thank you for sharing this.
Great project. It looks gorgeous!