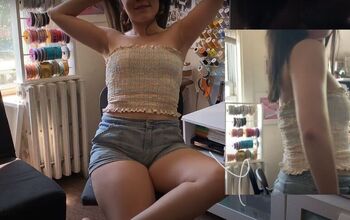
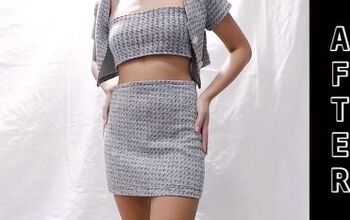
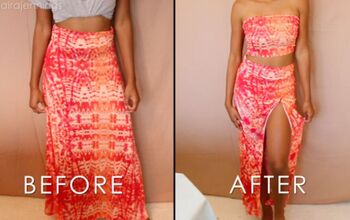
DIY the Cutest Shirred Tube Top

A tube top is the perfect summer piece! It can be styled in so many different ways and always looks fun and summer-friendly! I decided to make an absolutely gorgeous shirred tube top and I am obsessed with how it turned out. If you are looking to add a new favorite to your wardrobe, the search is over! Follow this easy tutorial and get started on learning the ins and outs of sewing this amazing top. This step-by-step guide will help you make this dream top a reality! Get started on creating this stunner of a tube top!
Tools and Materials:
- Fabric
- Polyester thread
- Elastic thread
- Sewing machine
- Scissors
Before we get started, Let’s talk a little bit about fabric. For this stunning shirred tube top, I like to use lightweight, non-stretch cotton fabric. Your fabric doesn’t have to be cotton. Just make sure the fabric you choose isn’t too thick or stretchy.
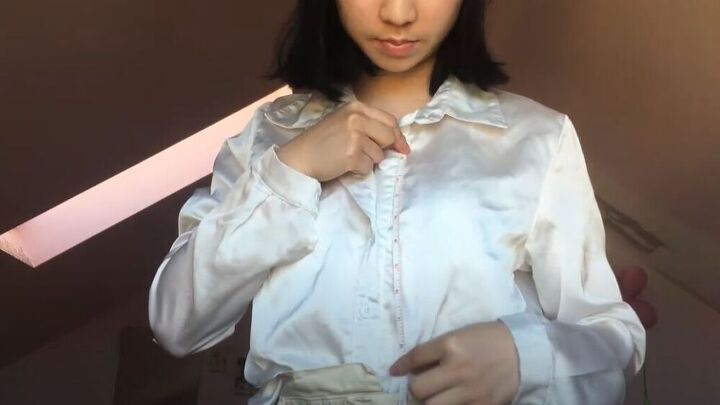
To make this amazing top you only need two measurements. First, I measured from where the top would start all the way down to where I wanted the top to end. The next measurement I did was of my bust.
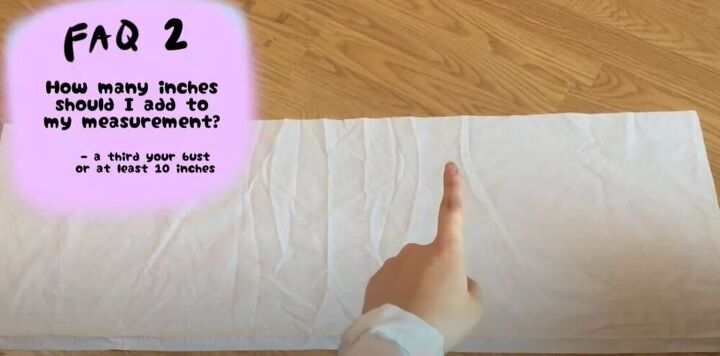
I cut a piece of fabric to the length of my top. I then added a ⅓ of the bust or at least 10 inches to the width.
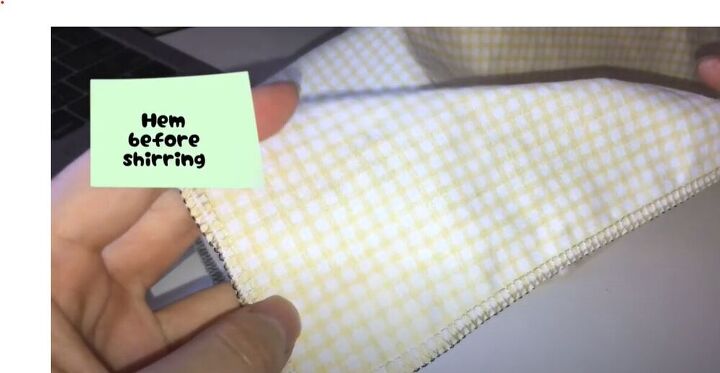
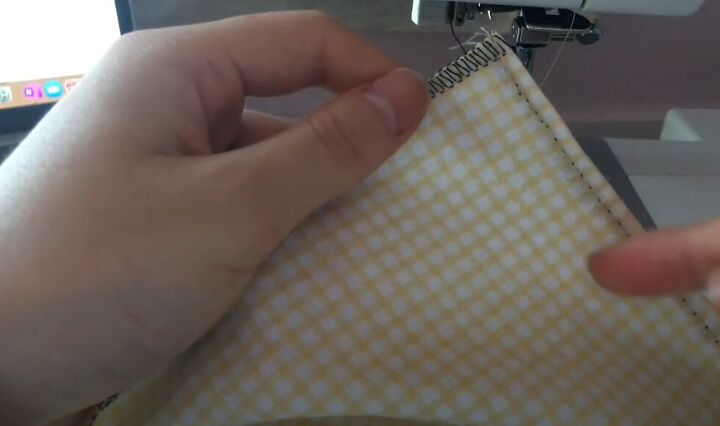
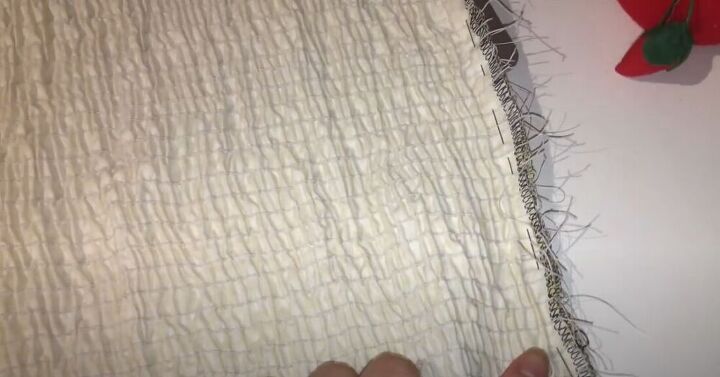
Before I could get started on shirring this fabulous top, I made sure to serge the edges. If you don't have a serger, it works just as well to double fold the fabric and stitch a hem. It’s important to do this before we start shirring because it’s difficult to hem when the fabric is all bunched together.
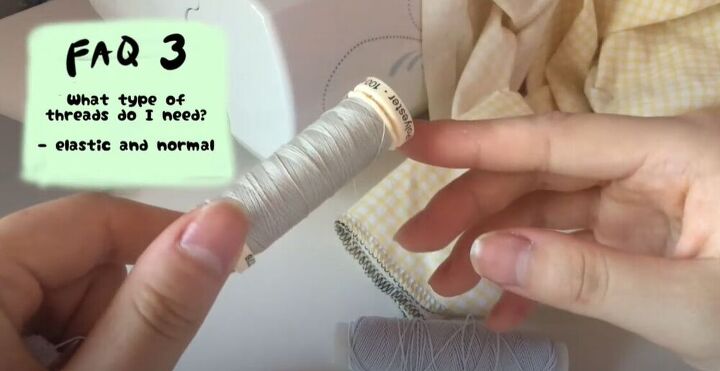
For this project, you'll need two types of threads. The first is an elastic thread and the second is a regular polyester thread. It’s good to keep in mind that the polyester will be on the outside of the top so I tried to pick a color that matched the fabric of the tube top.
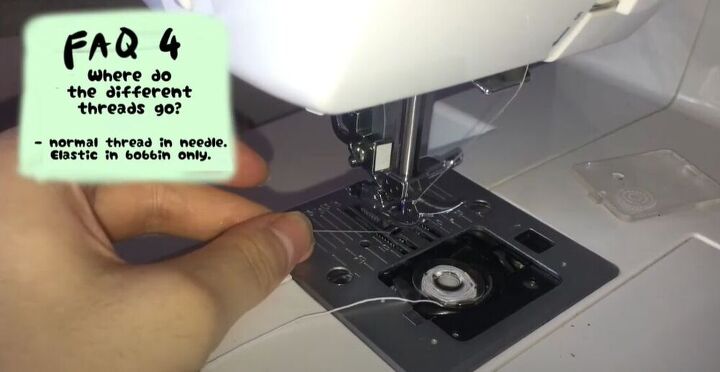
Before I could move on to the next step, I had to hand-wind my bobbin. It’s important to know where each thread goes. The normal, polyester thread goes through the top needle and the elastic thread goes in the bobbin.
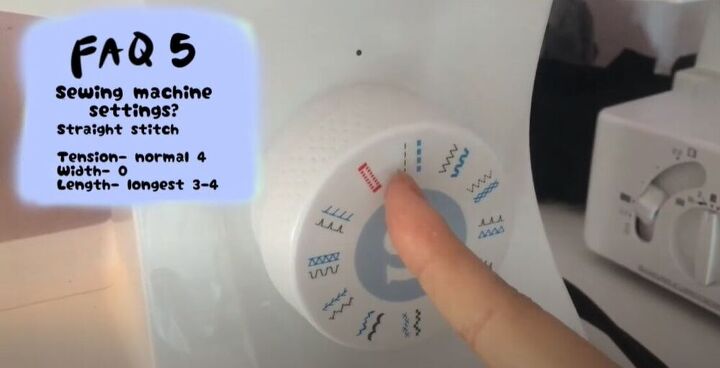
To make this incredible top, I adjusted the settings on my sewing machine. I put the tension at 4 which is normal and the width at 0. I put the stitch length between 3 and 4 and I used a straight stitch.
I was lucky to have a pattern that had lines to follow while I was shirring but if you are using a plain fabric, lightly mark straight lines that you can follow as a guide when you are shirring. Your lines should be about a cm apart.
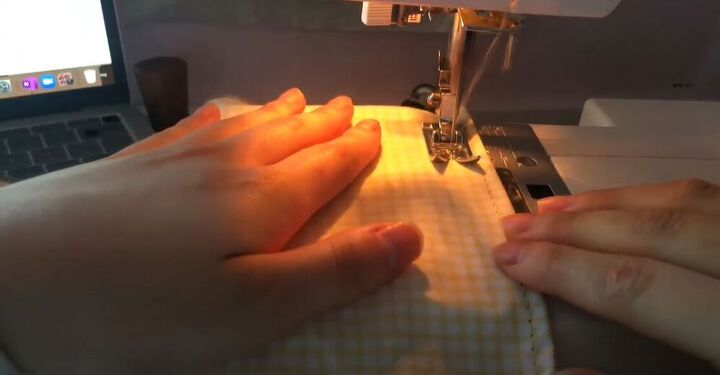
I placed my fabric right side up and made sure that my normal thread was on the right side of the fabric and that my elastic thread was on the wrong side of the fabric. I started shirring along the lines and couldn’t wait to see the end result! I actually ended up changing my tension to 3 during the sewing process. Every fabric is different so if you see that your fabric isn’t starting to bunch after the first or second line, try playing around with the tension.
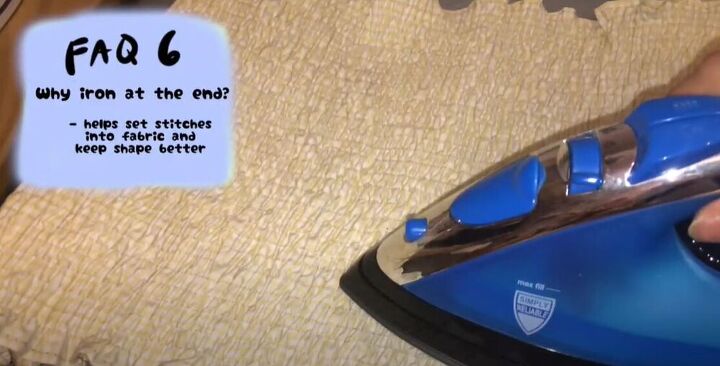
Once I had finished shirring the fabric, I made sure to iron it. This helps set the stitches into the fabric and also helps hold the shape of the top.
I folded the fabric, right sides together, and sewed a straight stitch down the seam. Don’t forget to take your elastic bobbin out and replace it with regular thread.
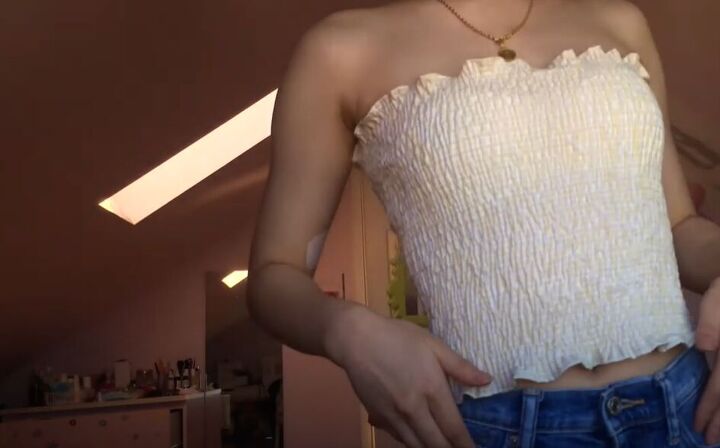
This top is just so cute and easy to make! What fabric would you use to make it? Let me know in the comments below!
The author may collect a small share of sales from the links on this page.


Comments
Join the conversation