DIY Shirred Top
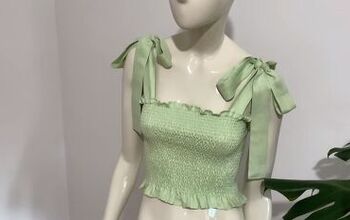
I recently saw a very cute top on Reformation! I decided to take a men’s shirt and totally refashion it into a shirred top like the one I had seen online. To make sure I had a great new outfit, I also made a cute skirt that goes perfectly with my shirred top.
Tools and materials:
- Men’s shirt
- Fabric
- Fabric shears
- Pins
- Elastic
- Button
- Sewing machine
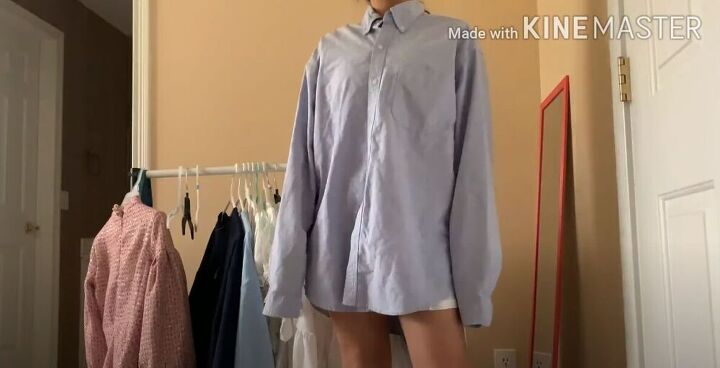
Before we get started on the shirred top, I wanted to show you the men’s shirt I would be transforming. Let’s get started!
Deconstruct the shirt
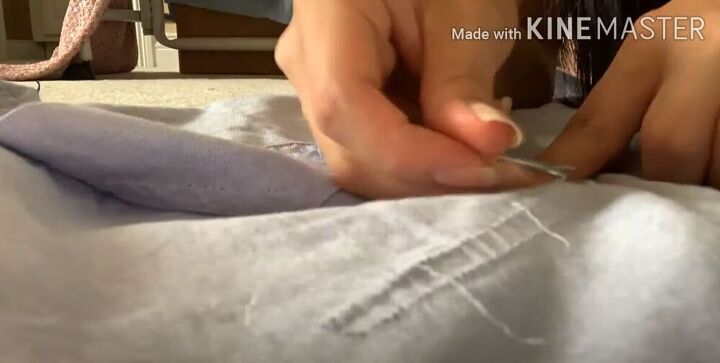
The first thing I did was seam rip off the pocket from the front of the shirt.

I then took my fabric shears and cut off the sleeves and collar. I made sure to save the sleeves for later.
Make a pattern
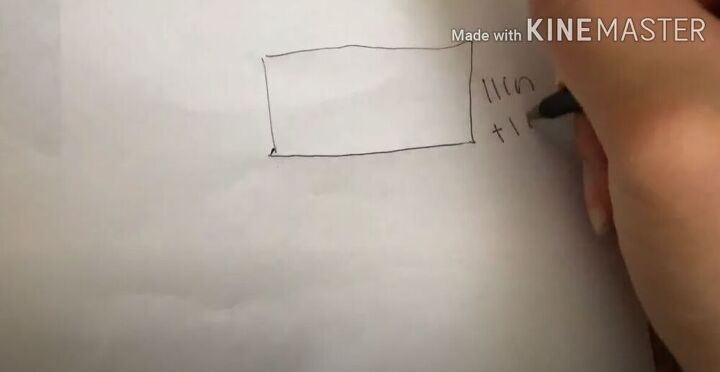
I then went ahead and drew my pattern which was easy because it was just a rectangle. For the length, I decided on 11 inches plus an inch for seam allowances. For the width, I took my bust measurement multiplied by 1.5, plus an inch for seam allowance which came to 52 inches.
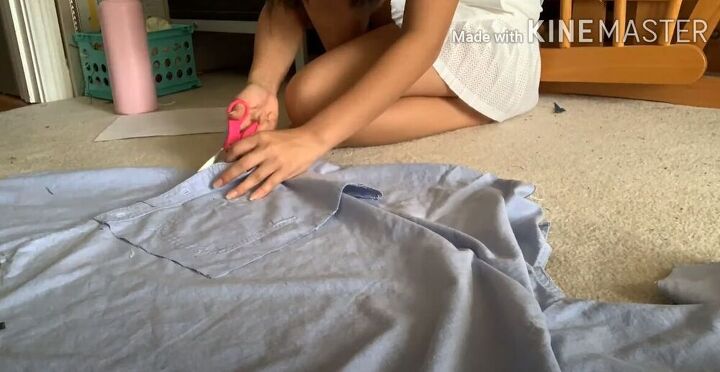
I went back to the shirt and cut all the panels I needed to make the rectangular piece.
Sew a rectangular piece
I placed the panels, right sides facing, and sewed them together. I also hemmed the top and bottom of the rectangular piece to prepare for shirring.

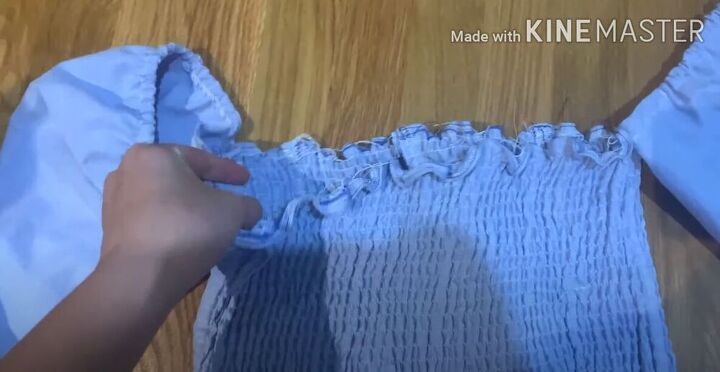
Start shirring
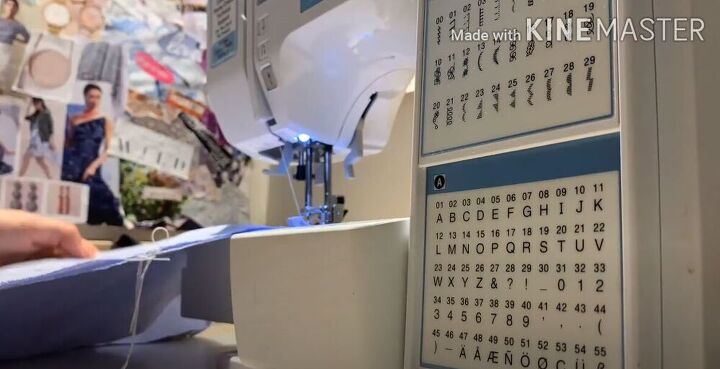
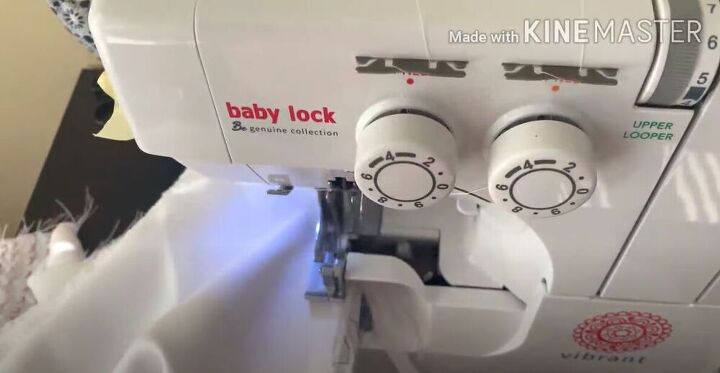
To start the shirring process, I first started by hand winding my bobbin with elastic thread. When setting up the sewing machine, I was careful to make sure to feed the thread through the tension. I left the machine on straight stitch but I increased the stitch length and tension.
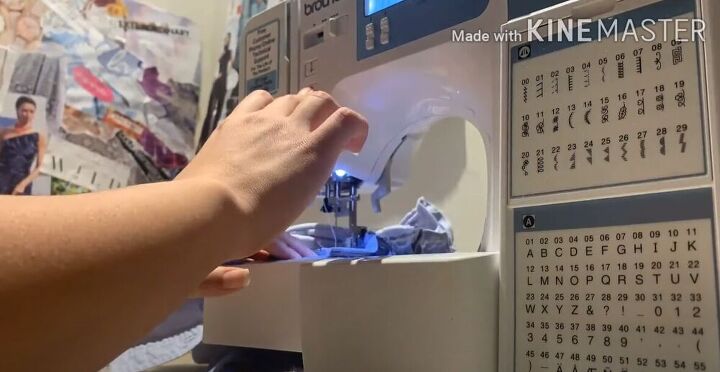
I went ahead and started shirring the shirt.
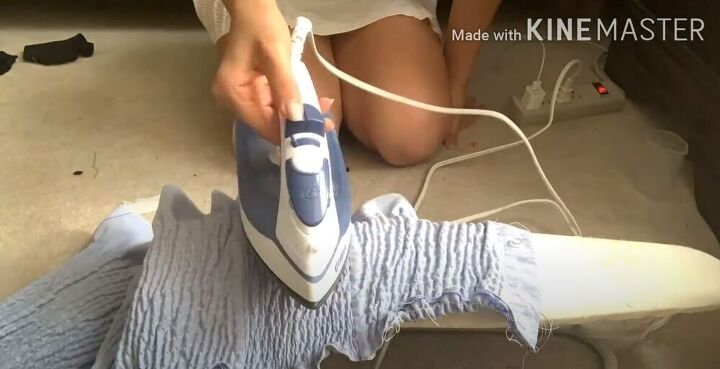
Once I had finished shirring, I took the shirt over to my iron and steamed it to really cinch it up.

Attach sleeves
Moving on to the sleeves, I took a piece of ¼ inch elastic and measured from the top of my shoulder to my armpit. I cut two identical pieces so that I would have one for each arm.
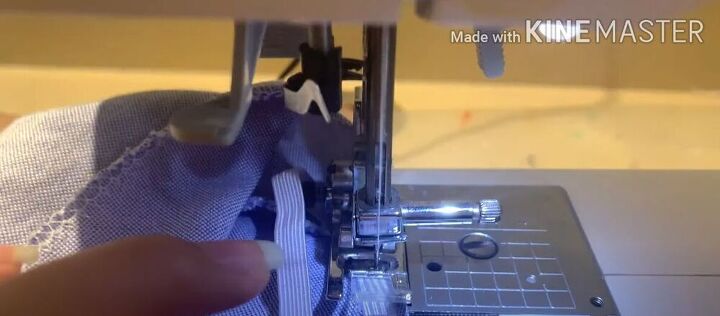
I went ahead and sewed the elastic along the top of the sleeve using a zig-zag stitch.
I then sewed on the sleeves using a straight stitch.

Next, I took the elastic and measured it around my wrist so that I could create a puff sleeve. I then used a zig-zag stitch to sew the elastic to the wrist of the sleeve. The top was finally complete!
Create a double layer of fabric
For the skirt, the first thing I did was double layer the fabric and create one big rectangular piece. The piece came to about 1.5 times the size of my waist.
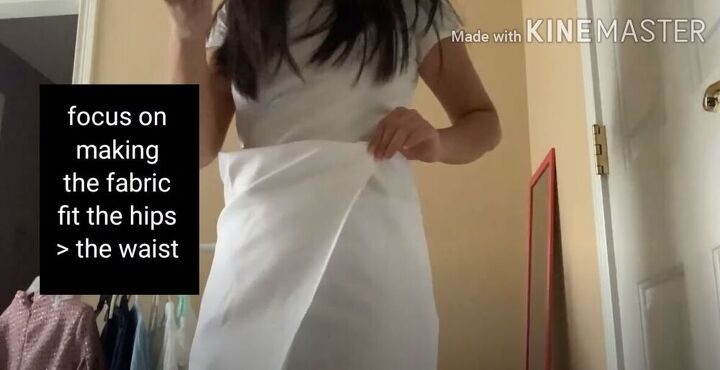
Get the right fit
I would be making a wrap skirt so when I had the right style, I pinned the fabric. I made sure that the fabric fit my hips perfectly. I knew that if there was an issue with the waist, I could just sew darts.
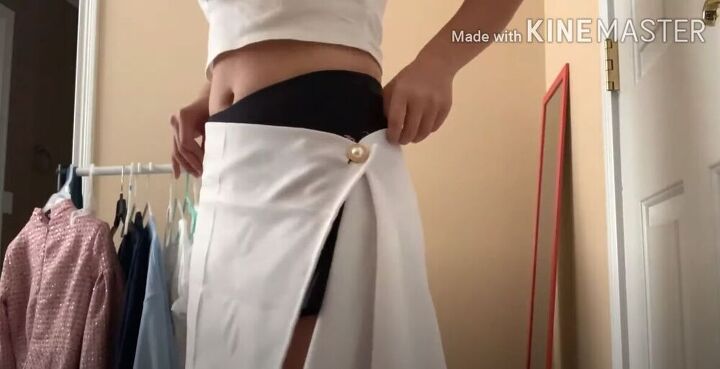
I sewed on the button and made a buttonhole. I recommend practicing on scrap fabric before sewing the actual buttonhole in place.

To make sure it would fit well at the waist, I decided to add a dart, I pinched the fabric and pinned the dart in place. I then went ahead and sewed down the dart. To finish off the skirt I used a serger but you can also use a rolled hem.


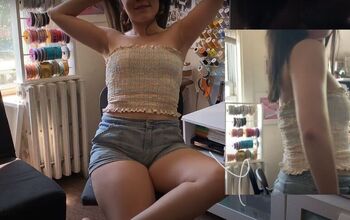
I really love this shirred top and it goes so well with my new white wrap skirt! Which of these two DIY pieces do you like best? Share in the comments below!
The author may collect a small share of sales from the links on this page.


Comments
Join the conversation
Beautiful job!
Must have missed part of the skirt... how does the wrapped part stay in place,