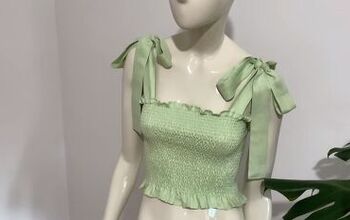
Pretty DIY Shirred Top

I had been thinking about what my next DIY project was going to be when I realized I wanted to try something new and exciting. I love ruched tops and puffy sleeves so I decided to try my luck at shirring and I am so happy with how my new top turned out! This was a great project to push me to work outside of my comfort zone.
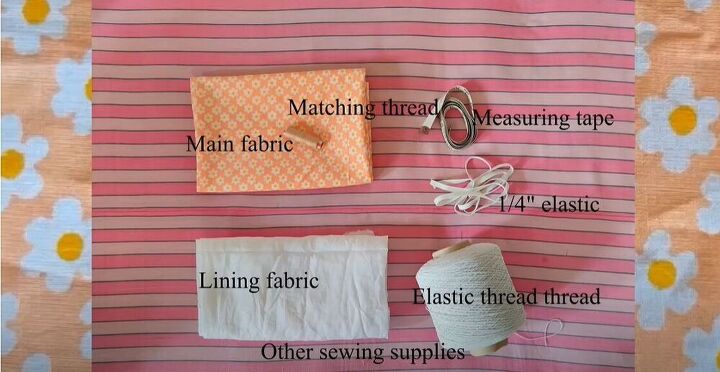
Tools and materials:
- Fabric
- Lining
- Measuring tape
- Elastic
- Elastic thread
- Pins
- Ruler
- Scissors
- Sewing machine
Take measurements
To start off, I had to take a few measurements. I measured around the widest part of my bust. I also made sure to measure the front part of the bust. Next, I measured the underbust and around my waist.
Mark the fabric
Once I had measured I knew that the widest part of my bust was 36 inches. To mark the fabric I divided this measurement by two and then added 6 inches.
For the length of my new top, I decided how long I wanted it to be and added 3 inches in case I made any mistakes while sewing.
Cut the fabric
It was then time to cut out my fabric. When it came to making the back piece I made two smaller pieces but you can make one bigger piece if you prefer.
I cut the same pieces out of the lining fabric and pressed all the fabric so that it would be easier to work with.
Attach the lining
Next, I placed the main fabric and lining fabric together and stitched them in place using a straight stitch.
To ensure that my new shirt would have a neat and professional finish, I trimmed the excess fabric from the seams.
Next, I turned my fabric right side out and topstitched it so that it would hold its shape and look neat and clean.
Shir the fabric
I laid out my fabric and marked half an inch from the top, to make an elastic channel. I then marked 7 inches which is the point where the bust would end. Next, I marked a few lines where the shirring would be. This would help me sew the shirring lines straight.
To start shirring, I loaded the bobbin with my elastic thread. Once there was enough thread, I inserted it into the bobbin case. After loading the bobbin into my sewing machine, I had elastic thread at the bottom and normal thread at the top.
I then moved on to shirring. I started shirring from the 7-inch point I had made earlier all the way to the bottom of the front piece.
Add elastic to the front
I also stitched the top channel and thread my elastic through it. Once the elastic was all the way through, I stitched the ends so that they would stay in place. I could already tell that the shirt was going to look amazing!
Shir and sew the back pieces
My front piece was finished so I focused on the two back pieces. First I shirred all the way down the back pieces. I then sewed them together using a straight stitch to form one, perfect back piece.
I trimmed the seam on the inside of the back piece and sewed a zig-zag stitch to neaten it up.
Sew the top together
I placed the front and back pieces together with their right sides facing and pinned them in place. I then sewed the side seams with a straight stitch.
Make the sleeves
For the sleeves of my new shirt, I started with two pieces of fabric each 21 by 14 inches.
I folded the fabric so that the bottom corner was folded in by 3.5 inches creating a diagonal line to the top.
I cut the piece to get the shape I needed and then sewed the seams together. I zig-zag stitched across to have a cleaner look. I also hemmed the top and bottom of each sleeve.
To create the puffy sleeve look that I really wanted for my top, I shirred three lines at the end of the sleeve.
I cut two strips of fabric long enough to go around the armholes and wide enough to fit around an elastic. I sewed on the strips to create the channels for the elastic pieces.
I placed a safety pin onto the edge of the elastic and thread it through the channel in the sleeve.
After threading the elastic all the way through, I zig-zag stitched the two ends together to secure them in place.
Attach the sleeves
I was ready to attach the sleeves! I finished off the stitches diagonally so that the sleeves would make a smooth curve on the top.
I really love my new shirred top! What would you wear with this top? Let me know in the comments!
Enjoyed the project?
Suggested materials:
- Fabric
- Lining
- Measuring tape
- Elastic
- Elastic thread
- Pins
- Ruler
- Scissors
- Sewing machine
The author may collect a small share of sales from the links on this page.


Comments
Join the conversation