How to Make a Pretty DIY Denim Top With Cute Scalloped Details

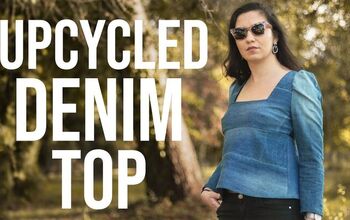
In this tutorial, I'll show you how to make a DIY denim top in a cute scalloped style. This is part of my series showing how to make a top from jeans in three different ways. This style is unique and looks really pretty, but it's also easy to do. Let's get started.
Tools and materials:
- Pair of jeans
- Scissors
- Ruler
- Lace trim
- Cut-out circle
- Marker
- Matching thread
- Needle
- Sewing machine
1. Cut the jeans
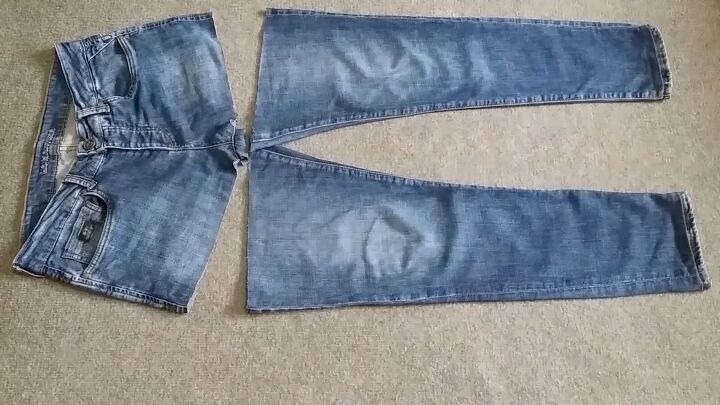
Fold your jeans in half and cut right underneath the pocket area. This is what you should have. Now, we are going to make a gorgeous DIY jean top from the first leg piece!
2. Make strips
Cut along the side seams to open the leg piece.
Then, remove the bottom hem.
Using a ruler, draw lines straight across the piece to create even-sized rectangles. I'm using the size of my ruler for the width, which is around 2 inches. I ended up with five strips, plus one thinner one that is half the width of my ruler.
Then, cut along the lines. Remove the uneven sides and the seam in the middle.
3. Create a scalloped edge
Now let’s create a scalloped edge along the strips. Take something round (I used a cut-out cardboard piece) and trace the top curve of the circle along your strips with a marker.
First, trace the top arc of the circle along the top edge, and then move onto the bottom and trace the bottom arc. Repeat this on all strips, except for one.
4. Attach the strips
Now, cut around the shape and this is what you should have. We'll use three right sides out and two on the wrong side.
Now, pin the strips together so that the curves slightly overlap. Pin on each curve.
Sew the first two strips, then repeat the process on the third, fourth, and fifth strips. You’ll see that I’m alternating between the wrong and right sides.
I’m hand-sewing mine, but you can use a sewing machine. Basically, just sew each of the curved edges together.
So, this is what we have! Pretty, right?
5. Make the straps
Remember we had one strip leftover? We'll use this for straps. Simply cut the piece in half, lengthwise.
Now, pin each short end of the strap about ⅓ from one edge of the top. Pin the other end of the strap to the end.
Do the same with the second strap, but alternate sides.
Sew each end to the top.
I’m hand-stitching right across the strap, but again, you can use your sewing machine. Sew upward toward the edge and across the top edge.
Here’s one of the finished straps.
6. Add a lace trim
To tie the back part of the DIY jean top, we’re going to use lace trim. You can also use a ribbon.
Attach the end of trim a few inches below the top edge of the DIY denim top.
Then, sew it in place. Repeat on the other side, making sure the placement of the second trim aligns with the first.
7. Hem the neckline
Now, fold over the top edge (on the wrong side), and pin down.
Sew along the folded edge. This will hide the raw edges of both the straps and lace trim and give your DIY denim top a clean finish.
DIY denim top tutorial
All you have to do is tie a bow at the back of your DIY denim top and you’re done! I told you this would be an amazing transformation. Who would ever know this gorgeous, handmade top came from the leg of your jeans?
Thanks for joining me on this beginner-friendly DIY on how to sew a cute denim top. I hope you try it out, and good luck!
Enjoyed the project?
Suggested materials:
- Pair of jeans
- Scissors
- Ruler
- Lace trim
- Cut-out circle
- Marker
- Matching thread
- Needle
- Sewing machine
The author may collect a small share of sales from the links on this page.


Comments
Join the conversation
What a cute top for someone with no boobs !
👍️ Really cute 😉