How to DIY 4 Cute and Easy Summer Tops

I've been making a lot of garments with this style of top recently so I decided to put together a collection of DIY summer tops that follow the same basic design.
They're all easy to make from simple rectangles so they're very beginner-friendly, and you can make them look very different by switching up the fabrics you use.
Tools and materials:
- Lightweight summer fabrics
- Elastic in 1/4 inch, 1/2 inch and 2 inch widths
- Double fold bias tape
- Tailor's chalk
- Ruler
- Safety pin
- Pins
- Scissors
- Sewing machine
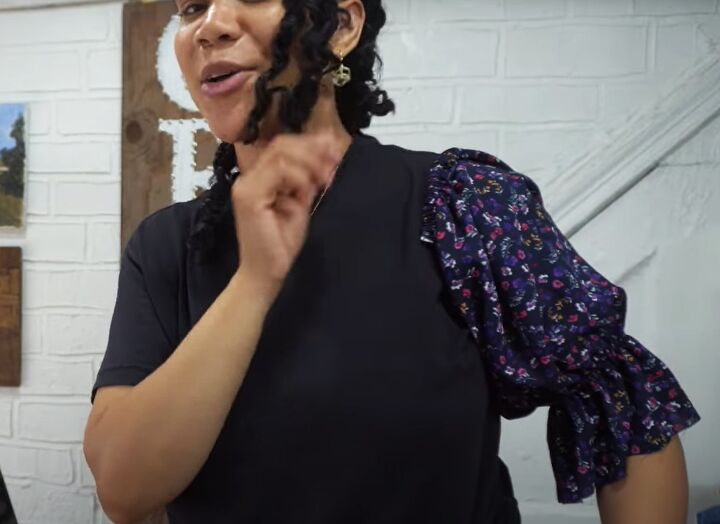
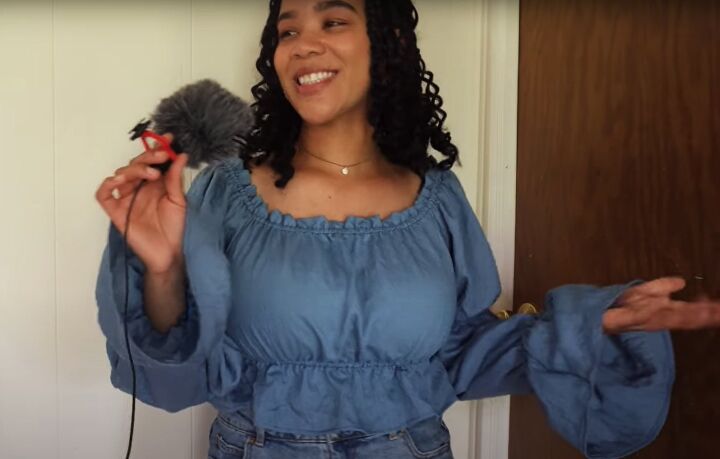
Style 1: Long sleeves
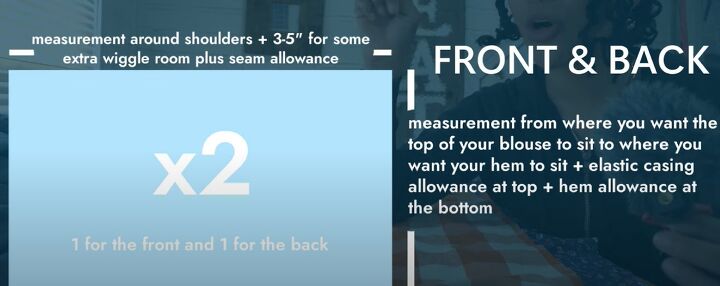
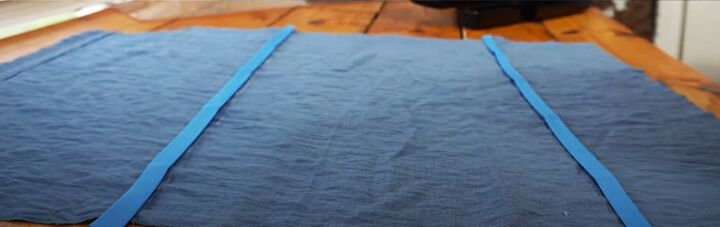
1. Rectangles
For the front and back, measure and cut your fabric as shown.
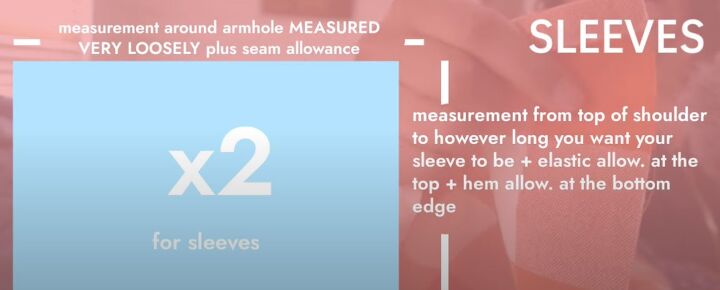
Measure yourself as shown and cut out two rectangles for the sleeves.
2. Casings
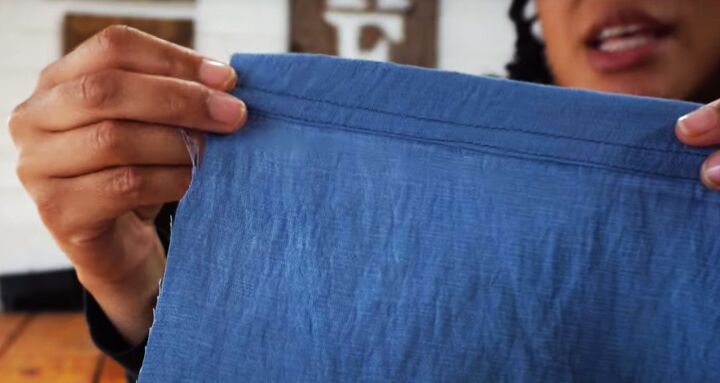
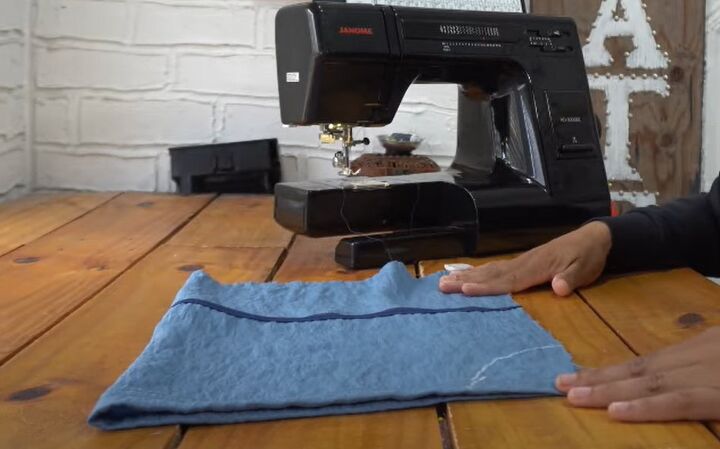
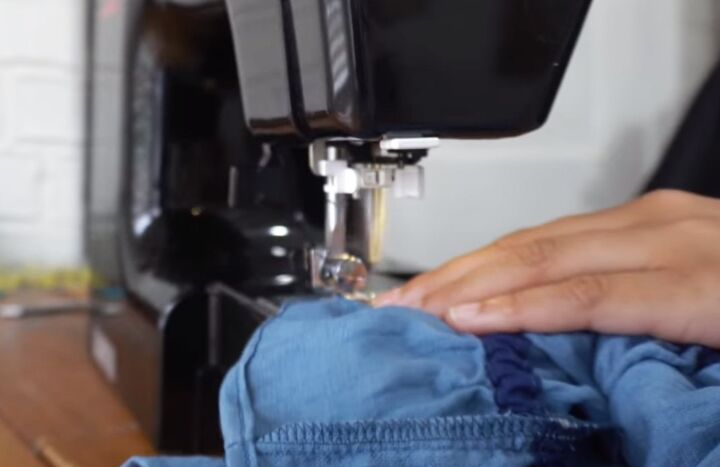
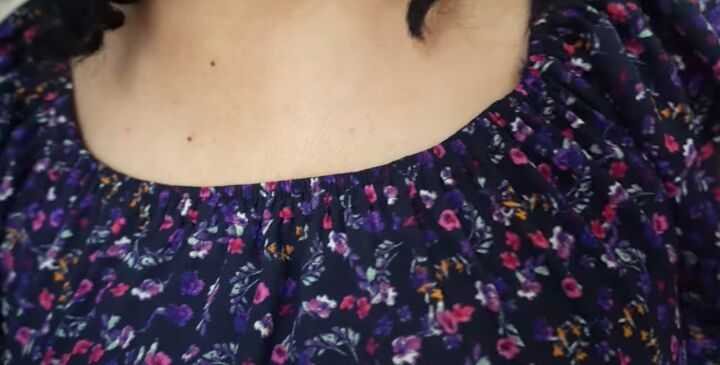
Press in the top edge of the front by a quarter inch and one inch. Sew close to the lower edge.
Stitch a second row above the first, wide enough to take your elastic.
Measure from the hem to just below your bust and draw a line.
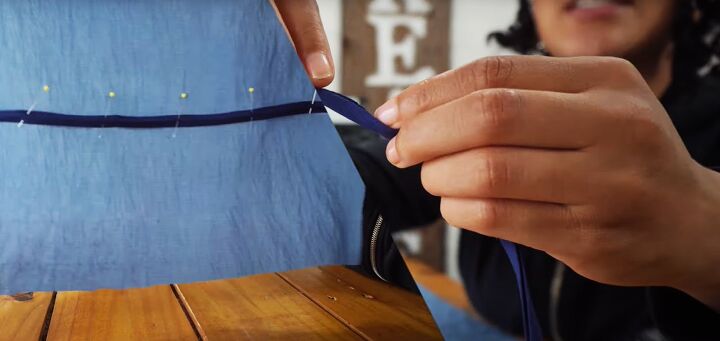
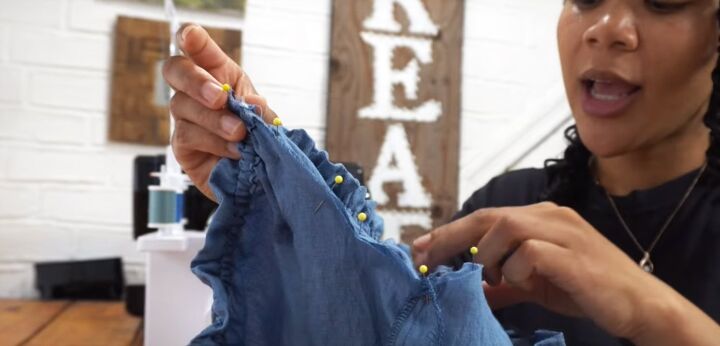
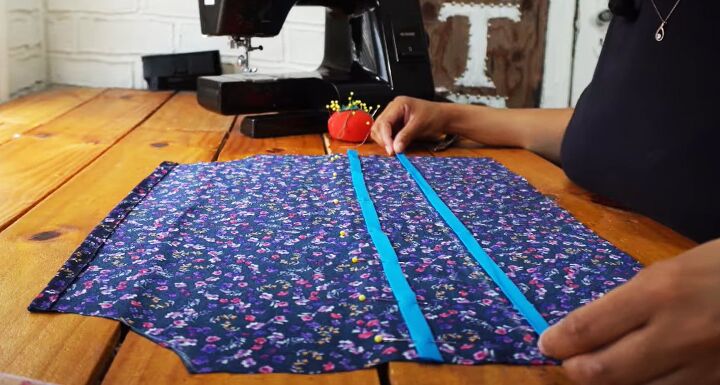
Open up the double fold bias tape and pin it to the inside of the front. Sew in place along the top and bottom edges.
Repeat for the back of the blouse.
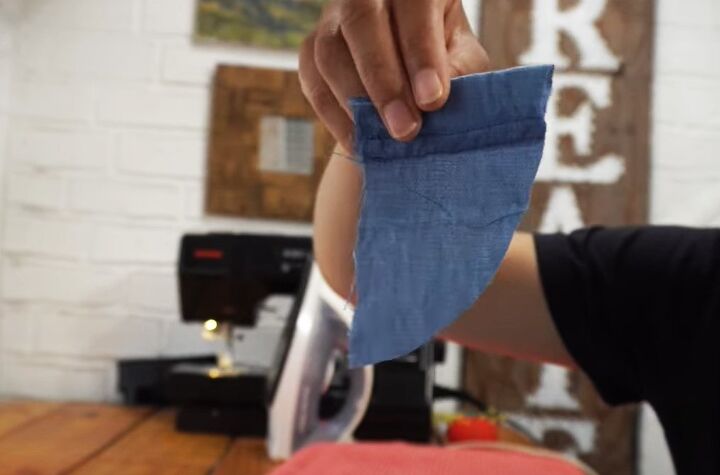
3. Armhole curve
Fold the front in half lengthways. Measure 3 inches across the top and 4 inches down the side and join the points with a curve.
Cut out the curve.
Repeat for the back.

4. Assemble back and front
Cut four pieces of 1/4 inch wide elastic to fit across your body. Thread the elastic through the top casing and the bias tape.
Sew the edges of the elastic in place.
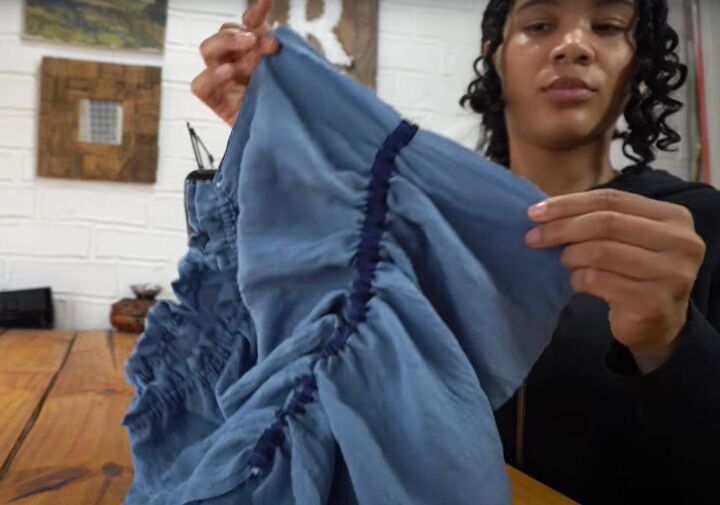
Sew the back and front together at the side seams.
5. Attach the sleeves
Create a casing at the top of each sleeve as you did for the front and back.
Fold the sleeve in half lengthways and cut out the armhole curve, using one of the pieces you cut out as a template.
Create two more bias tape casings on the sleeve, on the upper arm and at wrist level.
Cut the elastic to size, insert it into the casings and secure the ends.
Sew the sleeve seams.
Attach the sleeves to the front and back at the armhole curves.
6. Finishing
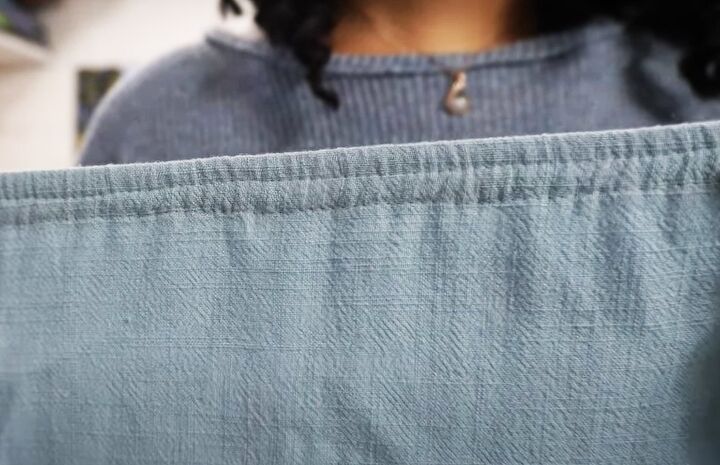
Finish all the raw edges.
Turn up hems at the bottom of the sleeves and the lower edge of the blouse.
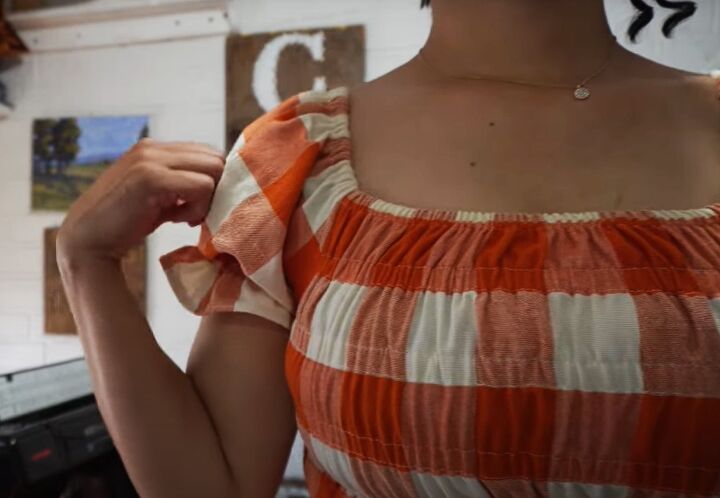
Style 2: Defined waist
1. Back and front
Measure and cut the fabric as before. This sleeve for this top ends just above the elbow.
Use 1/2 inch wide elastic for the neck edge.
Make a 3/4 inch casing at the top edge.
Cut out the armhole curve as before.
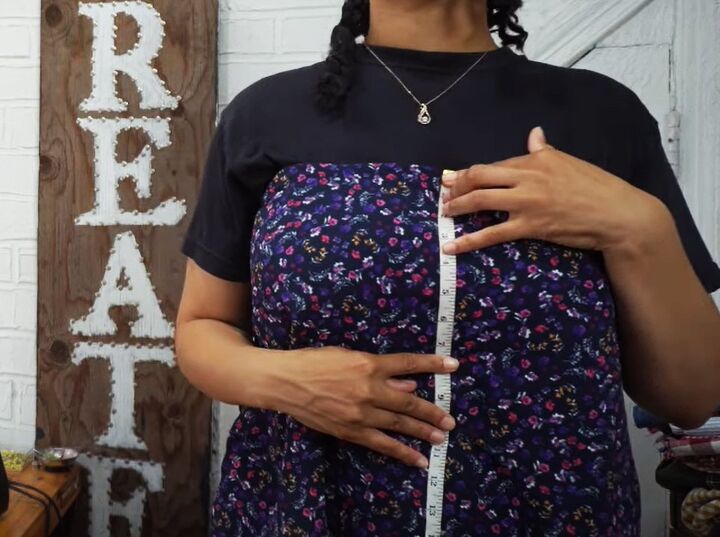
Hold the front against you and measure where you want the rows of elastic to be around waist level.
Create casings with the bias tape.
Insert the elastic into the casings and secure it at the sides.
Add a row of stitching along the center of the elastic on the top edge and shoulders. Stretch the elastic as you sew.
Repeat for the back.
Join the side seams.
2. Sleeves
Create the elastic casing at the top of the sleeve as you did on the front.
Cut the armhole curve.
Add bias tape just below bicep level for the second casing.
Insert the elastic into both casings and sew the sleeve seams.
Attach the sleeves as before.
Hem the sleeves and the blouse.
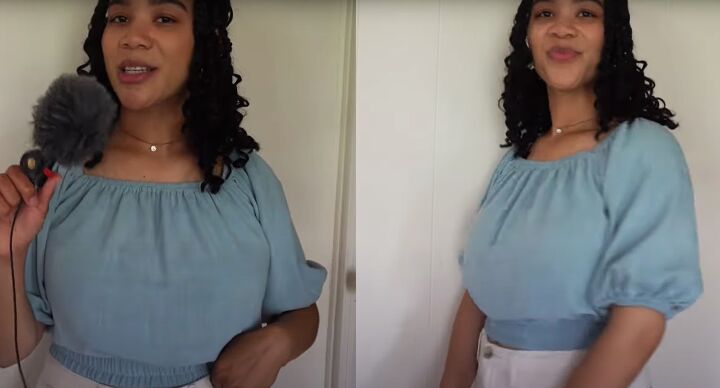
Style 3: Cropped
1. Front and back
Cut the fabric and make the fabric casing at the top edge as you did for style 2.
Cut out the armhole curves.
Insert the elastic into the top edge and sew as style 2.
Join the side seams.

2. Lower casing and sleeves
Press up the bottom edge by 1/4 inch and 2.25 inches, to fit the 2 inch wide elastic.
Sew the bottom casing in place, leaving an opening to feed in the elastic.
Insert the elastic and join the ends. Sew the opening closed.
Sew two rows of stitching about half an inch apart around the bottom casing, stretching the elastic as you sew.
Assemble the sleeves as before, making a casing at the top as you did for the bodice.
Attach the sleeves.
Make a casing at the lower edge of the sleeves to match the shoulder casing, leaving an opening.
Insert the elastic and close the ends and the opening. Stitch along the center of the elastic.
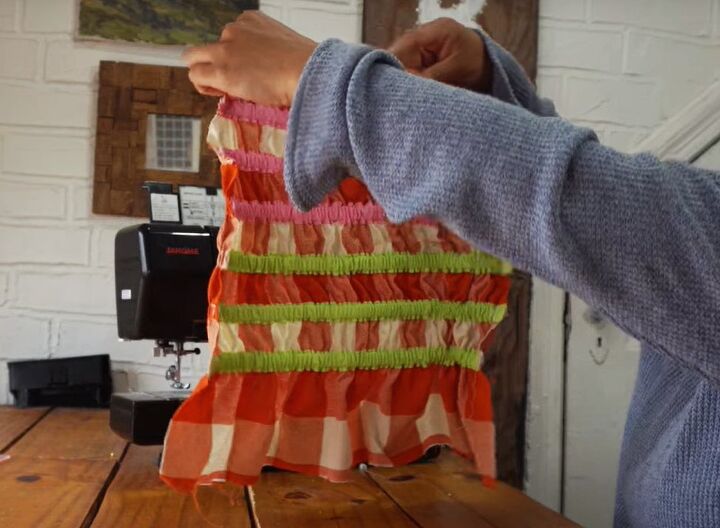
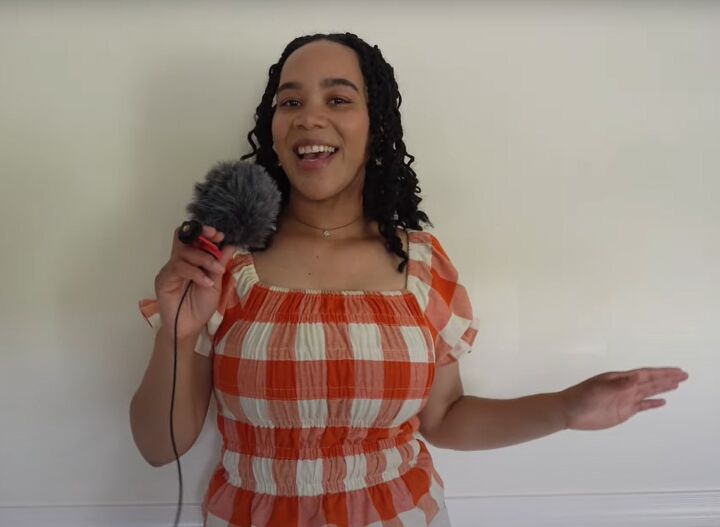
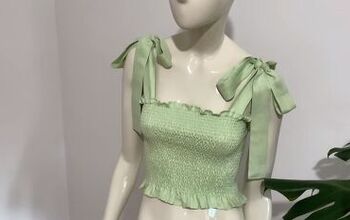
Style 4: Shirred look
1. Front and back
Make the top casing as before.
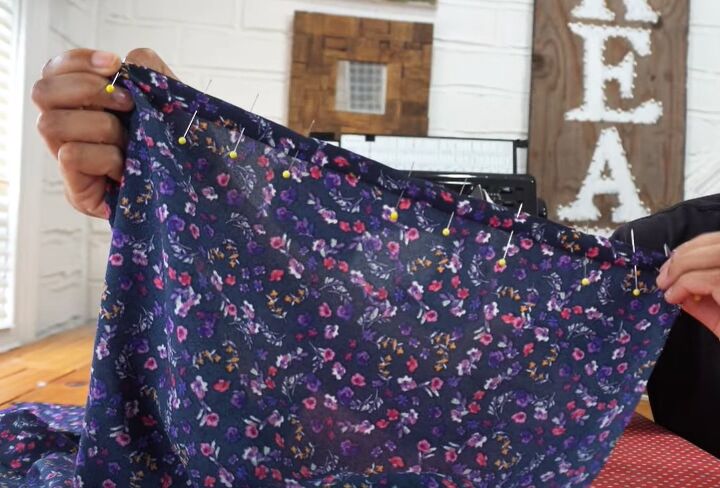
Attach six rows of bias tape between the neckline and the waist and add the elastic.
Sew the side seams.
2. Sleeves
The sleeves are a shorter version of style 2, so assemble and attach them in the same way.
Hem the sleeves and blouse.
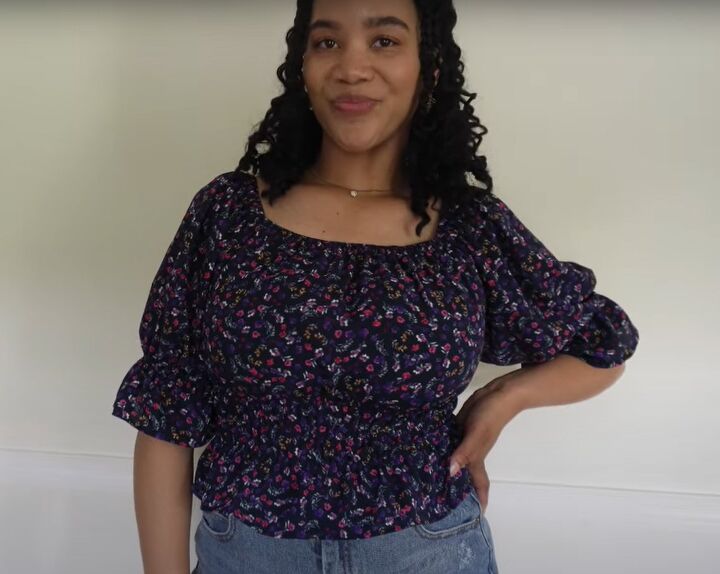
DIY summer tops
These DIY tops for summer are all minimum effort yet the results are super cute.
You can mix and match the different body and sleeve styles to make something uniquely yours.
I hope you enjoy making them and I’d love to see your results in the comments.
Next, check out my Margot Robbie Barbie Trailer-Inspired Babydoll Dress Tutorial.
The author may collect a small share of sales from the links on this page.


Comments
Join the conversation