How to Sew Paperbag-Waist Pants With Pockets Using a Free Pattern

Want to learn how to sew pants with pockets? You’ve come to the right place! I’ll be sewing these beautiful DIY paperbag pants using my own pants sewing pattern, which you can download for free.
Not only are these pants comfy, but they are also pretty versatile as you can wear them casually or formally. Let’s start!
Tools and materials:
- Paperbag pants sewing pattern
- Fabric
- Measuring tape
- Marker
- Ruler
- Sewing machine
- Matching thread
- Elastic
- Safety pin
- Iron
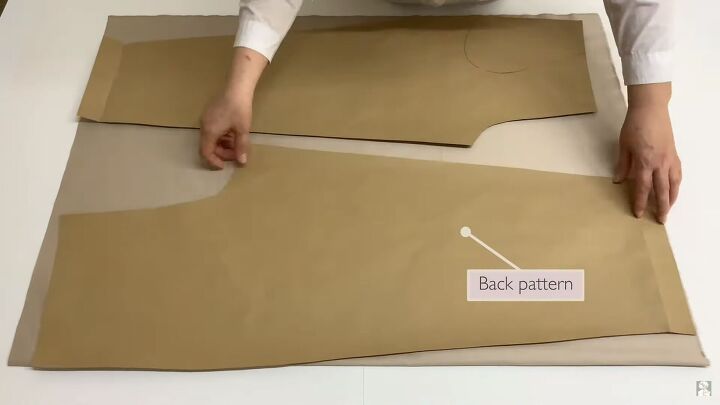
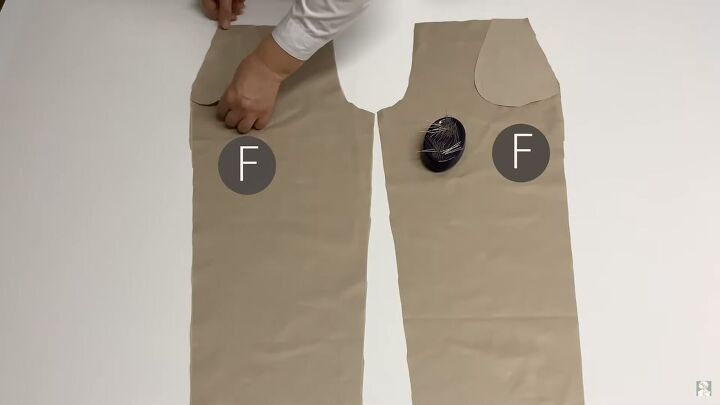
1. Cut the pattern
Fold your fabric in half and place the front and back pattern pieces opposite each other.
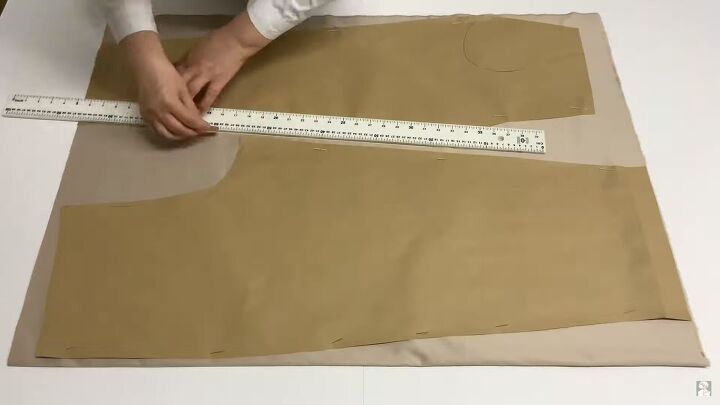
Pin the pattern to the fabric and trace around using a marker or chalk. Use a ruler to get crisp, straight lines.
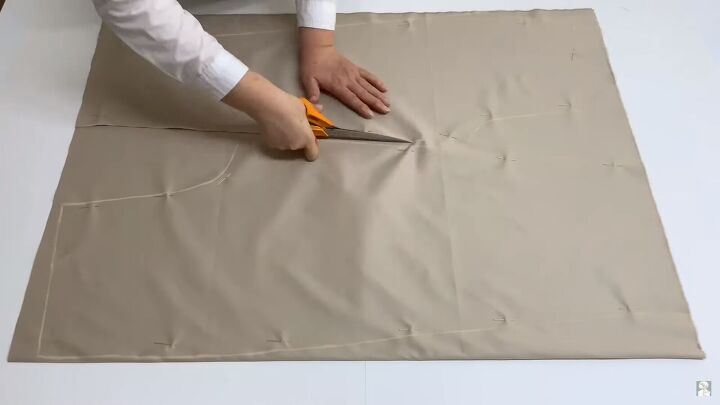
Carefully cut the fabric. Note that no pieces are on the fold; you should have four individual pieces.
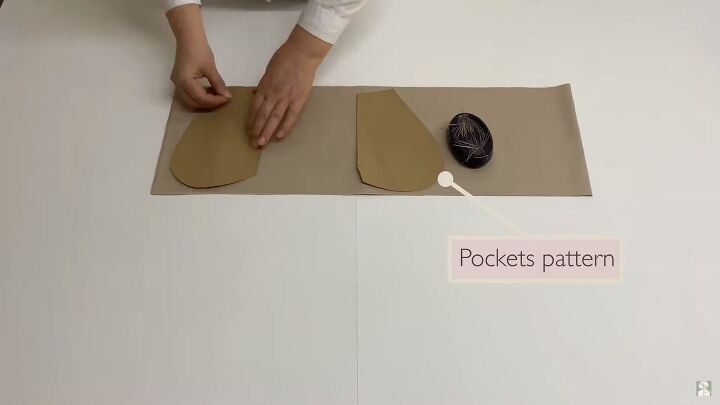
Now, repeat the same for the pockets. Fold a piece of fabric in half, pin, trace, and cut. You should have two front and two back pocket pieces.
2. Attach the pockets
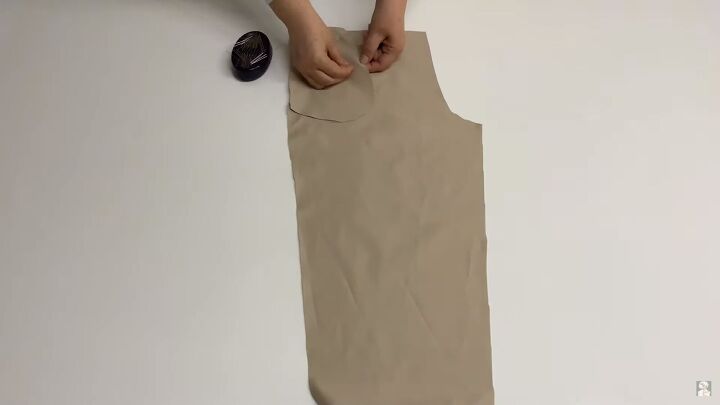
Pin the front pocket pieces to the front leg pieces. They should be located right under the top edge.
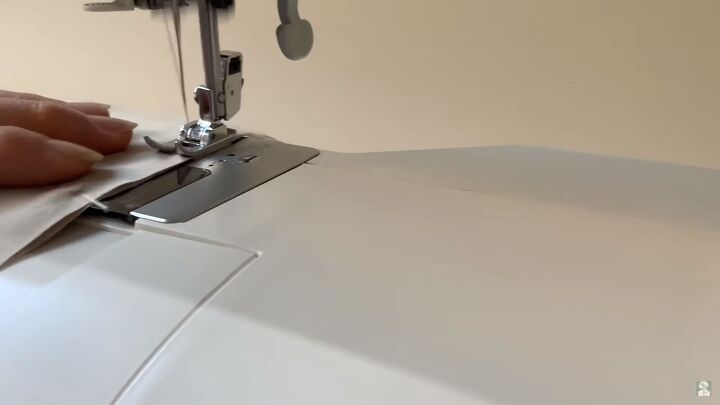
Then, sew along the pinned row to secure.
Once that’s complete, understitch the front side along the seam.
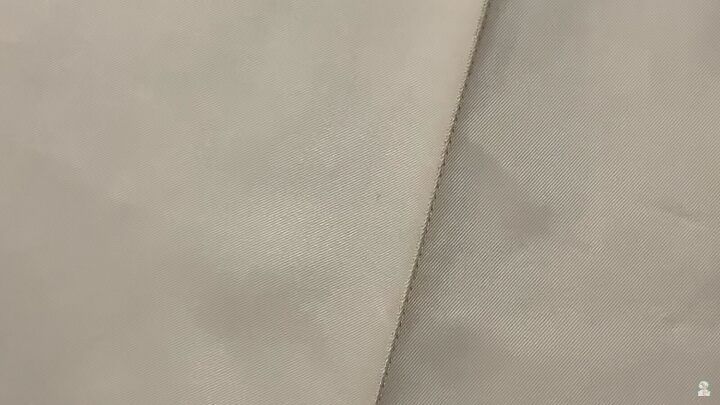
This is what it should look like.
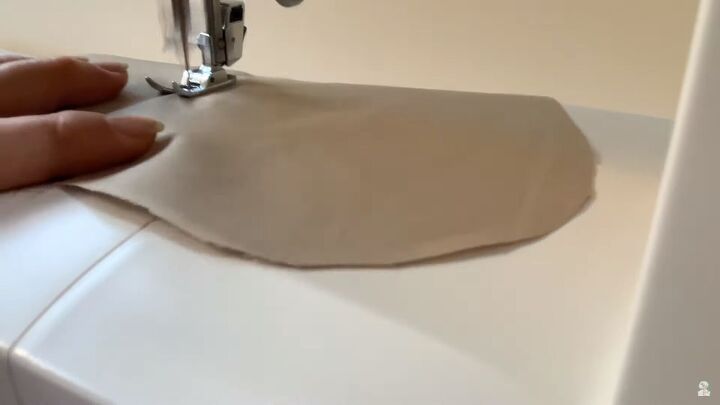
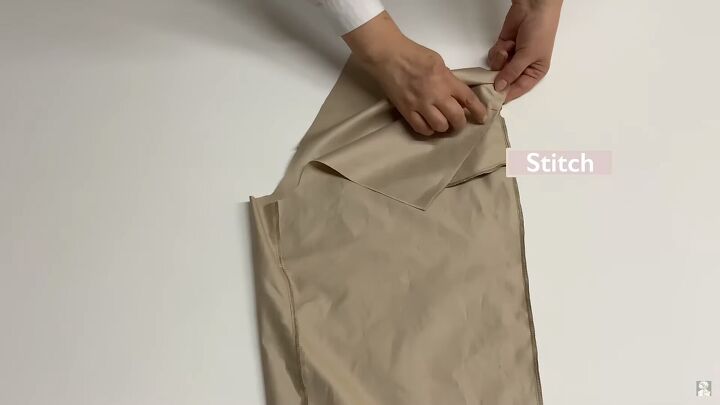
Place one of the back pocket pieces on the front sewn pocket piece and pin it around the curved edge. Then, stitch and overlock the edge.
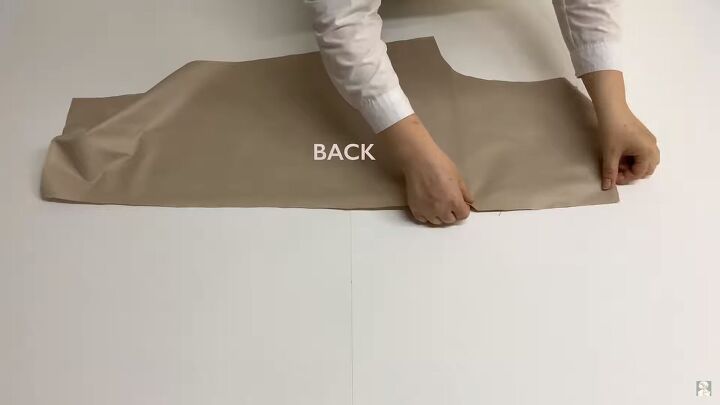
3. Attach the back piece
Once the pockets are attached, you can assemble the full leg. Lay the back piece on top of the front piece.
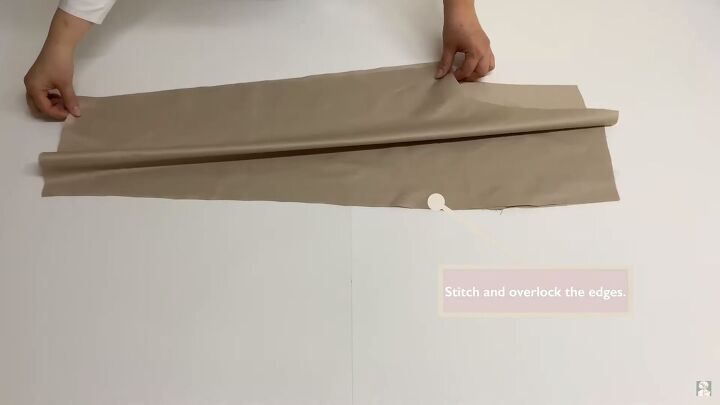
Stitch and overlock the edges of both the long side and the inner thigh. You’ll notice the back piece is slightly bigger than the front, so you’ll need to align the inner thigh edges (It will roll up the excess fabric, and that’s fine).
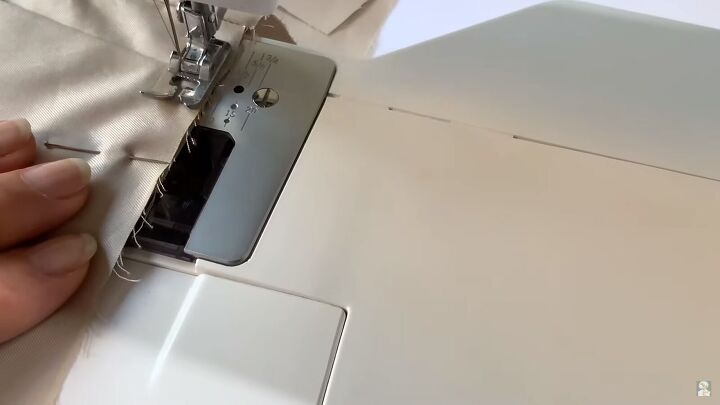
On the top edge, pin the fabric and stitch it down 0.5cm (0.19”) from the edge. Repeat for the second leg piece.

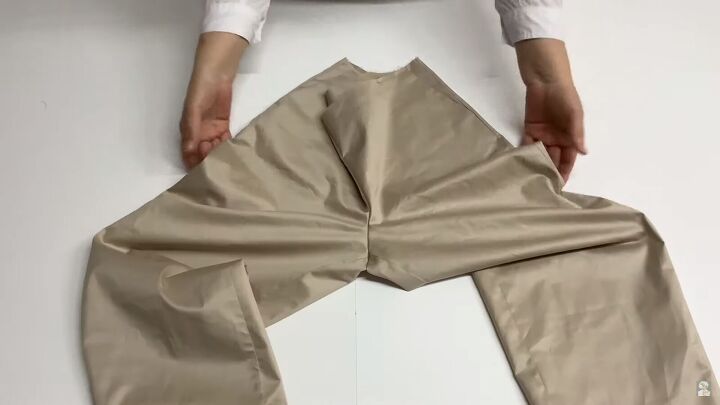
4. Assemble the DIY pants
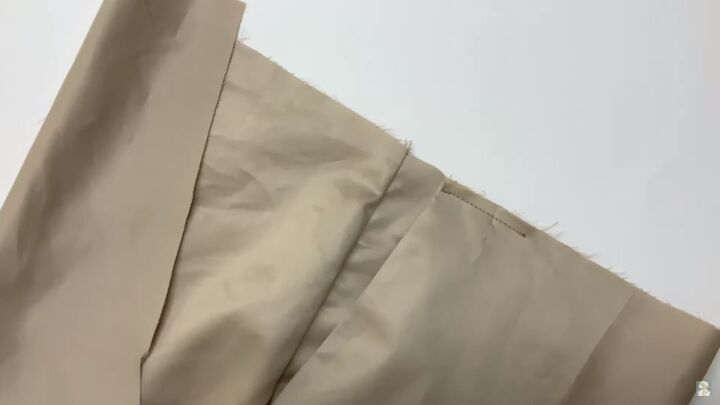
Once you have two assembled front and back leg pieces, go ahead and attach them by the crotch area. Align the seams and pin all the way along the crotch seams.
Stitch and overlock the entire crotch curve.
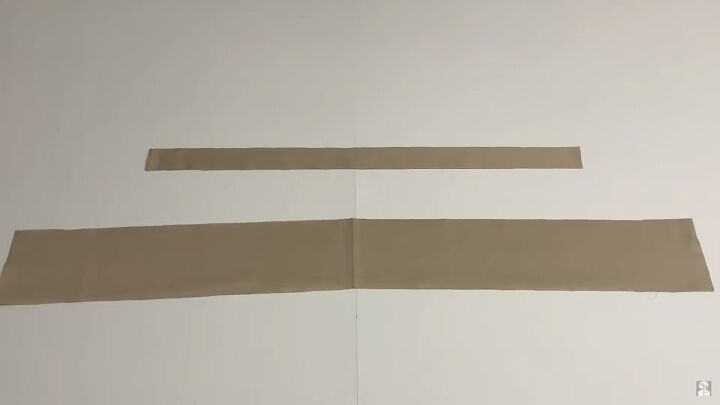
5. Make the waistband
For the waistband, you’ll need two fabric pieces that measure;
- 10cm x 100cm (3.93” x 39.37”)
- 80cm x 4cm (31.49” x 1.57”)
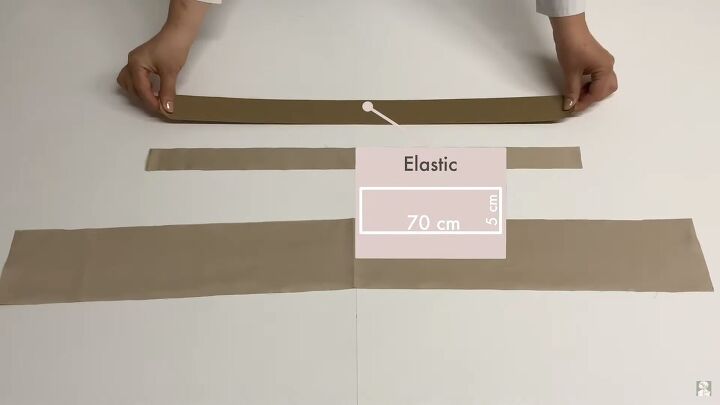
Also, a thick elastic measuring 5cm (1.96”) x the length of your waist (mine was 70cm [27.55”]).
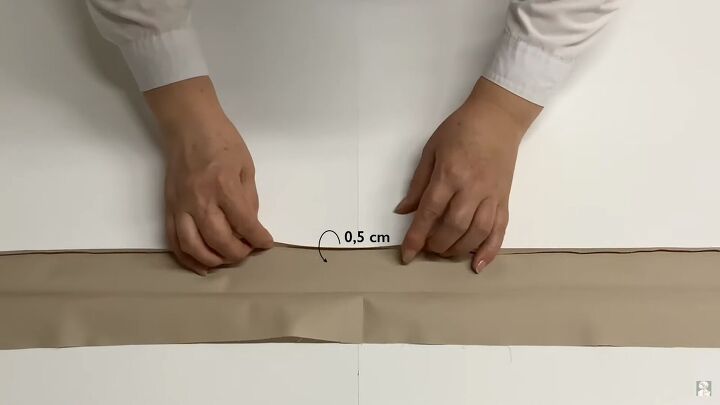
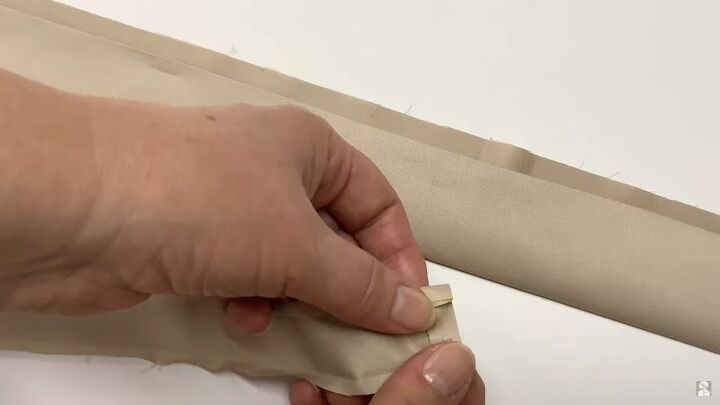
Fold one edge of the longer piece by 0.5cm (0.19”) and press inward.
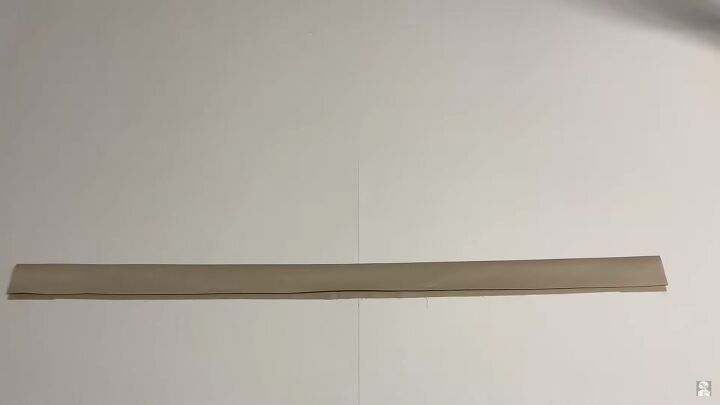
Then, fold the whole strip in half and press.
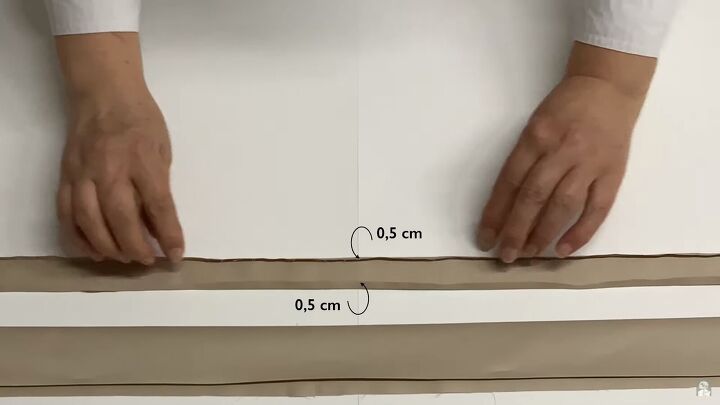
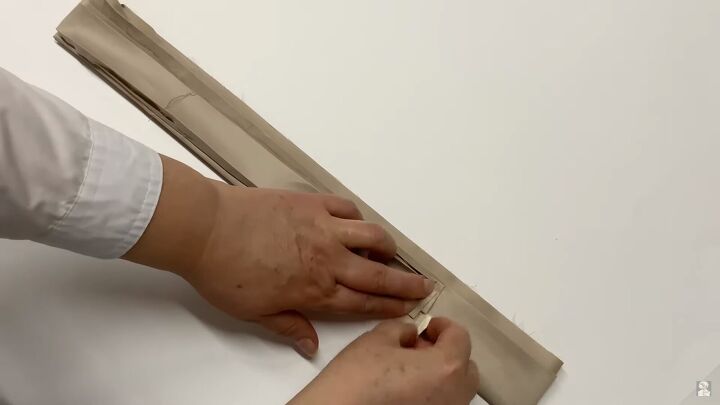
On the second strip, press both edges by 0.5cm (0.19”).
Also, fold the short ends by 0.5cm (0.19”), too.
Stitch the ends of the longer piece.
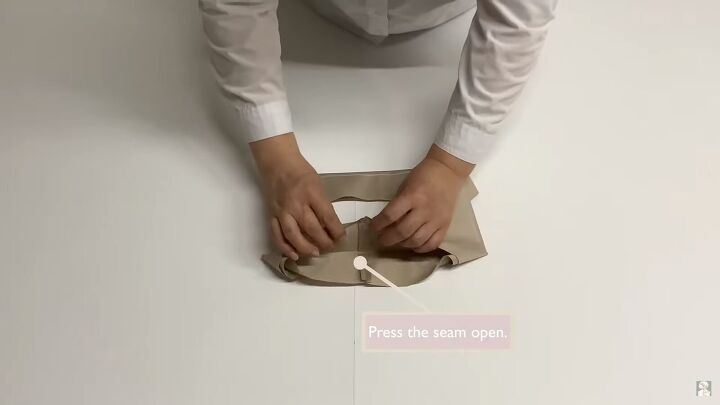
Then, press the seams.
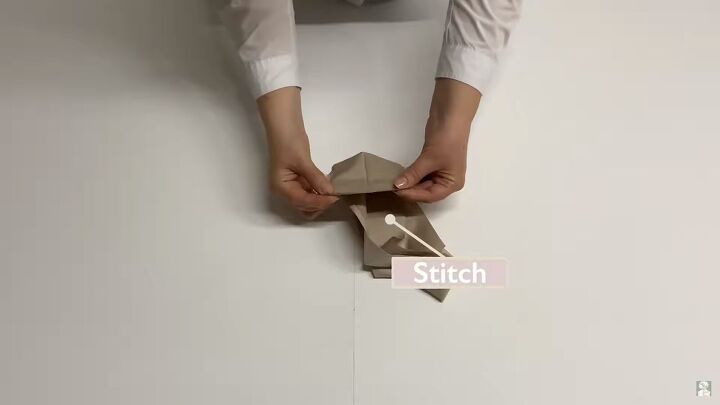
Fold the shorter strip in half and place it on the waistband. Mark where it ends, as shown.


Pin the ends and stitch the sides onto the waistband.
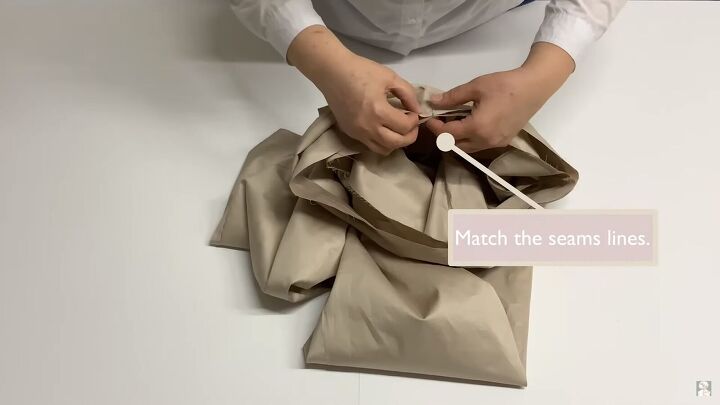
6. Attach the waistband
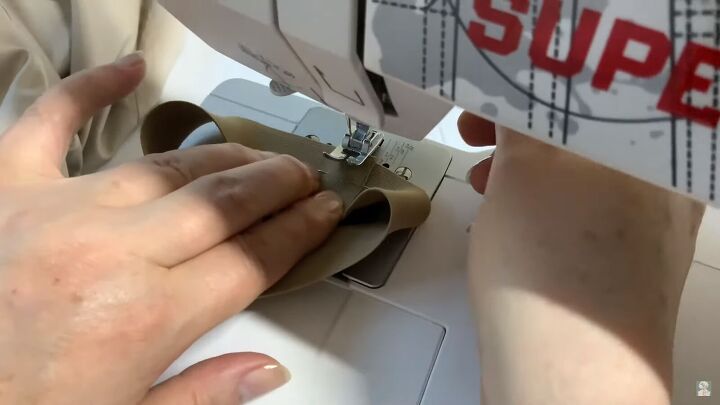
Align the seam lines and pin the waistband all around the top edge of the pants. Then, stitch to secure.
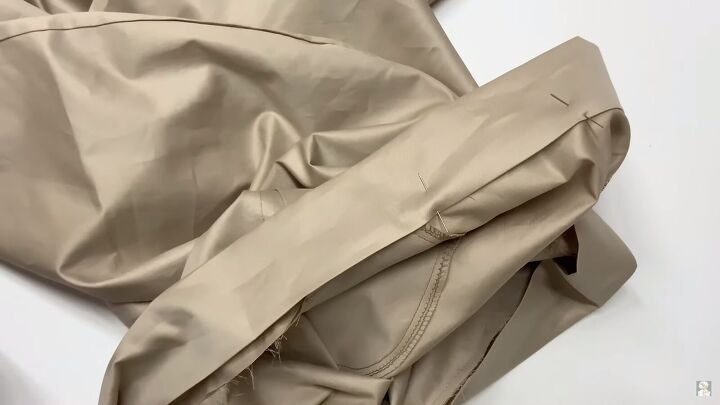
Now, pin the other edge onto the newly stitched seamline.
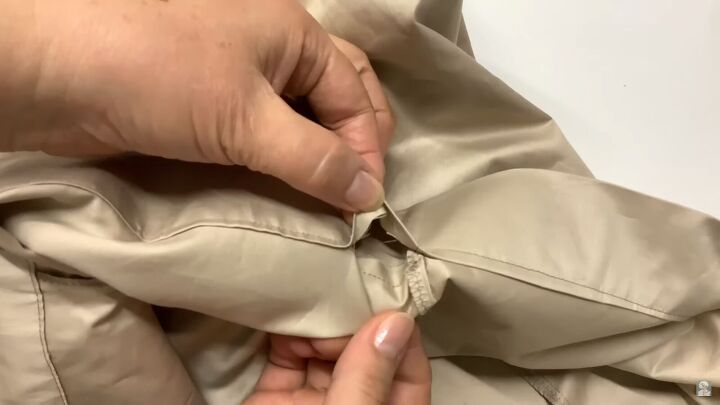
Sew on the right side of the fabric, leaving a 2cm (0.78”) gap at the end of the stitch.
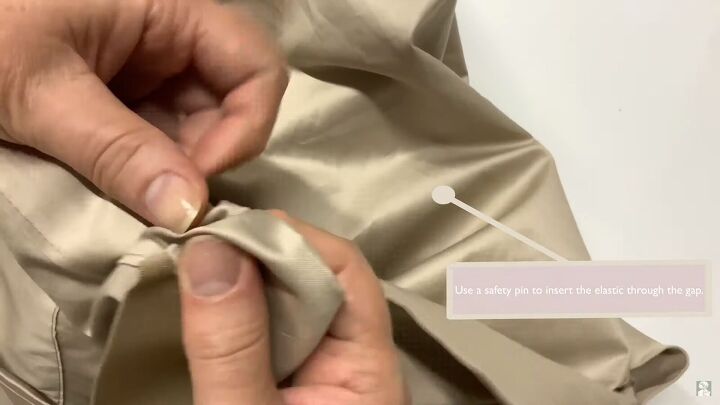
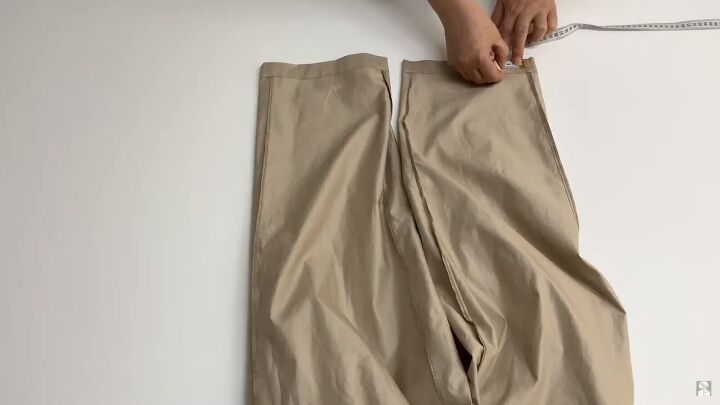
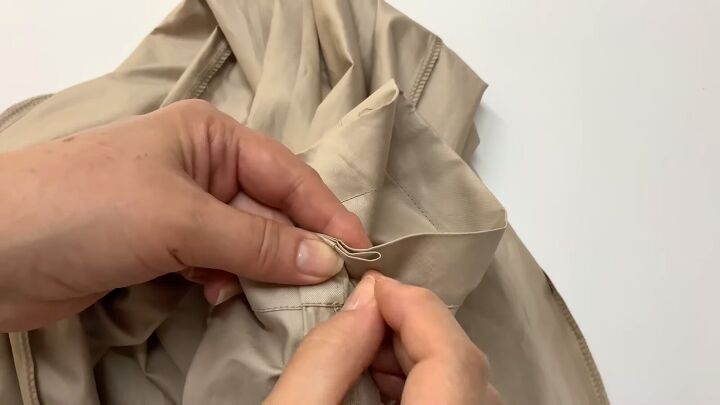
Insert the elastic using a safety pin and stitch the ends closed.
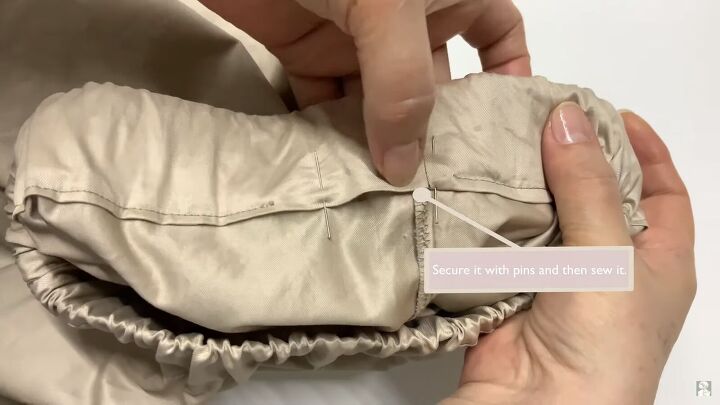
Secure the gap with pins and sew.
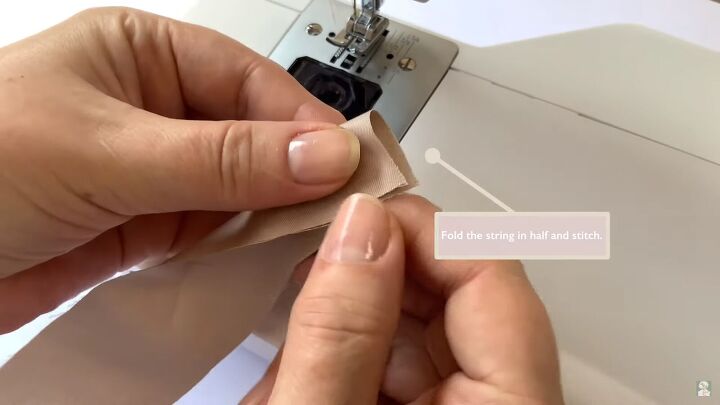
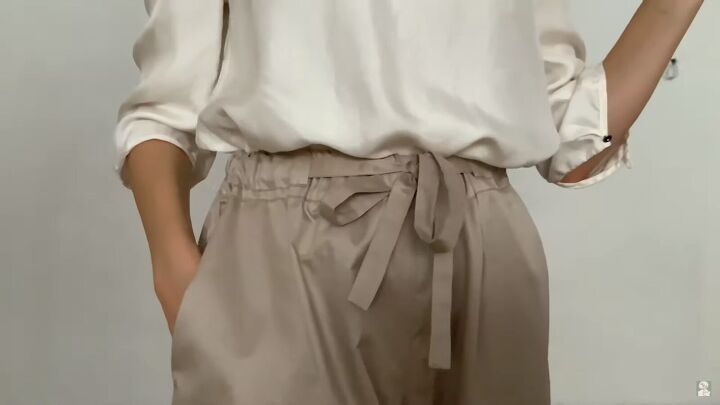
7. Make the waist tie
Take a long strip of fabric, fold it in half, and sew the edges.
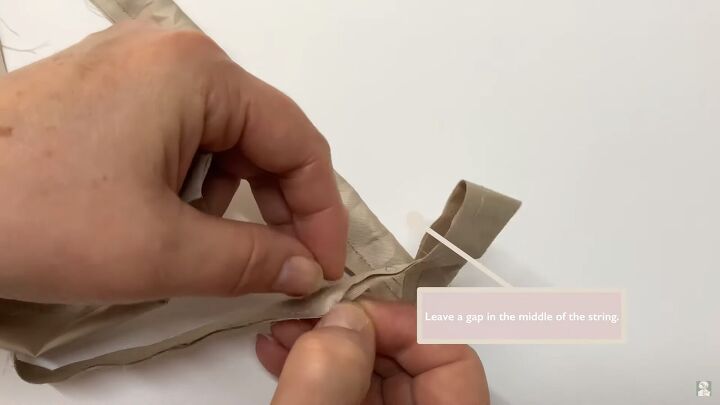
Leave a gap in the middle.
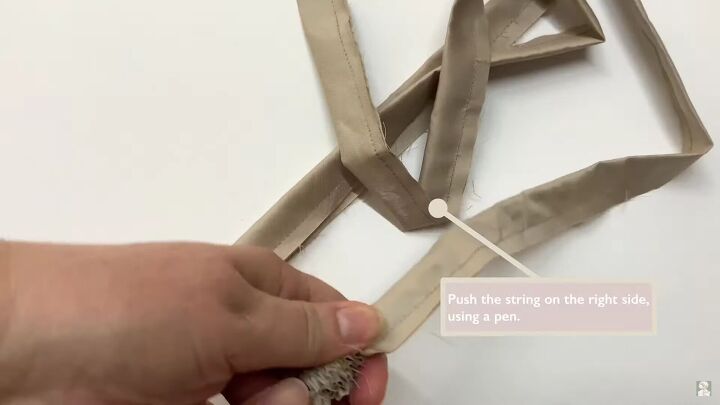
Turn it to the right side with the help of a pen.
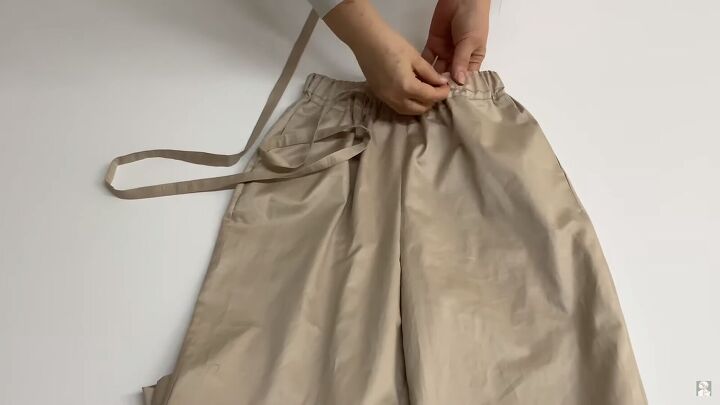
Insert the strip inside the waistband’s tunnel using a safety pin.
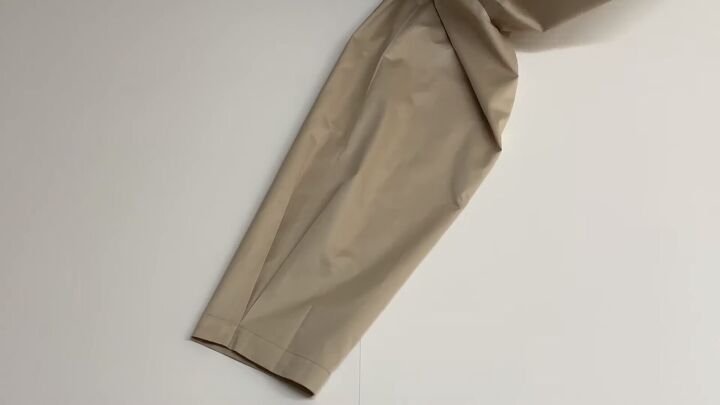
8. Hem the pants
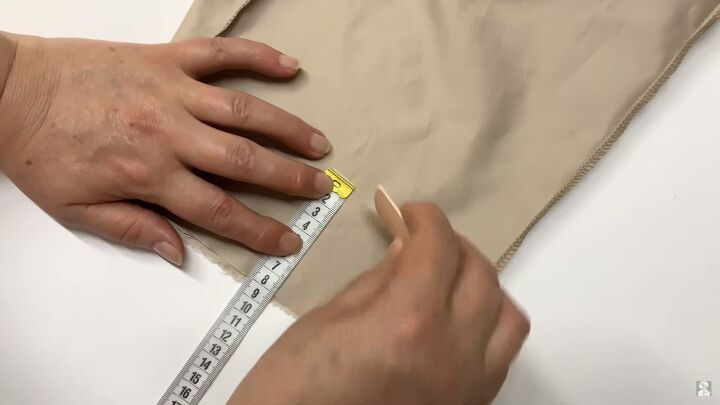
Mark 8cm (3.14”) from the bottom of each leg.
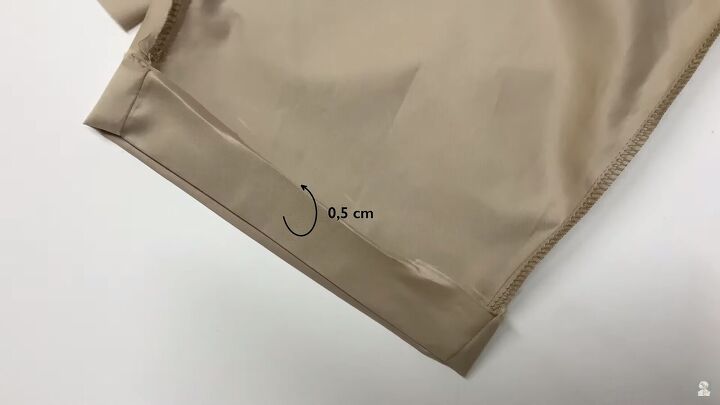
Fold the edge up and tuck 0.5cm (0.19”) inside the raw edge.
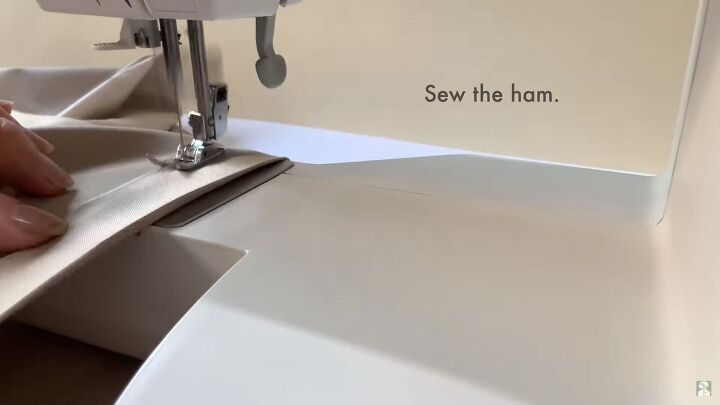
Then, sew the hem.
Mark 4cm (1.57”) from the side seam of each leg.
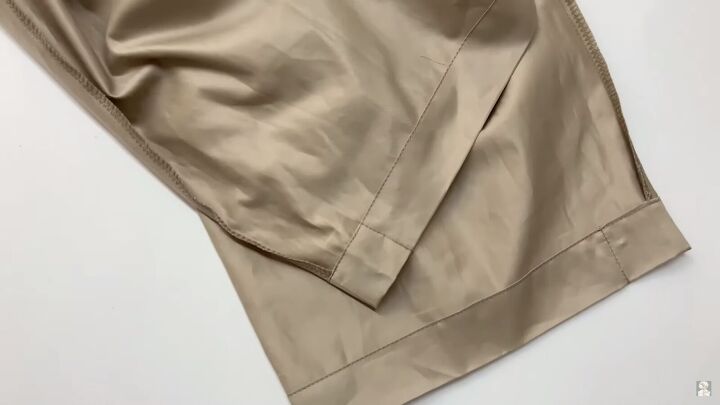
Then, stitch this mark.
Fold the excess seam so that it forms to mini fold on either end and pin.
Sew down the seam to secure. This is just like a dart.
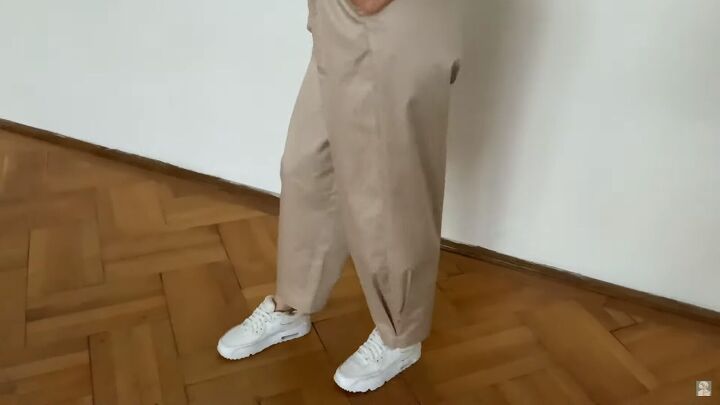
How to sew pants with pockets
And that’s how to make pants with a paperbag waist design! Thank you for joining me in this step-by-step guide. Let me know if you like the style of these DIY pants in the comments below. Good luck!
The author may collect a small share of sales from the links on this page.


Comments
Join the conversation