How to Sew Women’s Low Back T-shirt BALLERINA - Picolly.com

I added the pattern for women's T-shirt BALLERINA (sizes 32–60) to my online store and in today's article, I will show you how to sew it.
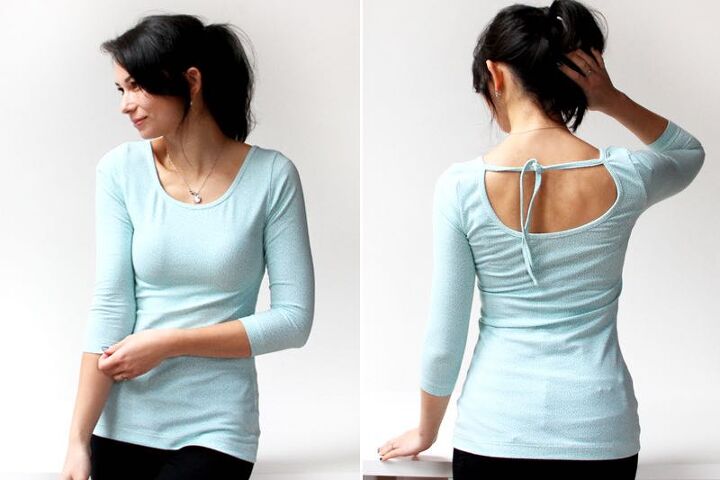
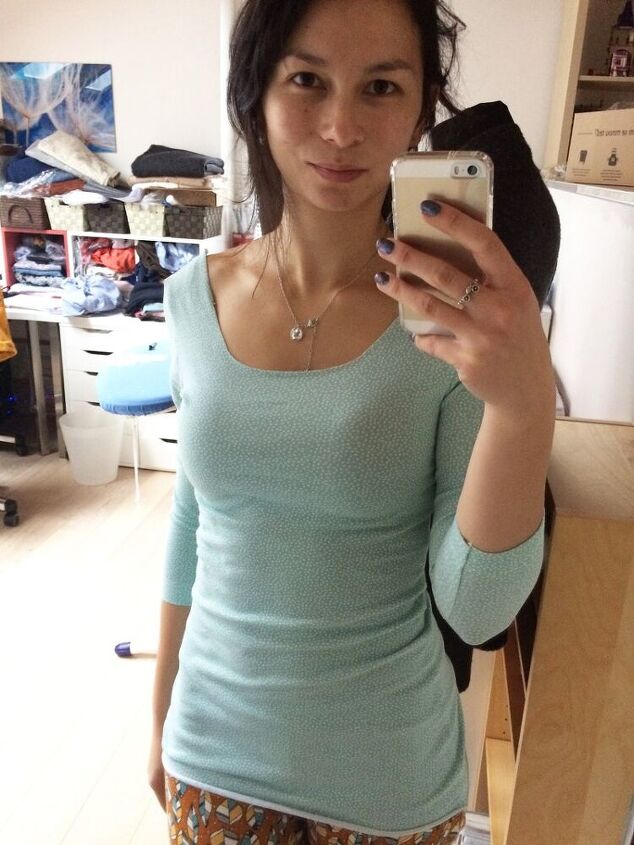
I just love the low back and open back T-shirts. Even if you use fabrics cheerful colors, they look very sexy, but not overly sexy, like T-shirts with a classic deep neckline in the front. I already have several of these T-shirts in my wardrobe.
You can get the pattern for women’s T-shirt BALLERINA here:
Women’s low back T-shirt BALLERINA
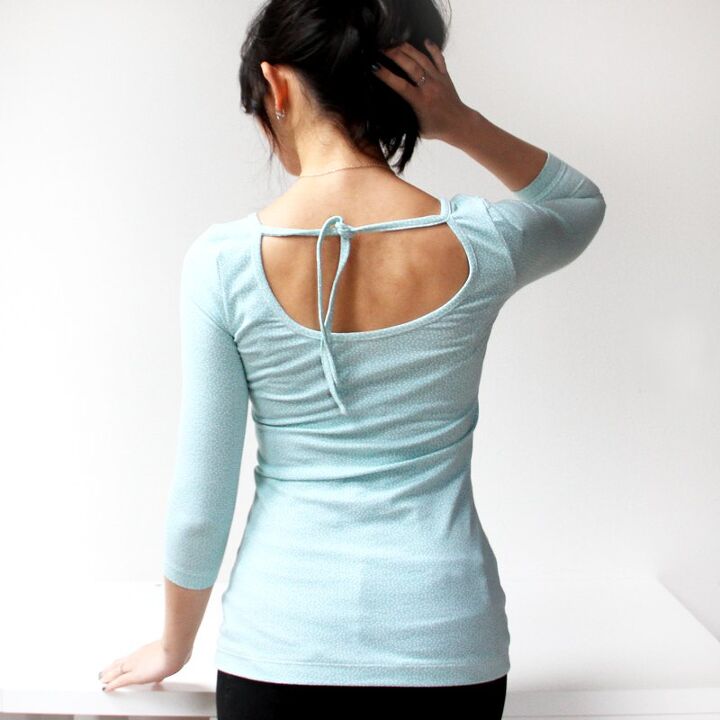
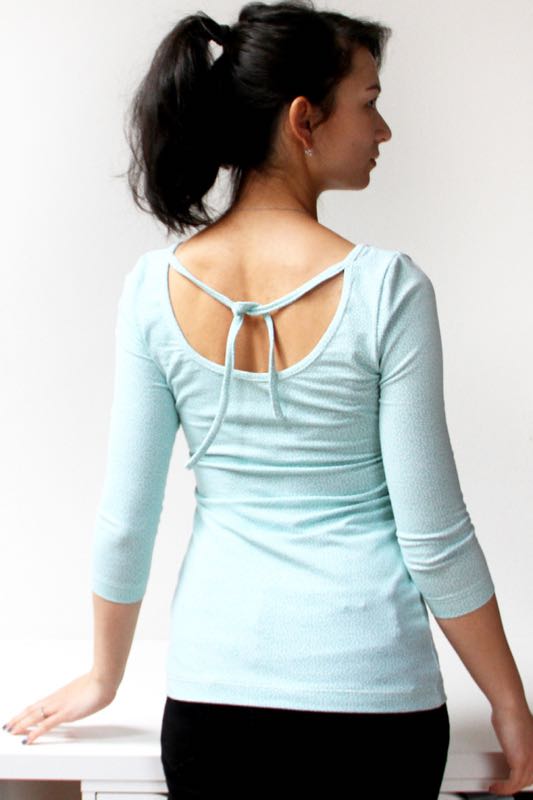
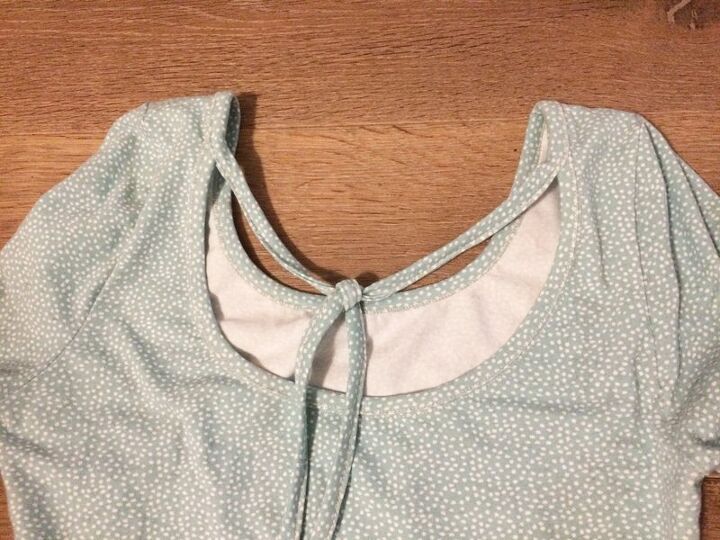
There are ties at the back so that the shirt does not slip off your shoulders. You can tighten or loosen the ties as needed. This is useful, for example, if you want to hide the straps of your bra.
This simple T-shirt is close-fitting and it has three-quarter sleeves.
I recommend using cotton knits with elastane.
I bought this menthol knit with white dots at Unuodesign.cz:
(for 140 cm / 55" wide fabric)
- Sizes 32–38: 1 m / 40"
- Sizes 40–46: 1.5 m / 60"
- Sizes 48–60: 2 m / 80"
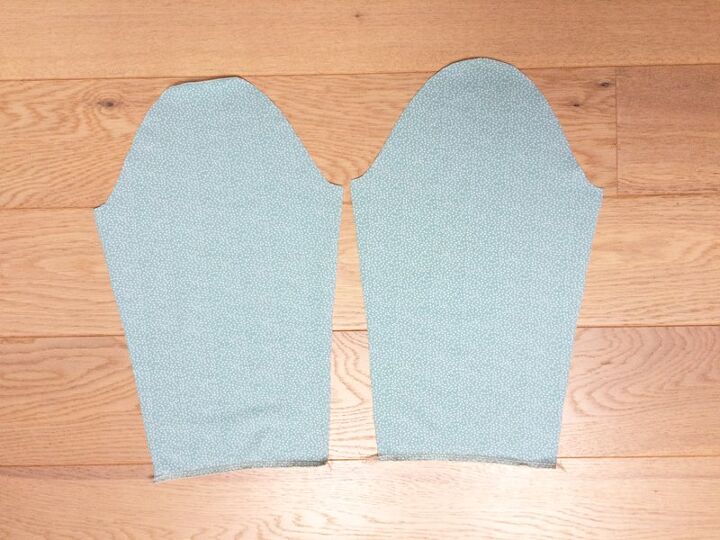
Choose the right size of the pattern and prepare the paper pieces.
Prepare:
- 2x sleeve piece (cut on the fold)
- 1x front piece (cut on the fold)
- 1x back piece (cut on the fold)
You will also need a strip of fabric from which you will later make ties - cut from selvage to selvage and make your strip about 10 cm / 4" wide.
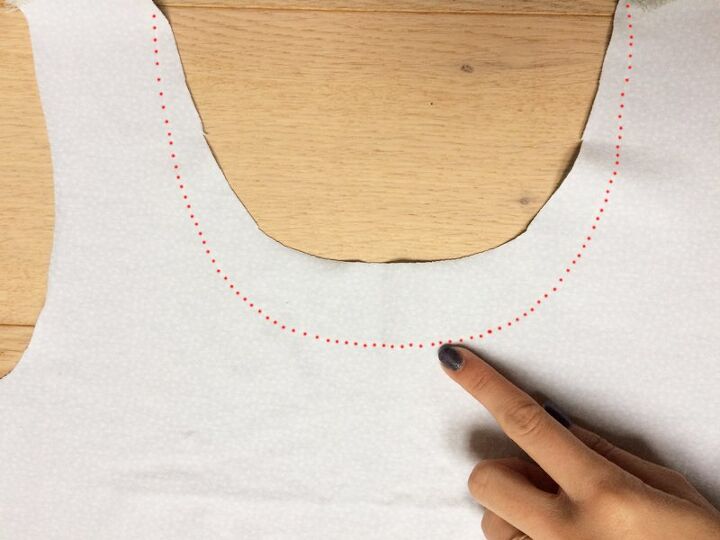
If you feel that the front part of the neckline is too deep, you can cut the front piece with a shallower neckline and trace the original shape of the neckline on your fabric (red dotted line in the photo below), and possibly enlarge it later.
Sewing
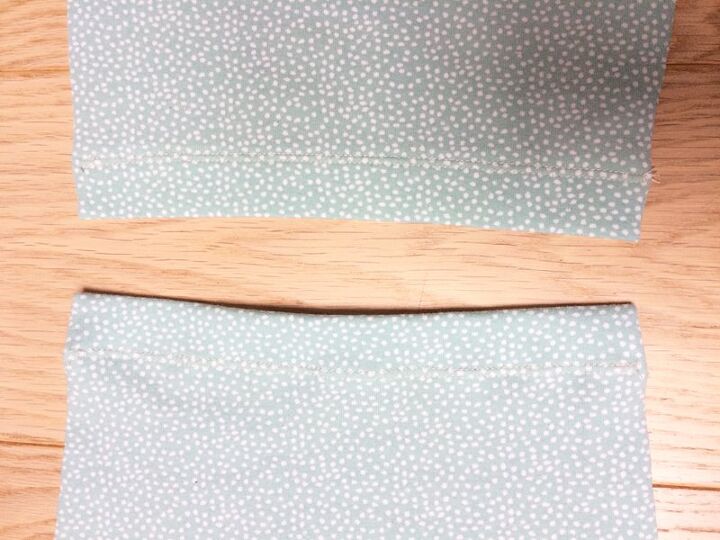
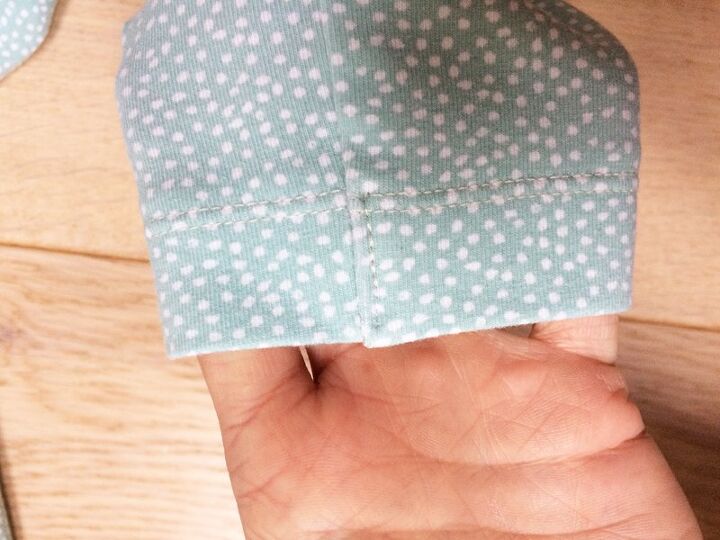
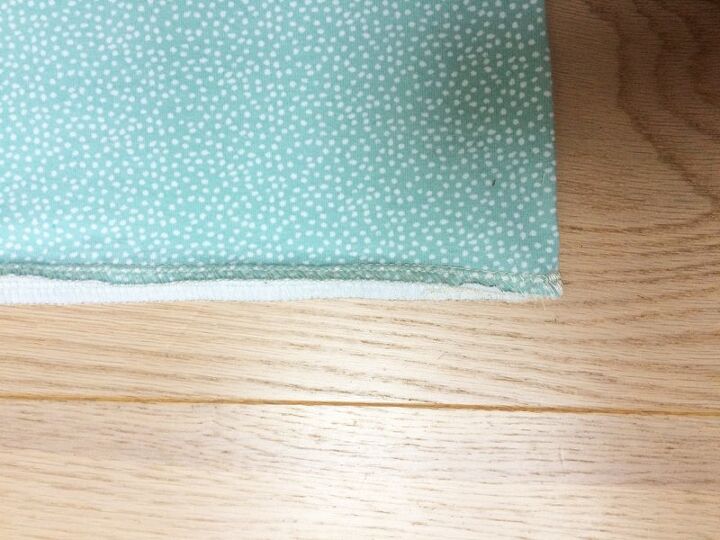
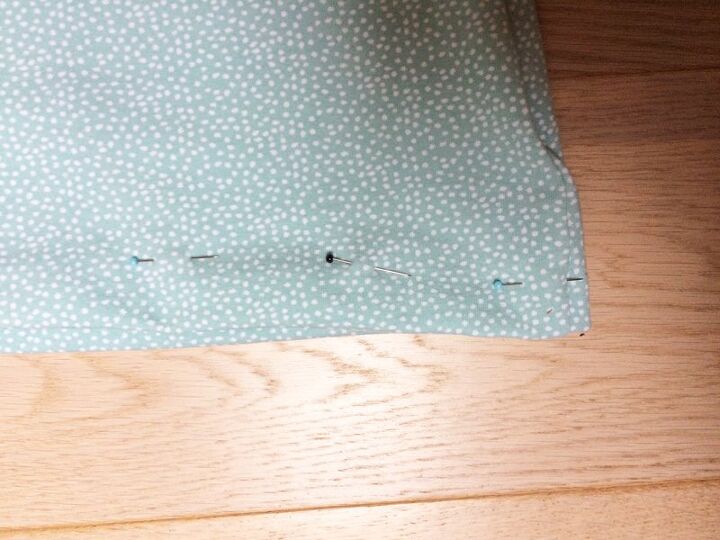
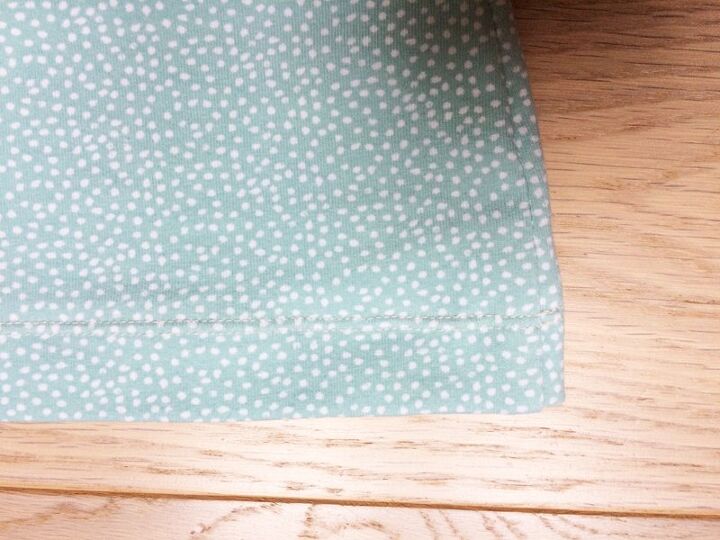
Clean bottom edges of both sleeve pieces (you can use your overlock machine, or a zigzag stitch, for example).
Fold the edges 3 cm / 1.18” to the reverse side and topstitch them. Use some kind of elastic stitch (or twin needle, as shown below).
I recommend steaming and ironing both hems, they will straighten out.
Sew both shoulder seams.
I recommend marking the tops of both sleeve caps (with pins or small notches).
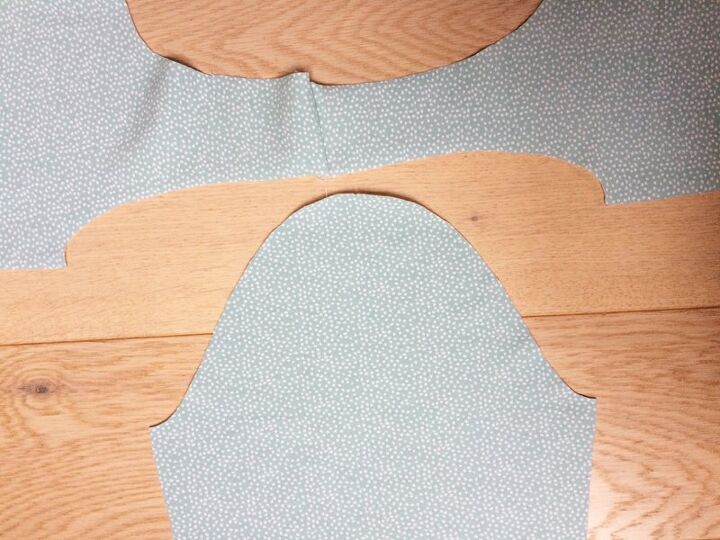
Pin both sleeves to open armscyes (align marks with shoulder seams). Sew the sleeves in flat.
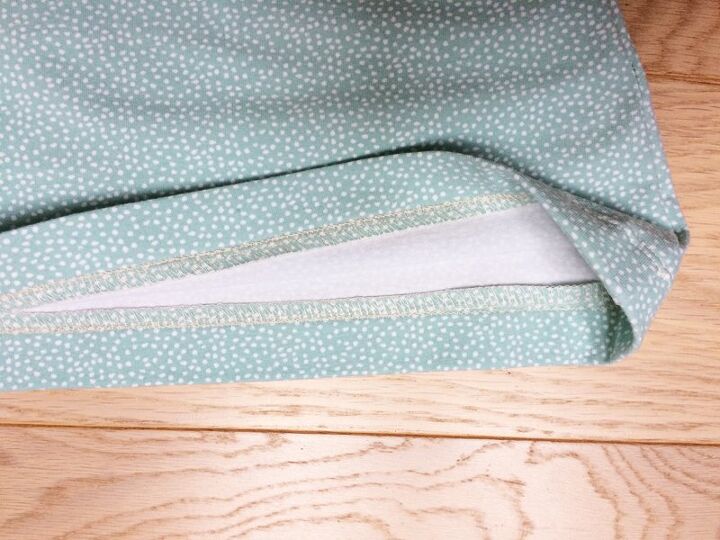
Turn the T-shirt inside out and pin both sleeve seams & side seams.

Fold the seam allowances of the armscye seam in the opposite directions (to make this part of the seam as flat as possible). Sew the sleeve seam & side seam in one go. Work on the other side of your T-shirt in the same way.
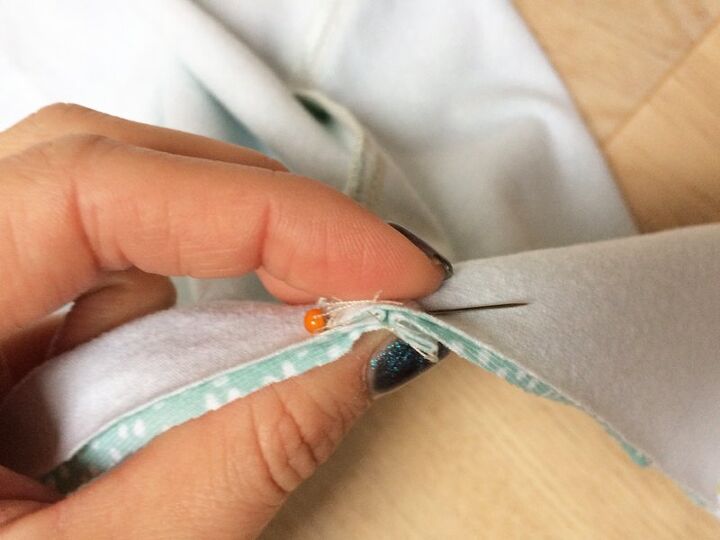
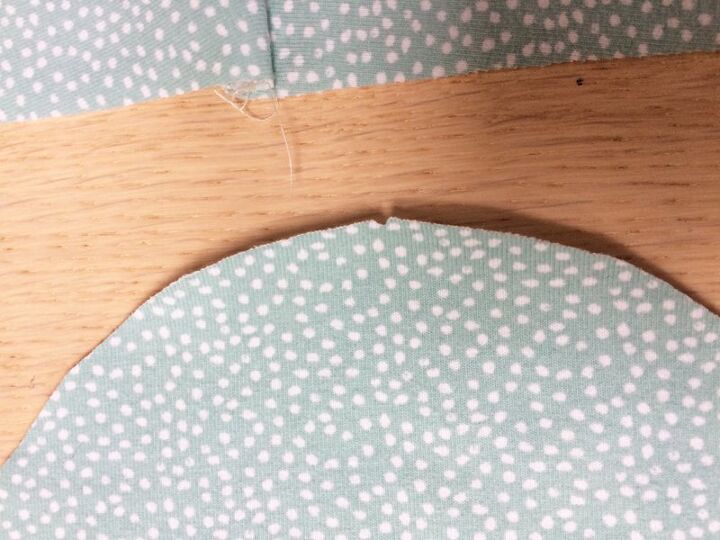
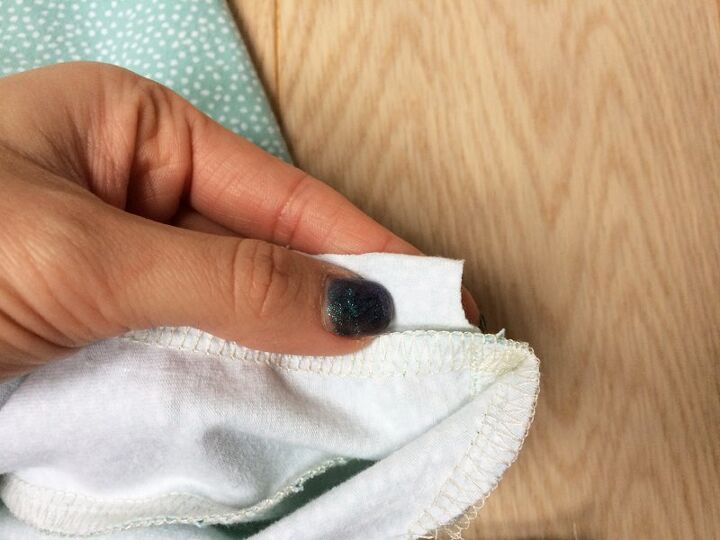
Pull free ends of thread chains (near the sleeve hems) under the loops.
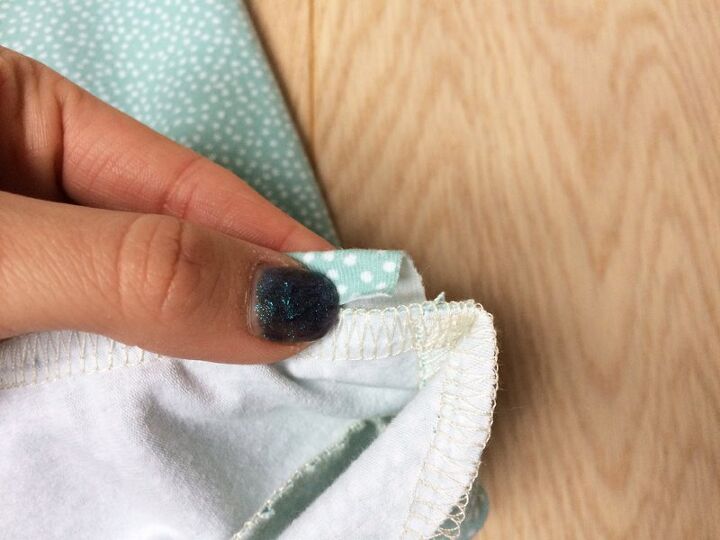
Press the seam allowances of the sleeve seam near the hem of the sleeve to one side and topstitch them.
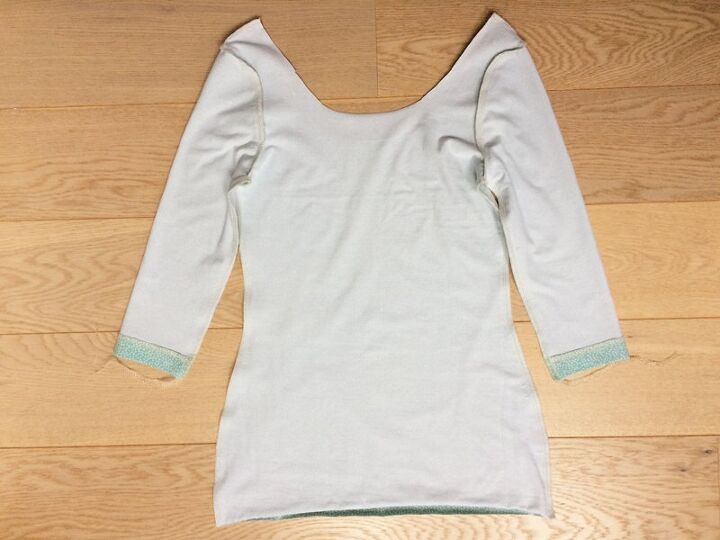
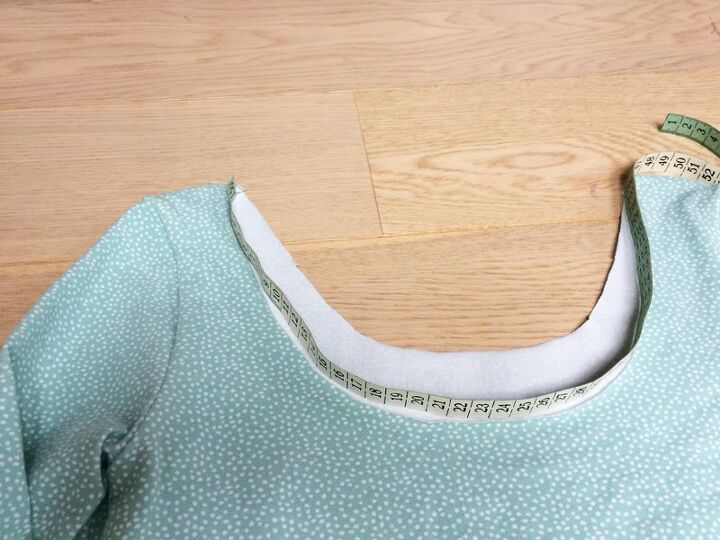
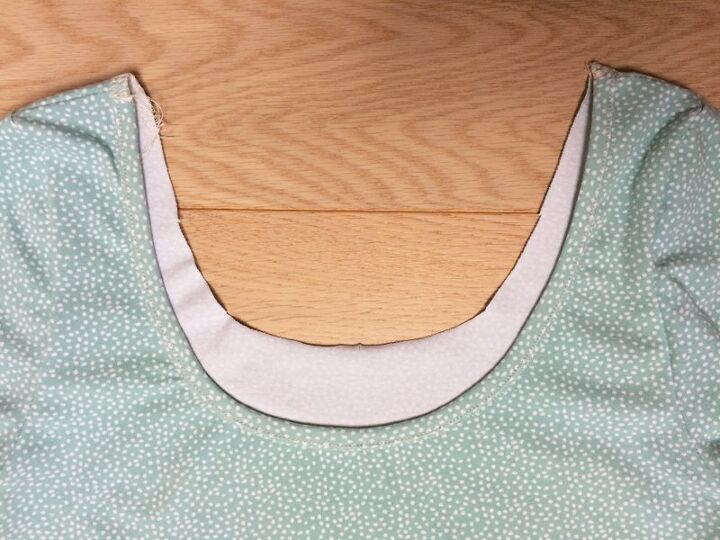
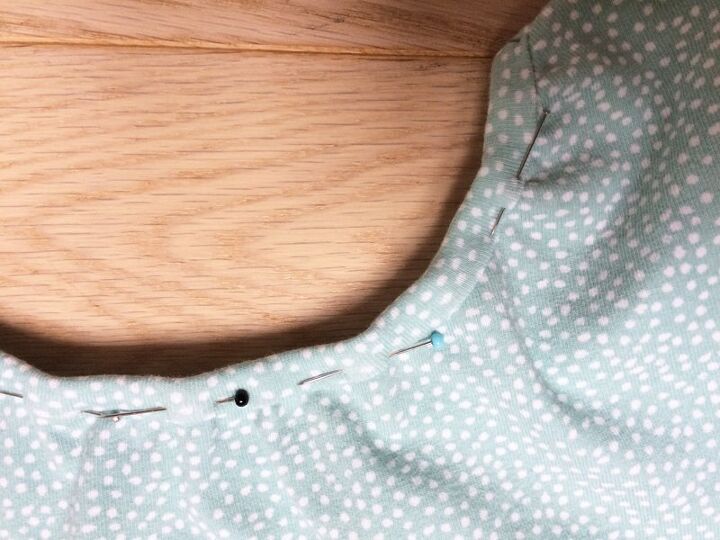
Now is the right time to perform a fitting test. Put on the T-shirt, check its length and the length of sleeves. If the neckline seems too shallow, you can enlarge it to your liking.
If everything seems fine, measure the length of the back & front part of the neckline (separately). For me, it comes out to about 46 cm / 18.1" in the back and 42 cm / 16 1/2" in the front.
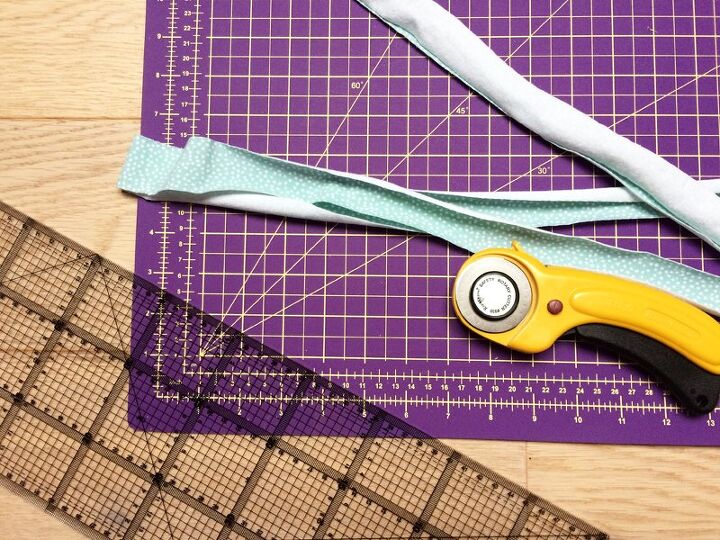
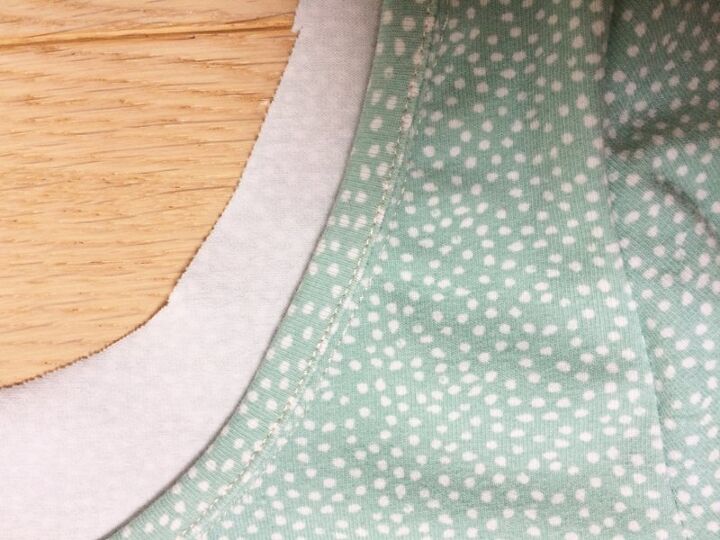
If you have a rotary cutter, I recommend using it to prepare strips for the neckline hem.
Cut two strips of fabric - both 3.5 cm / 1 3/8" wide.
Determine the length of the front hem in a similar way, but add 70–90 cm / 28 “–36" after multiplying the measured value by 0.8. This extra length is for the ties (2x 35–45 cm / 14 “–18").
My back hem is 37 cm long:
- 46 cm * 0.8
And my front hem with ties is 104 cm long:
- 42 cm * 0.8 + 2 * 35 cm
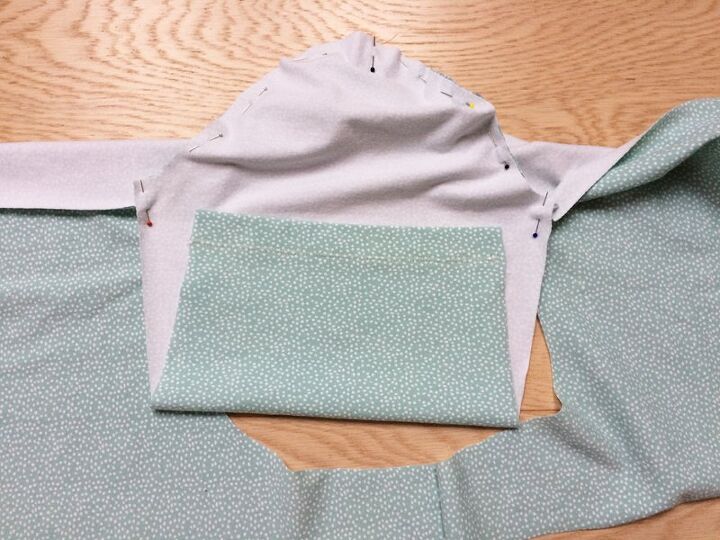
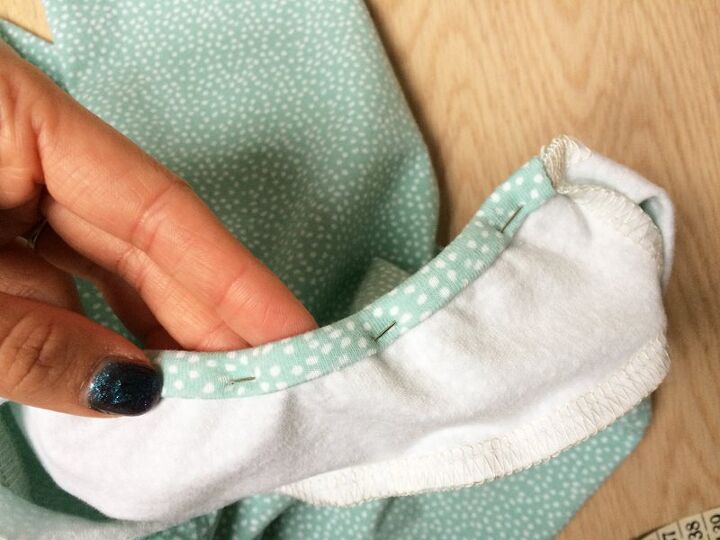
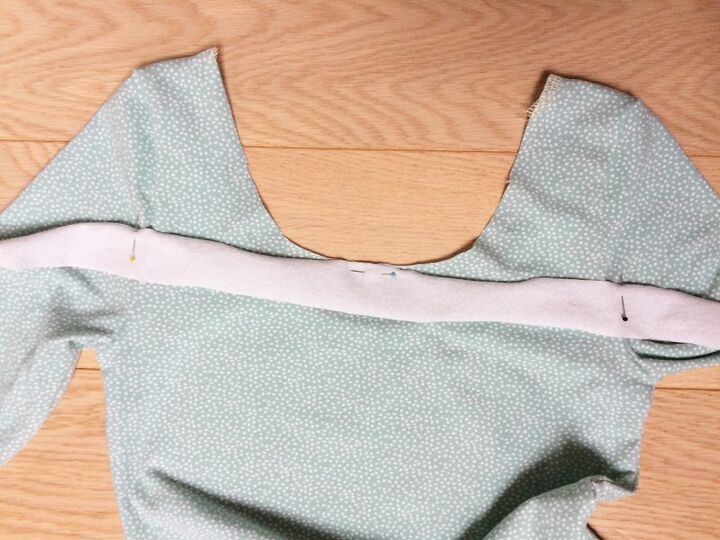
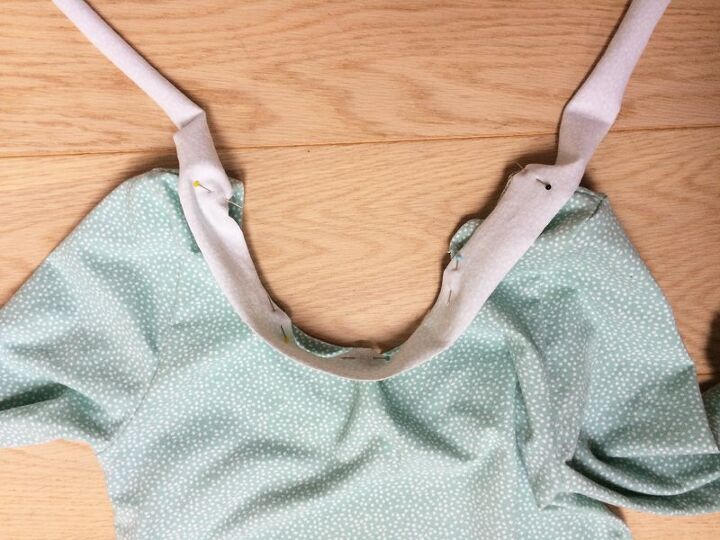
Pin the shorter strip to the back piece of the T-shirt (face side to face side).
Start in the middle - find the center point of the strip (fold it in half), and pin it to the center of the back piece. Then pin the ends of the strip (to the shoulder seams) and finally the rest of the strip.
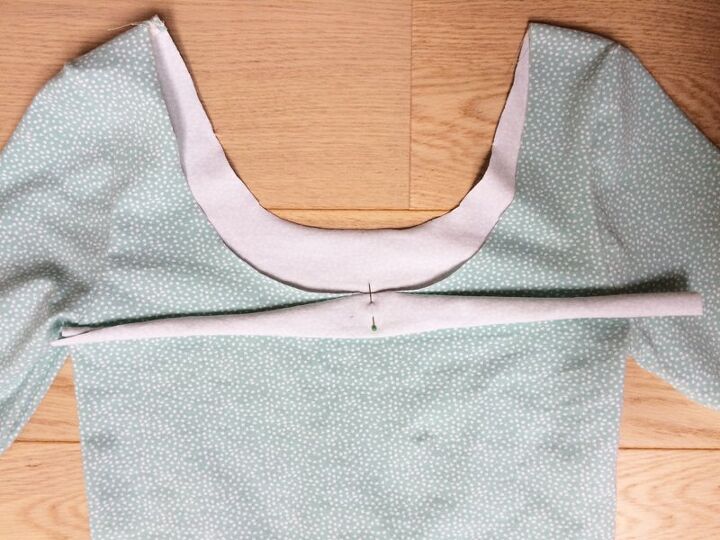
Sew the strip to the neckline. Use elastic stitches (or your overlock machine).
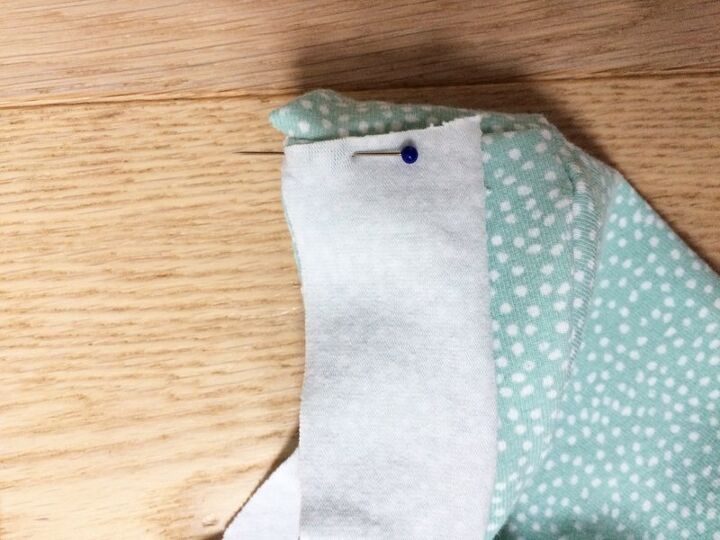
Fold the strip in half (lengthwise)...
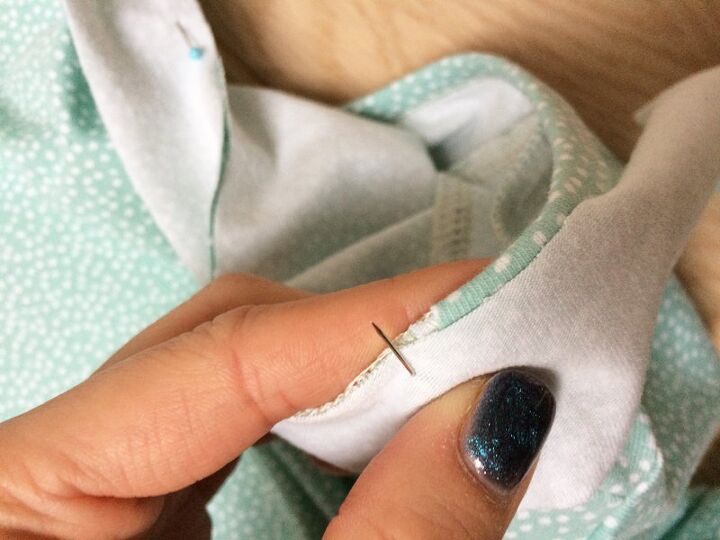
...and then once more and over the original seam. Pin the strip in this position - place the pins from the face side of the T-shirt.

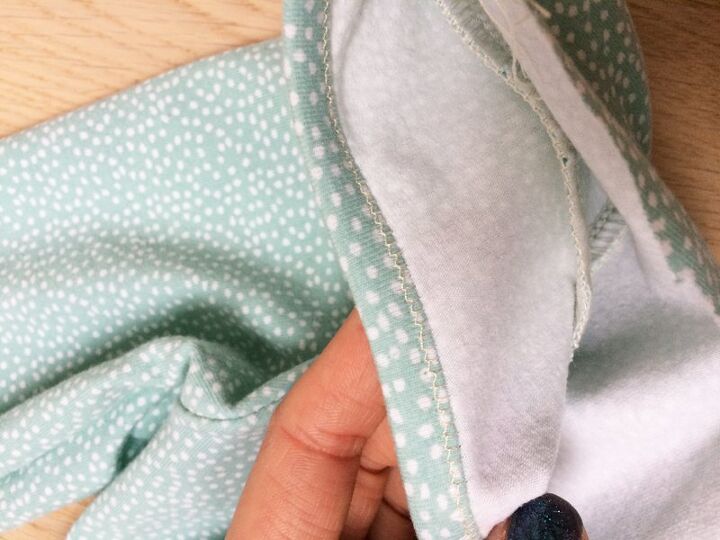
Sew the strip to the back piece - sew from the face side of the T-shirt and use elastic stitches or a twin needle. If you decide to use a twin needle, sew so that the edge of the strip runs between the needles.
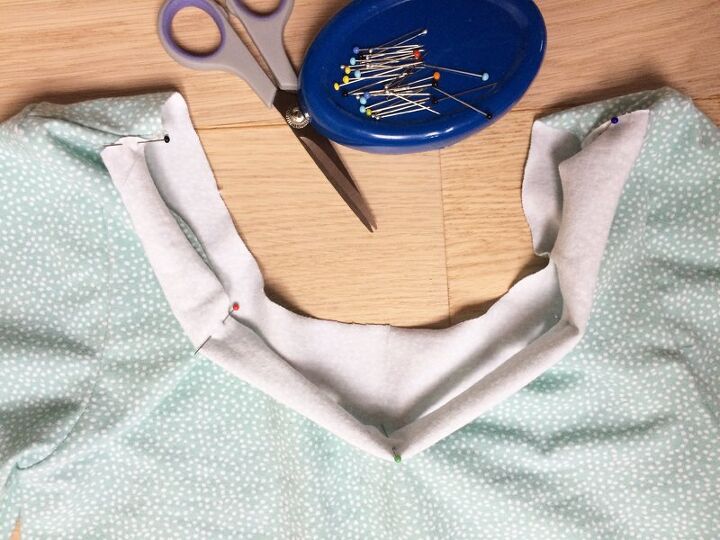
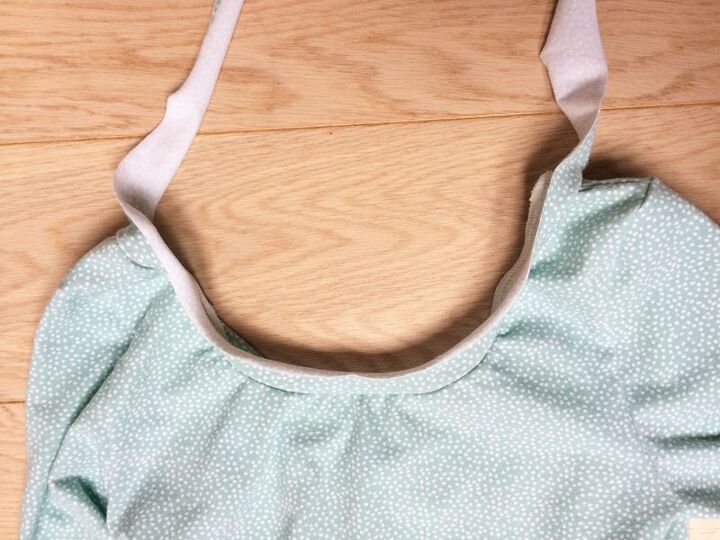
Let's work on the front part of the neckline.
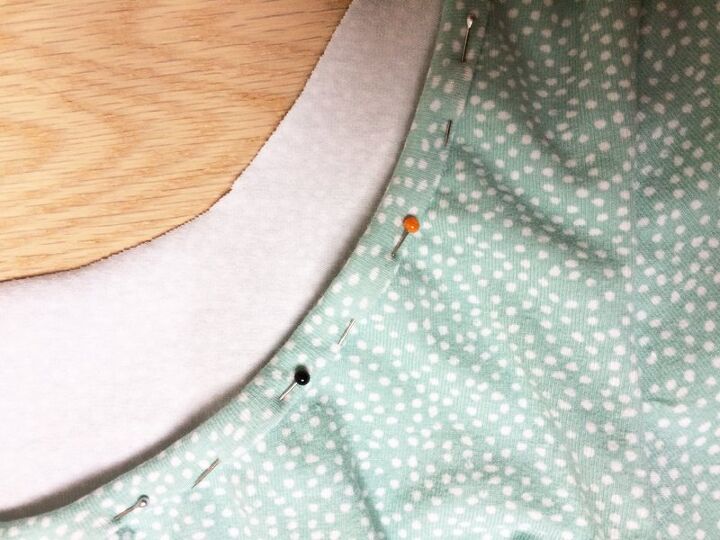
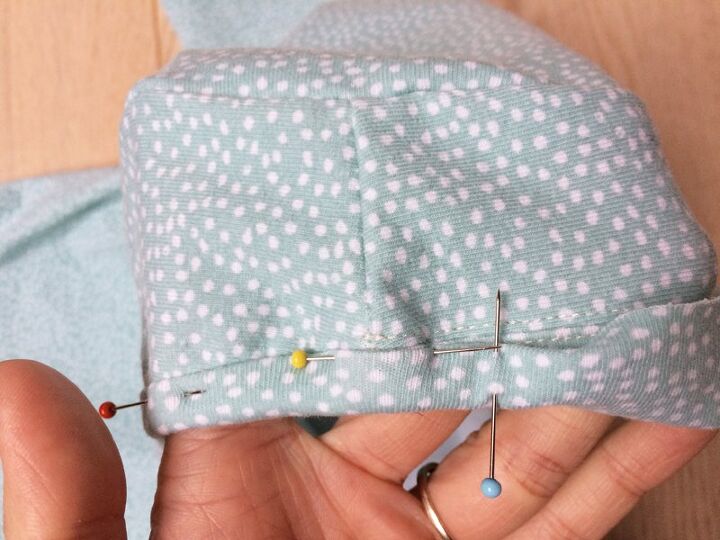
Start by pinning the center of the strip to the center of the front piece (face side to face side). Use pins to mark the places where "the hem ends and ties begin". Pin the marked points to the shoulder seams and then pin the rest of the hem evenly to the neckline.
Sew the strip to the neckline - start sewing about 1 cm / 0.4” “behind” the shoulder seam (so that the front hem slightly overlaps the back hem).
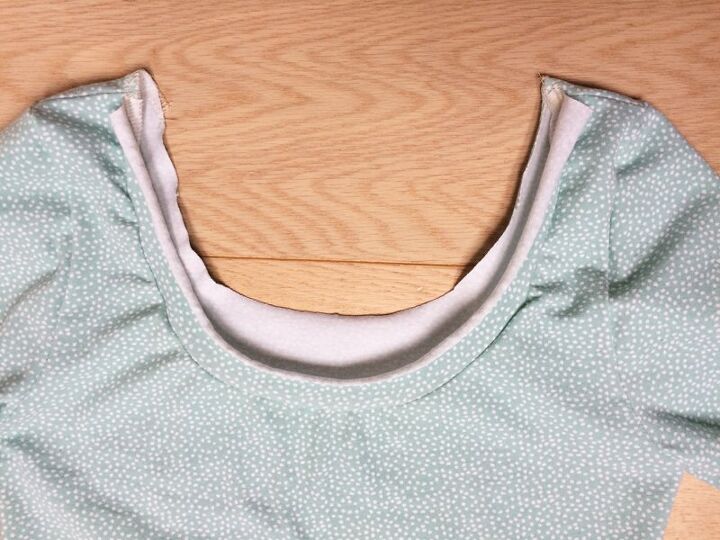
Fold the strip in the same way as before and pin it to the neckline.
Continue pinning about 2.5 cm / 1” behind the shoulder seams to overlap the strips some more. Sew the strip to the neckline - sew from the face side of the T-shirt and use elastic stitches (or twin needle).
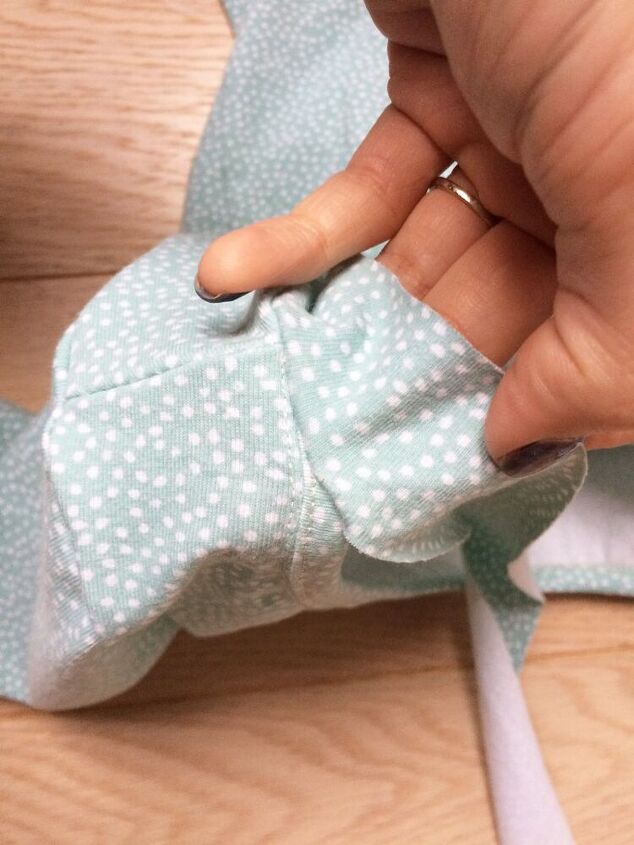
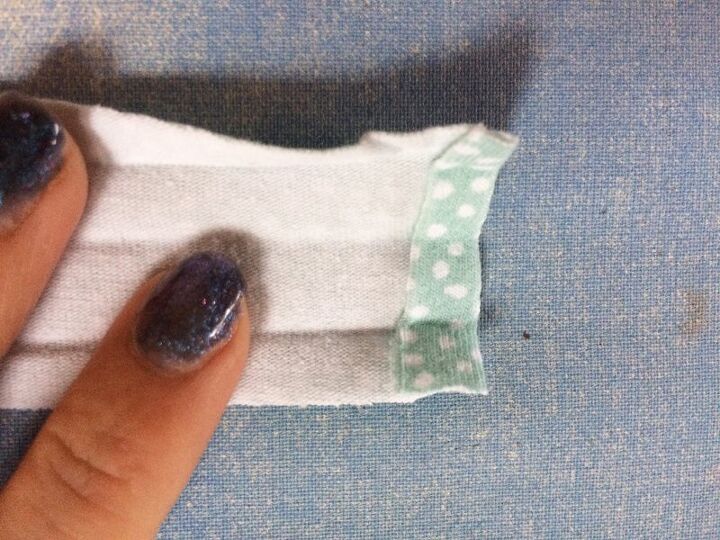
Prepare the ties - fold the strips as shown below, steam them well and iron them dry.
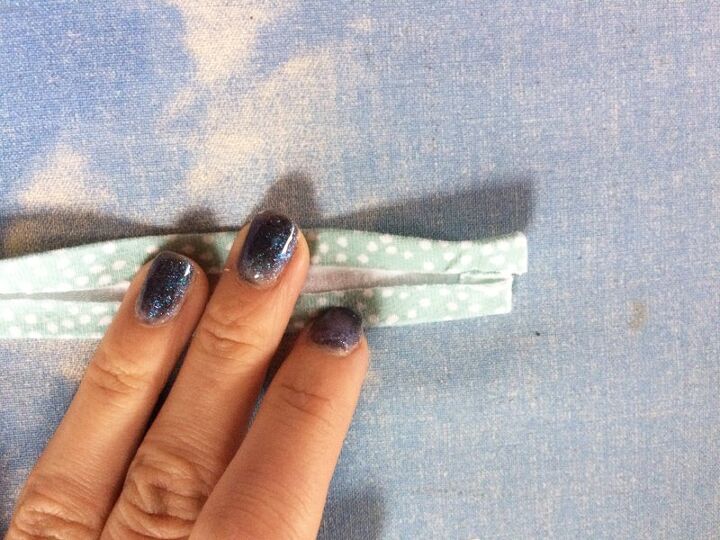
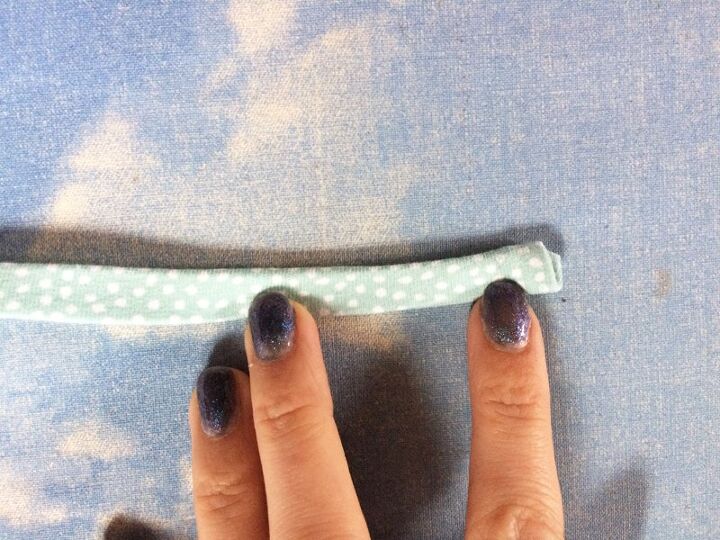
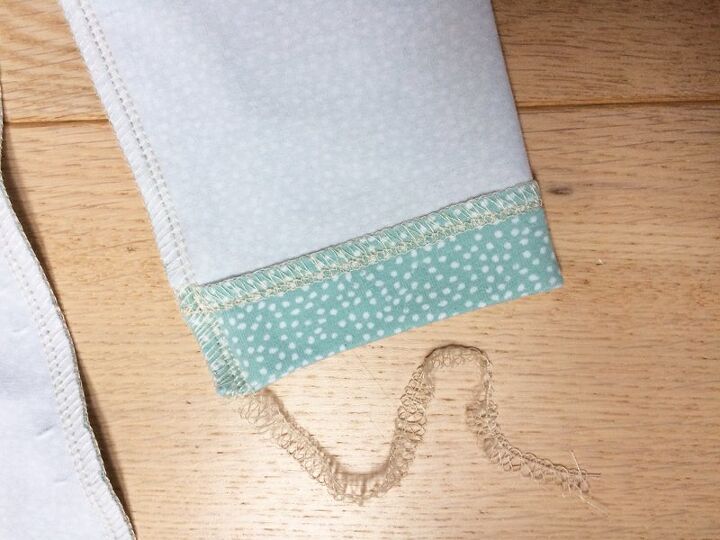
Sew along the entire length of both ties (use elastic stitches, I used a three-step straight stitch).
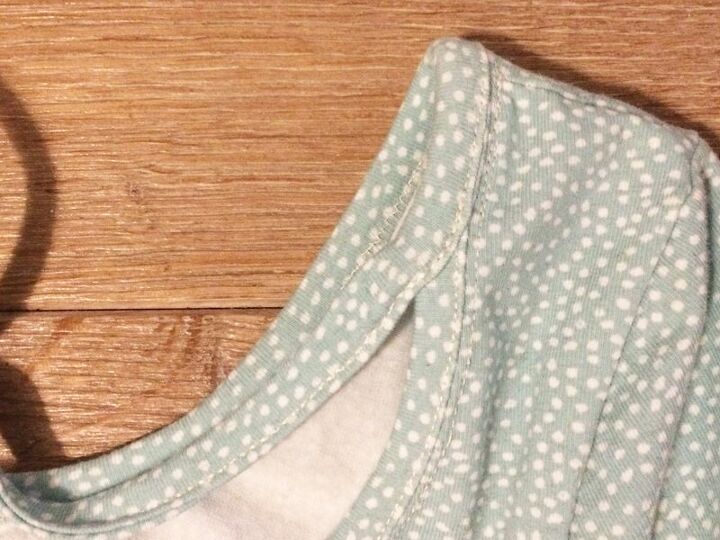
Try to precisely align the places where the ends of the ties meet the neckline to make this transition as smooth as possible. You can see how the seam on one of my ties transitions to one side of the neckline seam (twin needle seam).
Now all that remains is to sew the bottom hem of the T-shirt.
Clean the bottom cutting edge, fold it 3 cm / 1.18" to the inside of the T-shirt, and topstitch it (use elastic stitches/twin needle).
These are photos from our customer Barbora Š., who sewed this beautiful T-shirt for her sister's birthday:

If you liked today’s article, leave me a comment below. I'm also always listening to your suggestions, so tell me what interests you and what would you like to read about next time.
Have a nice day, Petra
You can get the pattern featured in this article here:
Women’s low back T-shirt BALLERINA
Do you like this article? If so, share it with your friends and tell me about it in the comments section below. I will be glad for any feedback! ♥
PS: Did you know that there are other FREE PATTERNS available on my blog?
The author may collect a small share of sales from the links on this page.


Comments
Join the conversation
What a beautiful top. The colour is gorgeous. Your explanation is very good.
well done.
Thank you!