Seventies-Inspired Pointed Collar Top DIY

Today’s tutorial is all about the 70’s oversized pointed collar top. Pointed collars are clearly having a major moment right now, and it’s a style you don’t even need to wait for warm weather to work into your wardrobe. This DIY pointed collar top can be worn under sweaters and jackets, or all on its own. So let’s get started and sew a pointed collar top with puffy sleeves!
Tools and materials:
- Button-down shirt (for tracing)
- Shirt fabric
- Lining fabric
- Fabric chalk
- Measuring tape
- Pins
- Elastic band
- Safety pin
- Scissors
- Buttons
- Needle and thread
- Sewing machine
Draw the pattern
If you don’t have a pattern for a button-down top, you can use a top you already own and that fits you well, to trace the front and back bodice pieces.
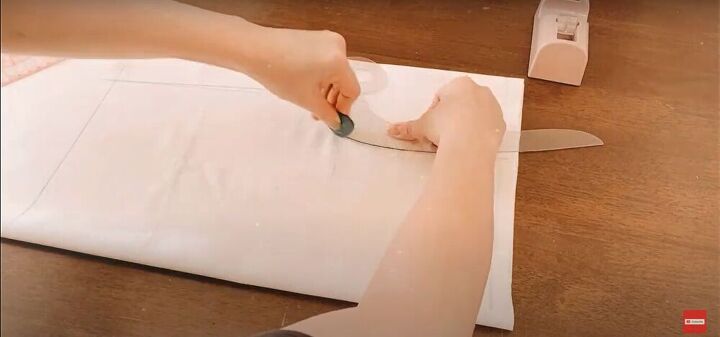
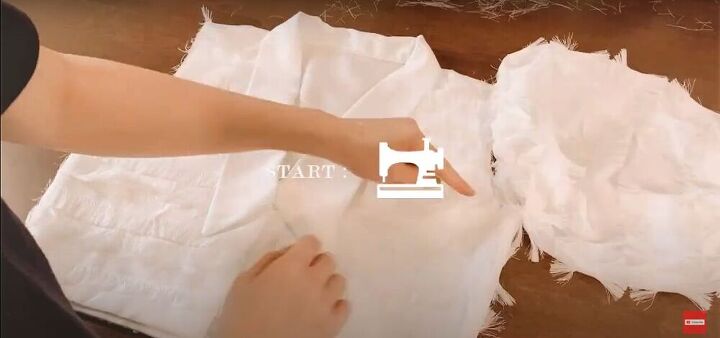
Cut
Use your pattern to cut fabric for both the shirt and the lining of the shirt.
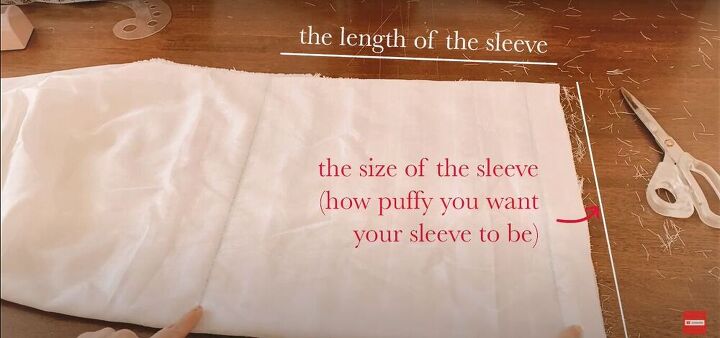
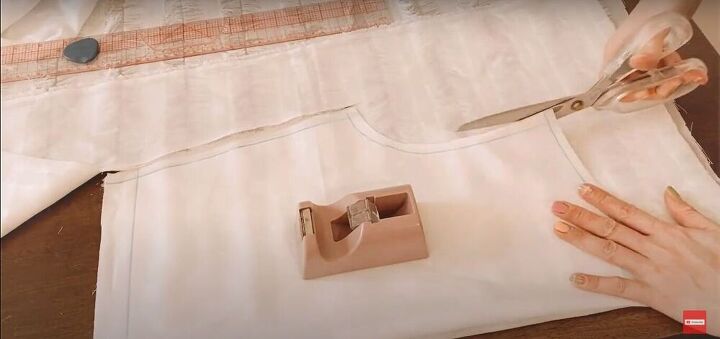
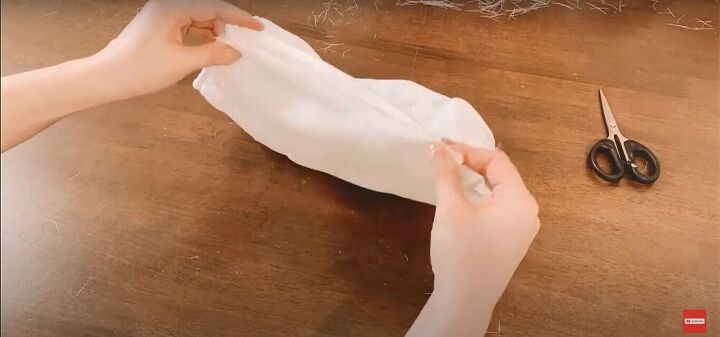
Cut sleeves
See the video at 2:56-3:09 for instructions on how to cut sleeves.
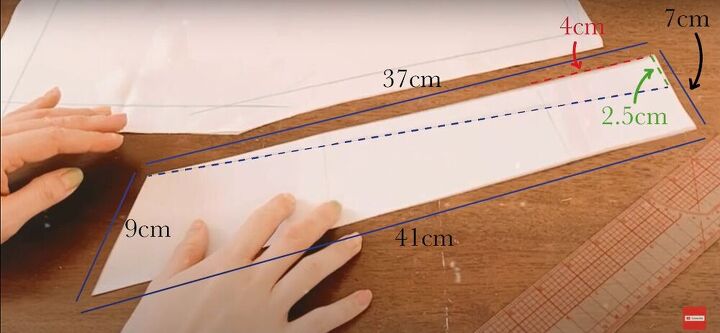
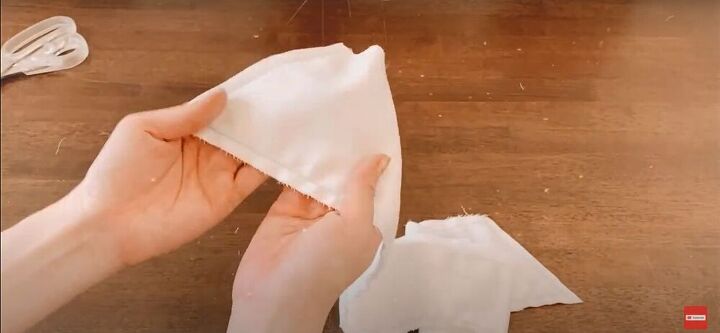
Create collar pattern and cut
Use these measurements to cut a pattern for an oversized collar. Use the pattern to cut three identical collar pieces, with the narrow end on the fold of the fabric.
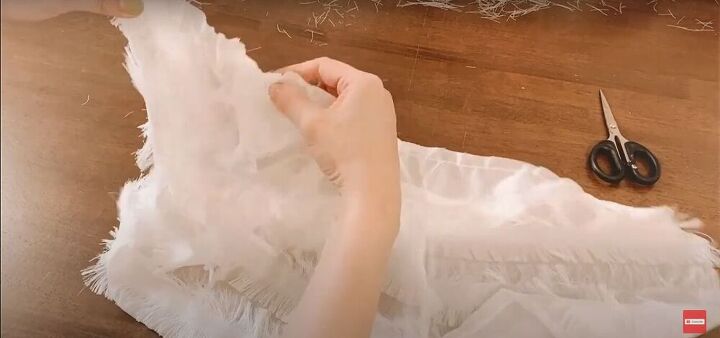
Sew
Lay the three collar pieces on top of each other, and sew down one long edge, and both short edges.
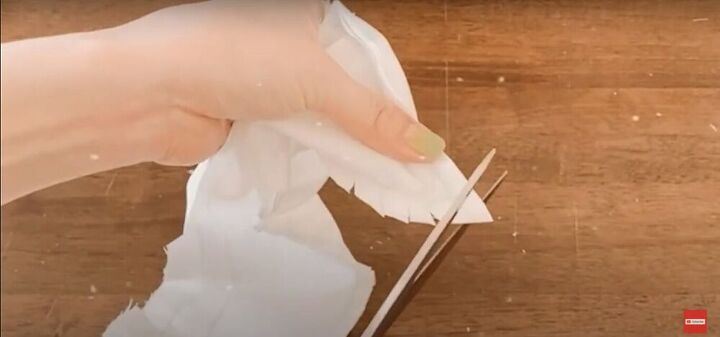
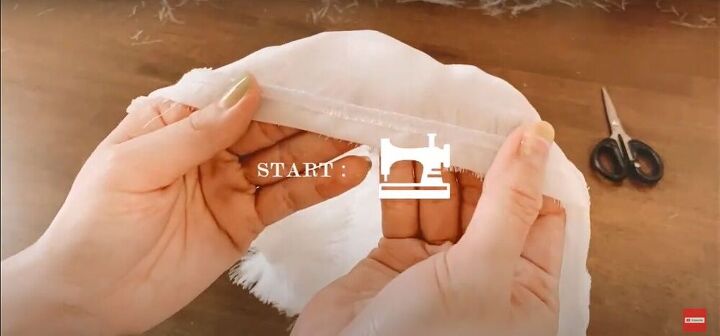
Snip and turn
Make snips all along the seam allowance, and snip off both corners. Then turn the collar right side out.
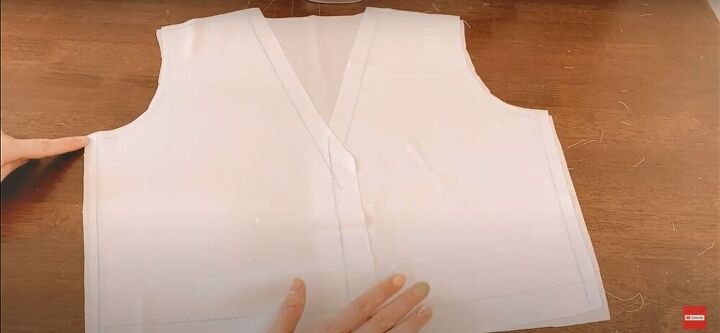
Sew
Sew the side seams and shoulder seams of the shirt and the lining.
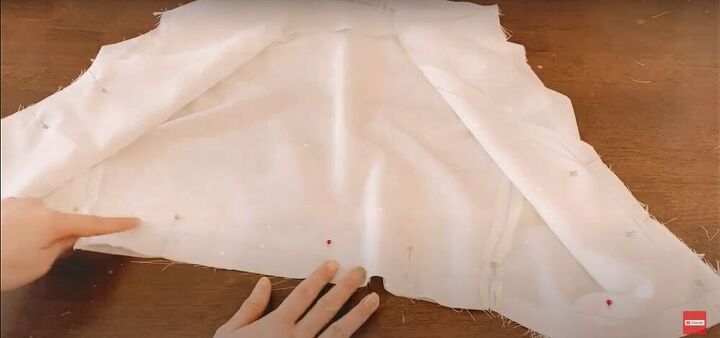
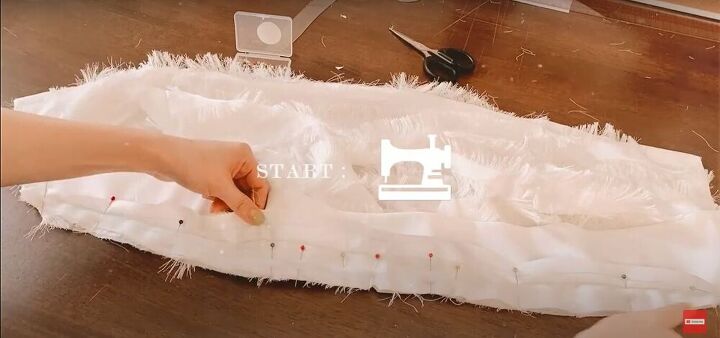
Pin and sew
Pin the lining into the shirt along the bottom edge and the front opening, then sew.
Turn, pin, and sew
Turn the shirt right side out. Pin the collar along the neckline, and sew it down.
Gather
Use a basting stitch along the top edge of the sleeves, and then pull the threads at the ends to gather the fabric.
Sew
Fold in the bottom edge of the sleeve, leaving enough room to run an elastic band through the hem, and sew it down.
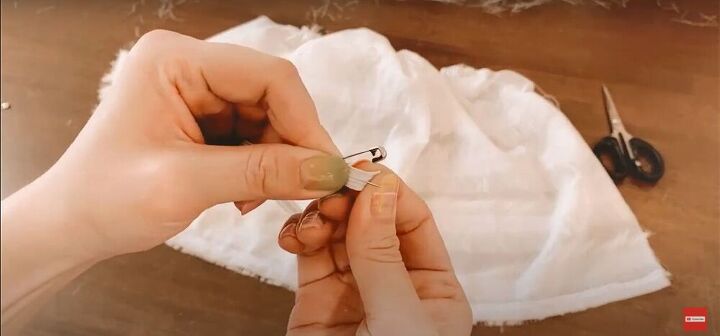
Insert elastic
Attach a safety pin to one end of the elastic, and guide it through the hem of the sleeve until it comes out the other end. Sew the elastic down on either end.
Sew
Sew the side seams of the sleeves closed.
Then sew the sleeves into place.
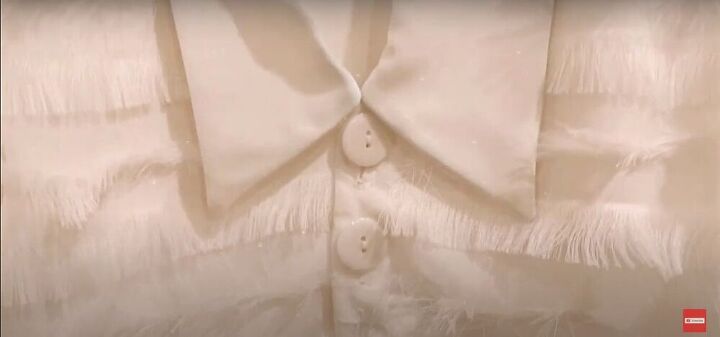
Add buttons
Mark where you want the buttons and buttonholes to be. Sew the edges of the buttonholes in, and open the center with a seam ripper or small scissors. Then sew on the buttons by hand.


I love how this shirt came out, and I’m having so much fun styling it. I hope this pointed collar top tutorial was helpful. Let me know how you would style this shirt.
The author may collect a small share of sales from the links on this page.


Comments
Join the conversation
Very nice!!!
Sweet, smart, and so stylish! Thank you, J