Draw a Top Pattern With a Shirt You Already Own

Today I’m going to be making a more basic project than I normally make. This season, I wanted to add a stretchy t-shirt in a neutral color to my wardrobe so I can mix and match with more of my clothes. I used a shirt I already own for my stretchy top pattern, and I’m going to show you how you can create patterns with different designs using the items in your closet.
Tools and materials:
- Shirt (to trace)
- Paper
- Ruler
- French curve
- Marker
- Scissors
- Fabric
- Pins
- Sewing machine
Trace the front
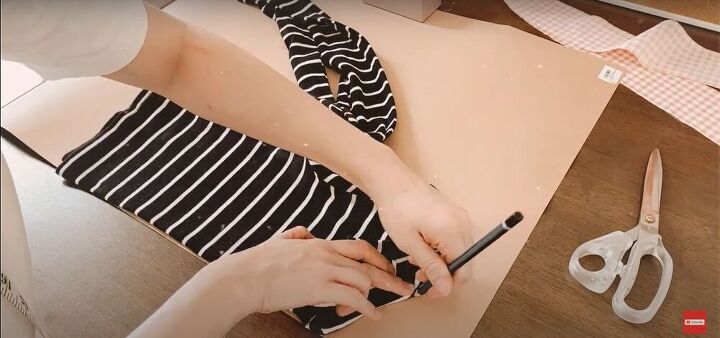
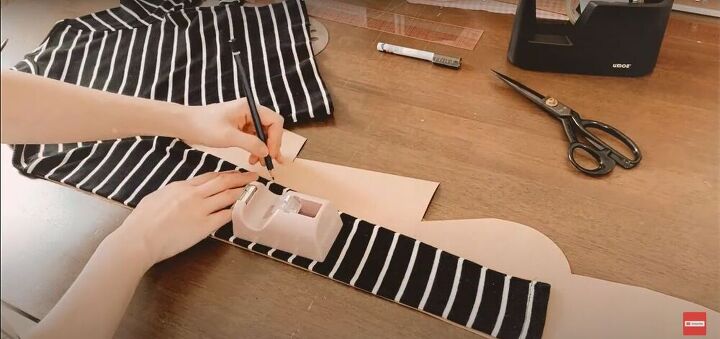
I folded my shirt in half with the front side facing out. Then I laid the shirt on my paper with the fold against the edge of the paper. I’m only tracing the bodice of the shirt, so I folded the collar and sleeves up at the seams and traced around the seams.
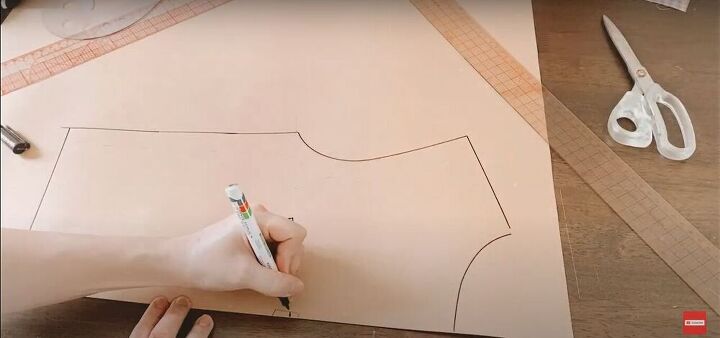
Mark
I traced over the lines with a ruler and French curve and marked where the fold should be.
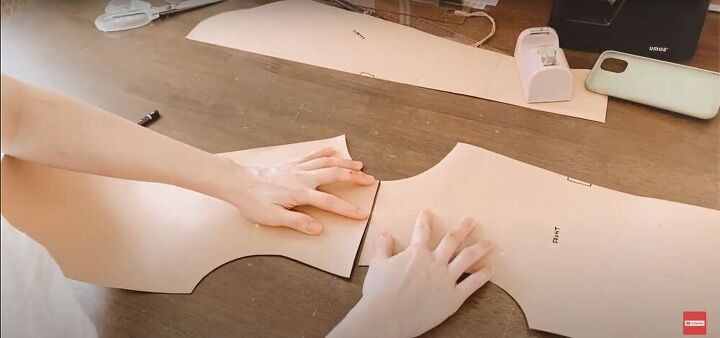
Trace the back
To trace the back, I folded the shirt in half again, this time with the back side facing out, and followed the same steps as I used for tracing the front.
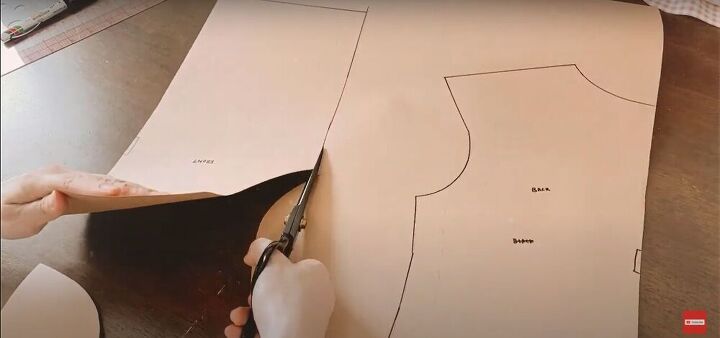
Cut
Then I cut out my pattern pieces.
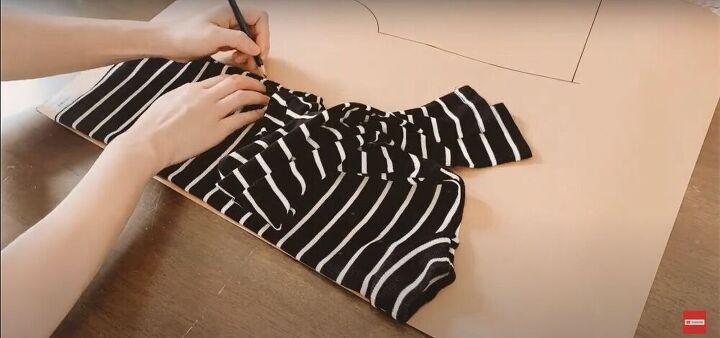
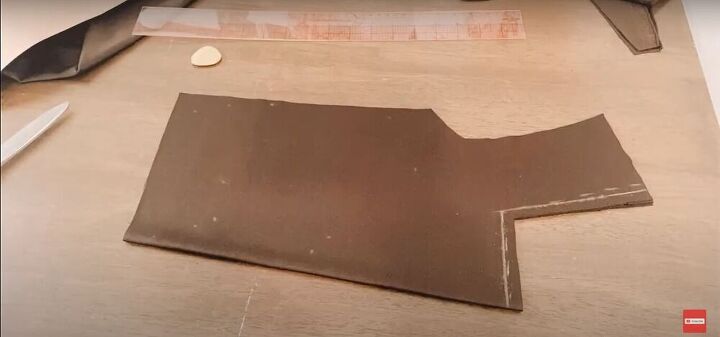
Trace the sleeve and mark
Next, I laid the sleeve of my shirt on the paper, and traced around it, being careful to trace the curve of the seam as closely as possible. I went over the lines with a ruler and French curve and marked the fold, just as I did with the previous pieces.
Adjust
I measured the shoulder seams of my front and back pattern pieces and saw they were not the same length.
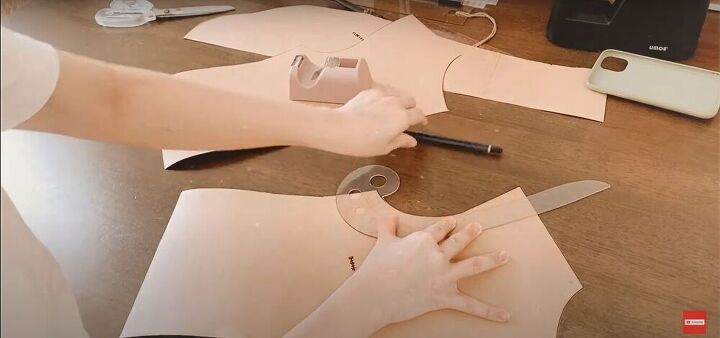
I marked where the shoulder should end, and used the French curve to adjust the line. Then I cut it to size.
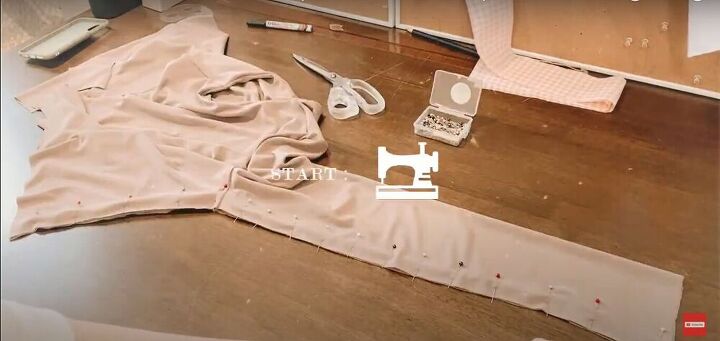
Cut fabric
I used my pattern to cut fabric pieces for my two new shirts. For one shirt, I used the square neck of a shirt I already owned to trace a new neckline.
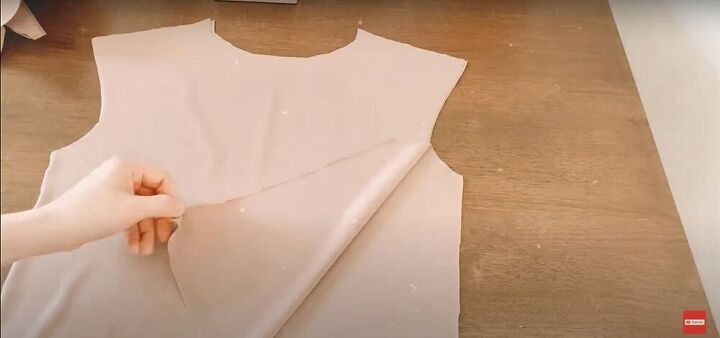
For the second shirt, I decided to make it double-layered, so I cut two of every pattern piece.
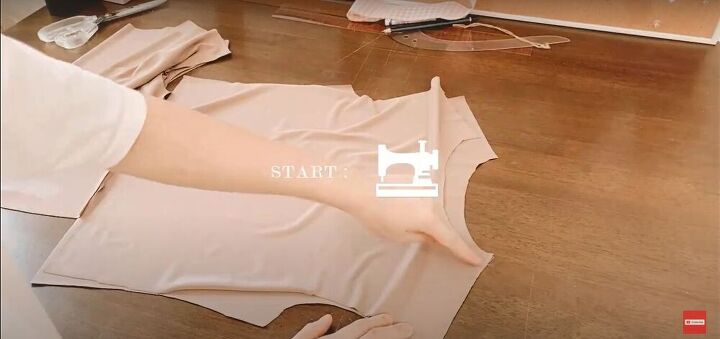
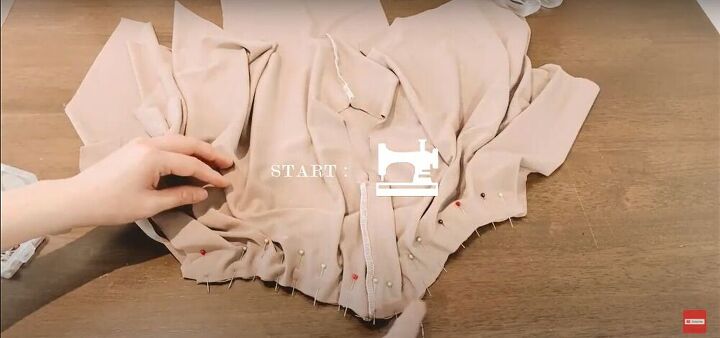
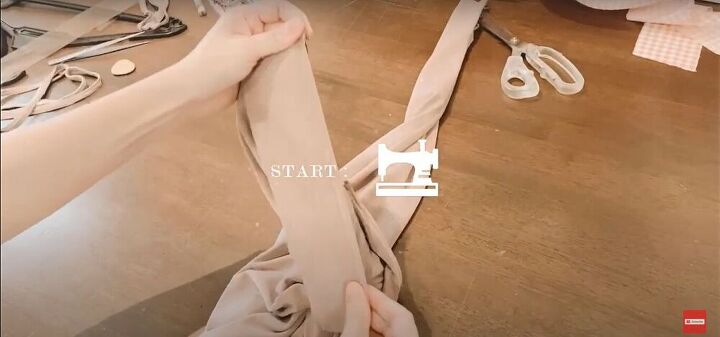
Sew
To begin construction, I sewed each front piece to each back piece at the shoulders.
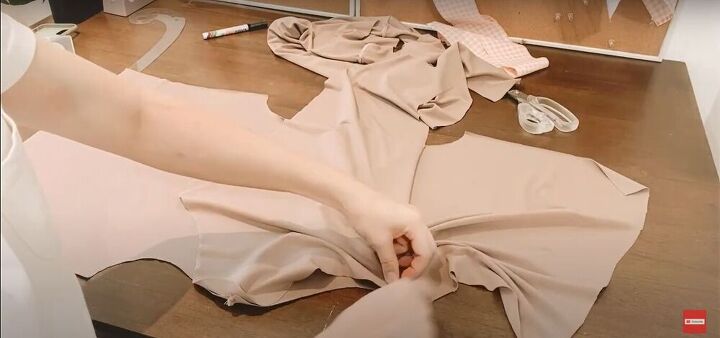
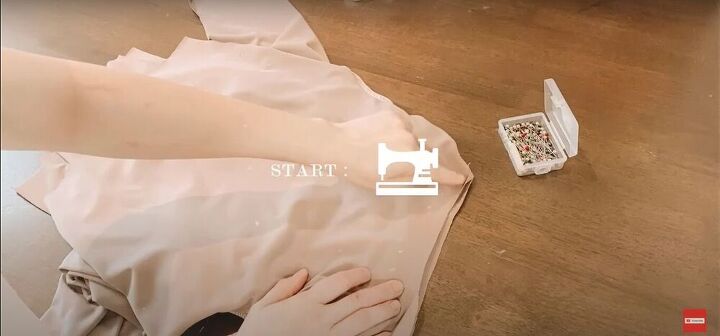
Pin
Then I laid one set of pieces flat and pinned the sleeves along the edges of the armholes.
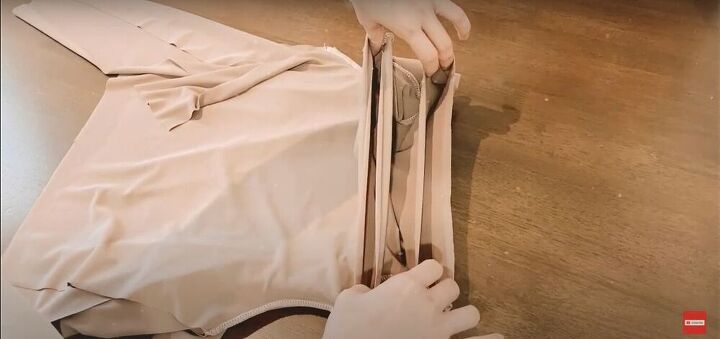
Add second layer
Then I laid the second set of pieces on top of the first set with the sleeves sandwiched in between.
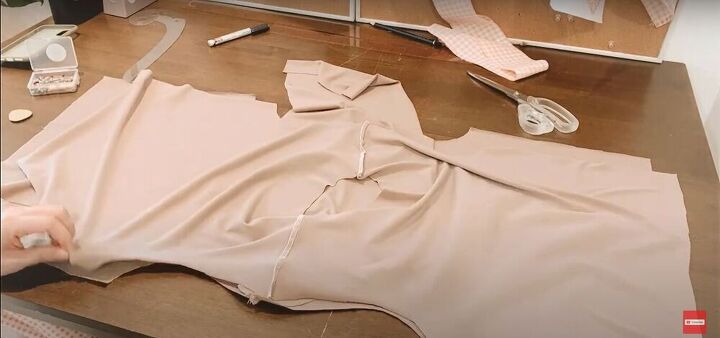
Pin and sew
I pinned everything down and sewed.
Flip
I flipped the fabric so the openings at the neck were parallel with each other.
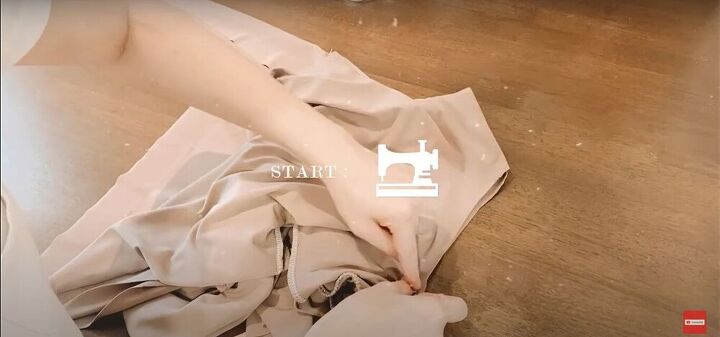
Sew
I pinned the two outermost edges of the necklines together and sewed them down.
Then I turned the shirt so the inner layers were on the outside, and sewed the second layers of the neckline together.
Pin and sew
Next, I pinned the side seams and down the sleeves, and sewed.
Hem
I hemmed the bottom of the shirt using the same method for the double layers as I used for the neckline.
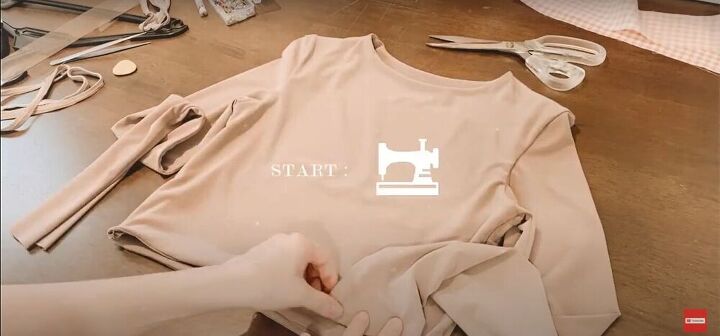
Finish the sleeves
For the sleeves, I tucked the raw edges in and topstitched around the ends of the sleeves.

This is such a great pattern because I can always change the neckline or the length of the sleeves for so many different looks.

I love the style of it and think it will work well with many items in my wardrobe.
I hope this tutorial helped show you how to make a top pattern. What style of shirt will you be making with this pattern?
The author may collect a small share of sales from the links on this page.


Comments
Join the conversation