Tutorial for My Viral Ribbon Knot Braid

Here’s my step-by-step tutorial for my viral ribbon knot braid. Try it out with me for a hairstyle that’s elegant and a little bit different.
Tools and materials:
- Long, thin ribbon
- 1 hair tie
- 1 hair elastic
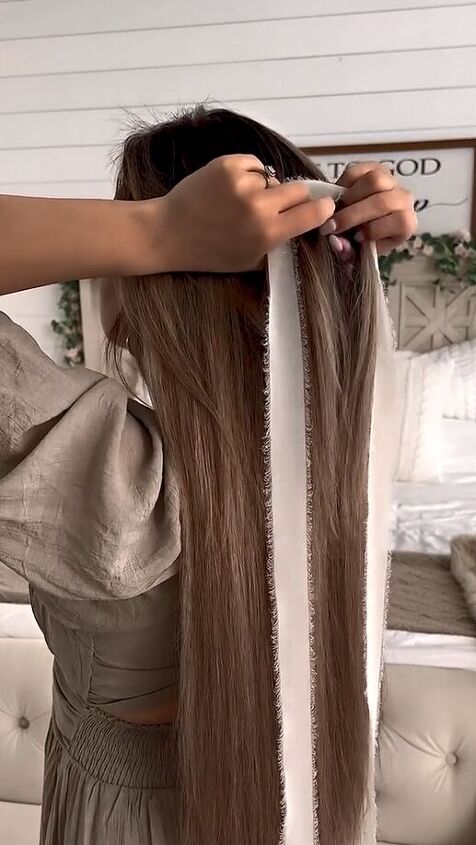
1. Grab 2 sections of hair with the ribbon
Grab 2 small sections of hair in the center and back of your head. Lay the ribbon across and make sure it’s evenly distributed until the end.
2. Anchor the ribbon to 1 side
Hold 1 side together while on the other side, loop the ribbon around the hair to anchor it in place.
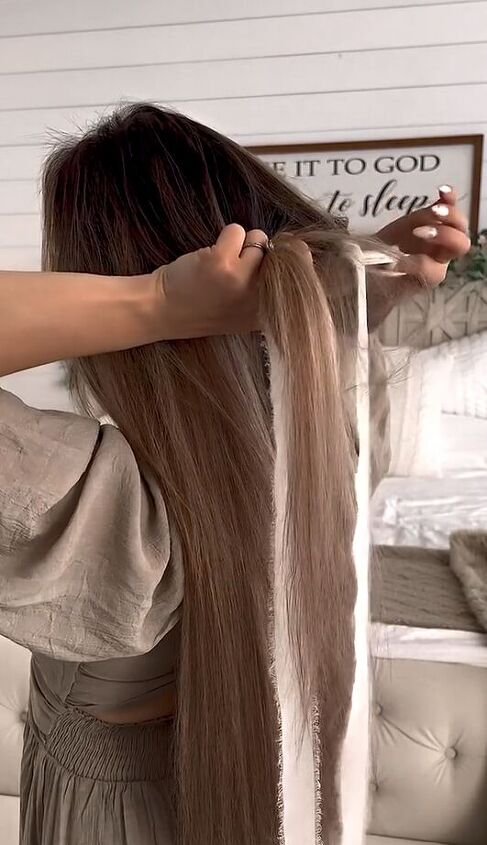
Tighten by pulling each side.
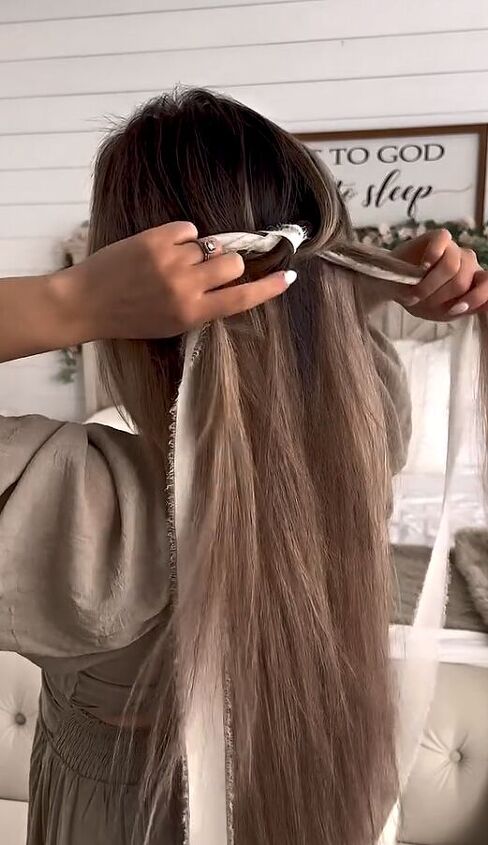
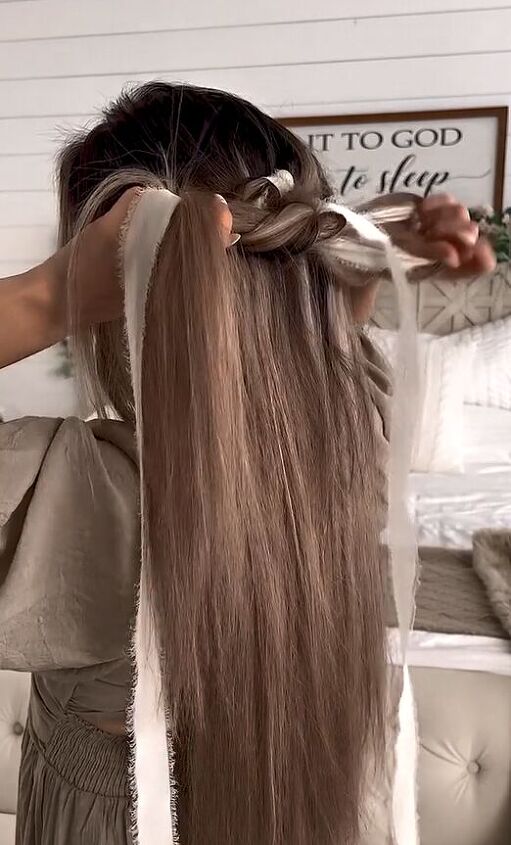
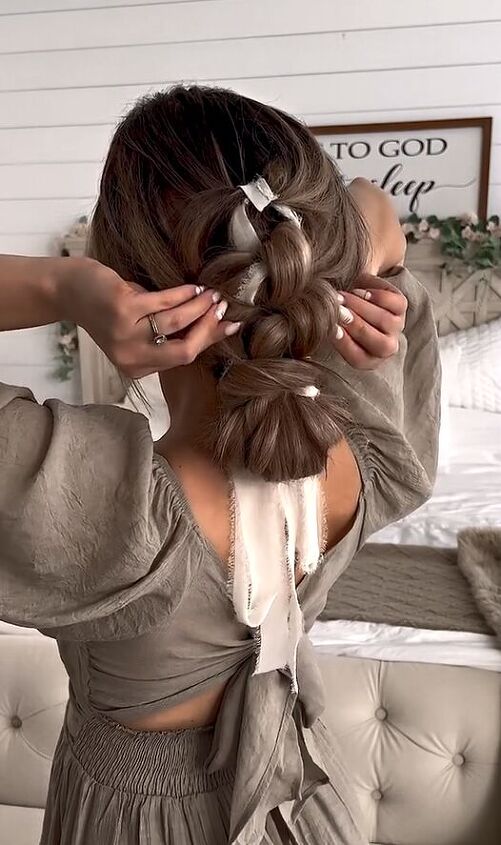
3. Add hair and tie a knot
Now, grab equal amounts of hair on either side and add it to each of the 2 sections.
Then tie the sections in a knot and pull to tighten.
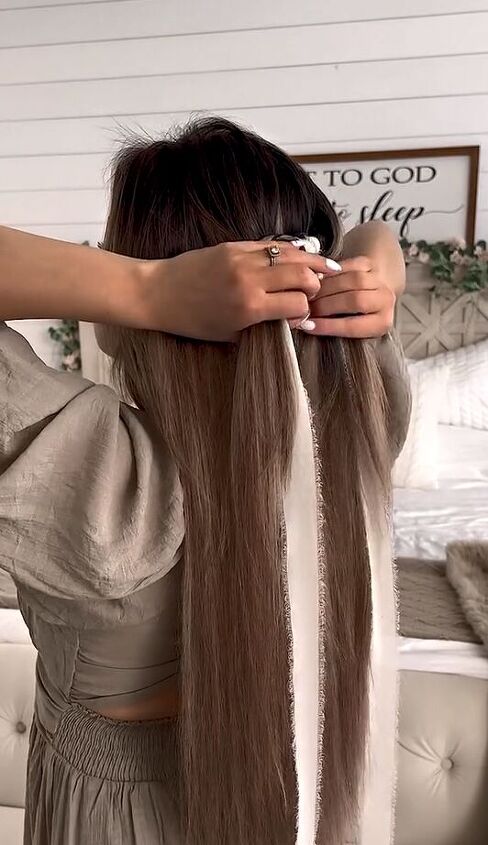
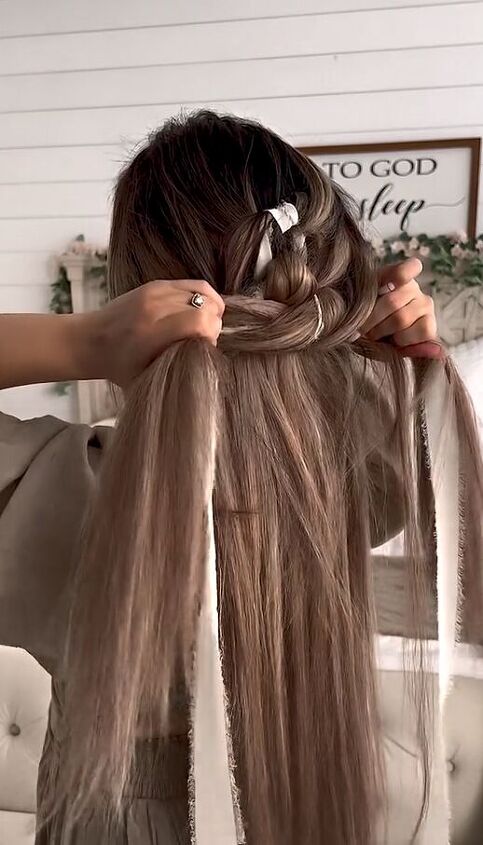
4. Repeat the knot
Continue adding hair to either side and tying a knot each time.
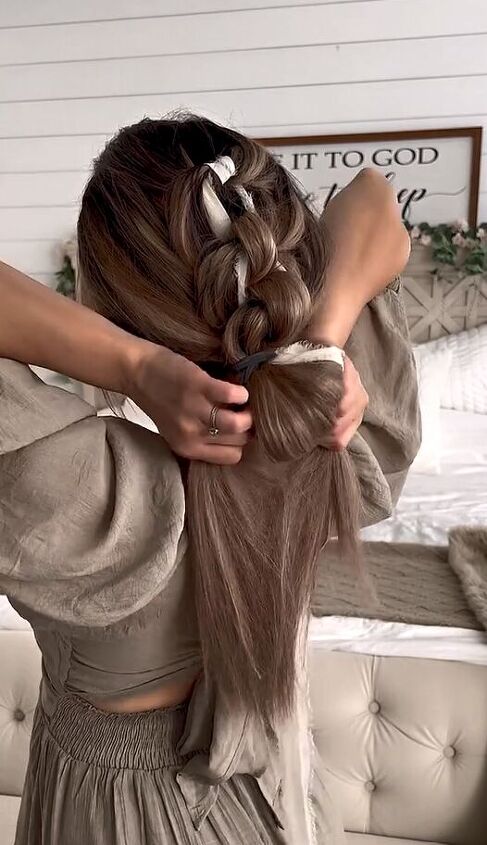
5. Make a loop bun
Once you reach the base of your neck, tie the remaining hair into a loop bun.
Make sure you leave a long tail underneath it.
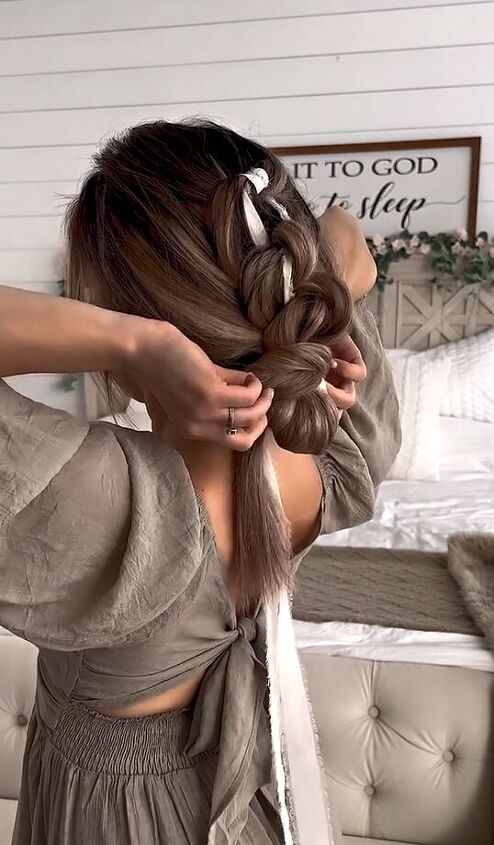
6. Split the tail and tie the hair together
Split the tail into 2 sections and join them on top of the hair tie. Then tie them together with a hair elastic.

7. Pull the bun through
Make a hole with your fingers in that small ponytail, right above the elastic.

Then pull the bun through it.
8. Tie a bow
Tuck the remaining tail into the underside of the braid.
Then tie a bow underneath the bun with the remaining ribbon.

Gently pinch and pull the sections for volume and your ribbon knot braid is complete!
Tutorial for my viral ribbon knot braid
Let me know what you think about this faux ribbon knot braid in the comments.

If you enjoyed this tutorial, leave a comment and try out my easy French updo that’s perfect for hot days.
Next, try out my Tutorial for the Fluffiest Braid.
Follow my TikTok: @evapautov
The author may collect a small share of sales from the links on this page.


Comments
Join the conversation