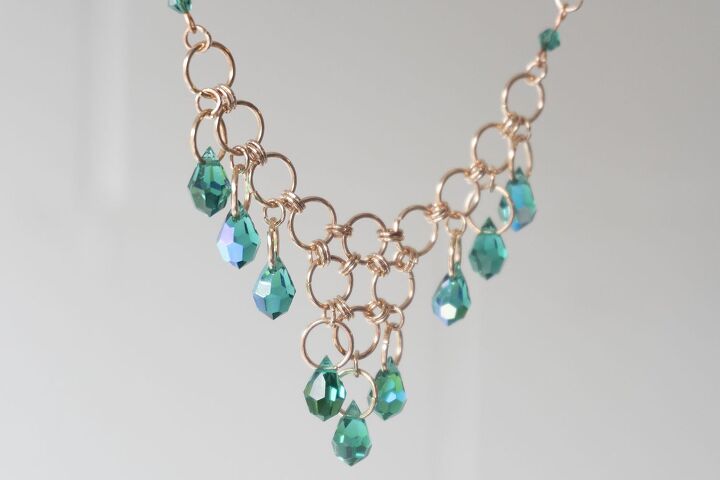
Vintage Jewellery Recreation Part 1 - Emerald Necklace
When my daughter was 12, she went to a ball. She was telling my Mum all about it and Mum suggested that she wear one of her necklaces.
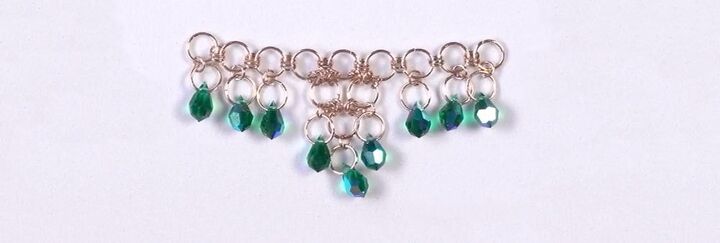
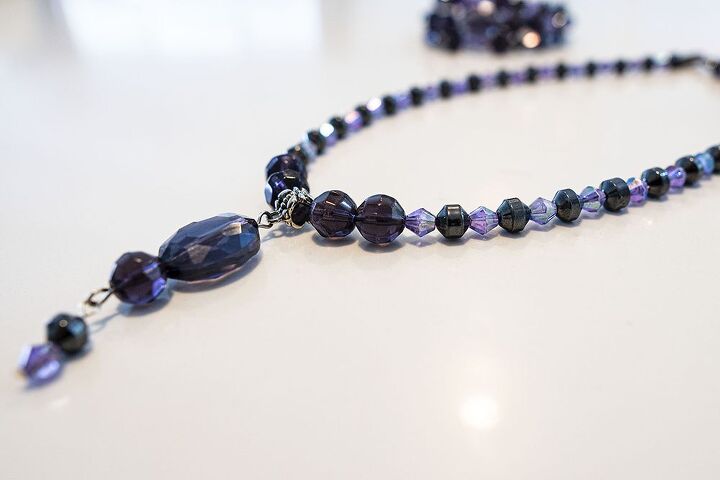
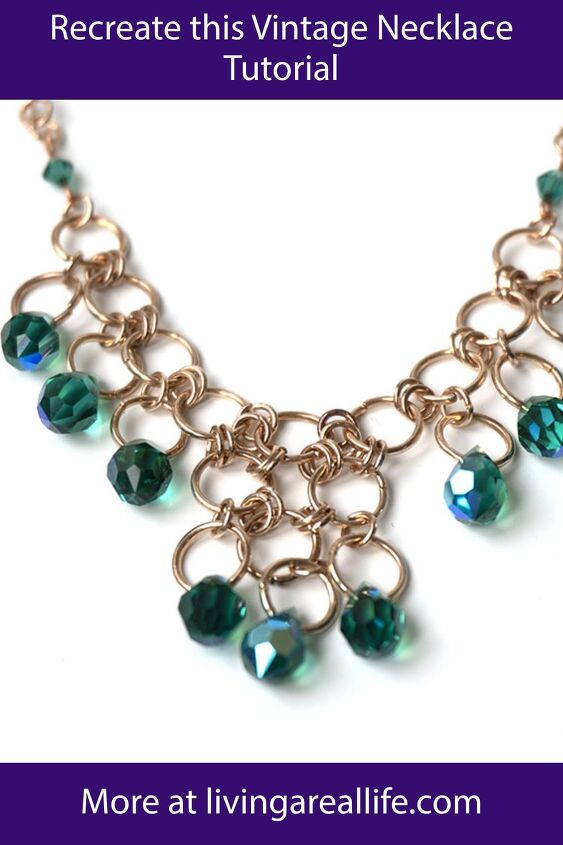
The necklace was beautiful and, truth be told, it’s one that I have coveted for many years. Jenna wore the necklace to the ball, but we never gave it back to Mum – she didn’t mind as she didn’t wear it. So, it became one of my collection. Here’s the original.
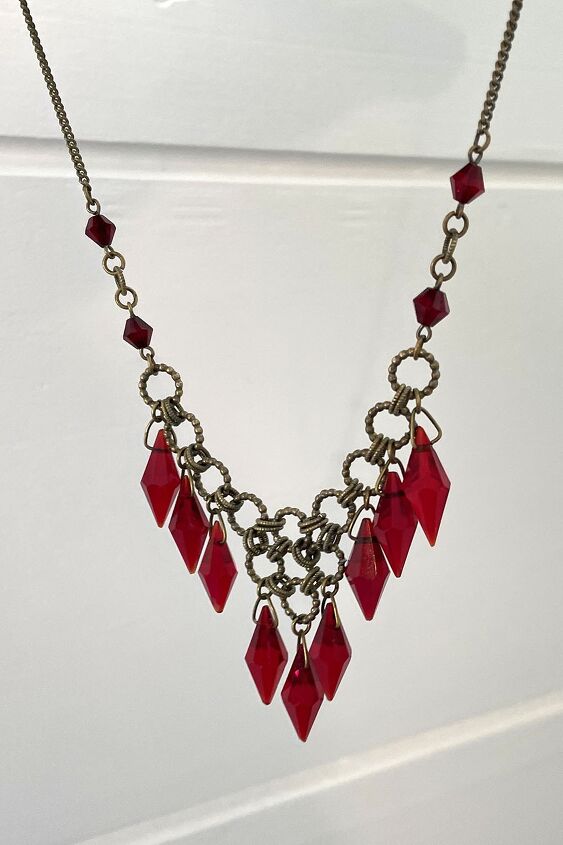
When I started jewellery making, I thought that I would like to recreate it. I have been looking for the large diamond shaped beads for the longest time but have never found anything like them. WhenI saw these Czech Glass Faceted Drops, I decided that they would work well, so today, I’m going to recreate the vintage necklace.
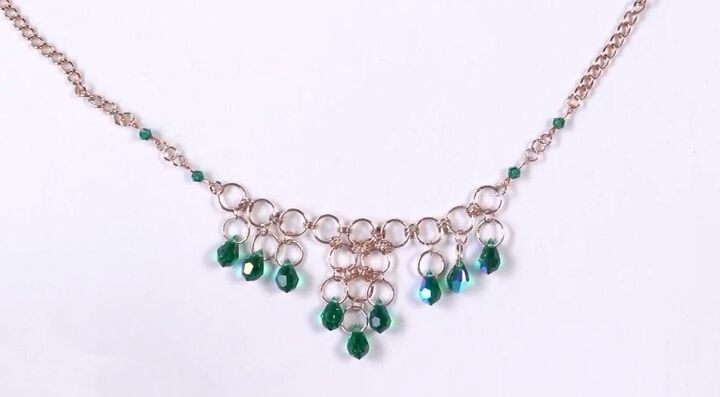
Basically, this necklace is made using the chainmail technique but on a much smaller scale.
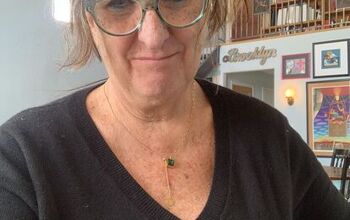
Please note that this is not a beginner project. If you’ve never used jump rings before, then you can watch this video but I suggest you start on one of my easier projects like the necklace I’m wearing in the video.
Materials
To make this necklace you will need:
- 10x6mm Emerald Czech Glass Faceted Drops x9
- 4mm Rose Gold Jump Rings x48
- 8mm Rose Gold Jump Rings x21
- 6mm Rose Gold Jump Rings x1
- 3mm Teal Crystal Glass Faceted Bicone x4
- 12mm Rose Gold Lobster Clasp x1
- 5x3.5mm Rose Gold 304 Stainless Steel Curb Chain x28cm
- 22 Gauge Copper German Style Wire x 10cm
Tools
The tools I used to make these earrings are:
Instructions
Watch the video or read the instructions below. Scroll to the bottom for the layout diagram which will make things easier to follow.
Open the Jump Rings
Before you start open all of the 4mm jump rings. This will make it much easier to attach them as you won’t have to put your work down when joining the rings together.
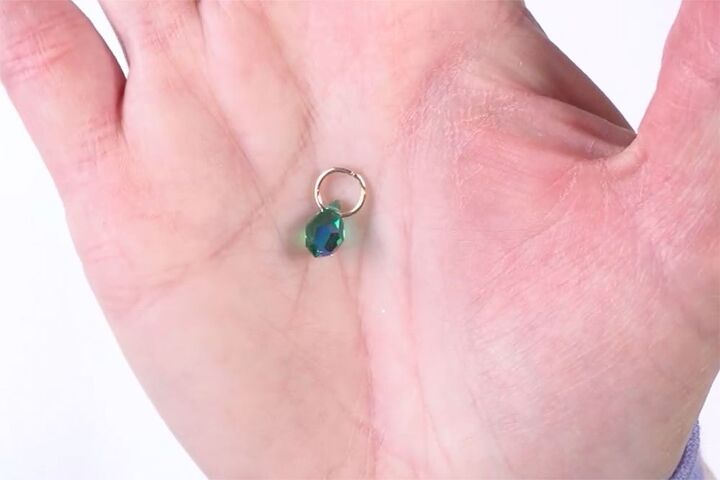
Make the Dangles
Even though the original necklace used triangular shaped jump rings, today I’m just going to be using the 8mm jump rings.
Open one of the 8mm jump rings and thread through the hole of one of the drops. Close the jump ring.
Repeat until you have nine dangles.
Joining the Jump Rings
This is the best technique I’ve found to join the jump rings into the chain mail.
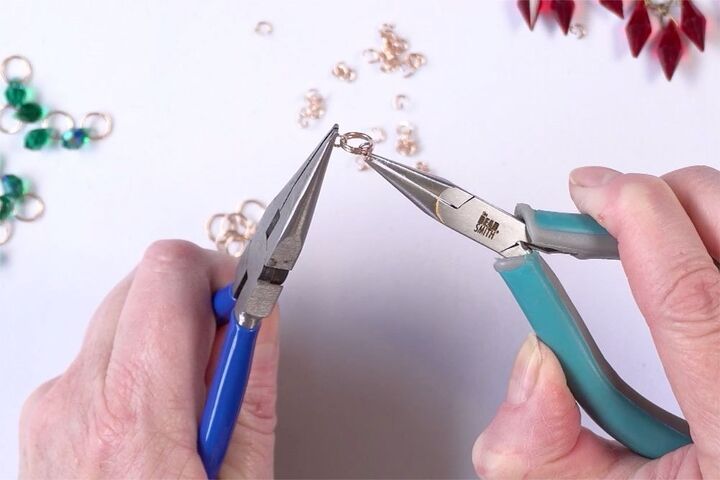
Holding two of the 8mm jump rings in the pliers with your non-dominant hand, thread a 4mm jump ring through both rings, then close the jump ring.
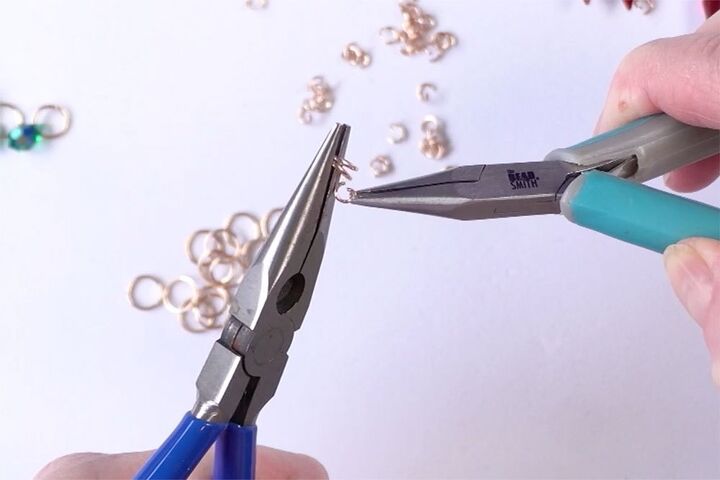
Next, hold the 4mm jump ring you have just closed in your pliers with your non-dominant hand. Then hook another 4mm jump ring through the two 8mm jump rings. Close the jump ring.
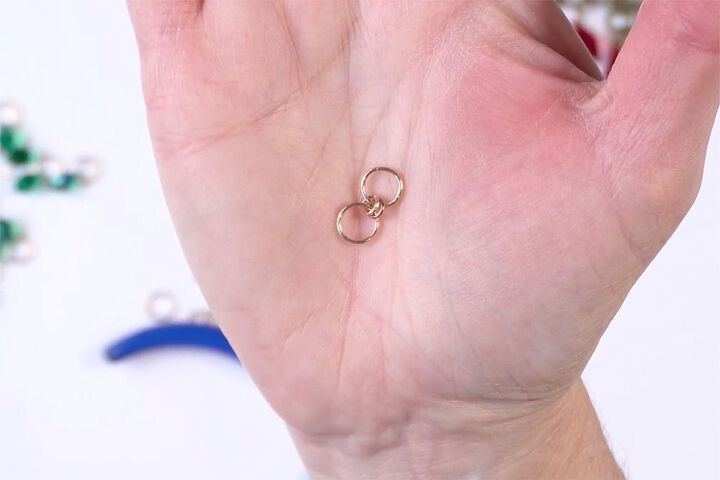
Now youwill have two 8mm jump rings joined together with two 4mm jump rings, likethis.
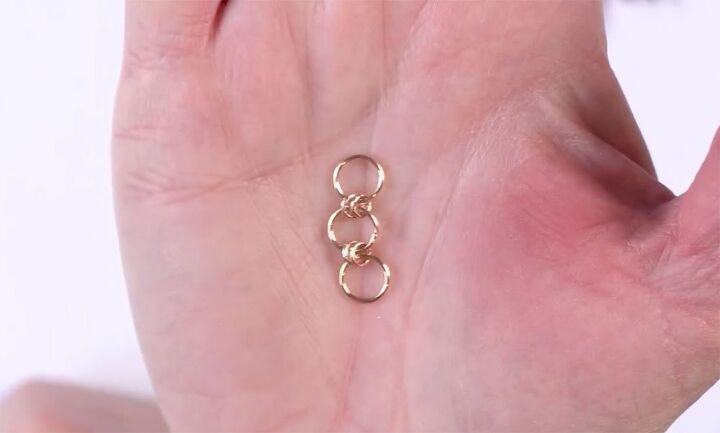
Repeat that process until you have nine jump rings joined in the same manner. This is called the “main chain” from here on in.

Make the Focal Chain
To make the focal, join three more 8mm jump rings with two 4mm jump rings in a chain. This is called the “focal chain”.
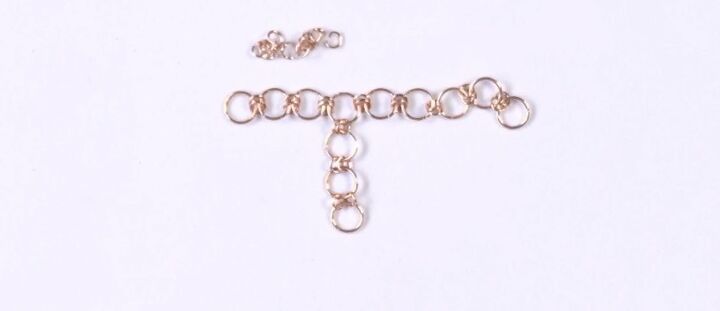
Hold the fourth ring of the main chain in your pliers in your non-dominant hand. Add the end ring of the focal chain that you just made. Hang them from your pliers, like before and thread a 4mm jump ring through both rings. Close the 4mm jump ring. Repeat.
This forms an off-centre T.
Next take the other end of the focal chain and join it to the sixth 8mm jump ring in the main chain using two 4mm jump rings.

Using two jump rings as before, join the first and third rings of the focal chain to the centre ring of the main chain.
Attach the Dangles
The dangles are attached with only one 4mm jump ring. They are attached to the rings of the focal chain as well as rings 1-3 and 7-9 of the main chain.
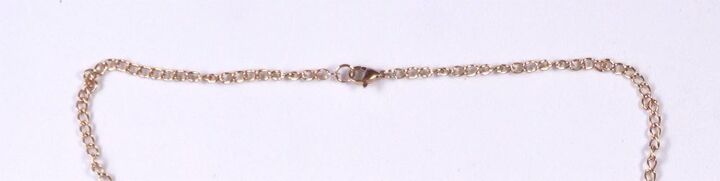
Make the Chain
The final piece of this puzzle is the chain.
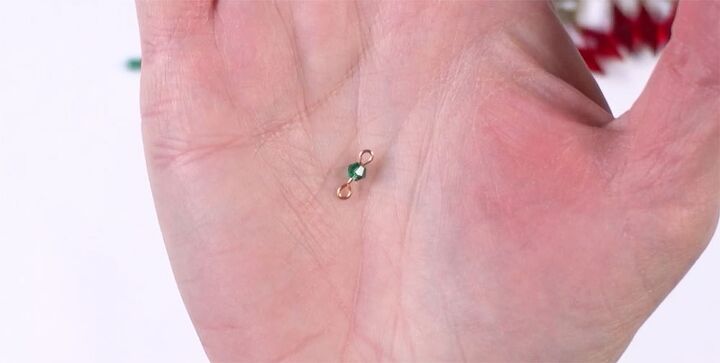
Connectors
To make the connectors, make a loop in the end of a piece of the wire. I used my 1-step looper but if you don’t have one, use the round nose pliers and this technique. Make sure that the loops are both facing the same way. Repeat until you have four of these connectors.
Connect the Pieces
Using a 4mm jump ring, attach one of the connectors to the end 8mm jump ring of the main chain. Attach two more 4mm jump rings and then another connector. Repeat for the other side.
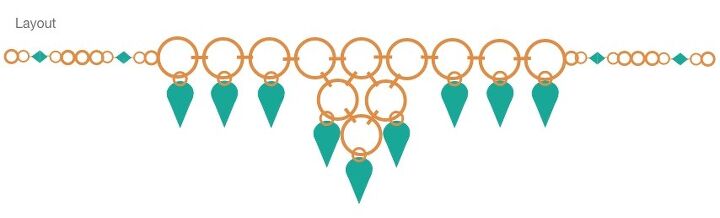
Layout
Here’s a layout diagram that may help you understand where everything goes.
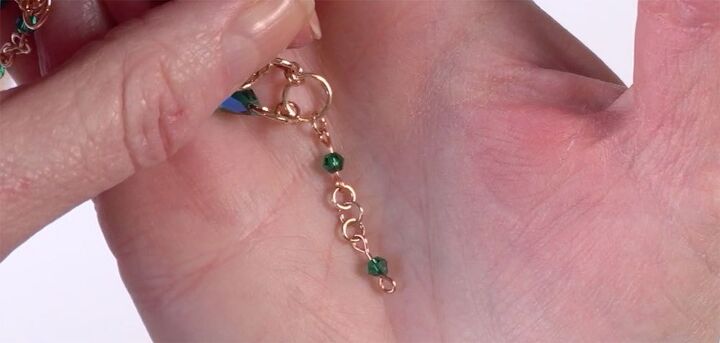
Attach the Chain
Cut the chain into two pieces. Attach one piece of chain to each end of the necklace with a 4mm jump ring. Repeat for the other side.
Add the Clasp
The final step is to attach the clasp but before you do that, check that the necklace is the right length, remembering that you need to allow approximately 2.5cm for the clasp.
Open a 4mm jump ring and thread on the end of the chain, as well as the loop of the clasp. Close the clasp.
For the other end of the chain, I used a 4mm jump ring and then a 6mm jump ring. Make sure that your 6mm jump ring is well closed, then add it, along with the end of the chain, to the 4mm jump ring. Close the jump ring.
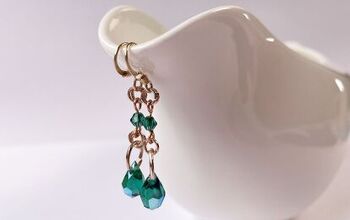
This necklace was actually a gift for my sister, who loved it. She’s asked for matching earrings so I’ll have to think on that. Watch out for a tutorial on those coming up soon.
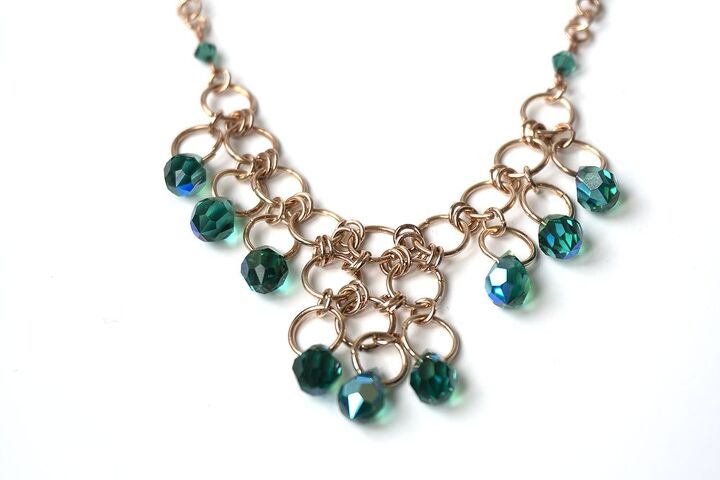
The Comparison
How do you think I went? I know it’s not exactly the same but I’m pretty happy with it. I could have waited to find the exact components but I think I would have been waiting forever.
If you would like to see more tutorials, subscribe to our YouTube channel and ring the notification bell so you will never miss a thing.
⇓ REMEMBER TO PIN THIS PROJECT FOR INSPIRATION AND SHARE WITH YOUR FRIENDS!!⇓
If you like my blog be sure to click on the RECOMMENDED button and SHARE it with your friends! It’s the best way for my blog to grow so I can continue to give you great content. I would love for you to be part of my family so sign up to receive my emails. Every time I post a blog, I will send you an update email. Also, follow me on Facebook HERE, Instagram HERE and Pinterest HERE.
Come by and say Hey!
The author may collect a small share of sales from the links on this page.


Comments
Join the conversation