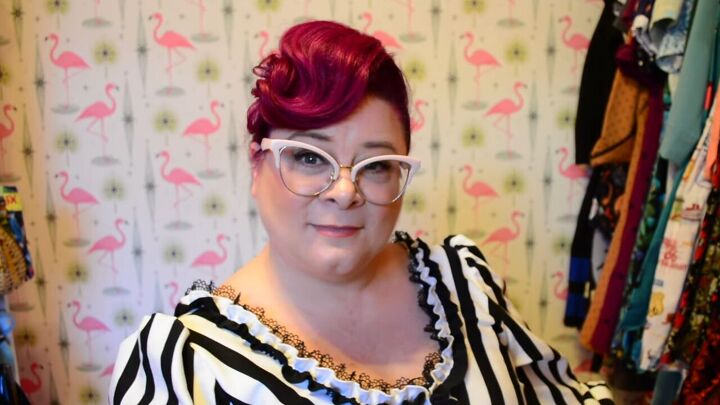
How to Easily Do a 1950s-Inspired Vintage Ponytail

Hey, everyone! Today, we’re throwing it back and going old school for this quick and easy 50s-inspired vintage ponytail hairstyle. Let’s get started.
Tools and materials:
- Clips
- Curling iron
- Brush
- Teasing brush
- Hair pins
- Pomade
- Hairspray
- Comb
- Faux ponytail
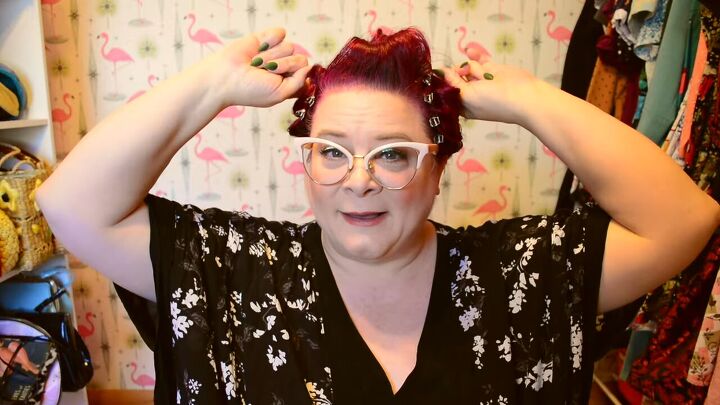
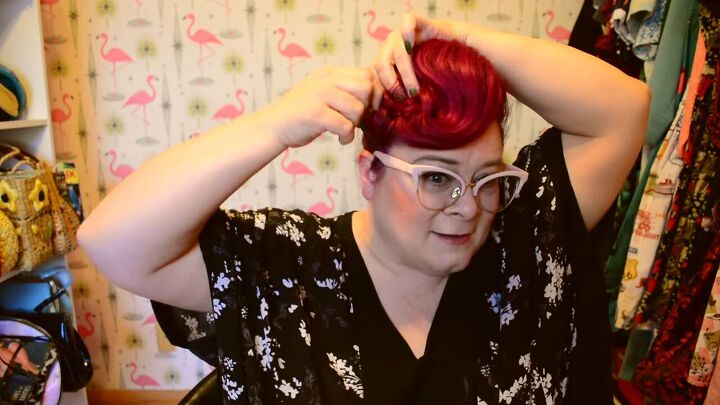
1. Curl your hair back and under
For this look, you’re going to use your favorite curl method. I’m using my good old curling iron and just rolled everything back and everything under and secured it with clips.
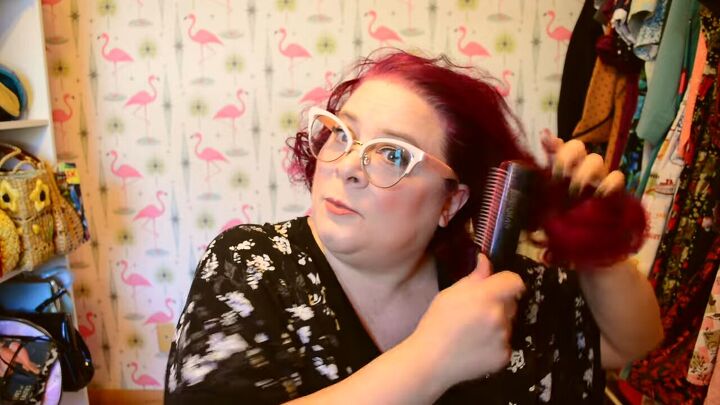
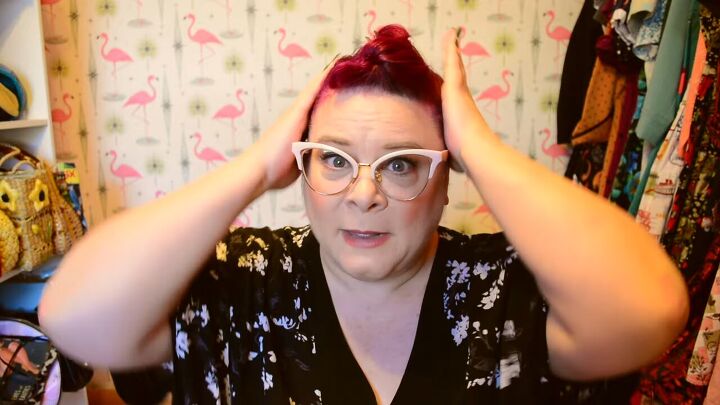
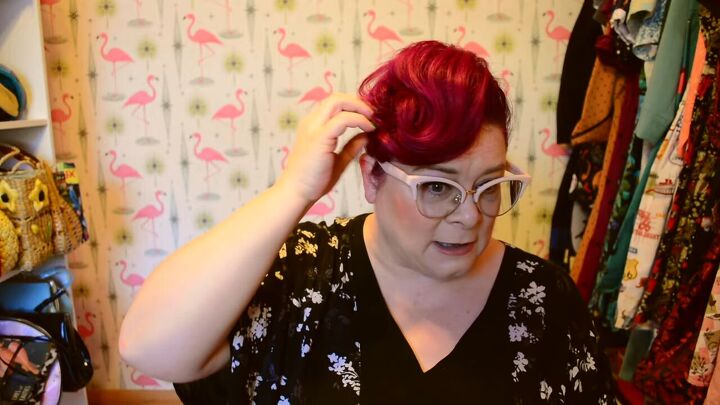
2. Brush through the curls
Take out all of the clips and give your hair a quick, light brush through.
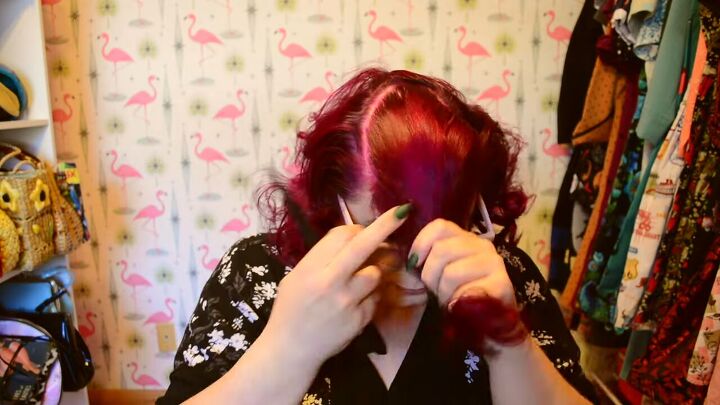
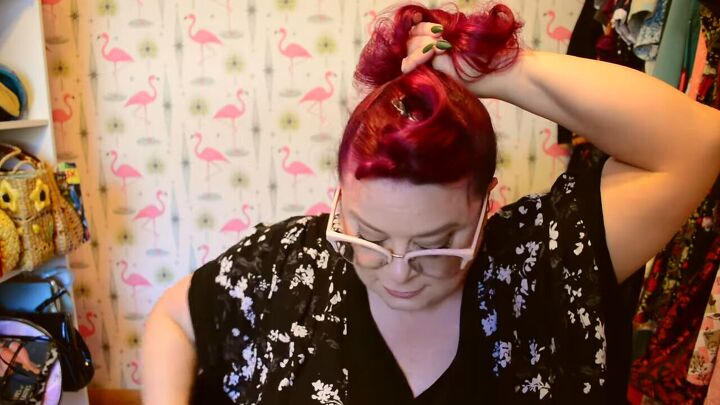
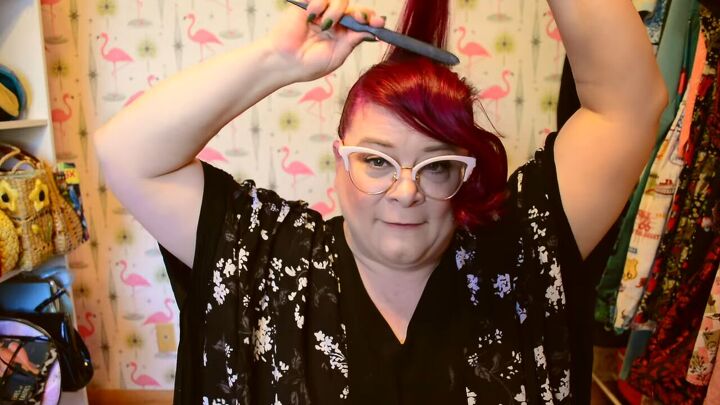
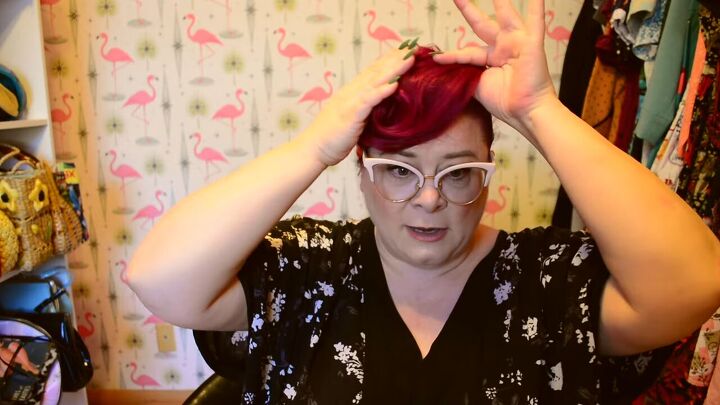
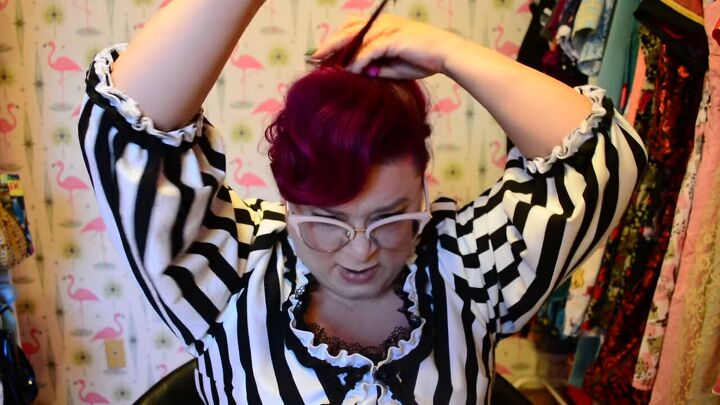
3. Section hair into a U-shape
Now, take a teasing brush and use the end of it to section off the hair in a giant U-shape. If it resembles a little bit of a V, you should be fine as well.
Pin up the section you separated before moving on.
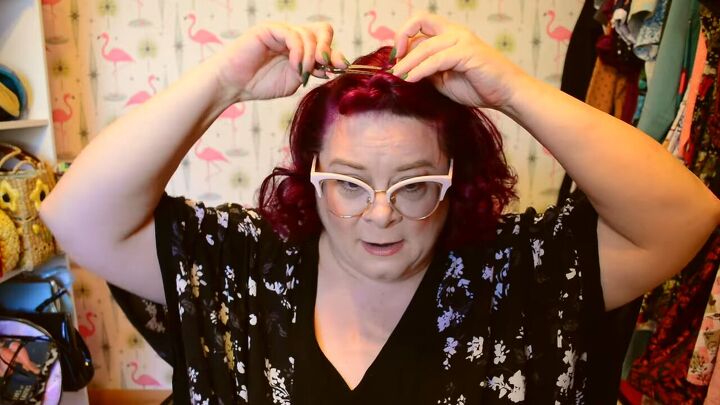
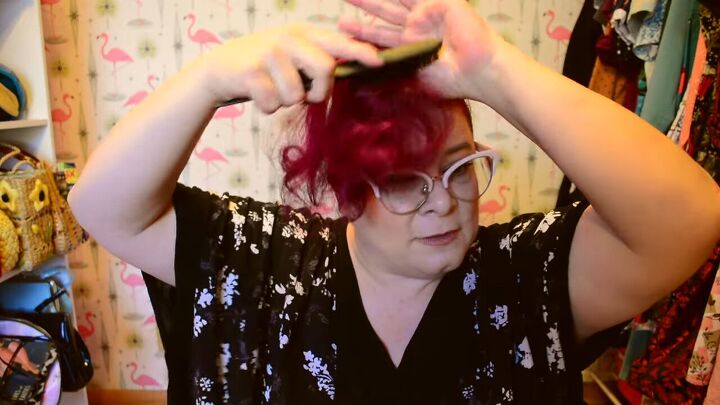
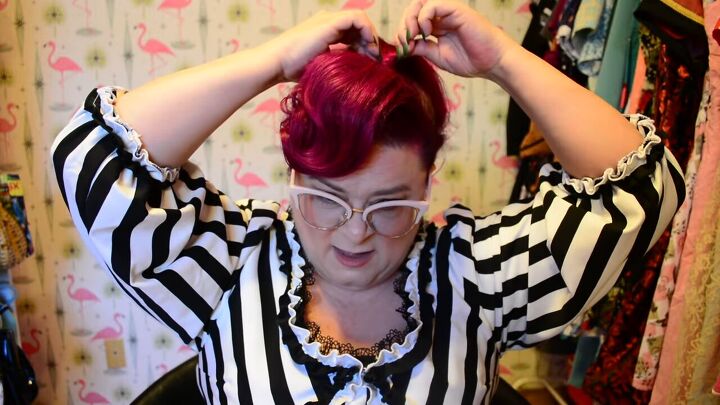
4. Brush the remaining section into a ponytail
Take the rest of your hair and brush it up into a high ponytail. Tie it off right behind the hair that you just sectioned.
5. Tame flyaways with pomade and hairspray
To tame any of your flyaways, use a pomade. Even if you’re using a lighter-weight pomade, make sure you’re not using too much of it because it can lead to a very greasy look. If that’s the look you’re going for, that’s great, but otherwise, avoid it.
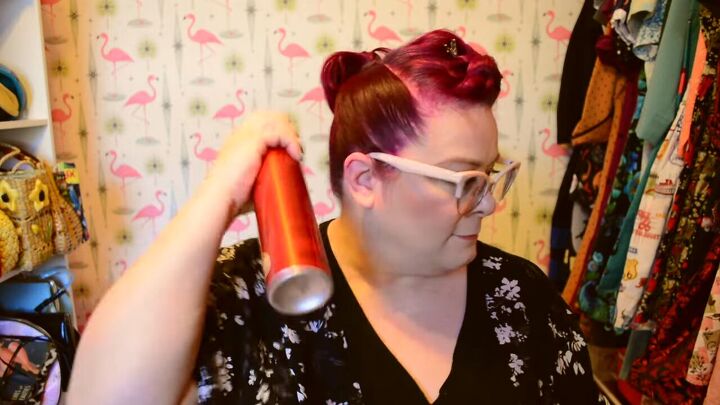
Set into place with hairspray.
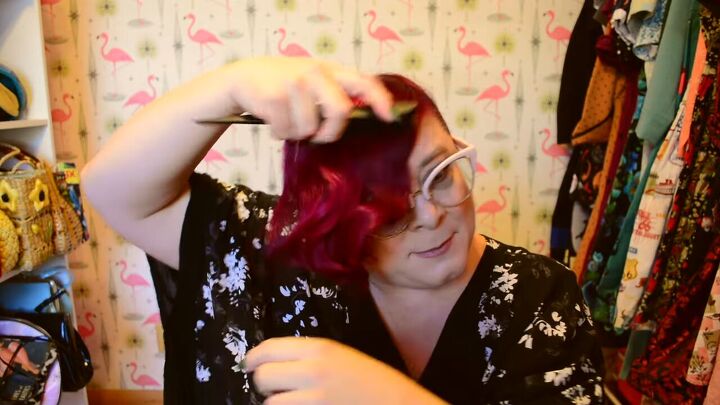
6. Backcomb the front section
Take down the front section and comb it to the side.
Then, in sections, backcomb on the front side of the hair instead of the back because you want the hair to lay more forwards than backward. Backcomb right at the base. Hairspray it.
7. Comb over the outside and the ends
Next, take your teasing brush and lightly comb over the outside of the hair.
Hold on to the ends and brush right through them so the ends are nice and smooth.
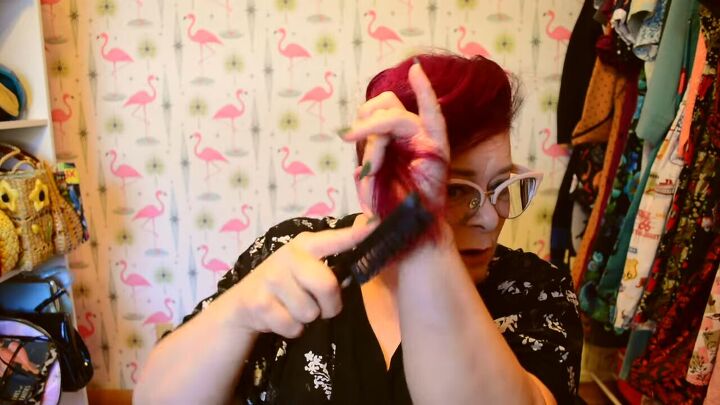
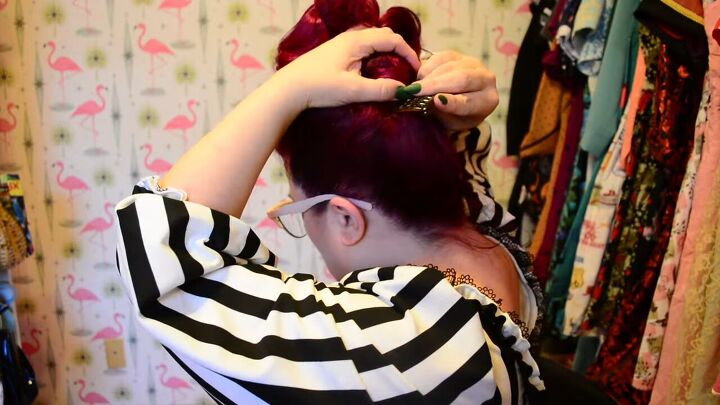
8. Pin the curls
Next, take the curls at the end and squish them up into the divot, or bend, that’s in the hair.
Place bobby pins into the curls to secure.
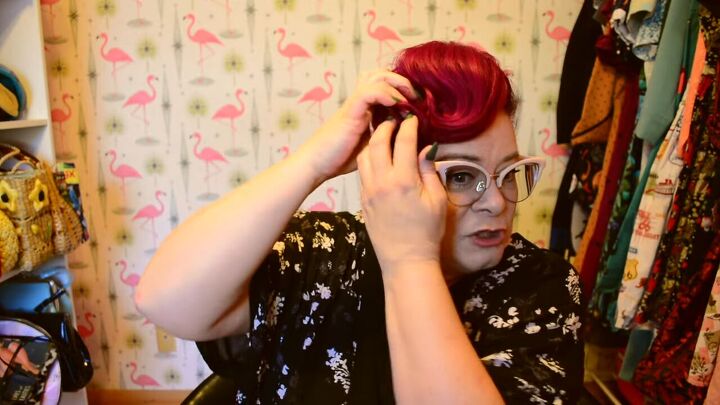
9. Fluff and fix the curls
Use your fingers to fluff up any curls. If there are any gaps, you want to get in there and massage them closed. Just make sure you like the way the bang looks.
If you need to pull it over a little more, take your finger and pull it slightly.
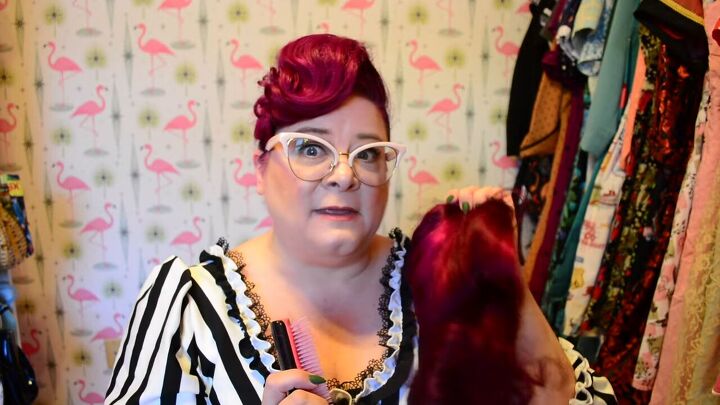
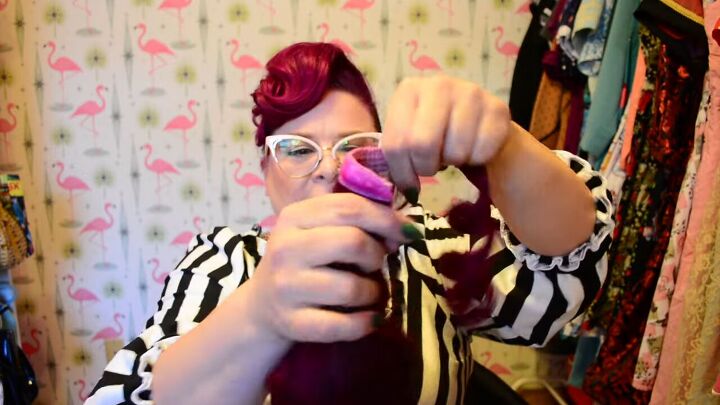
10. Curl and brush your faux ponytail
Now, we’re going to magically grow our tiny ponytail into something longer and fuller. With a faux ponytail! Go ahead and curl and brush it through before wearing.
To get a ponytail that matches my hair color, buy a platinum one and make sure the hair is dyeable. Usually, it’s human hair grade that’s dyeable. You also want to ensure the hair is heat resistant, giving you many more options with styling. You can use hot rollers, foam rollers, and curling iron.
11. Apply pomade to the faux ponytail
The curling and brushing can lead to some static and flyaways in the hair so put a little bit of pomade on it as well.
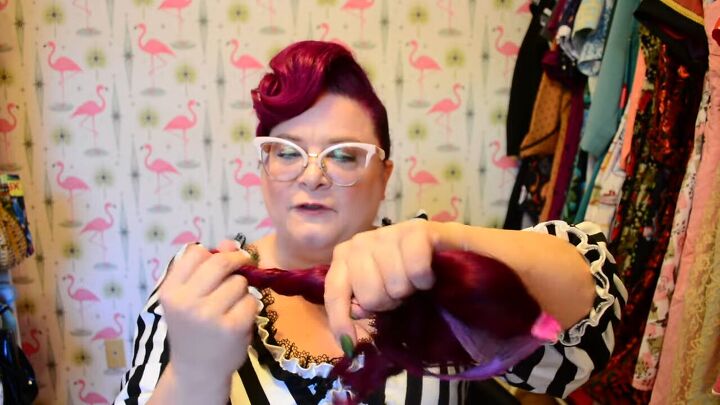
12. Twist the ponytail
Gather the ends up and twist them around your finger.
A lot of 50s ponytails were more uniform, so you want it to look a bit more like that.
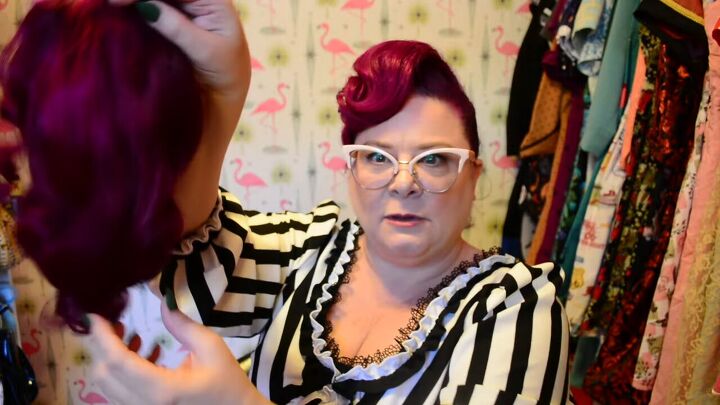
13. Put on the ponytail
There’s a little comb on the ponytail, so that comb is going to stick right into your ponytail.
Then, wrap the velcro section underneath your ponytail. It’s going to wrap up and around the ponytail. Keep wrapping the hair around until it covers up all of the velcros.
Pin it down so the hair doesn’t unravel there.
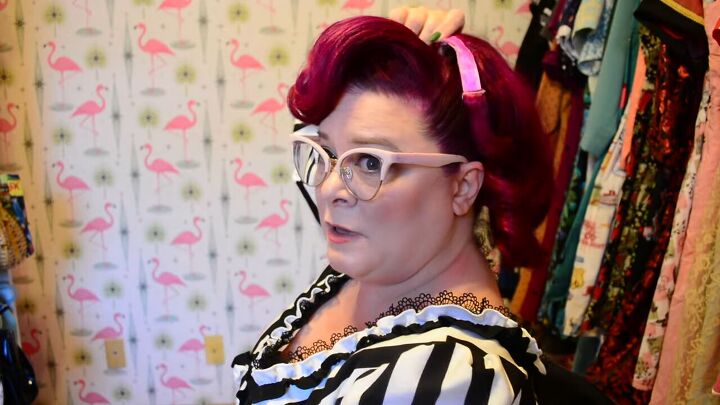
14. Place a comb under the ponytail
Sometimes the weight of the faux ponytail can pull your actual ponytail down, so take a comb and just lift the hair and place the comb right underneath all of it. It just gives it a bit more support and a bit more height in the actual ponytail.
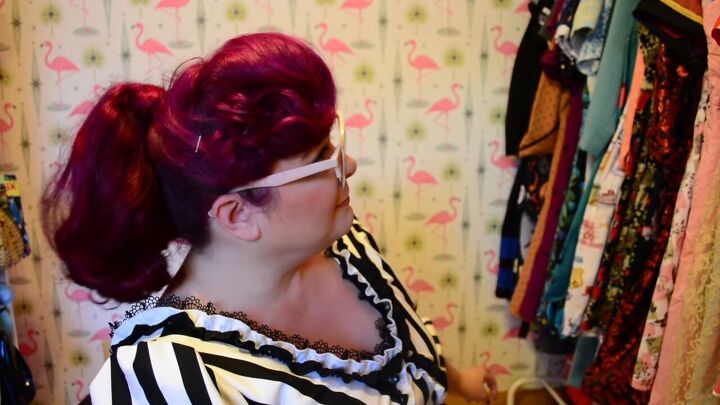
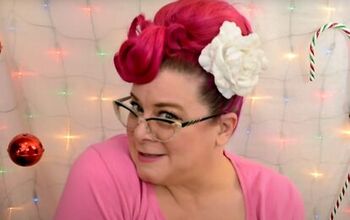
Vintage ponytail tutorial
Here’s the finished look! I hope you guys enjoyed today’s 50s vintage ponytail hair tutorial. Let me know down below what you think of today’s look and if you own faux hair as well. I’d love to hear about your experiences.
The author may collect a small share of sales from the links on this page.


Comments
Join the conversation
So cute! You are adorable! Thanks for sharing!
Aren't you adorable and fun!