How to Create a Gorgeous Vintage Updo for the Holidays

Here’s a new, easy vintage holiday updo that is great if you have lots of hair! If you don’t have lots of hair, then I’ll give you a hack to make up for that.
You’re going to love this Christmas hairstyle because there is absolutely no teasing or back-combing involved.
So, what gives this updo its lift? Follow along and find out what the magic is!
Tools and materials:
- Hair extensions (optional)
- Curling iron
- Hair pins
- Hairbrush
- Ponytail holder
- Chignon form or fishnet stockings and stuffing
- Hairspray
- Hair accessory

1. Add extra curl to your hair
If your hair needs a bit of extra curl before you start styling this holiday hairstyle, curl the ends with a curling iron and then roll it up and pin.
The size of the rolls really doesn’t matter much at this stage.
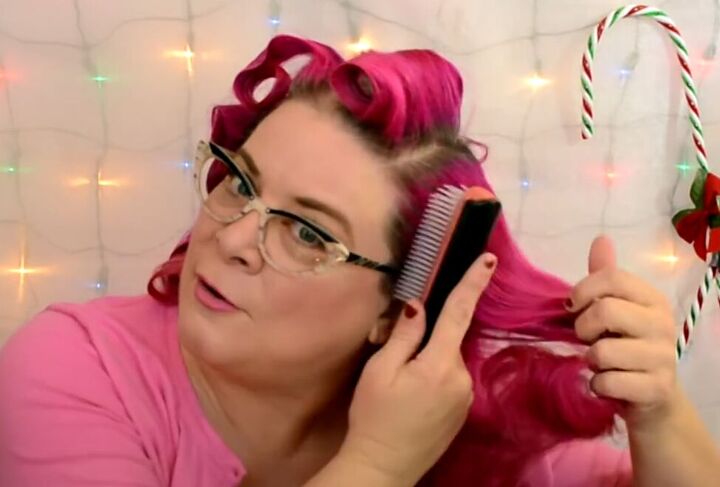
2. Brush out your curls
Once your curls have cooled down, take out the pins and give it a quick brush through.

3. Add hair if you need it
If you need more hair than you have for this holiday hairstyle, simply curl your hair extension the same way you did your own hair!

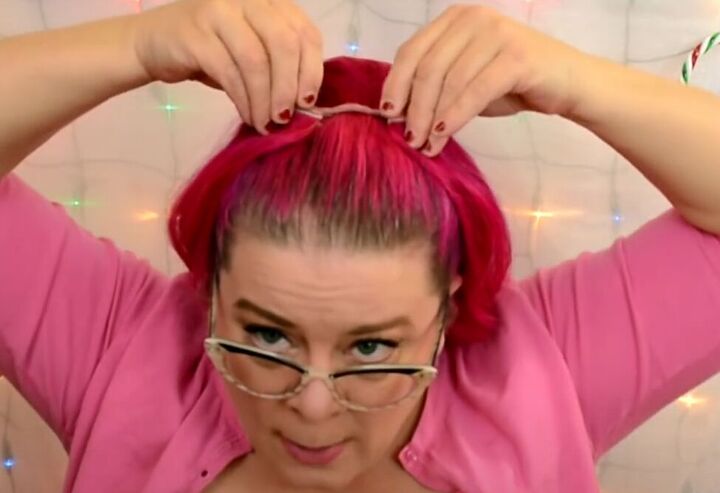
4. Start your updo
Bring all of your up to the top of your head and secure it with a ponytail holder.
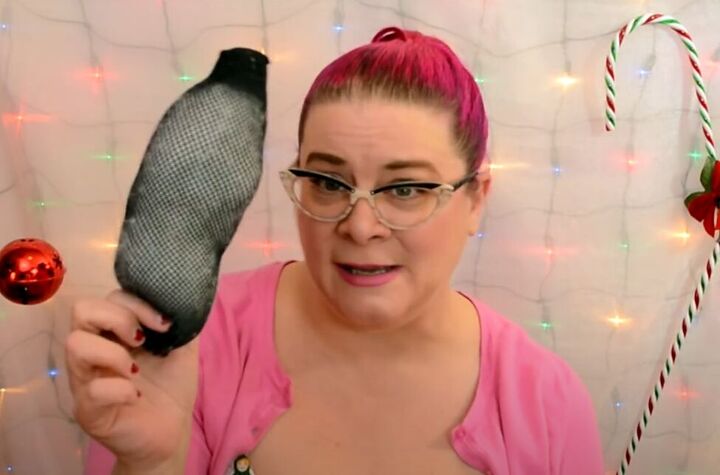
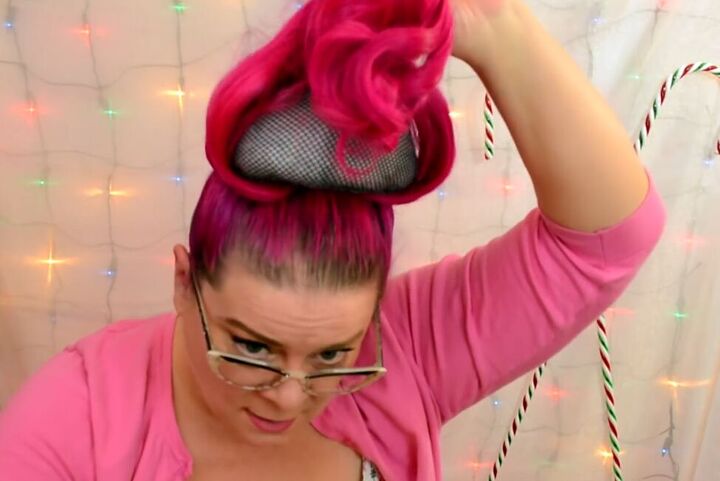
5. Here’s the no-tease hack
Since you’re not going to do any teasing or back-combing, you need a filler to give you that bump in your updo. I used a fishnet stocking stuffed with white pillow filling.
You could also fill it with more hair extensions, or anything you have. Don’t worry if it doesn’t match your hair!

6. Attach your hair extensions
Pin your hair extensions right in front of the ponytail on the top of your head.
Curve the ends of the extension weft in towards the center of your head.
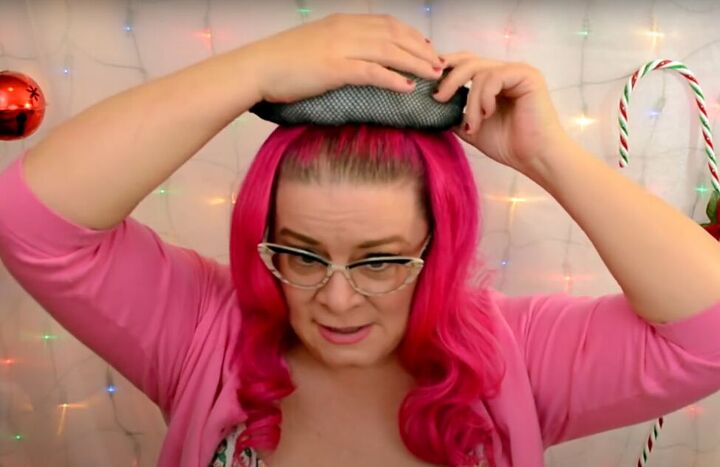
7. Add your filler
Place your filler piece right on top of your hair extension weft and pin it in place, starting with the two ends.
If you aren’t using extensions, then just place the filler in front of your ponytail.
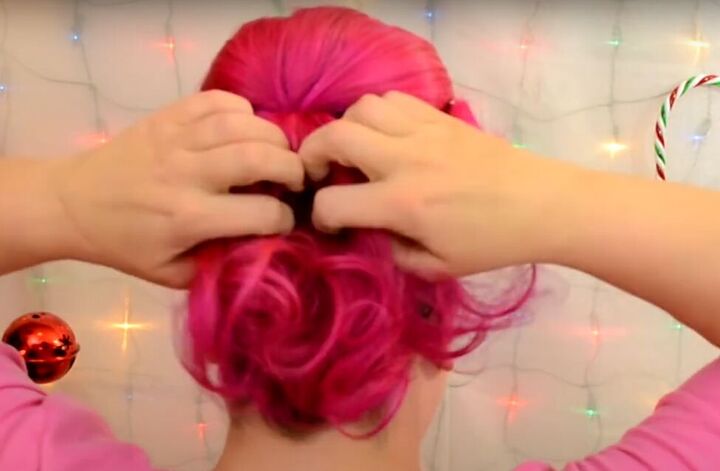
Now, if you are using extensions, bring all of the hair from the extension up over your filler.
If you aren’t using extensions, then take about half of the hair from your ponytail.

Brush the hair over the filler form, to hide the form.
Then pin your hair in place, first at the base of the form at both sides, then in front of the form.
8. Style the chignon
Now brush out the rest of the hair that you brought to the front, that is hanging in front of your filler form.
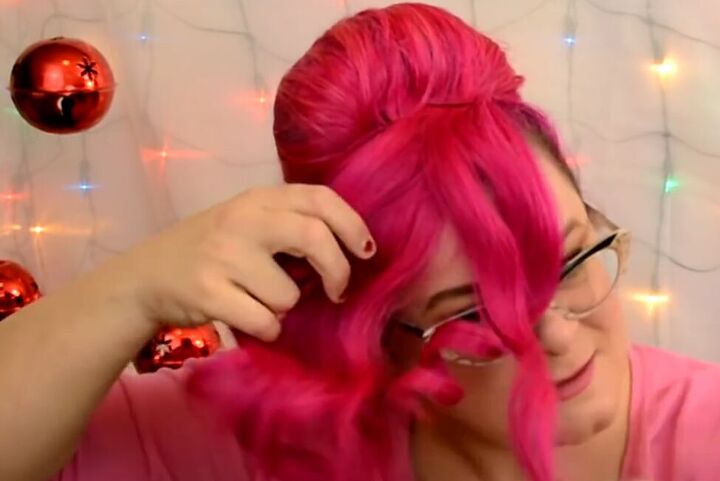
Separate that hair into sections, just so it’s not all in one bunch, and looks softer.

Keeping your hair swept down in front a bit, roll and fold it up to the side of your filler form.

Pin it in place at the bag of the form.

Use your fingers to make sure all of the form is well-covered.
9. Finish the chignon
Take a small section of hair from your remaining ponytail and wrap it around the bottom of your chignon.
Pin it in place to give a more finished look to the updo.
10. Add in the rest of your ponytail
Use your fingers to separate out the hair in the rest of your ponytail, so it’s not a tight bunch.
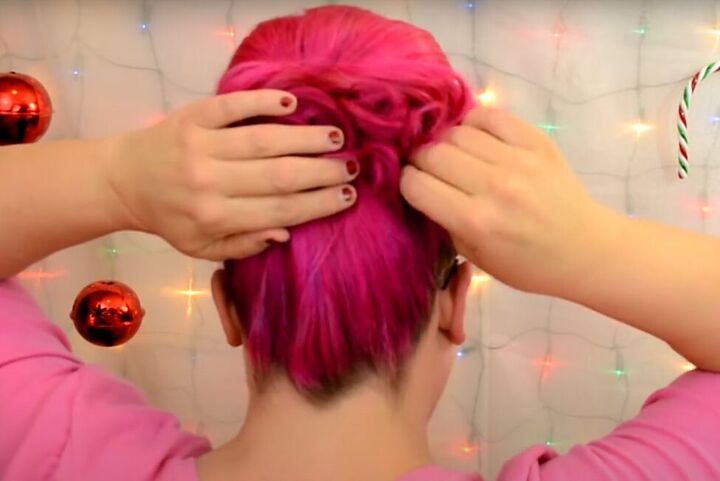
Cup the ponytail hair in your hands and lift it to where the ponytail holder is.
Then, pin the ponytail hair in place at the bottom and the top.
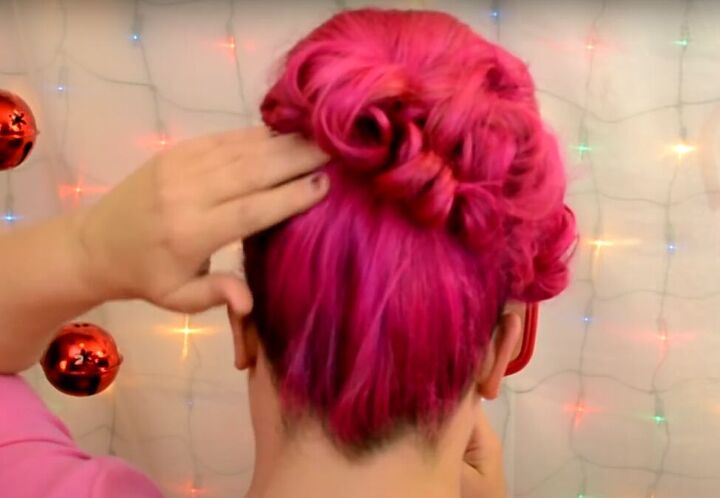
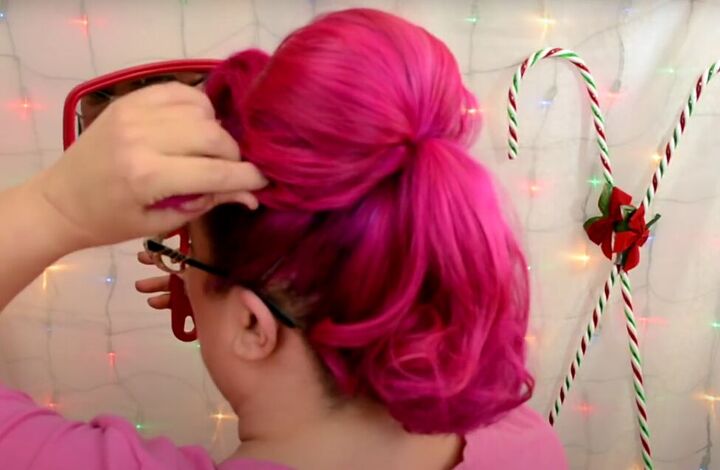
11. Create an asymmetrical look
I wanted the back of my updo to have a bit of an asymmetrical look to it.
So, I just used my fingers to push in some of the back curls on one side, pinning them in place.
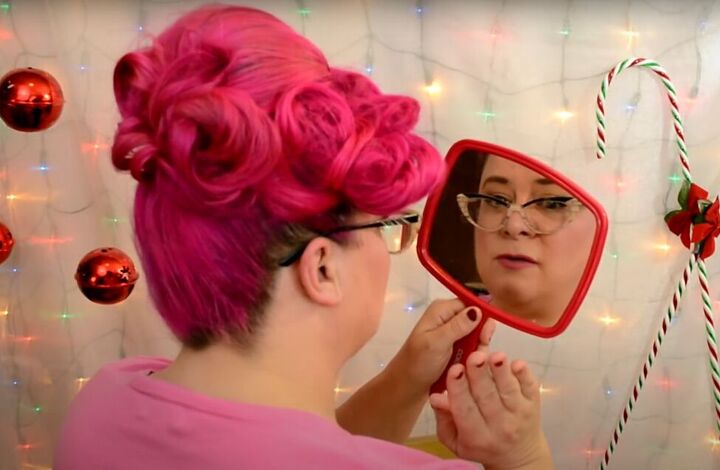
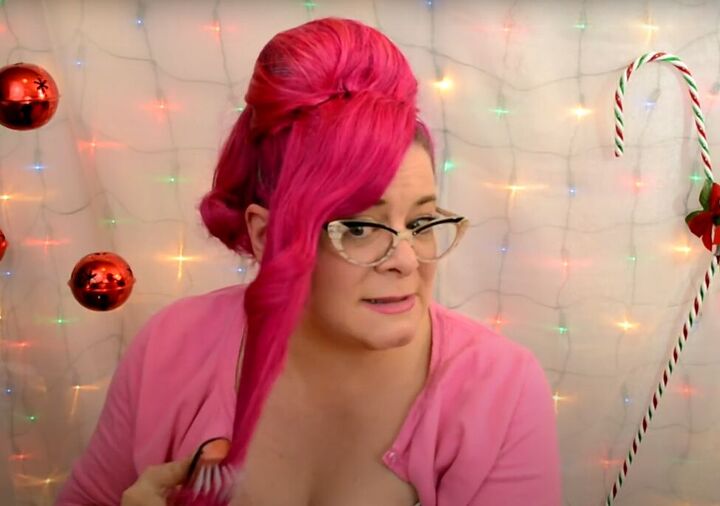
12. Add the finishing touches
Use mirrors to check out your Christmas updo from every angle, to make sure the form is completely hidden, and your curls are where you want them.

Give your whole updo a spritz of hairspray.
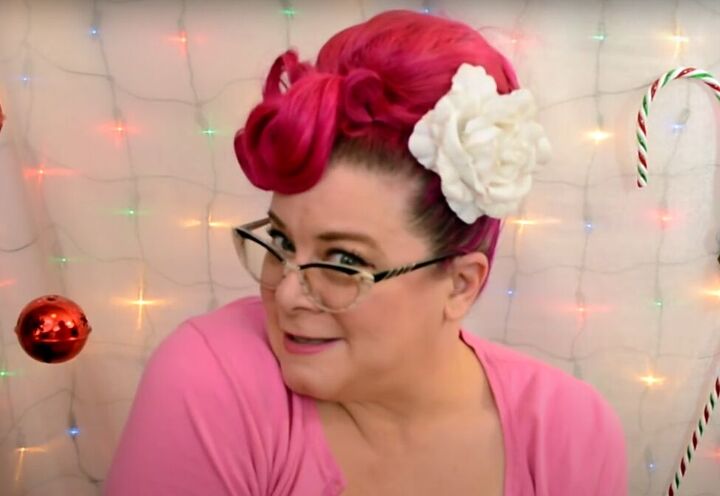
Add in a pretty hair accessory, and you’re all set for your Christmas party with this stunning holiday hairstyle.
Vintage updo for the holidays
This updo will last you through your whole evening, while you celebrate the holidays!
Give it a try and let me know in the comments how you liked this vintage updo.
For more hair content, check out my post on How to Easily Do a 1950s-Inspired Vintage Ponytail.
The author may collect a small share of sales from the links on this page.


Comments
Join the conversation