Make an Edgy and Chic Denim and Plaid Jacket

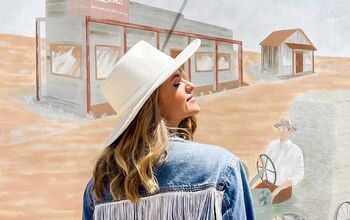
I recently saw a picture of Hailey Bieber wearing an amazing jacket and felt totally inspired! In this tutorial, I refashion an old denim jacket that needed a new purpose in life! I completely transformed my denim jacket into a chic and edgy plaid and denim jacket.
Tools and materials:
- Denim jacket
- 2 plaid shirts
- Scissors
- Chalk
- Measuring tape
- Ruler
- Pins
- Sewing machine

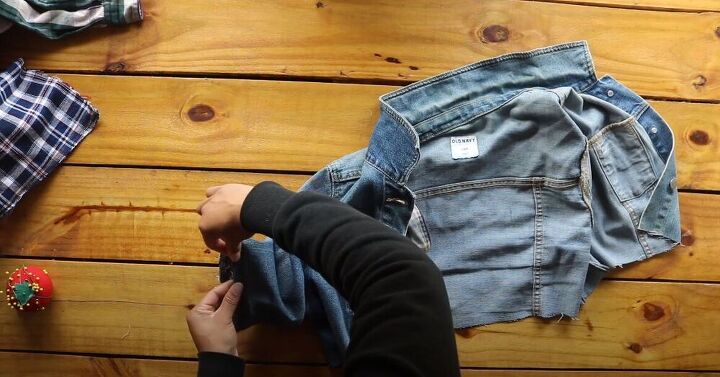
Cut the denim jacket
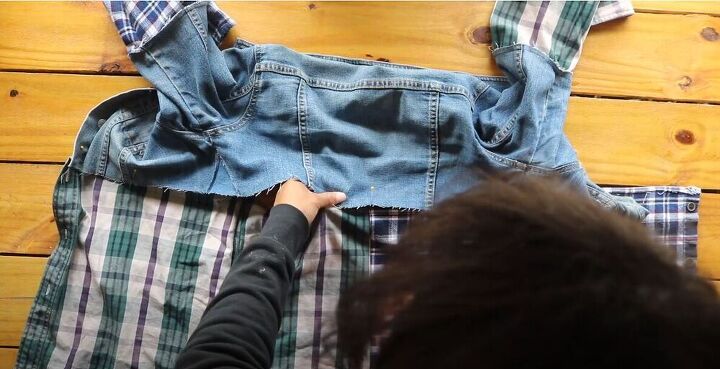
Start by marking where you want the denim part of your new jacket to end and the plaid to begin. I marked just above the pockets.
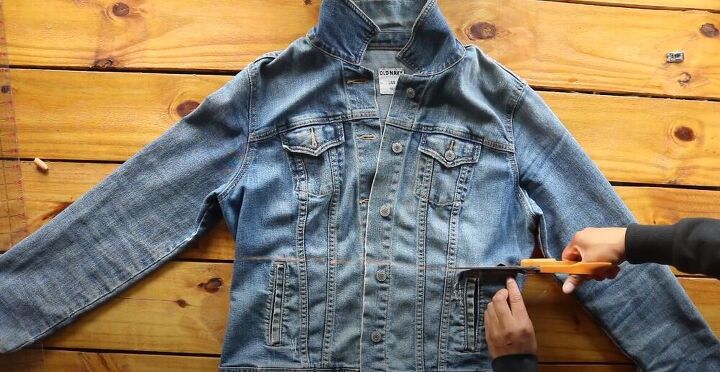
Grab scissors and cut across the line you marked.
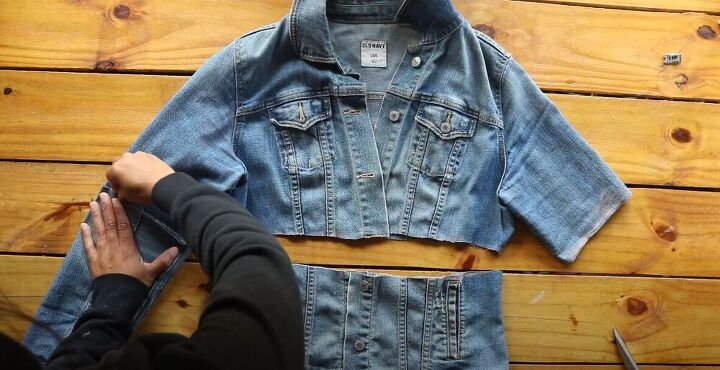
Then go ahead and mark and cut the sleeves.
If your denim jacket had a more curved, defined waist, you may want to cut open the side seams, stopping about half an inch from the armpit seam.
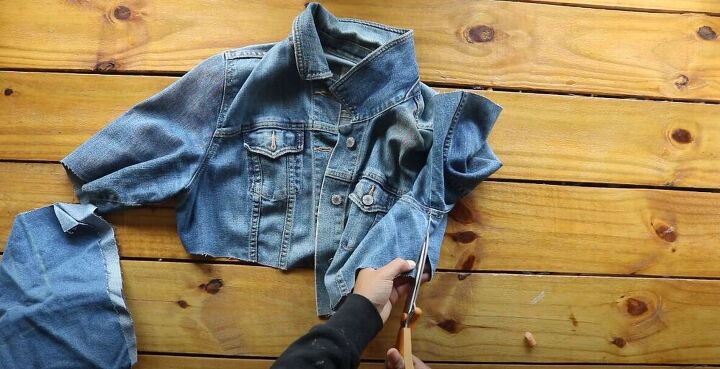
Add extra fabric
Use some leftover denim and cut two triangles to help expand the sides of the jacket.
Hem the two sides of the triangle pieces with a thin, single fold.
Then pin the triangle into the open side seam and sew it in place.
Go ahead and trim the excess fabric from the bottom before repeating on the other side.
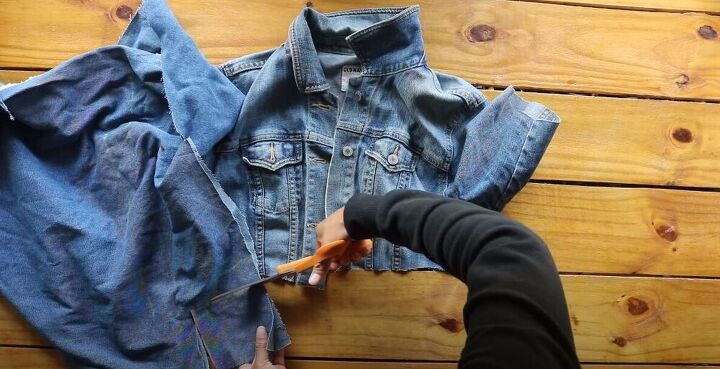
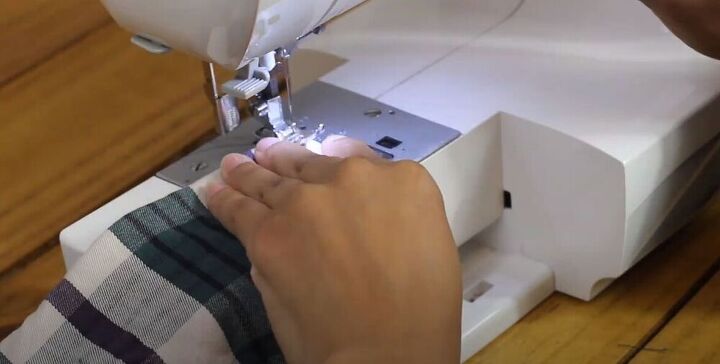
Add new, plaid sleeves
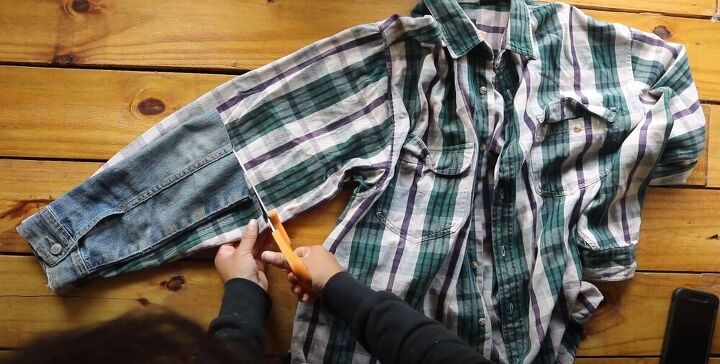
Starting with the plaid, you can go ahead and buy plaid fabric but it is much easier to use old or thrifted plaid shirts in this upcycle. Start by using the denim sleeve as a template and cut your new sleeve from the first plaid shirt. Cut using about a ¼ inch of seam allowance along the top.

Make sure to also mark the width of the denim sleeve on the plaid sleeve. Use pins to hold the fabric in place and then sew.
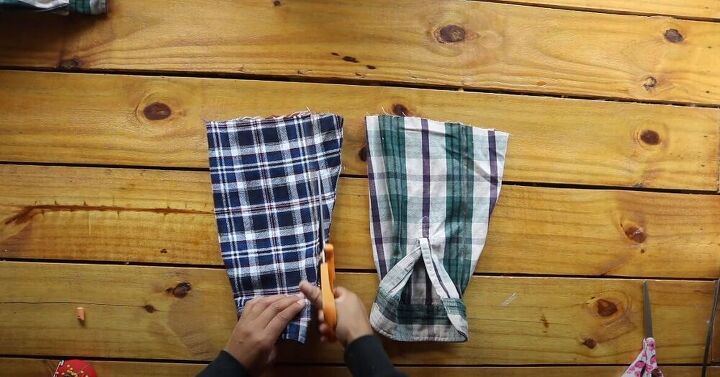
Repeat the same steps for the second plaid sleeve. Then go ahead and trim off the excess fabric.
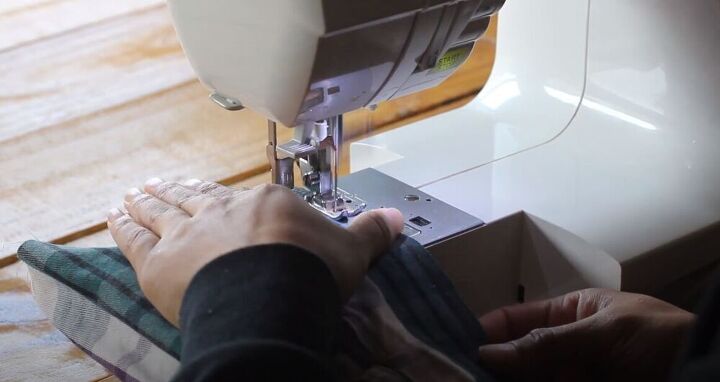
Finish the raw edges with a zig-zag stitch and a straight stitch through the zig-zag stitch.
Next, place the plaid sleeve, inside out, inside the denim sleeve, and line up the raw edges. Then pin the raw edges together and sew. Then go ahead and repeat this step for the other sleeve.
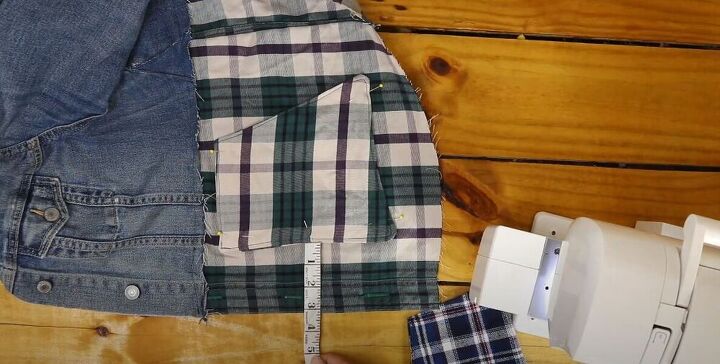
Add the plaid bottoms
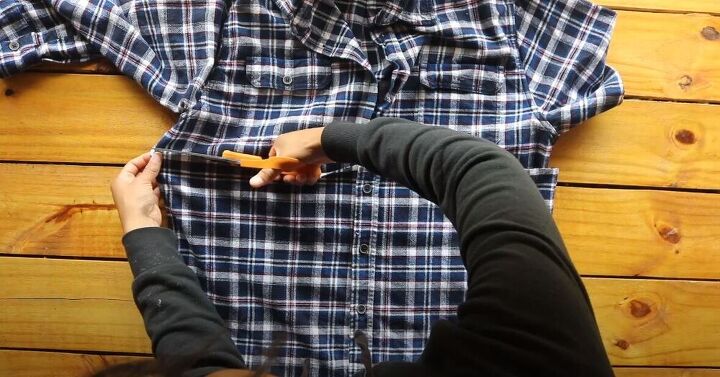
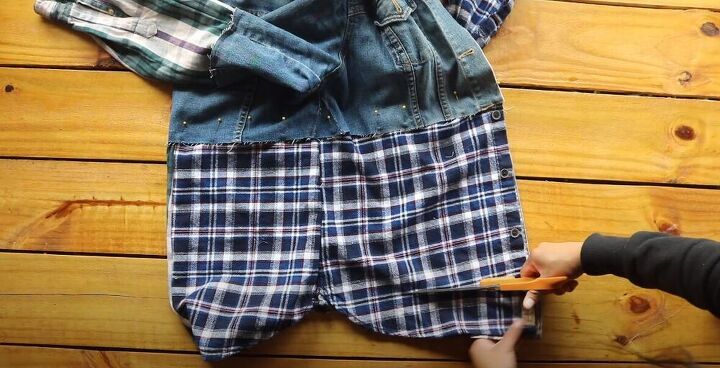
For the next step, you will need to cut the bottom half of the plaid shirts.
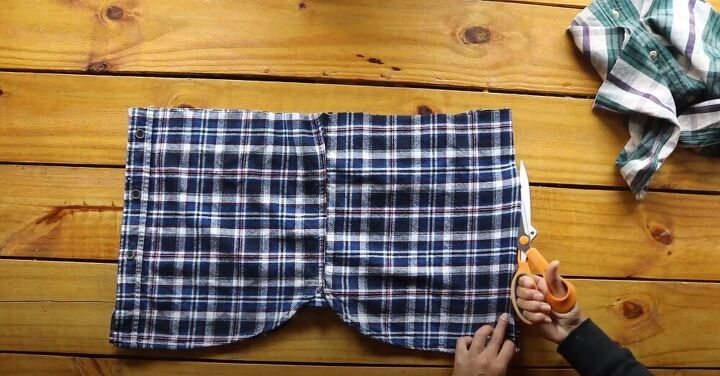
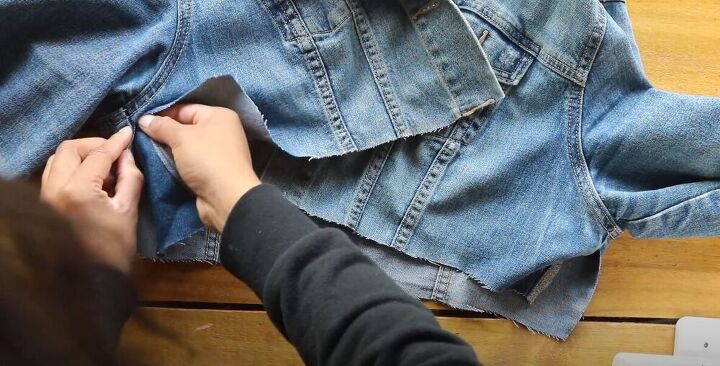
Line up the side seams of the plaid piece and then cut down the center at the back.
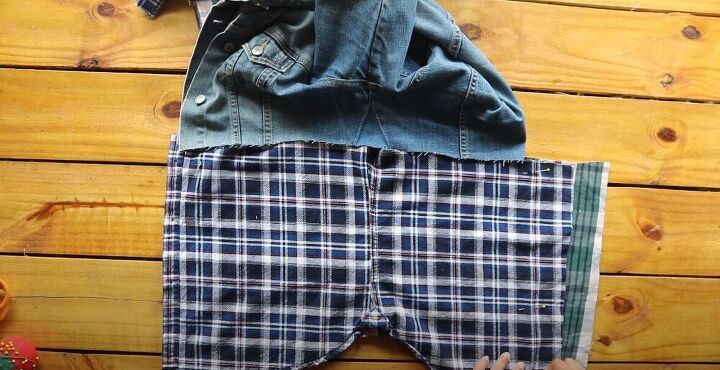
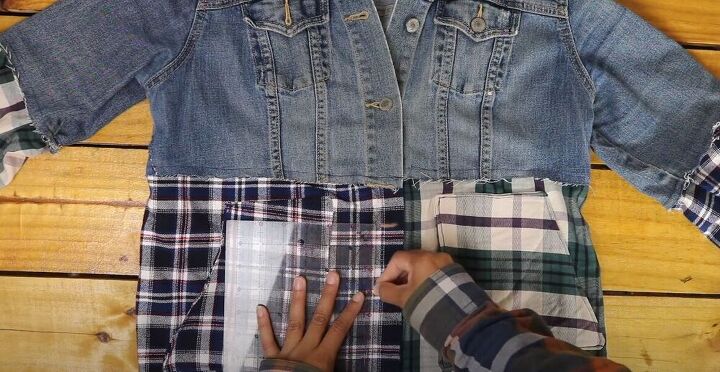
Fold the denim jacket in half, and pin the two plaid pieces together so that the top edge matches the length of the raw edge of the denim jacket.
Sew the two plaid bottoms together and then cut the excess fabric to get the correct length. Finish the raw edge with a zig-zag stitch and a straight stitch through it.
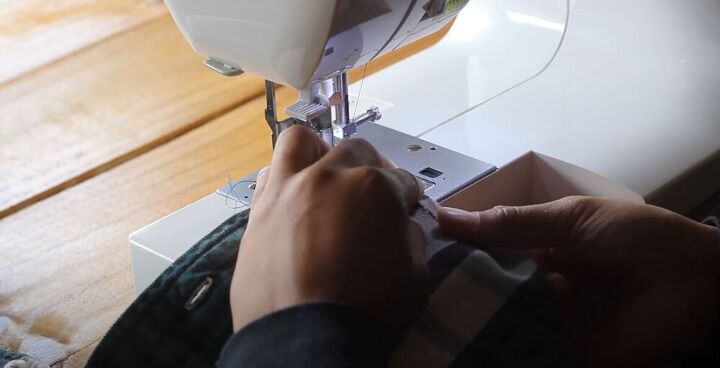
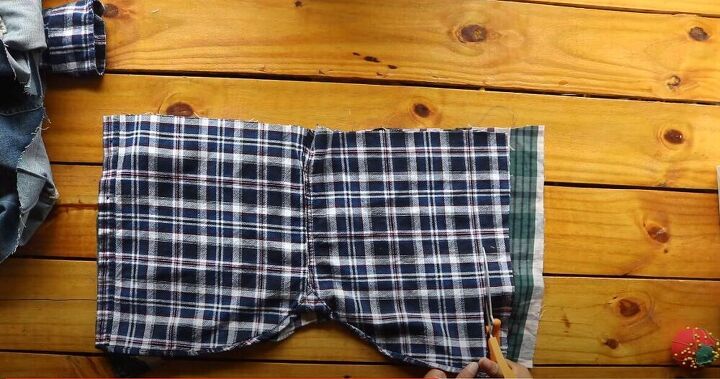
Then sew over the raw edge towards the right side of the plaid and sew to hem.
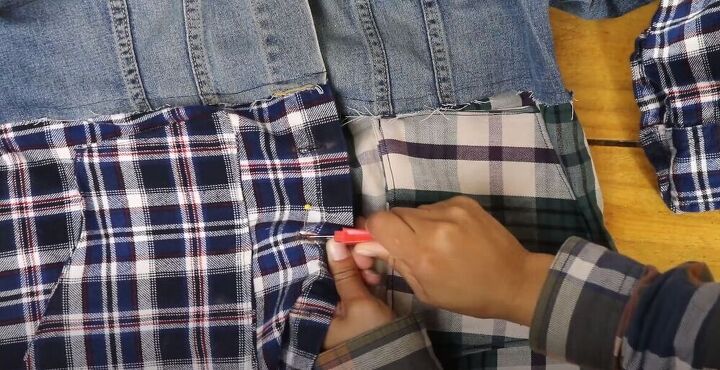
Next, pin the raw edge of the denim jacket to the hemmed edge of the plaid.
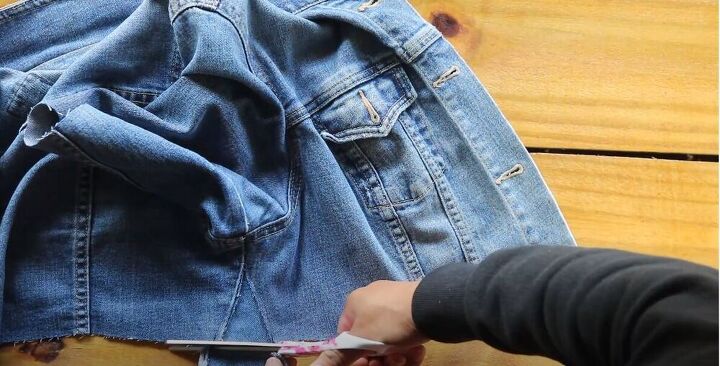
This is the perfect opportunity to try on your new jacket! When I tried mine on, before sewing, I decided I wanted a raw, straight edge so I cut the plaid. You can leave the bottom of the plaid intact if you prefer.
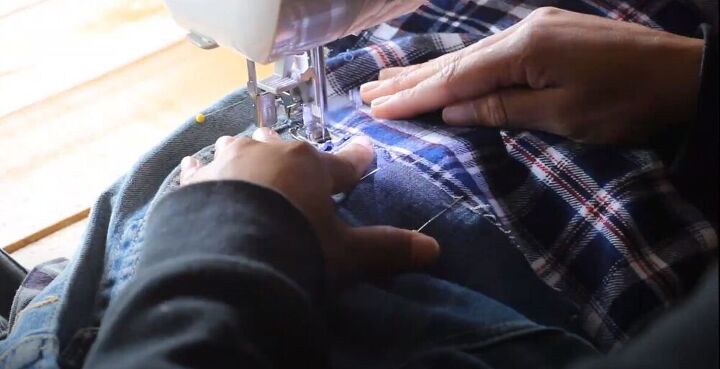
Go ahead and sew the plaid to the denim jacket.

Close the buttonholes and remove buttons
If you used plaid shirts, you may encounter the same problem I did. I didn’t concentrate on which piece had buttons and which had holes and I saw that the piece with buttons was on the wrong side. If you see this on your jacket, close the buttonholes by zig-zag stitching and seam rip off the buttons.
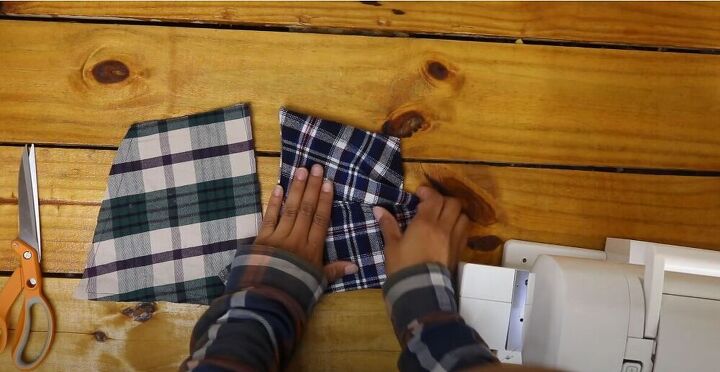
Attach pockets
Before making new buttons and buttonholes, cut two pockets from the extra plaid sleeves. Sew around the edges leaving one side open so that you can turn the pockets right side out.
Once you have turned the pockets, topstitch making sure to close the open side.
You can then go ahead and pin the pockets to the jacket and sew them on. Always measure to make sure that your pockets will be aligned.
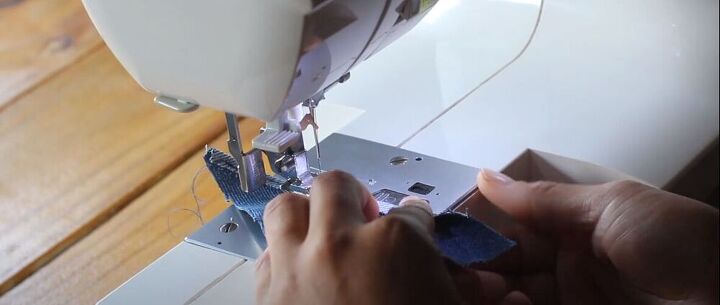
Make new buttonholes and add new buttons
Next, use a ruler and chalk to mark where you want your new buttonholes to be. Use your buttonhole foot to sew them.
Then use a seam ripper to open them up.
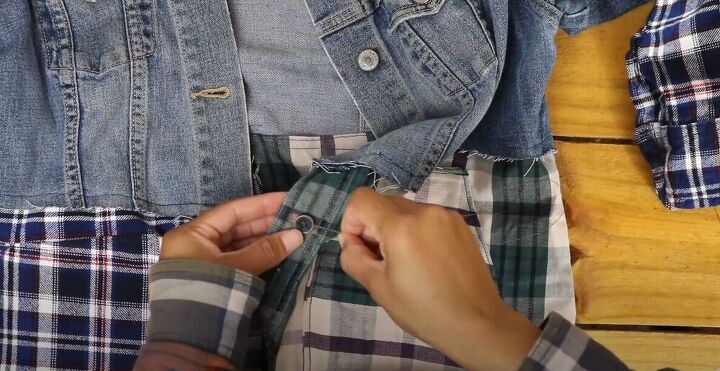
Finish off your new jacket by sewing on new buttons to line up with the buttonholes.
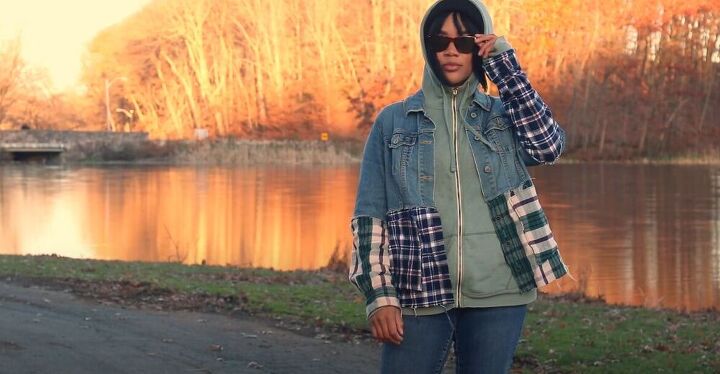
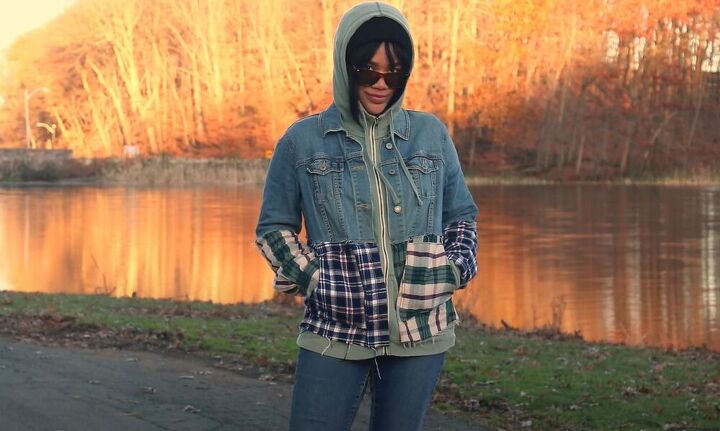
This jacket could not get more chic and edgy! I don’t ever want to take it off! I would love to hear what you think about this denim jacket upcycle! Share your thoughts in the comments below!
How to fold a jacket
The author may collect a small share of sales from the links on this page.


Comments
Join the conversation
Awesome idea. I'm going to try it.
I have an insulated denim jacket that my puppy chewed holes in...I have some plaid shirts I can repurpose...This shows me what I can do to 'repair' my denim jacket to make it useable again. Thank you!