Let’s Sew! Maxi Dress With Puff Sleeves

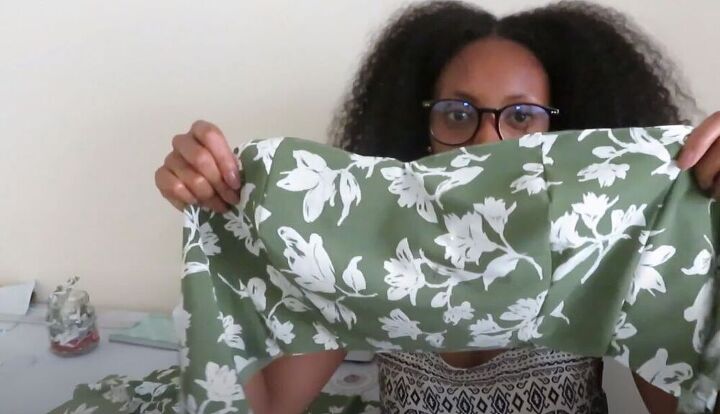
In this tutorial, I sewed a DIY maxi dress with puff sleeves. Not only do I love the fabric that I used, but I am so happy with the style of this dress as well! I feel like this project gave me an opportunity to perfect some skills and it really shows in the end result! Follow my steps as I put this stunning dress together
Tools and materials:
- Patterns
- Fabric
- Scissors
- Pins
- Safety pins
- Elastic
- Sewing machine
Cut the fabric
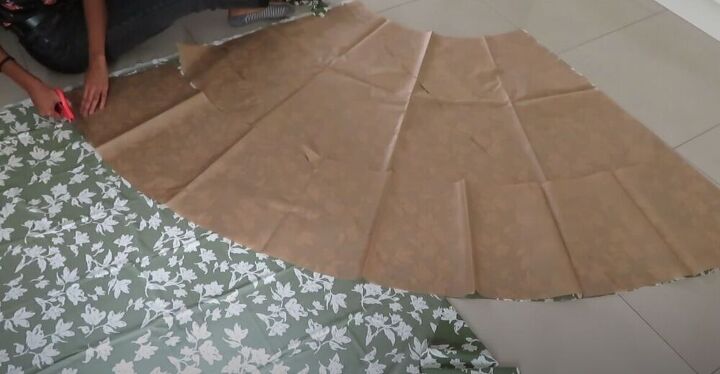
For the skirt of my dress, I made a very simple, quarter circle skirt. There are many circle skirt calculators on the internet. All you have to do is select whether you want a quarter, half, or full circle and put in your measurements.
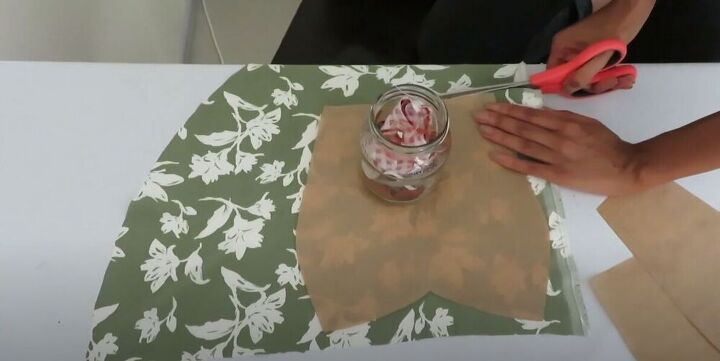
I then went ahead and cut the rest of the fabric pieces I would need to make the dress.
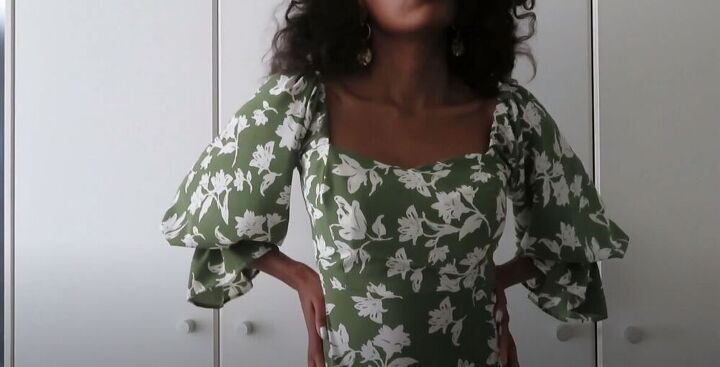
Sew the bodice
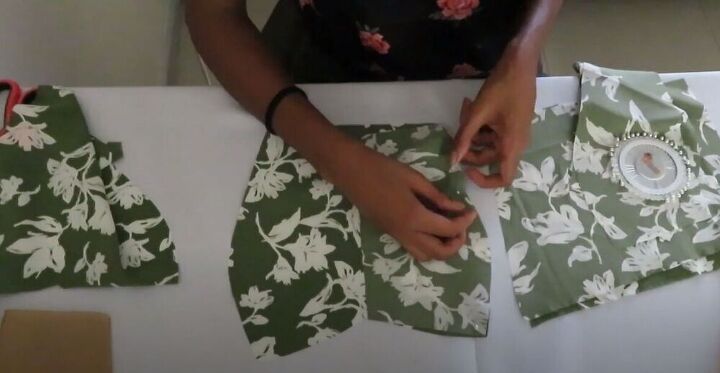
Once I had all the pieces cut out and ready, I would begin assembling the dress. I started by pinning the front and back bodice pieces, right sides together.
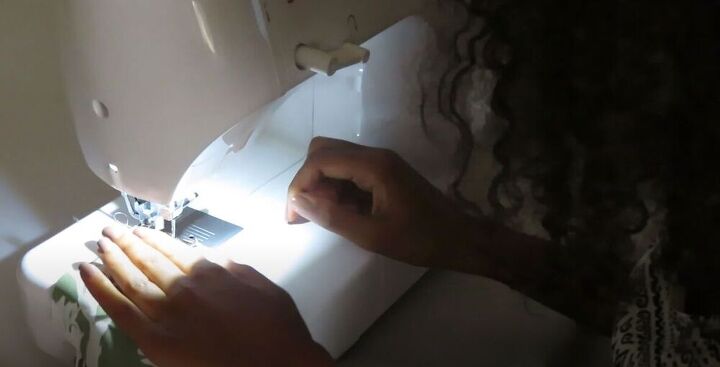
I then went ahead and sewed the bodice together. I decided I would use this piece as the lining and sew together the second set of bodice panels for a shell so that the bodice of the dress would have a bit more structure.

Next, I placed the bodice lining and shell, right sides together, and pinned.
I sewed along the sides and top but left the bottom open.
I turned the bodice right side out and topstitched along the neckline because the fabric is a little flimsy.
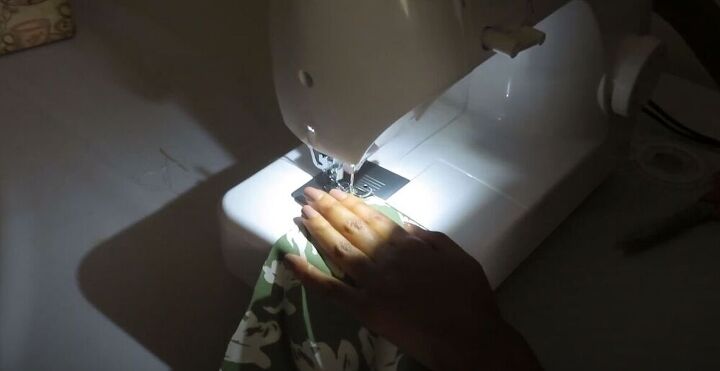
Sew the sleeves
Next, I moved on to work on the sleeves. For the sleeve piece, I used a rectangular piece of fabric, 60 by 60cm (24 inches). I started by hemming both sides of the piece, the side that would be by my shoulder and the one by my arm. I also sewed a little tunnel towards the end of my arm and by the shoulder so that I could feed through the elastic.

Using a safety pin, I went ahead and thread the elastic through the tunnel I had made by the arm.

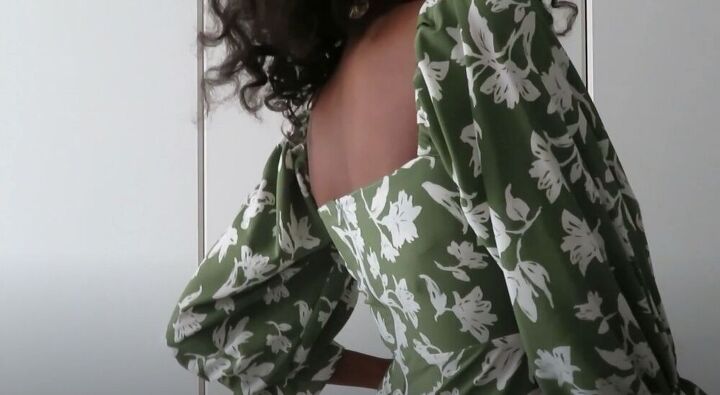
Attach the skirt and bodice
Next, I attached the skirt to the bodice, I laid down the skirt over the bodice and pinned the waistline of the skirt to the raw edge of the bodice.
I then went ahead and sewed it on.
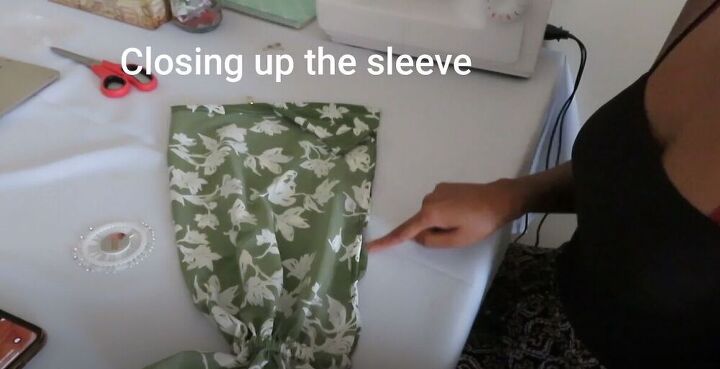
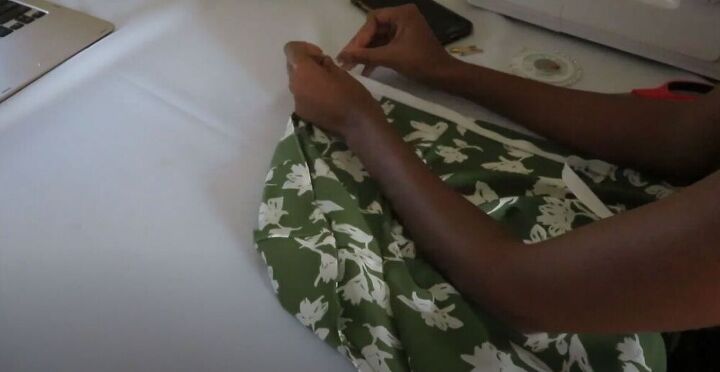
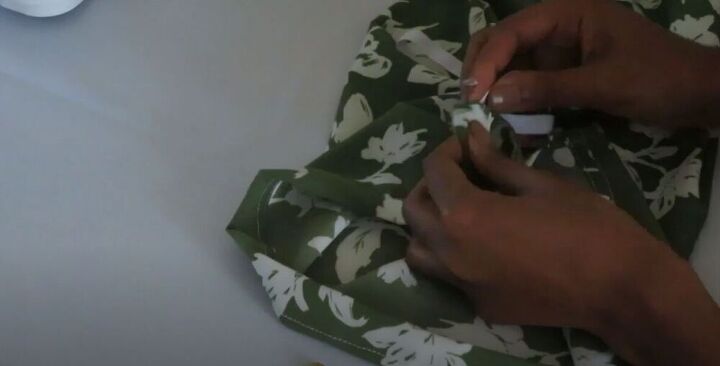
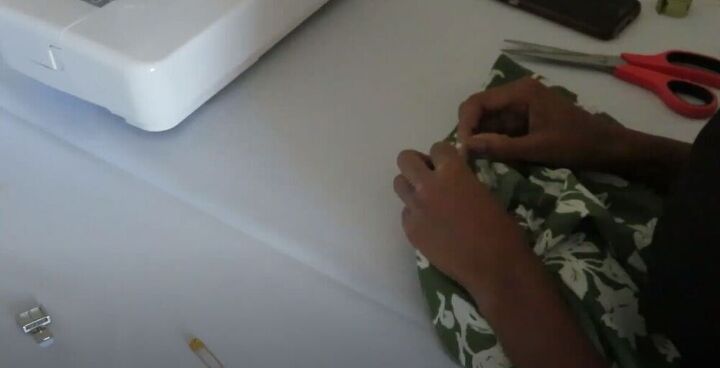
Sew closed the sleeves
Next, I sewed closed the sleeves.
Sew on a zipper
The dress was coming along so nicely, In the next step, I attached a zipper to the bodice and skirt. I first pinned and sewed on one side of the zipper and then the other.
Attach the sleeves
I then added elastic to the top part of the sleeves to ensure they would fit properly by my shoulder.
Finally, I attached the sleeves to the bodice.
This dress turned out so beautifully! This is definitely a piece I could see being sold in a store! I would love to hear your thoughts on this DIY dress! Share in the comments below!
The author may collect a small share of sales from the links on this page.


Comments
Join the conversation
That is so gorgeous! I wish you had posted a picture showing the whole length of the dress.
Absolutely gorgeous! Your video is very well done and explains the steps so well! Thank you for sharing your amazing skills! I definitely want to try this design! Your dress looks stunning on you!