Stained Glass Earrings Have Never Been This Simple to Create!

In this tutorial, I am going to show you how to make polymer clay earrings with a little twist- we’re going to transform them into stained glass earrings!
I absolutely love how the light shines through, the vibrant colors, and unique flower pattern. These beauties will certainly catch everyone’s attention.
The process may look complicated, but I promise you, it’s fairly simple to make with the right tools. Without further ado, let’s jump into it!
Tools and materials:
- Different colored polymer clay
- Translucent polymer clay
- Tissue blade
- Roller
- Tissue knife
- Pasta machine
- Gold Polymer clay
- Rubbing alcohol
- Q-tips
- Extruder tool
- Earring backs
- Jump rings
- Pliers
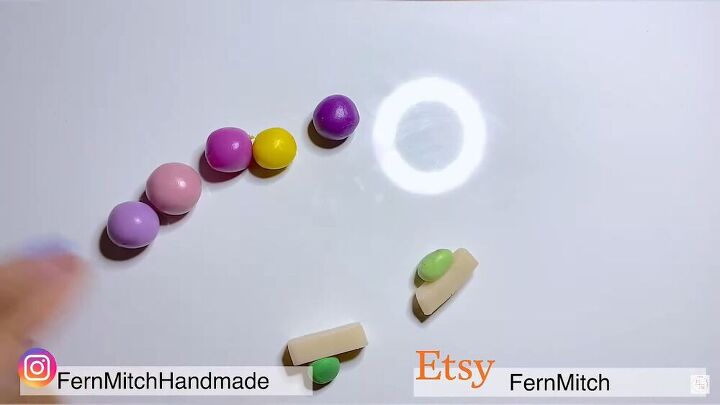
1. Preparation
Before you start the process, take some time in doing a little prepping. You’re going to need a few colors so go ahead and roll 5 different polymer clay colors into balls.
As you will see, I chose warm purple hues for this tutorial. The trick to achieving transparent stained glass earrings is to use translucent polymer clay.
Use this ratio; 1 part color to two-part translucent clay.
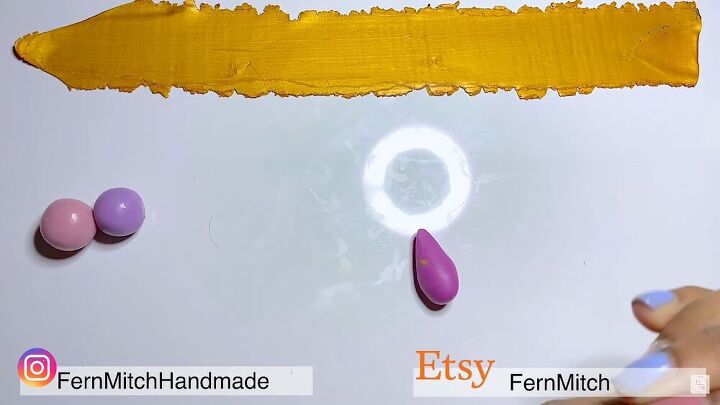
2. Shape your clay balls
Shape each colored clay ball into teardrops. Connect two of them in opposite directions and flatten them using a rolling pin.
Run it through the pasta machine using the thickest setting.
Fold your combined clay in half and roll it again through the pasta machine, starting off with the fold.
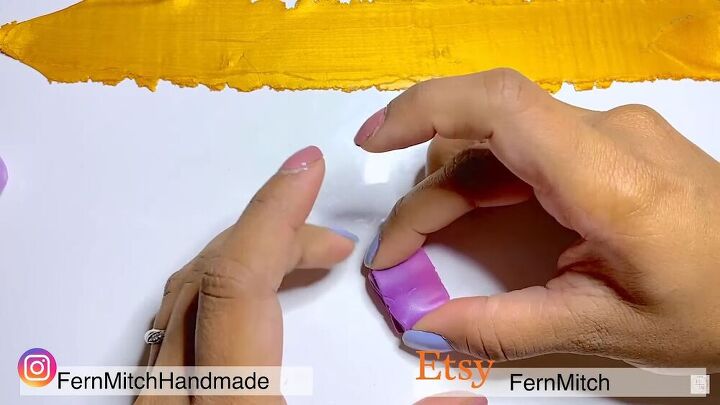
3. Fold in the opposite direction
Fold the strip in the other direction so that the colors will be adjacent to each other. Shape the clay into a tidy, rectangle and roll it again.
Put it through your pasta machine, starting with the thickest setting and going down to the thinnest. You should have a thin, gradient-like, long strip of polymer clay.
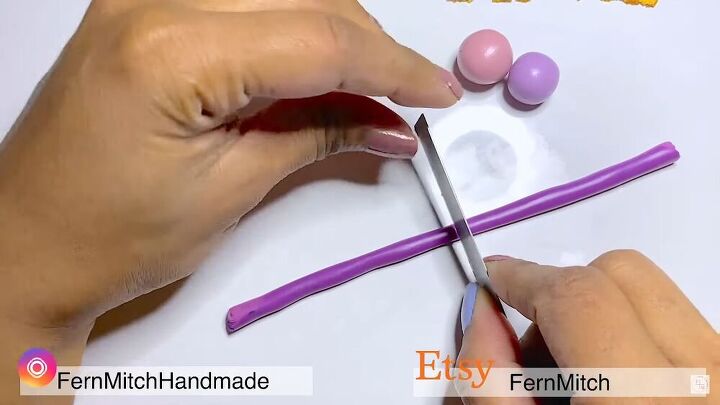
4. Carefully roll your strip
Roll your strip, carefully. Once rolled, roll it out the sides so it becomes a thin, pipe-like structure.
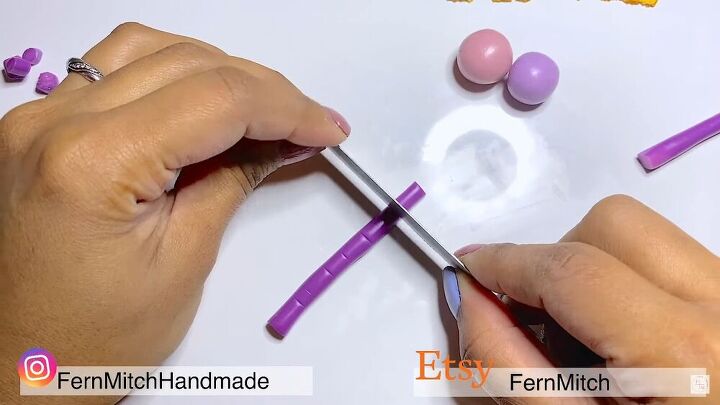
5. Cut five equal parts
Once your roll is set, cut your strip into 5 equal parts. Then, Pinch each piece on the side, creating a triangular petal shape.
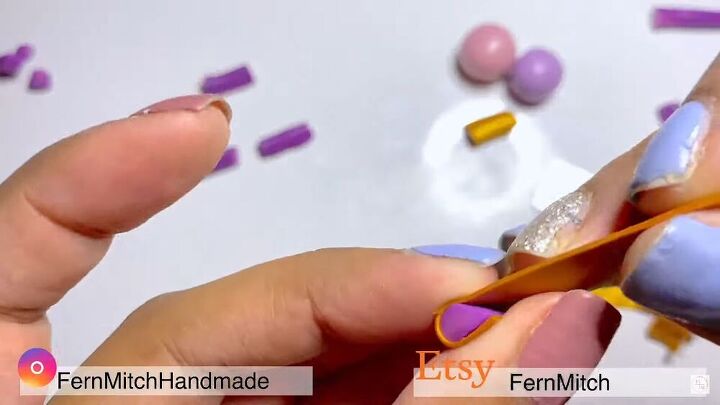
6. Prepare & wrap your gold polymer clay
Run your gold polymer clay through the thinnest setting on your pasta machine; ensuring it’s ultra-thin and versatile to work with.
Trim and carefully wrap the gold clay around each colored petal.
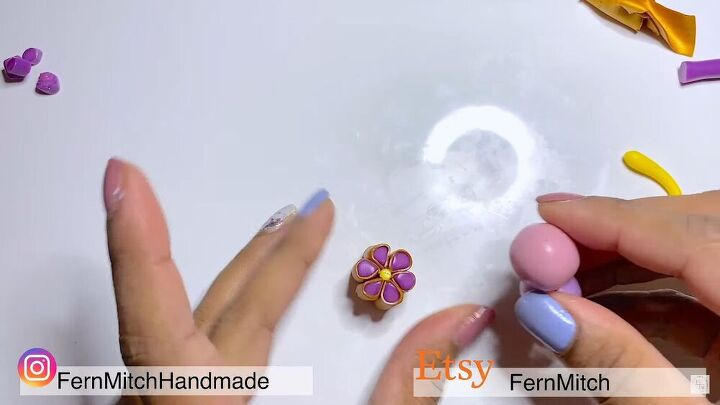
7. Make the clay flowers
Create the middle of the flower by rolling some yellow polymer clay into a snake-like shape.
Cut the thin structure relevant to the petal's size and finish off by connecting all the petals to the yellow piece that should be placed in the middle.
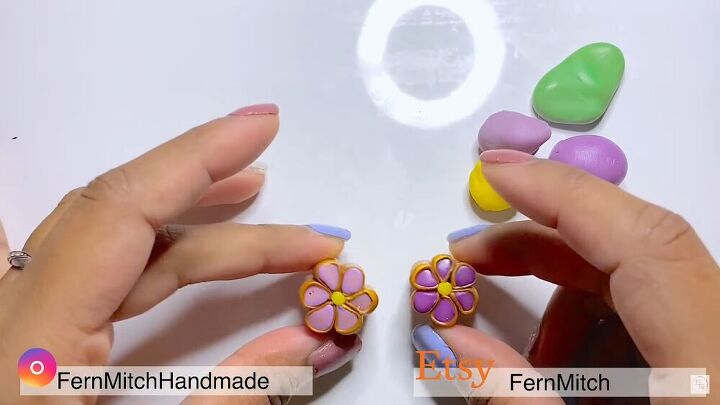
8. Make another flower design
Repeat the same process with the other two colors, making sure they are evenly combined to form a gradient effect.
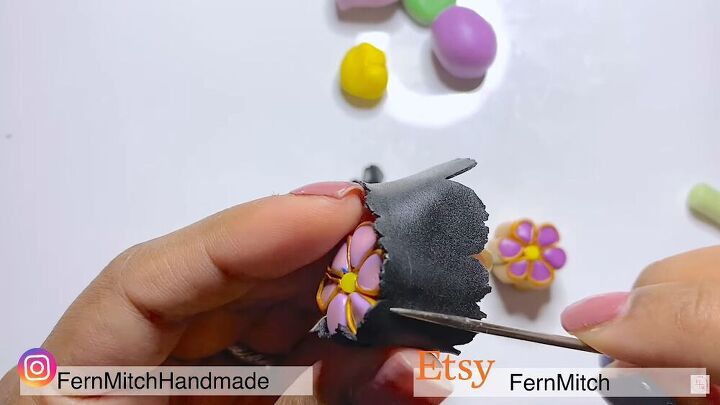
9. Wrap black clay around flower
Once both flowers are done, add some depth by wrapping one flower in thin, black clay.
Just like the gold clay, run the black clay through a pasta machine on the thinnest setting.
When wrapping, make sure it fits snug in the indent of each flower petal.
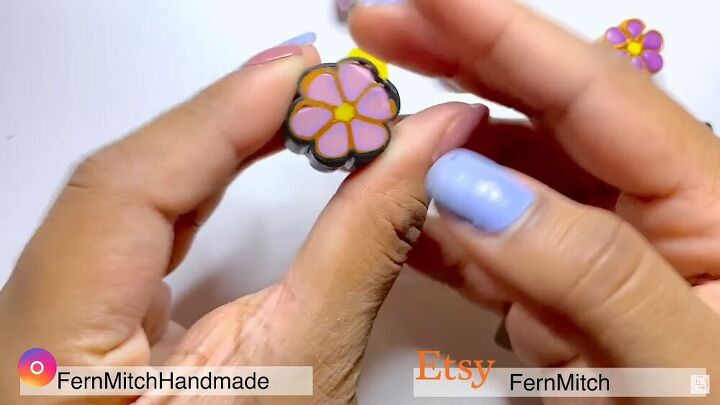
10. Check for distortions
Slice the flower to see if there are offcuts any distortions. Then, connect the flowers together.
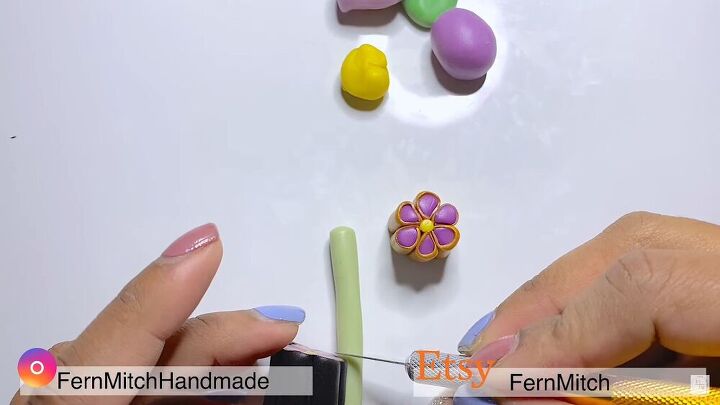
11. Add stalks
Now it’s time to add the stalks. Take your colored clay balls and roll them into a snake-like structure. Cut them so that they are the same height as the flowers.
Just as I did with the flower, wrap a thin layer of black clay around each stem and assemble them next to the flowers.
Repeat the process, adding around 10-12 various shaped and colored stalks and assemble everything together.
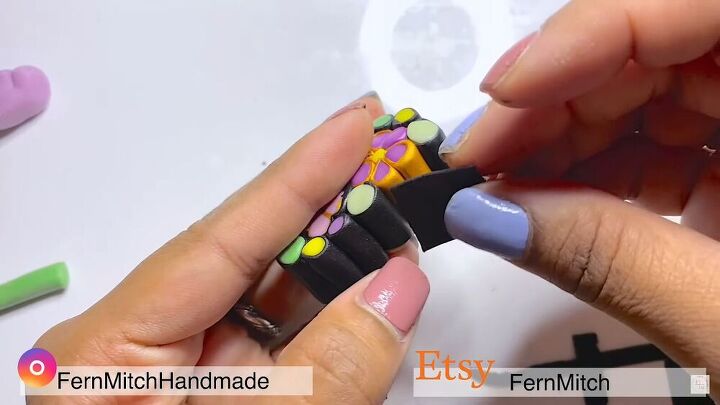
12. Add missing black clay
Once the whole cane structure is complete and somewhat rectangular in shape, check for parts that are missing black clay and add where needed.
13. Structure your design
Structure your completed cane by gently pressing down each side until the edges are smoothed out. Remember to flip sides so it all evens out.
Tip: You can use a rolling pin for this, but be careful not to create any smudges or distortions.
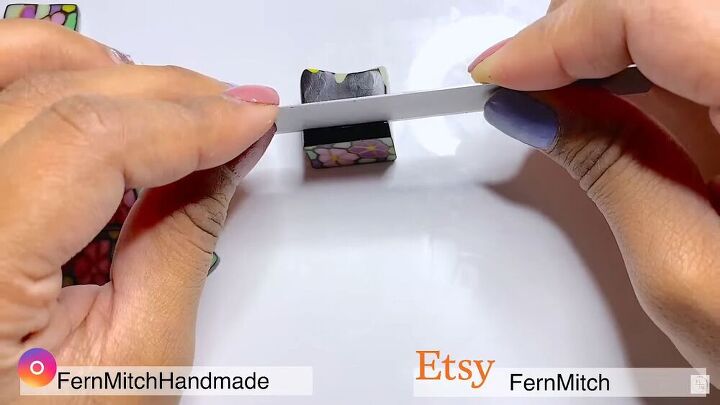
14. Slice 3mm squares
With a tissue blade, slice into the smoothed out cane. Make sure it’s not too thin or thick and that each piece is around 3mm thick. You should have a few square pieces.
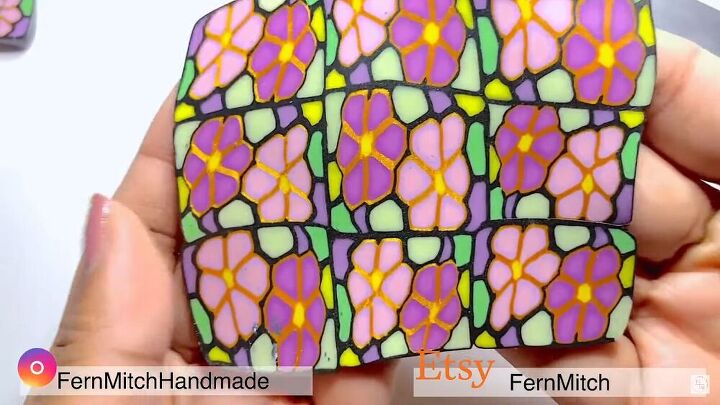
15. Create a slab & smooth it out with a pasta machine
Arrange the square pieces into a slab. You can also use a translucent clay paper sheet for this.
Place a piece of paper over the slab and steadily even out the surface with a rolling pin.
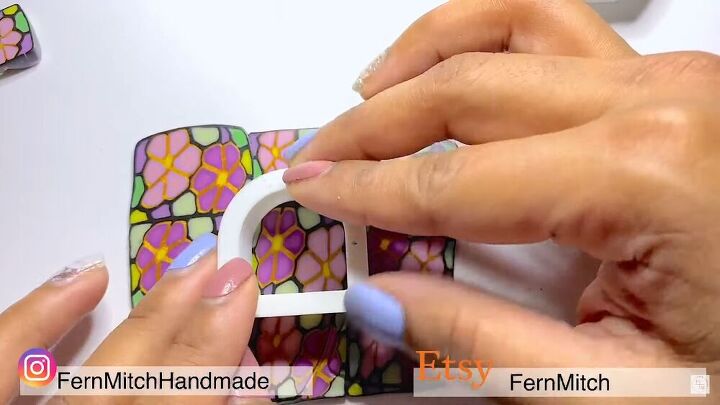
16. Cut your desired shape
Next, use your cookie or 3D cutters to cut the shapes for the earrings.
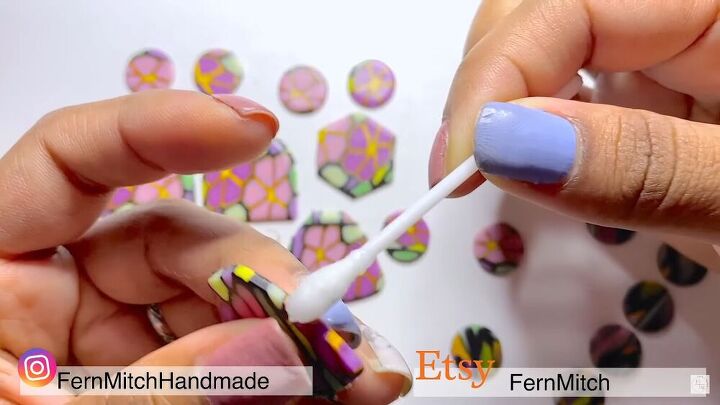
17. Clean the edges
Carefully clean the edge with alcohol and a Q-tip
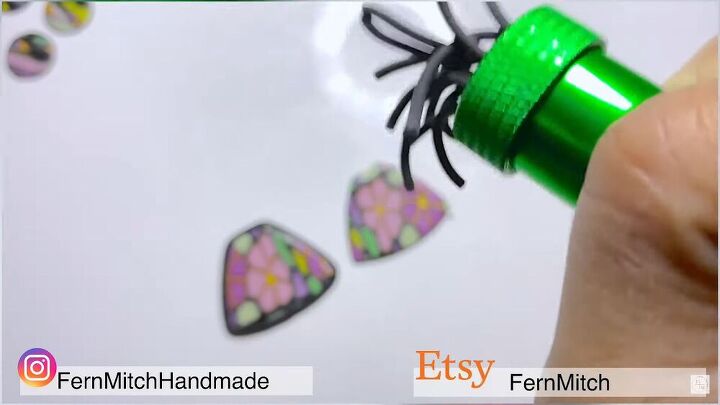
18. Make pipe-like structures
Now you will need to use the extruder tool, where you will extrude black pipe or snake-like structures.
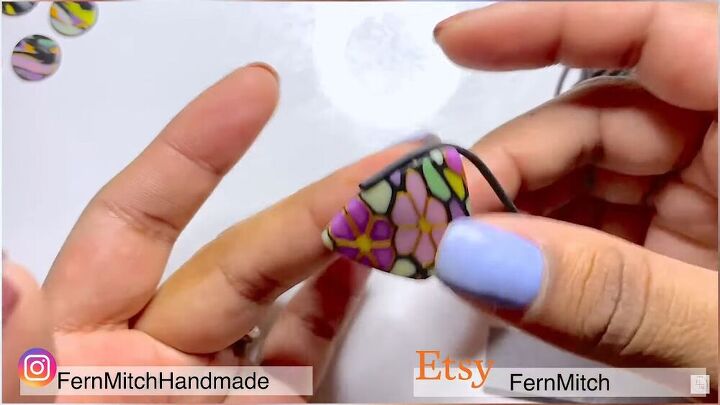
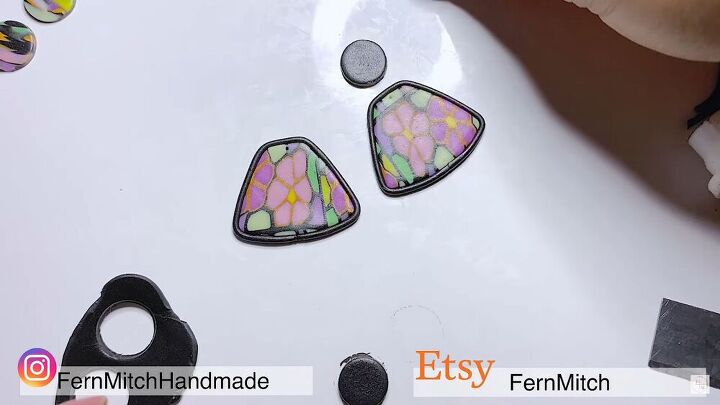
19. Outline each clay earring
Outline each large earring piece with a black snake structure.
Make sure you get all the edges and curves and gently apply pressure that it sticks to the sides.
Once you reach the end, cut where needed and connect them. Repeat this step on all your polymer earring pieces.
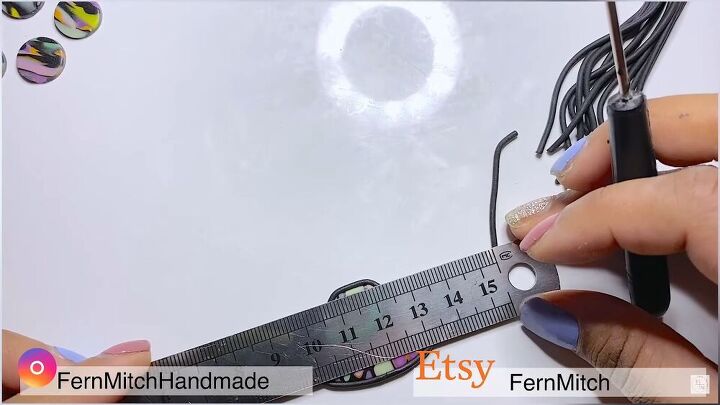
20. Mark holes for jump rings
Mark the holes where you’d like to drill holes for the jump rings.
21. Create black components
Cut out black clay components that will go together with each stained glass earrings.

22. Bake your clay earrings & drill holes
We’re almost there! Bake your pieces in the oven at around 275 Fahrenheit for approximately an hour and leave to cool.
Once cooled, carefully drill holes into where you previously marked them.
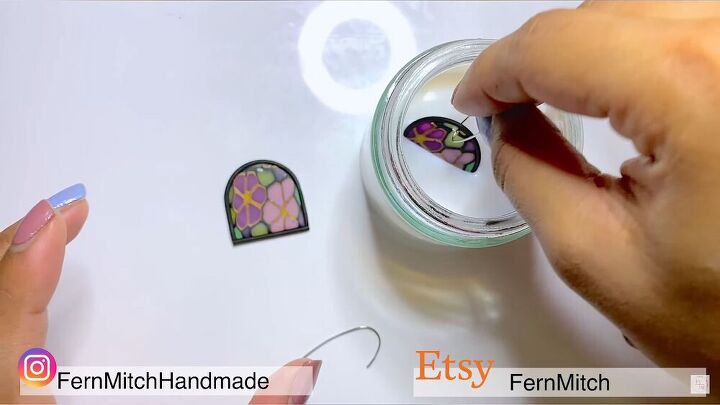
23. Varnish each piece
The next step is optional but if you’d like a nice finishing touch, use polythene gloss varnish to varnish each piece.
Don’t use a brush, but rather dip each piece in the varnish while hanging by a hook.
Make sure to wipe the excess off and hang your earrings to dry.
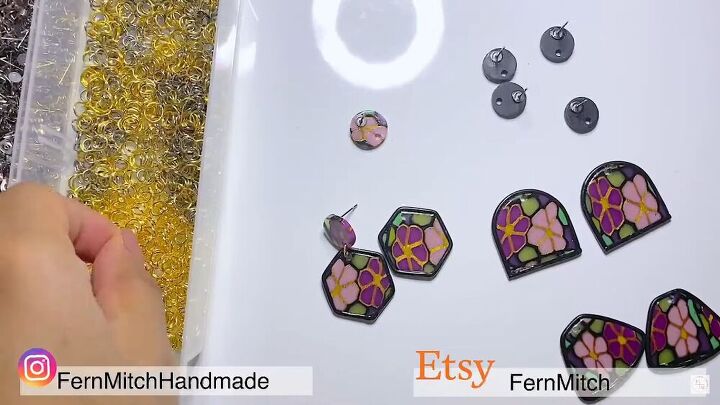
24. Add the jump rings
Once the varnish is dry, add the jump rings and earring backs.

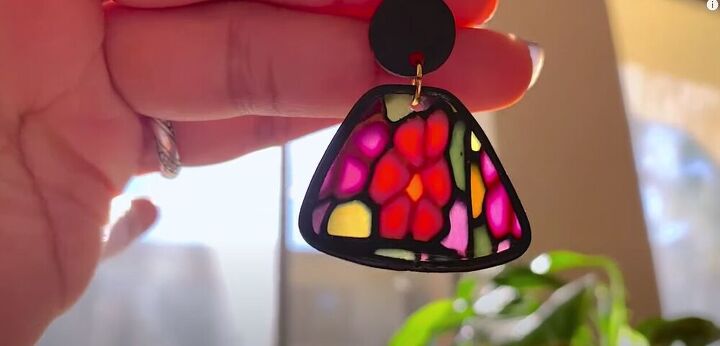
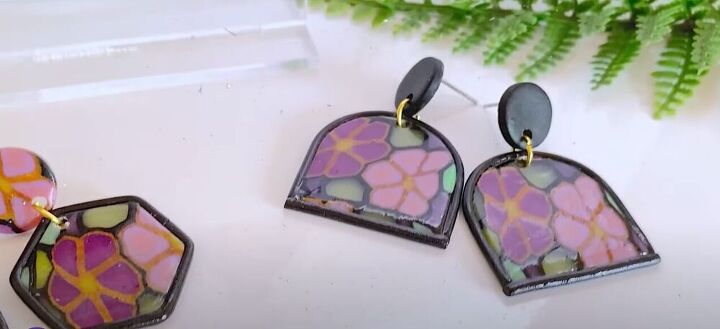
DIY stained glass earrings
This is how you make stained glass earrings and as you can see, here’s the beautiful finished product, that I, by the way, can’t stop staring at.
I really adore this unique stained glass earring look and I encourage you to try it out for yourself. Enjoy!
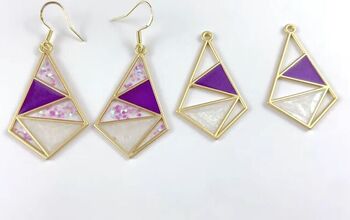
How to DIY Geometric UV Resin Earrings
The author may collect a small share of sales from the links on this page.


Comments
Join the conversation
WOW!...wow wow wow!!!
I can't wait to try thisI