How to Take in Pants the Easy Way

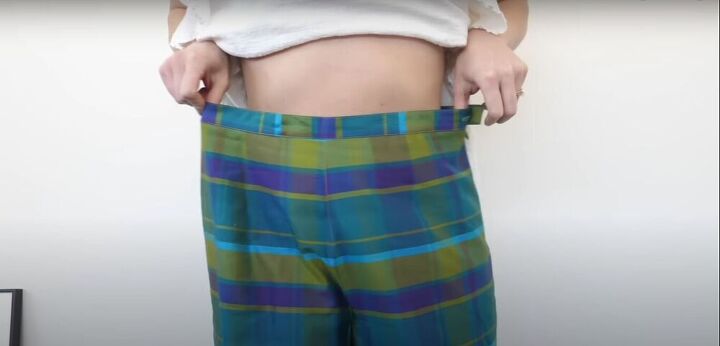
I basically fell in love with a pair of pants at the thrift store, and even though they were at least two sizes too large for me, I simply had to have them. Luckily, I have an incredibly simple method for how to take in dress pants, and today I’m going to share my secret with all of you!
Tools and materials:
- Pants
- Pins
- Sewing machine
- Serger (optional)
- Pants
Turn them inside out
To take in the pants waist, I started by putting them on inside out.
Step: Pin
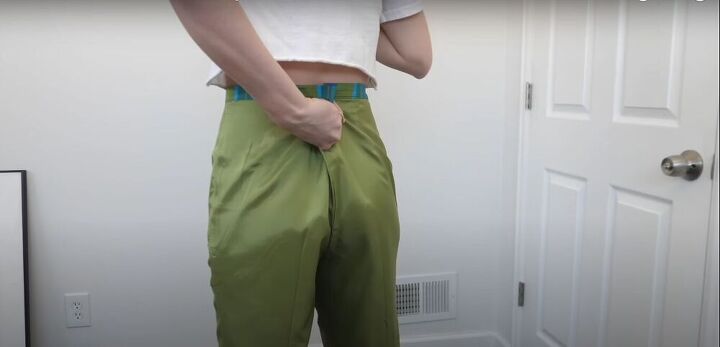
Since I’m taking the pants in along the back seam, I pulled all the excess fabric to the back and pinned the pants at the waist.
I pinched the fabric all the way down the back seam, right down to my derriere, and pinned it in place.
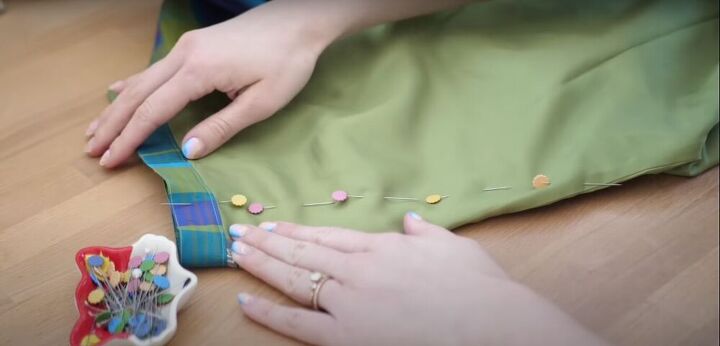
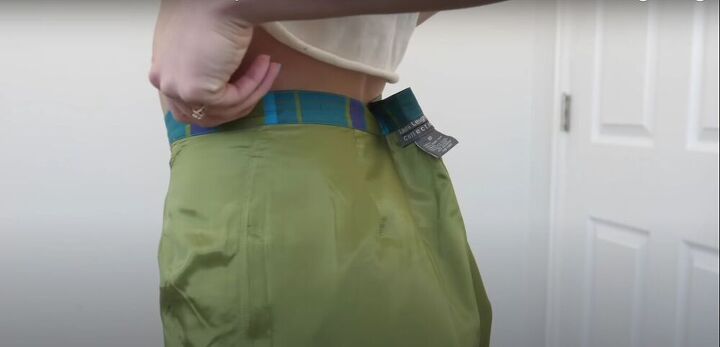
Create a guide
I removed the pants, and then repositioned and added pins to create a clear line to show me where to sew.

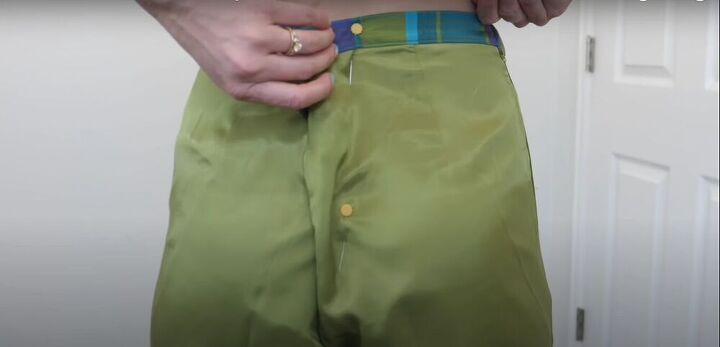
Try them on
I tried the pants on one more time before sewing anything down, to make sure the fit was just right.
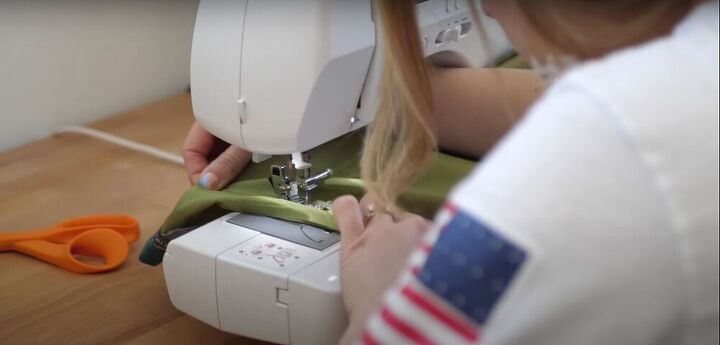
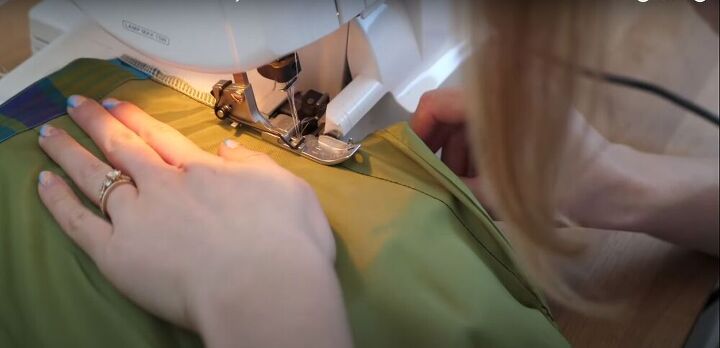
Sew
Once I knew the fit was good, I sewed a new seam along the pinned fabric.
Serge
I tried the pants on one more time, while the excess fabric was still intact, just in case any adjustments still needed to be made. Once I was sure they fit perfectly, I serged off the excess fabric.
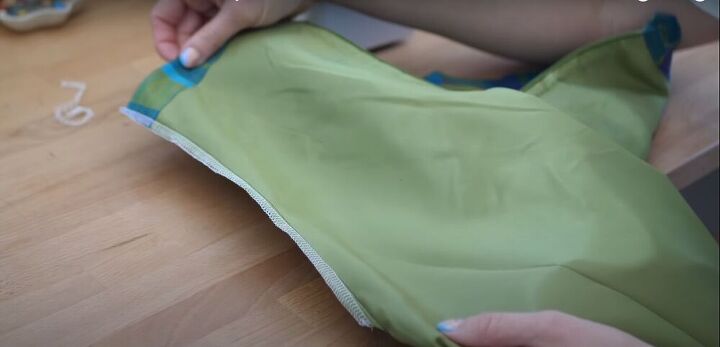
And this is what the finished seam looks like.

You may be wondering, “How do you take in pants with back pockets with this method?” It can be done, but the pockets may end up too close together once the seam is taken in. But it can be fixed by simply removing the pockets with a seam ripper, and sewing them onto the proper place. I would also not recommend using this method for jeans. It’s best used on lightweight fabrics.

I also used this method to take in the side seams of this shirt that is just a little too big on me. I flipped it inside out, pinched and pinned the seams, sewed it down, and serged off the excess.
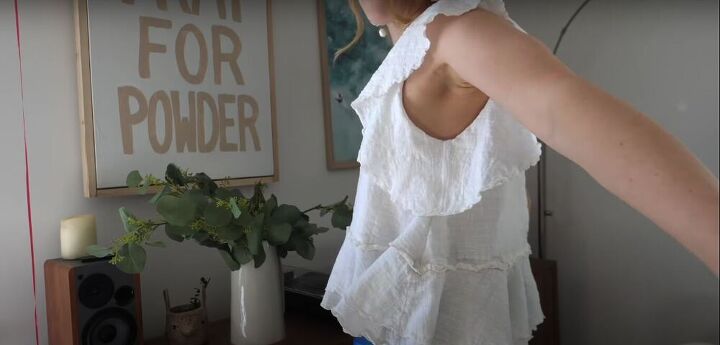
And as you can see, it worked perfectly!
I’m so glad I got to share my alteration method with you. I’ve used it on so many of my thrifted items, and it really is the simplest method for how to take in women’s pants, skirts, dresses, and even flowy, lightweight tops. Leave me any questions or comments you may have, and let me know if this method worked for you!
The author may collect a small share of sales from the links on this page.


Comments
Join the conversation
If you don’t own a Serger, which are pricey and difficult to thread you can still use this technique. Sew your seam Wong sides together then trim off all excess fabric. Turn right sides together and stitch seam again encasing the original; you don’t want any edge of fabric showing! You’ll have a nice neat seam!
Yep!
That's Exactly how the tailors fitted my husbands suits.