Nylon Packable Tote Sewing Tutorial

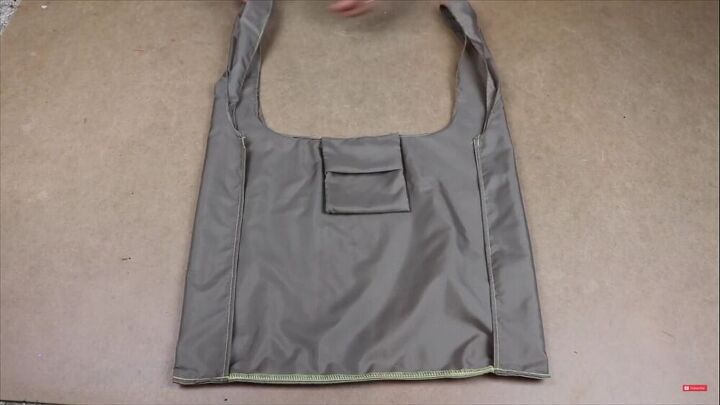
Save the planet in style with this adorable DIY packable tote. I have an amazing reusable grocery bag from Baggu that packs into a tiny square pouch. I can keep it in my purse, or even in my pocket, and have it at the ready whenever I need it. But I only have one. So today, I’m making a new packable tote bag to be its companion. Follow along with this tutorial, and I’ll show you how to sew your own packable nylon tote, that I’m sure you will love as much as I love mine.
Tools and materials:
- Nylon fabric
- Pins
- Scissors
- Ruler
- Iron
- Sewing machine
- Serger
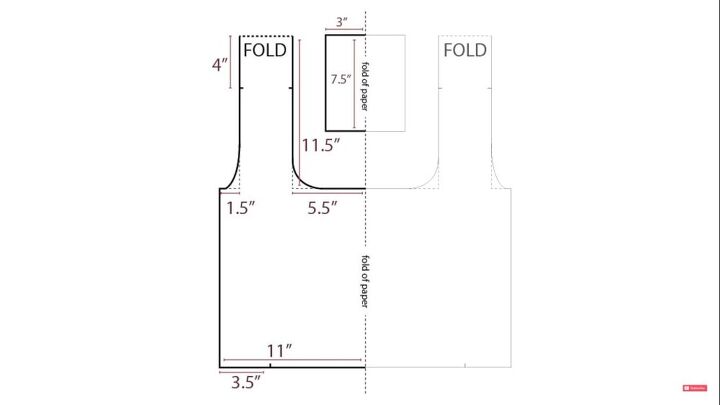
Create the pattern
Instructions for creating the pattern and cutting out the pieces can be found in the video from 0:38-3:07.
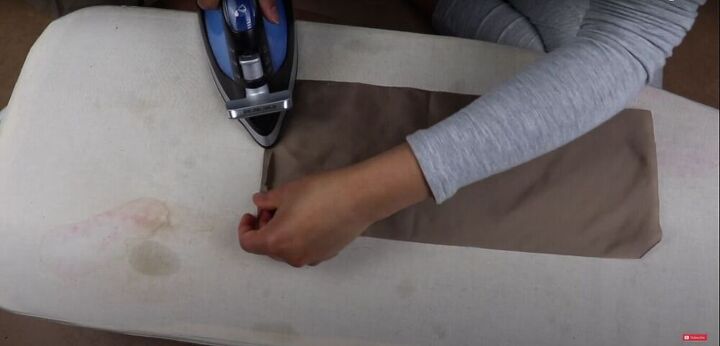
Fold and iron
Measure 2¼ inches from one end of the pouch piece. Fold the edge over ¼ inch and iron flat, then fold the same side in 2 inches, and iron flat. Fold the opposite edge over ¼ inch twice, ironing down each fold.
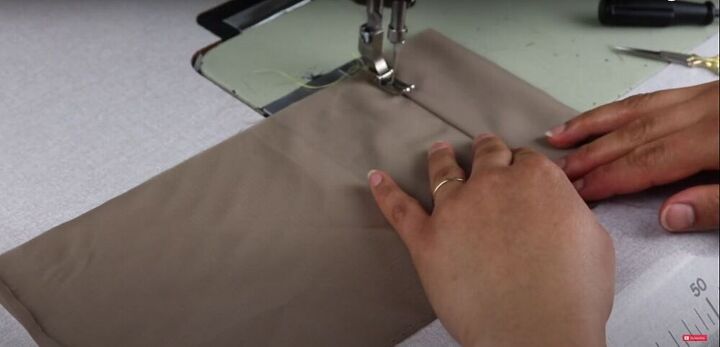
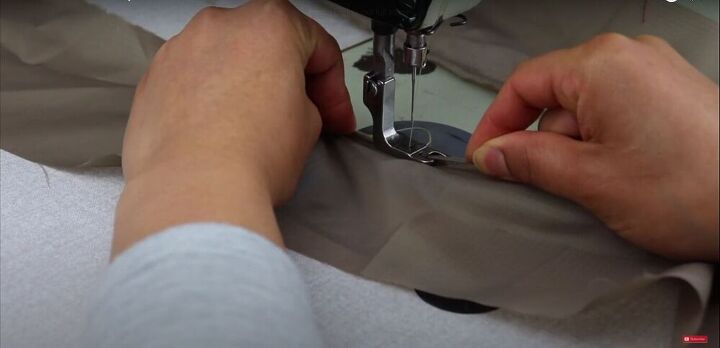
Sew
Sew down both edges.
Fold and sew
Fold the 2-inch seam back and line up the folded edge with the opposite edge. Sew ½ inch seams down both open edges.
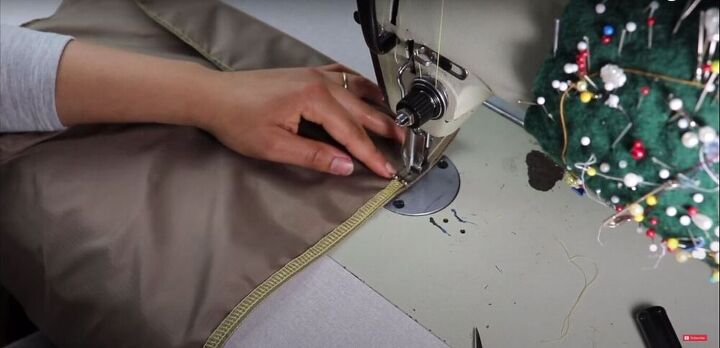
Hem
Hem the inner and outer handle straps of the bag with the rolled hem foot on your machine, folding the edge twice ⅛ of an inch as you sew.
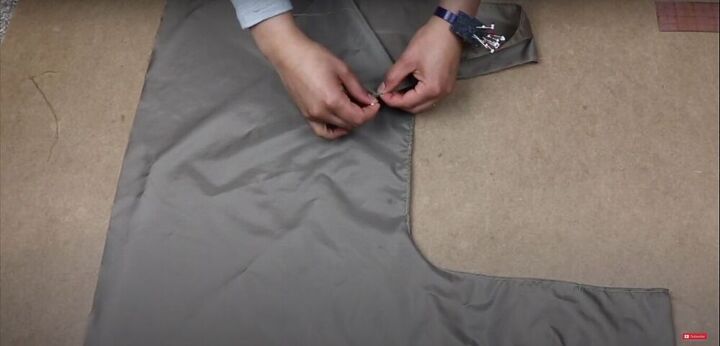
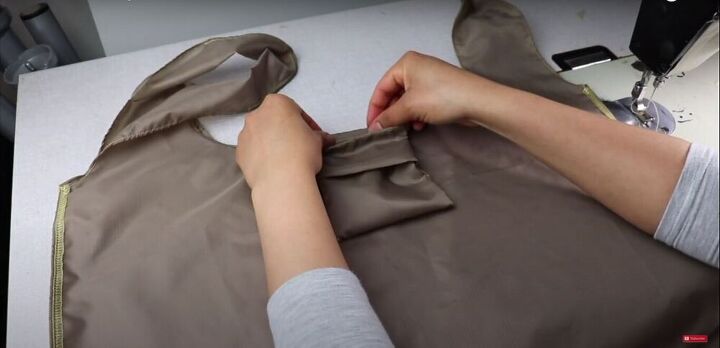
Mark and pin
Fold the bag, right sides together. Mark 4 inches from the top of the handle on both sides of the bag. Then, fold the handles lengthwise, wrong sides together, and pin at the marks. This will give you an 8-inch section on each handle that will be sewn later.
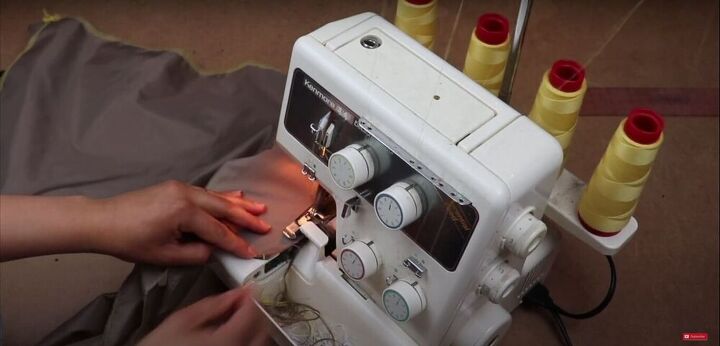
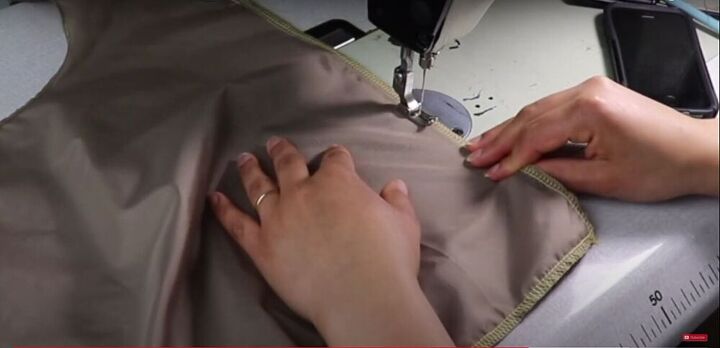
Serge
Serge the side and bottom edges of the bag.
Serge the sides of the packing pouch, as well.

Sew
Fold down the serged edges of the pouch, and sew.
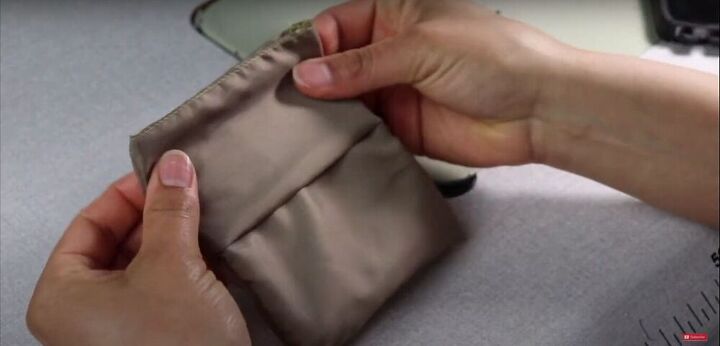
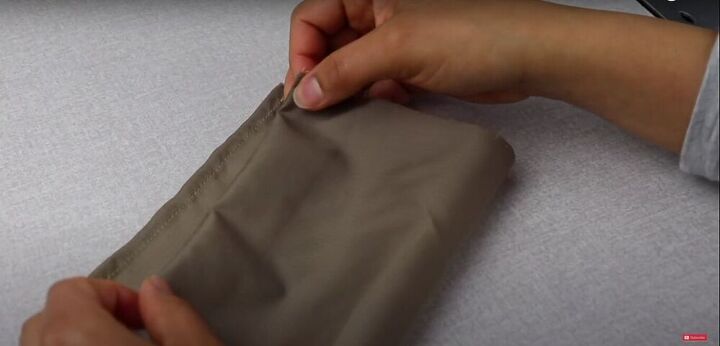
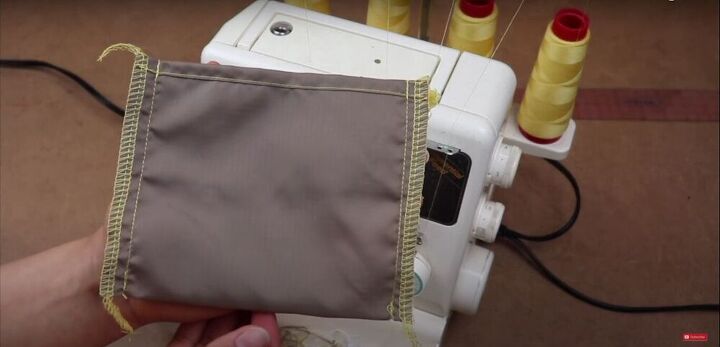
Flip
Flip the pouch right side out.

Sew
Sew down the pinned sections of the handles.
Sew a ½-inch seam around the serged edges of the bag. Then, fold each serged edge, and sew another ¼-inch seam for reinforcement.
Attach the pouch
Next, while the bag is still inside out, sew the packing pouch to the center of the bag, with the flap side facing up.
Sew
Fold both sides of the bag inwards 3 inches, and sew a seam along the base of the bag to hold them in place.
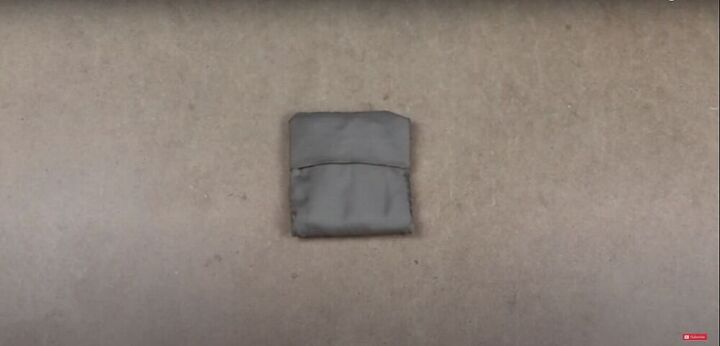
Step: Pack your pouch. See 9:04-9:25 in the video for two different ways to pack the bag into its pouch.

And that’s it! With all the reinforcements around the seams, this bag is extremely strong and durable, and can hold quite a bit. I hope you found this packable tote tutorial helpful. If you make a packable tote of your own, I’d love to see your results!
The author may collect a small share of sales from the links on this page.


Comments
Join the conversation
I will if Walmart no longer have them. Great idea. I have a blanket that folds into a pillow, made on the same idea.
It would sure save room in my purse, I carry rolled up cloth ones and it gets pretty bulky. I will have to try this. Thanks.