These Elizabeth Suzann Clyde Pants Are Versatile and So Comfortable

In this sew-along tutorial, I'll be showing you how to make your own Elizabeth Suzann Clyde pants using the amazing Clyde pattern by Elizabeth Suzan Studio. The pants have tapered legs, a front seam, and roomy crescent pockets - they're the perfect stylish work pants and so comfortable to wear.
You can select US Sizes 000-28 (XXS-4XL), as well as three length options (short, regular, tall) with different rise and inseam measurements. Plus, the price of the pattern is "pay what you can", so this is affordable for all.
Tools and materials:
- Elizabeth Suzann Clyde pants pattern
- 1.5 yards of fabric
- 1.5- or 2-inch-wide elastic
- Scissors
- Thread
- Pins
- Sewing machine with a serger
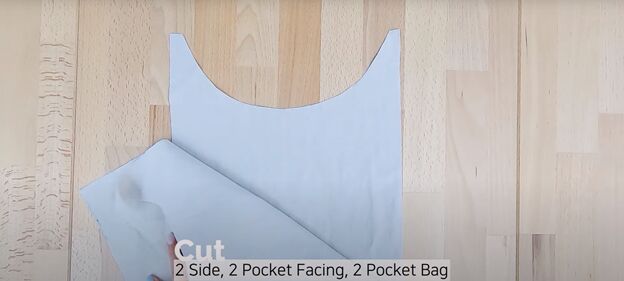
1. Cut the fabric
Elizabeth Suzann Studio recommends medium-weight fabrics with no stretch for the Clyde pattern. For example, linen, cotton, hemp, or canvas. Go for soft linen for summer pants, or heavier canvas or wool for cooler climates. I chose to use a bio-washed cotton-linen blend in sand.
Cut two front and two back pieces from your fabric using the Elizabeth Suzann Clyde pattern. Then, cut two side pieces, two pocket facings, and two pocket bags using the Elizabeth Suzann pattern pieces. You should have 10 fabric pieces total. I left an ⅜-inch seam allowance.
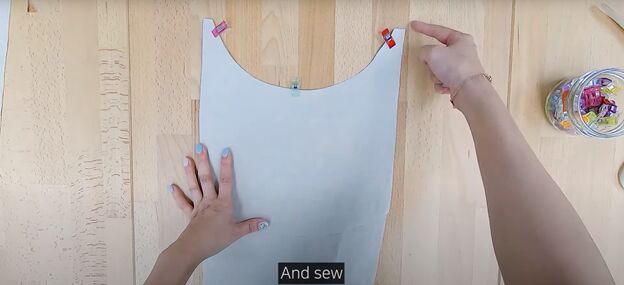
2. Create the pocket panel.
Pin one pocket facing piece to one side piece, right sides together, matching the pieces up at the top curve. Sew the curved top, then trim the excess fabric from the seam allowance.
Make small snips along the curve, inside the seam allowance, to ensure the curve lays nice and flat. Now, open the fabric and understitch the seam to the pocket facing on the right side.
Fold the sewn piece along the seam and press with an iron. The understitching will now be hidden. Repeat for the other pocket.
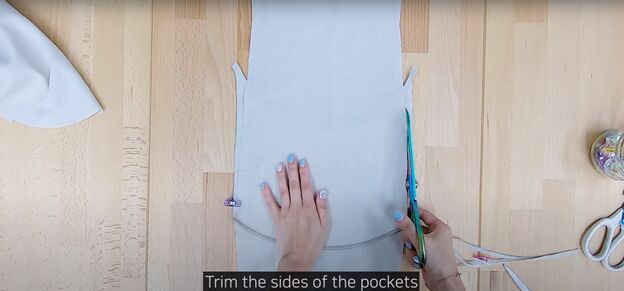
3. Attach the pocket bag
Place one pocket bag piece on a pocket facing piece, right sides together, matching up the curves. Sew the curved edge together and then serge the seam. Trim the sides of the pocket to match the size of the facing.
Now, pin along the side edges of the pocket bag and sew a basting stitch with a quarter-inch seam allowance. Repeat for the other pocket and side panel.
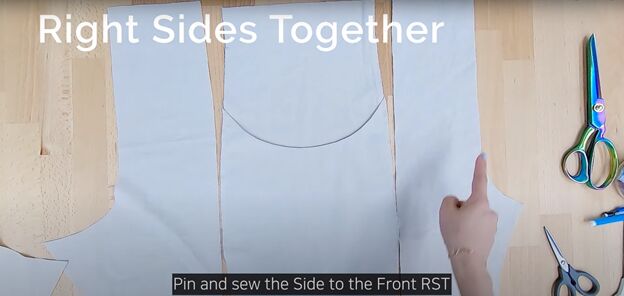
4. Attach the front, back, and sides.
With right sides together, pin one side piece to one front and one back piece. Sew along the length of the pants to attach the sides to the front. Then, serge both seams.
Now, topstitch and understitch both seams with a quarter-inch seam allowance. This will help keep the seams in place and adds a nice detail to the look. Repeat for the other side piece.
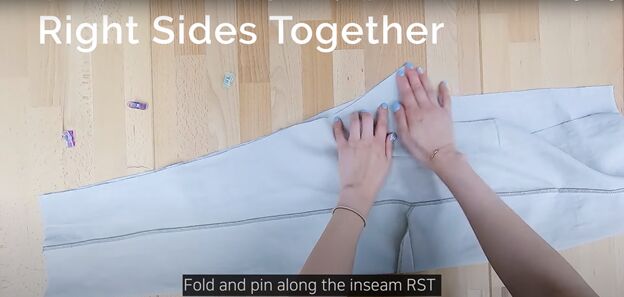
5. Sew inseams and crotch
Fold one side in half lengthwise, right sides together. Pin along the inseam. If the inseam edges don’t match up exactly, shift the fabric around as necessary. Sew the inseam and serge the seam. Repeat for the other side.
Now, turn one pant leg inside out, and insert it into the other pant leg with right sides facing together. Pin the crotch seam. Sew and serge the crotch.
6. Make the waistband
With the pants right sides out, mark the fabric all around the waist at just a bit more than the width of your elastic. Fold the top of the pants in at the marking and pin, to make the elastic casing.
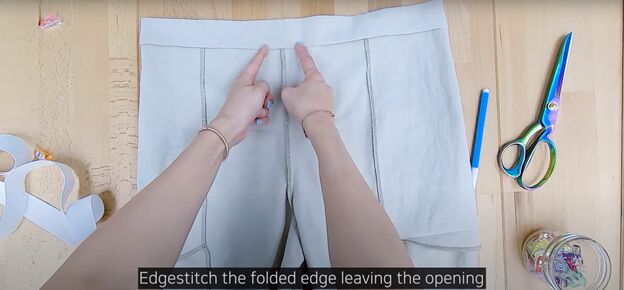
Edgestitch the casing, leaving a gap at the back to thread through your elastic. Now, insert your elastic into the casing using a safety pin. Make sure the elastic is laying flat, with no twists, all around the waist. Sew the ends of the elastic together.
Work the gathers evenly around the waist and sew the opening closed. If you want to add a tag to your pants, you can insert it in the waistband opening before closing it up.
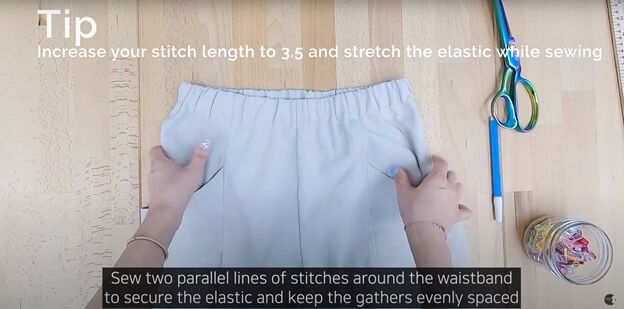
To secure the elastic, sew two parallel lines around the waistband using a 3.5-inch stitch length. Stretch the elastic and keep the gathers evenly spaced while sewing.
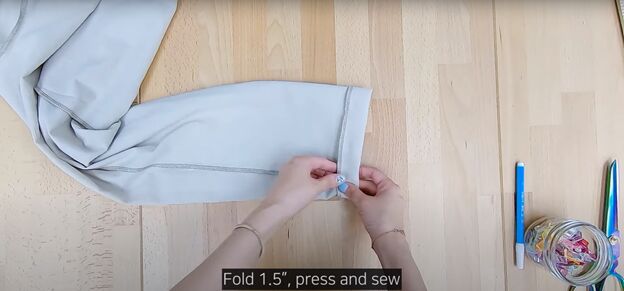
7. Hem the pants
Serge the bottom of each pant leg. Then, on each pant leg, fold in the hem 1.5 inches, press the hem with an iron, and sew the hem.

Elizabeth Suzann Clyde pants tutorial
That’s it for the Elizabeth Suzann Clyde work pants. I really love how they turned out. Even though they are called "work pants", this style is really versatile - I would say they are more like all-purpose pants and very comfy for lounging around the house or popping out for errands.
I styled my sand-colored Clyde pants with a dark t-shirt or black blouse. They would also pair well with a sweater and sneakers for a cosy fall outfit, or you could roll up the cuffs and top with a silk cami for a dressy summer look.
If you have any questions, feel free to ask in the comments below.
The author may collect a small share of sales from the links on this page.


Comments
Join the conversation
I sure will, these look easy enough, love the pockets and they look comfortable.