Easy 7 Step 19th Century Tutorial

Hey, guys! I came across a few historical hairstyling books and today we’re going to try out one of them. One book is called Self Instructor in the Art of Hair Work, Dressing Hair, Making Curls, Switches, Braids, and Hair Jewelry of Every Description and it detailed hairstyles women were meant to try at home.
The author, Mark Campbell, was a hairdresser and a 19th-century hair piece maker—he sold Victorian hair pieces and jewelry and the book includes a catalog of his work.
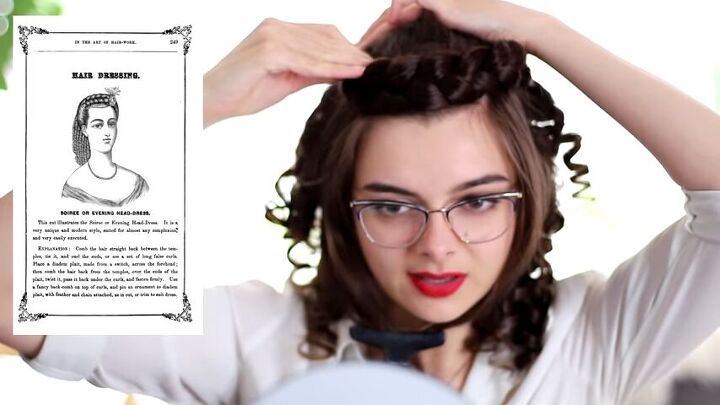
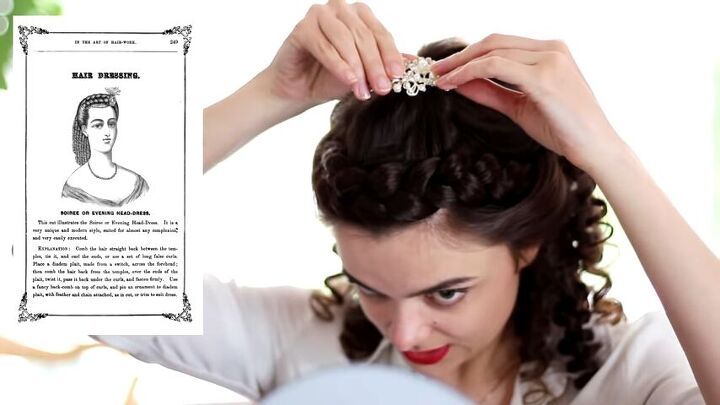
The 19th-century hair look I’ve chosen to recreate today is called the suave, or evening headdress. It’s simple enough, I think it’s something you guys will be able to recreate easily, so let’s get started!
Tools and materials:
- Curling iron
- Hair extensions
- Comb
- Hair ties
- Bobby pins
- Decorative hair comb
- Hair accessories
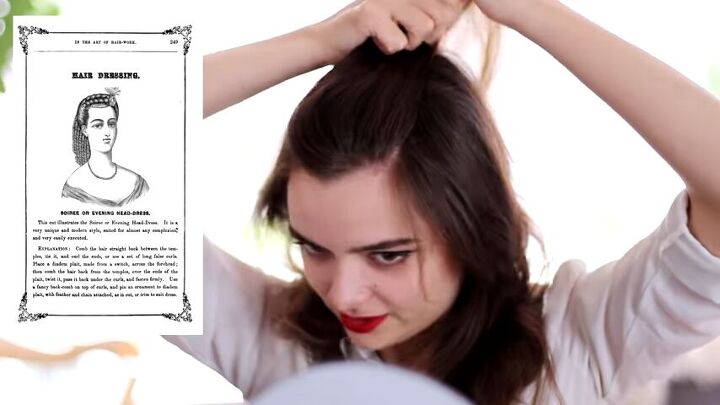
1. Comb the top section of your hair
Comb the front portion of your hair straight back between the temples, and tie it. I had to pin back my bangs, but that’s okay because we’re putting a braid over it.
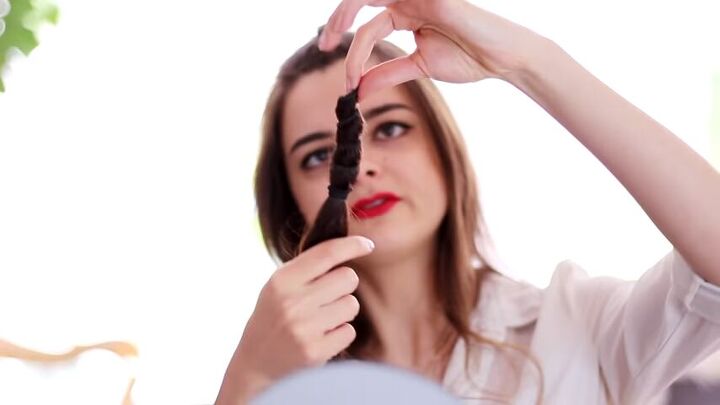
2. Make hair pieces
Before we continue styling, let’s make our hair pieces. I have a strip of hair extensions here and to make the “sewing stitches”, we’ll need to gather it all together into a bundle. If your piece has clips, go ahead and cut them out so it’s much more pliable; you can reattach them later.
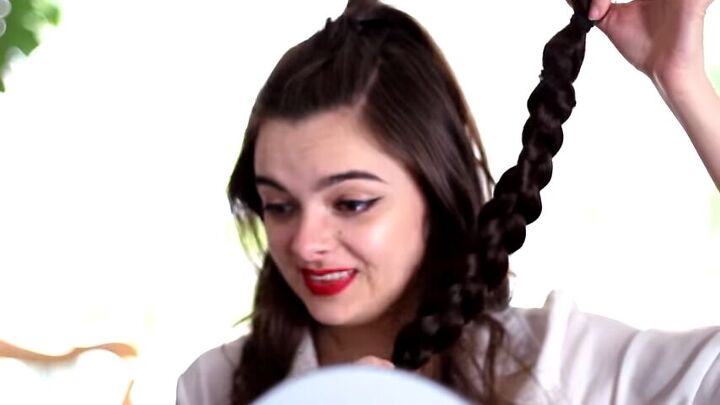
Then braid two strips of hair extensions together.
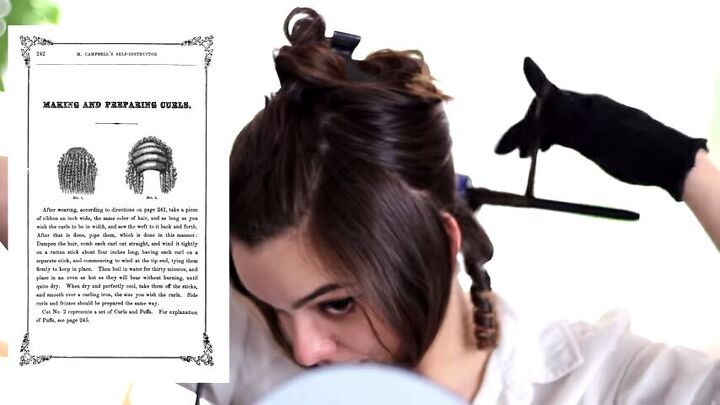
3. Curl the rest of your hair
For this, you want to do typical Victorian spiral curls using a curling iron. Wrap the curl around the curling iron flat and then firmly push it up so it is nice and compact around the wand. Hold it for a few seconds and then release. I’m going to be alternating directions, so curling some away from my face and some towards my face.
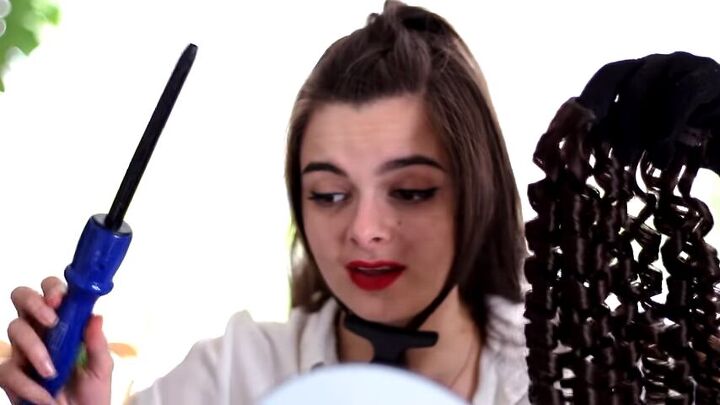
In the book, Mark suggests using false curls as well, so I went ahead and curled some hair extensions. Back in the 19th century, these extensions would’ve also been sold individually as separate curls.
4. Clip in your false curls
It might be easier to do this before you curl your hair.
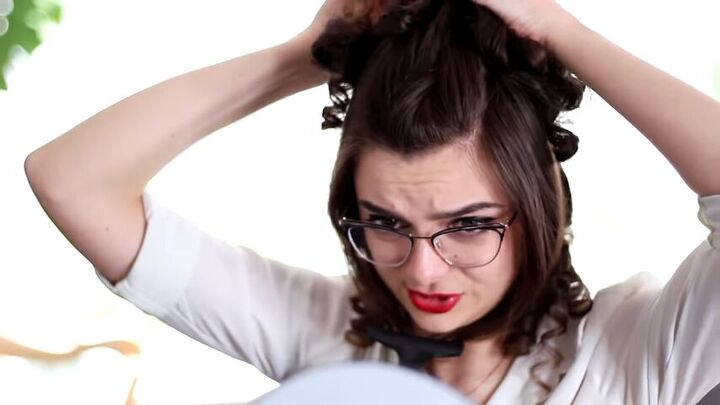
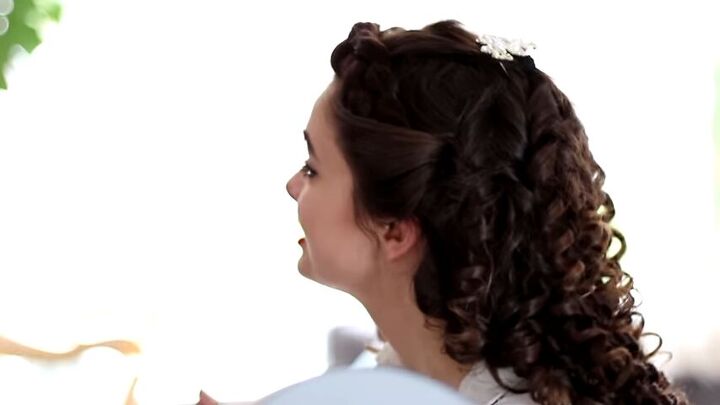
5. Pin the braid to the top of your head
Now, wrap the braid around your head and use the rest of the curls to hide the ends. I pinned it from the back so I could use more bobby pins without them being visible. My extensions were a bit too long for a braid like this, so I’d recommend something like a diadem braid so you have less hair to hide.
6. Pin the rest of your hair up
Take the rest of the hair in the front and comb it over the end of the braid. Give it a little twist and pin it underneath your curls. Anything we don’t want to see, we’re hiding under the curls.
7. Embellish
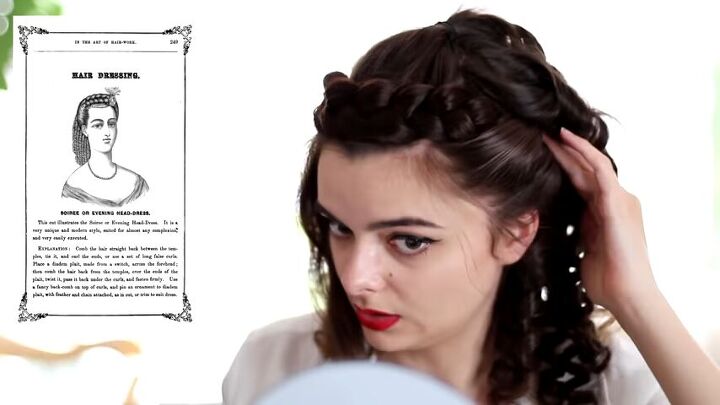
Now, all we need to do is embellish with some 19th century hair accessories! I added a fancy hair comb right underneath the hair elastic.
Then, I added some cute pearl accessories to the braid.
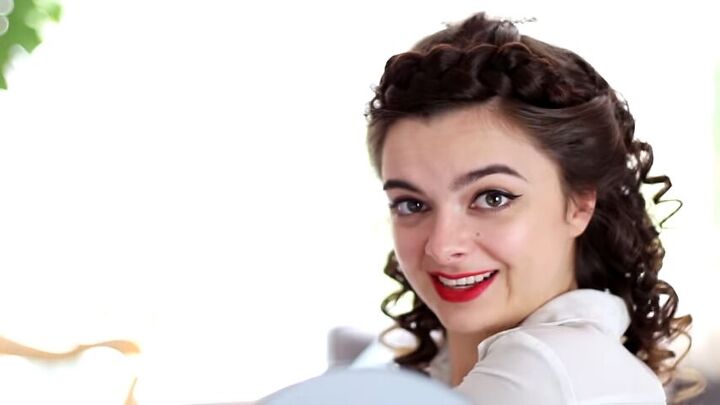
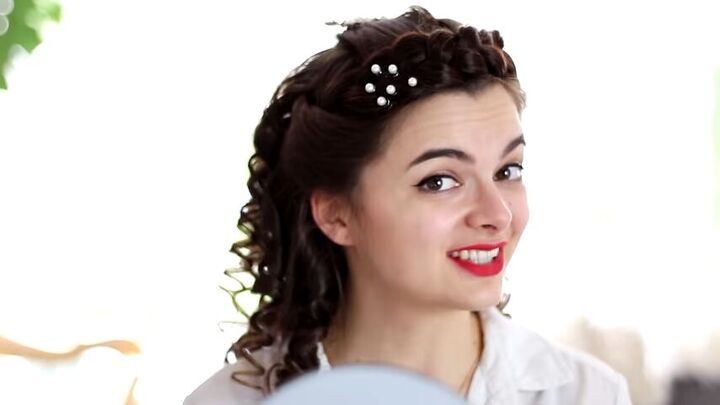
19th century hair
Here’s the result of my 19th-century hair style! This is a very typical Victorian hairstyle that many people will find useful whether it’s for cosplay or reenactment activities. It’s a very unique and modern style suited for almost any complexion and it’s very easily executed. I’m very happy with the result and I think it looks pretty authentic. Let me know what you think down below!
The author may collect a small share of sales from the links on this page.


Comments
Join the conversation
Very nice!!!
Very pretty!!