How to Do a Sexy 70's Blowout At Home

In today’s tutorial, I’m going to show you guys how to do a blowout at home.
We’re going to be doing a 70's blowout hair tutorial that you’ve probably been seeing all over social media.
This trend works best on shorter or mid-length hair, but if your hair is on the longer side, there are a few extra steps to make sure you get that movement in your hair.
Tools and materials:
- Mousse
- Brush
- Round brush
- Hair dryer with a wide nozzle
- Hairspray (optional)
- Hair clips
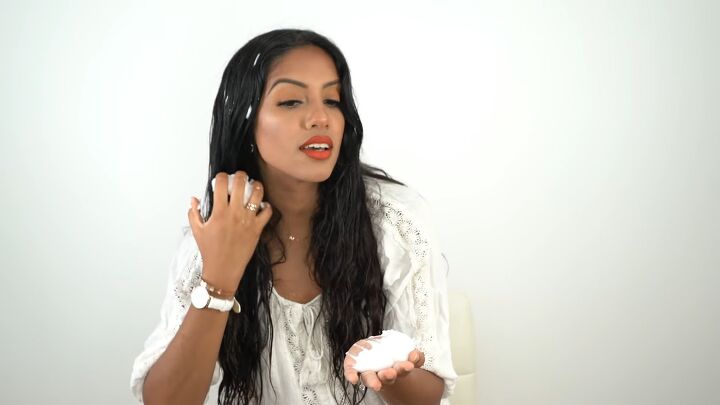
1. Apply mousse throughout your hair
Start with freshly cleaned hair and a mousse. If your hair doesn’t hold style well, you want to blow dry your hair starting with some hold or it’s going to fall flat. Mousses work best for that.
You want a generous amount to cover everything lightly. We don’t want our hair to get too sticky or heavy; we just want the product dispersed to create that hold.

2. Part your hair
Part your hair the way you naturally do. My natural part is a little bit off-center.
3. Blow dry your hair until it’s 50% dry
Grab your hair dryer. We will use a wider nozzle to get about 50% of the moisture out of the mids and ends.
Also, focus on your roots because you want your scalp and roots to be 100% dry.
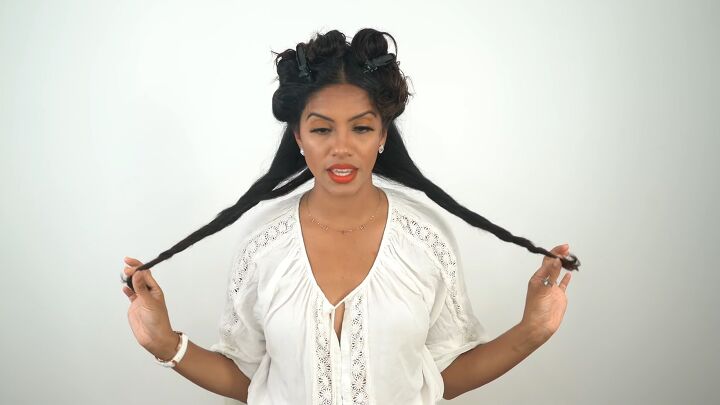
4. Section your hair
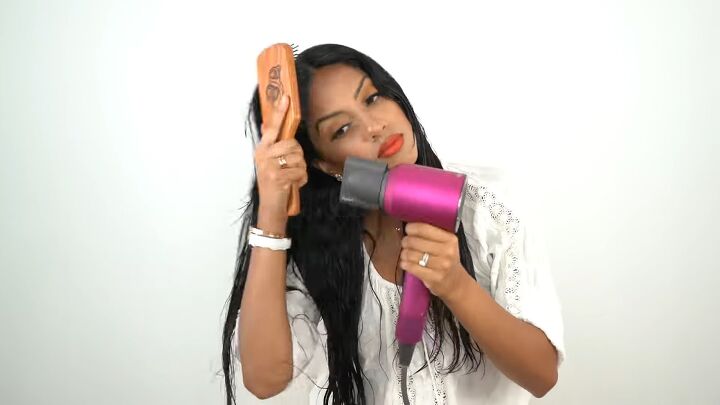
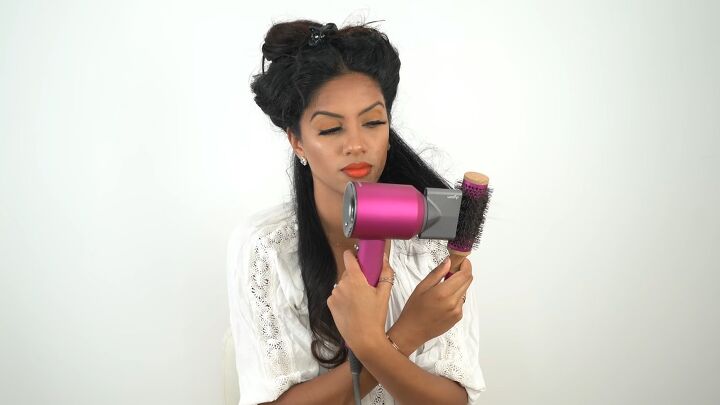
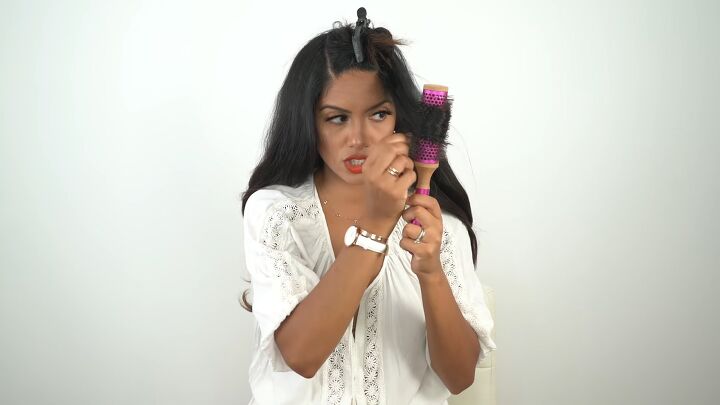
For this, you’ll need a 1-inch round brush. Start by sectioning off your hair and splitting your hair into two halves.
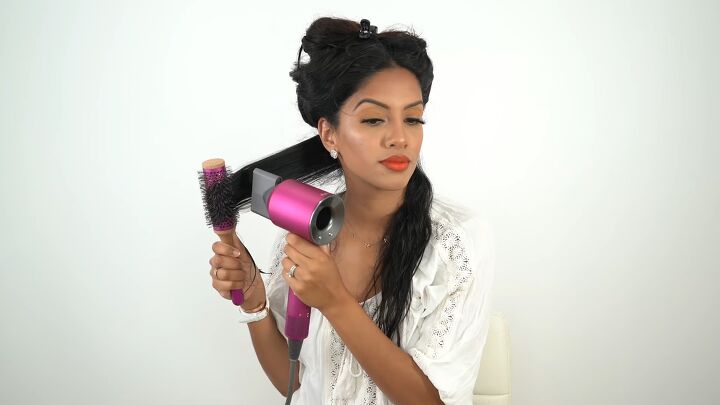
5. Place your round brush on the root
For styling, I like to turn the air temperature down to medium or low. It helps me control my hair a bit better and prevents it from flying all over the place.
Grab your first section, and start by running your round brush through the section to make sure there are no tangles.
Then, place your brush right at the root. Twist it halfway so it’s locked in and you get some tension.
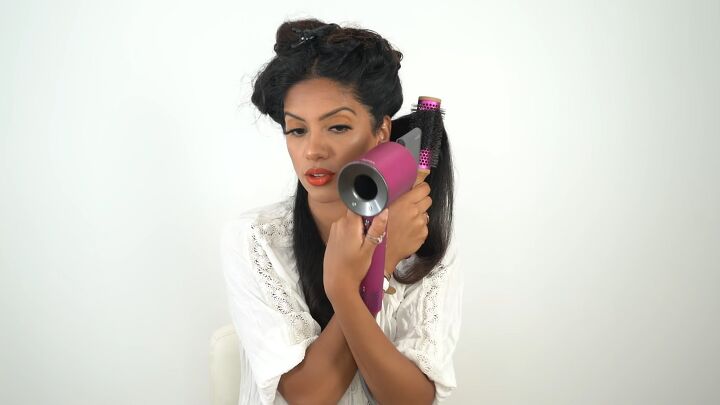
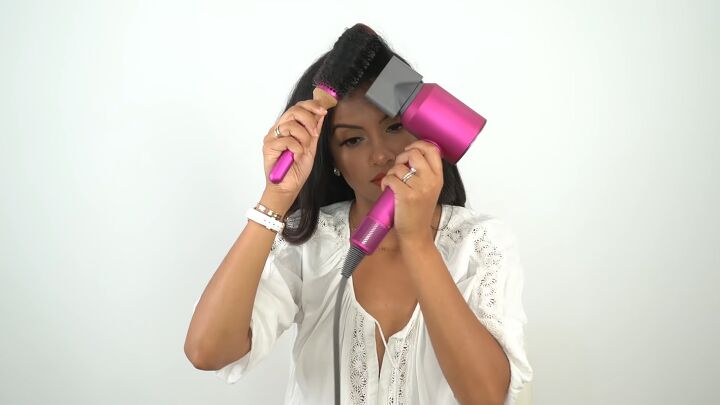
6. Blow dry your section in tandem with the round brush
Starting at the top of the section, keep the nozzle of your blow dryer and your round brush parallel to one another. They’re going to work together all the way down the hair shaft.
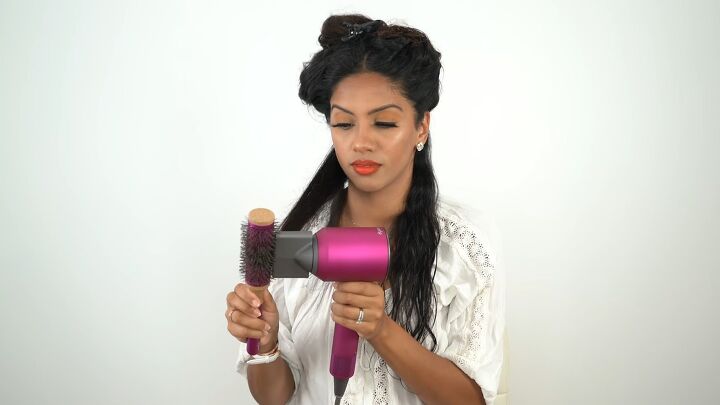
Roll the round brush on the ends a few times and then just work your way back up by rolling the brush upward.
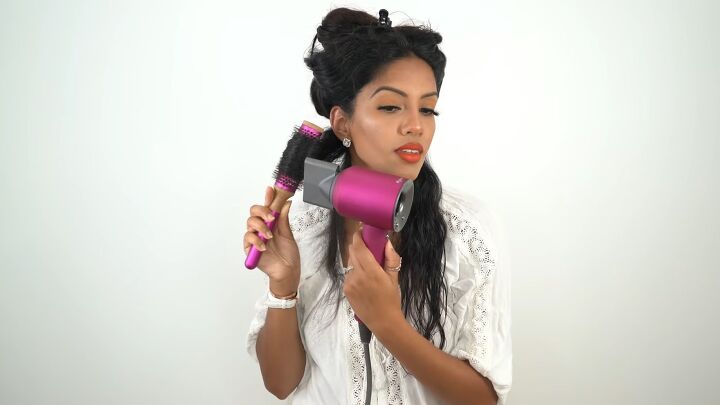
7. Cool the section
Once the section is dry, turn on the cool button of your hair dryer and hold it down for ten seconds.
When your hair heats and cools in the same position, it’s going to set the best and give you the most longevity.
8. Let go of the section
Unroll the brush from the section and let it go. As tempted as you are to touch it, just leave it alone.
If you have super fine or stubborn hair, you can give it a spritz of light-hold hairspray to help hold the flip in place.
9. Repeat with the next section
Do the same thing on the opposite side. Go forward with the brush and the ends are going to go back.
Use your more dominant hand with the round brush because it gives you more control.
Cross the hand with the blow dryer around the other, because you always want the airflow going downwards towards the ends of your hair.
If you go upwards, you’re going against the grain and it’s going to make your hair really frizzy.
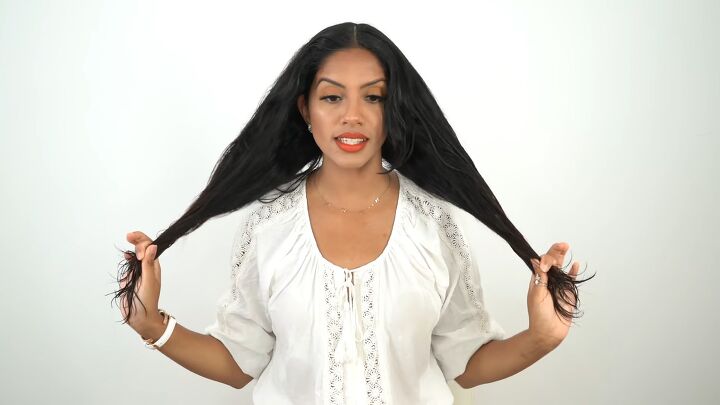
10. Continue blow-drying your hair
As you finish sections, combine them with the precious section and twist them back in the directions you want them to flip.
Put them behind your shoulders as they cool. Keep the damp newer sections in front of your shoulders so they don’t ruin all of the hard work you’re doing.
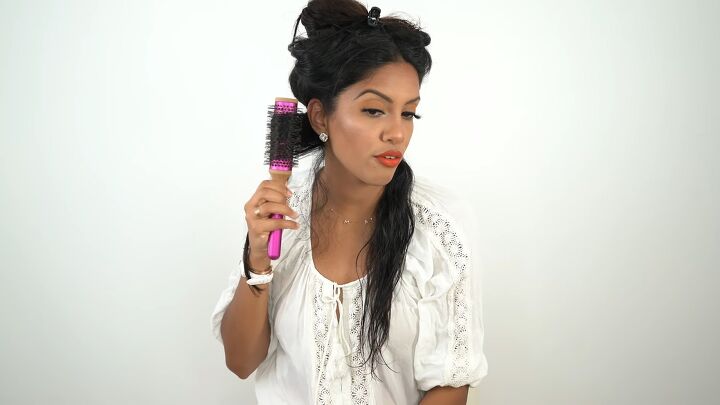
Once you start getting to the side sections, work on the back first and move forward. It’s easier and doesn’t get as messy or tangled.
If you have pieces that fall out, just take a second to stop and wrap them around the round brush.
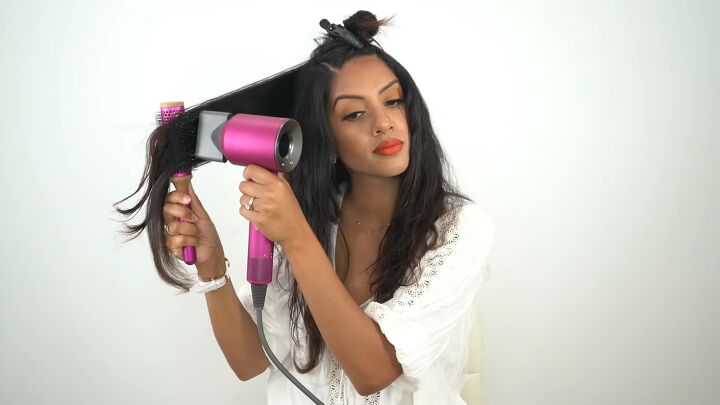
For the bang area, blow dry it backward and give it a couple of extra seconds to cool since it’s the most important piece.

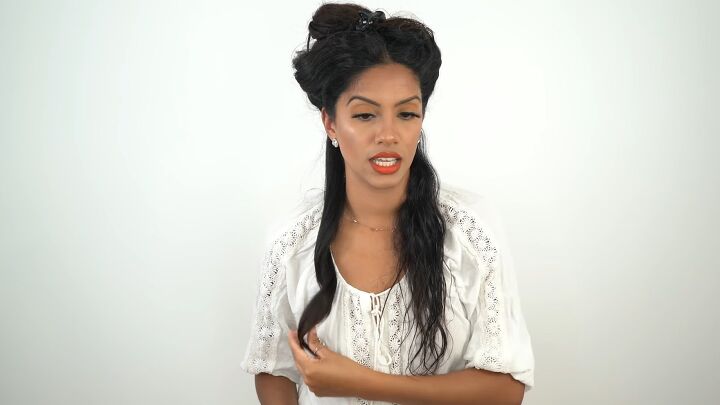
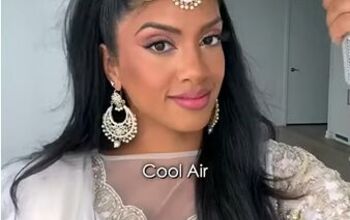
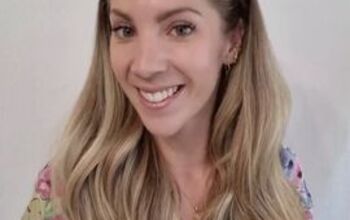
DIY 70's blowout
Here’s the finished 70's blowout! As you can see, we got tons of movement and volume here.
That’s the benefit of styling everything back away from the face—you can flip it in either direction and it’ll still sit so beautifully.
Also, because our sections are cool and we added mousse, this is going to last all week very easily and the volume should sustain itself.
Let me know what you think about this bouncy blowout hair tutorial down below!
And, for more hair content, check out my post on an awesome Flat Iron Hack: Super Easy At-home Faux Blowout.
The author may collect a small share of sales from the links on this page.


Comments
Join the conversation
❤️ all
Beautiful hair!