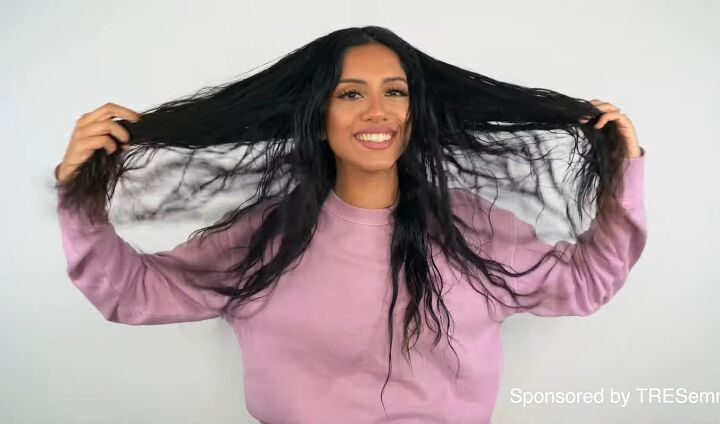
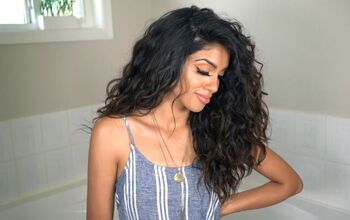
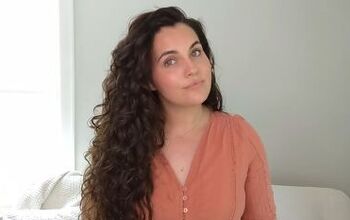
Easy Curly Hair Routine

In this easy curly hair routine, I want to share with you guys a couple of new techniques that I've picked up on creating that really big voluminous natural wave texture.
Keep reading to find out how to bring out your natural ways.
Tools and materials:
- Shampoo
- Conditioner
- Hair mask
- Mousse
- Hairdryer with diffuser attachment
1. Wash your hair
Start off with your hair wet and completely clean. I shampooed and conditioned my hair and applied a hair mask.
Anytime you're playing around with your natural texture, you want to maintain all of the moisture in your hair.
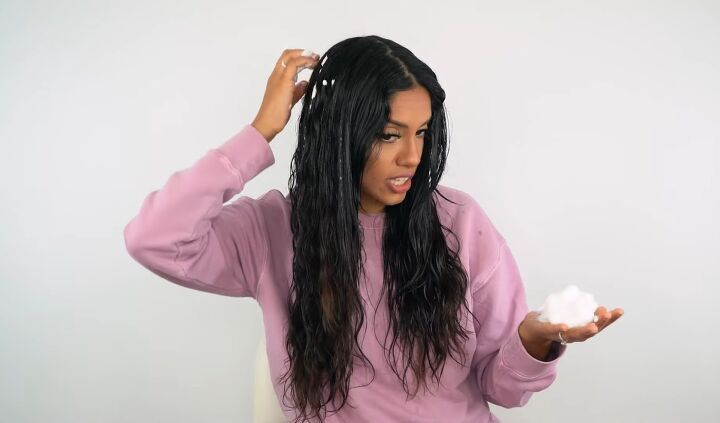
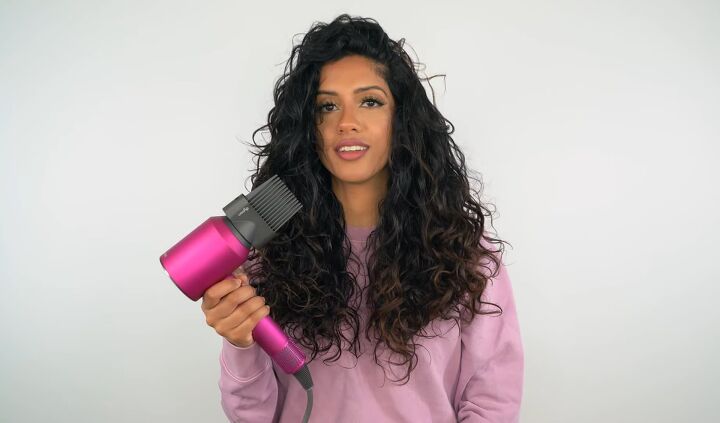
2. Apply a curling product
Go in with a curling product - this can be a cream, a mousse, or a gel. Normally I like to stick to cream bases because my hair is very dry, but today, I’m going to use a mousse which gives me crazy volume.
Take a generous amount of product and apply it to your hair. You can't really put cream-based products on your roots or your scalp because it will make them too greasy, but with mousse, you can get right down to the root.
Go nice and close to the root because this is where you want to create the most amount of volume.
Be sure to scrunch the mousse in. Because mousse is so light and airy, it gives you the best chance of getting the most amount of volume.
And even though it's super light, it does have a strong hold that creates a lot of definition in your hair.
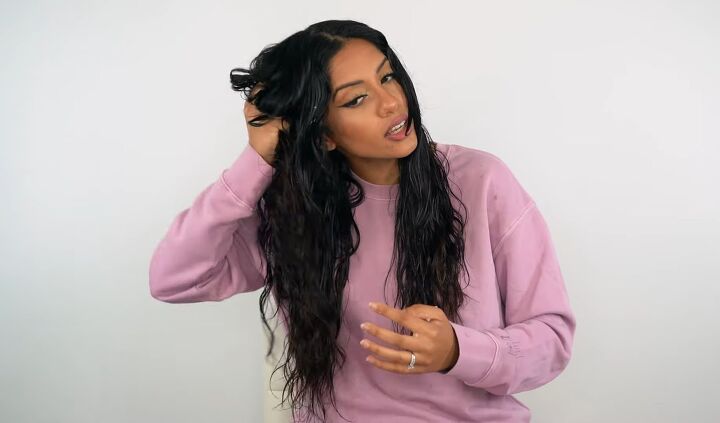
The mousse will define your curls while not working against your natural volume. It's not going to be greasy or weigh your hair down.

Tip your head down and apply mousse to the back of your hair to add more volume from below.
For your curls to actually be defined, the product needs to be around each hair strand. The pieces that you leave without product end up being super frizzy.
So you want to make sure that your hair is very well coated with the product before you move on to the next stage.
Once all the product is in your hair, make sure that your hair is still very wet, to the point that it's dripping. If it isn’t so wet, go ahead and spray some water into your hair.
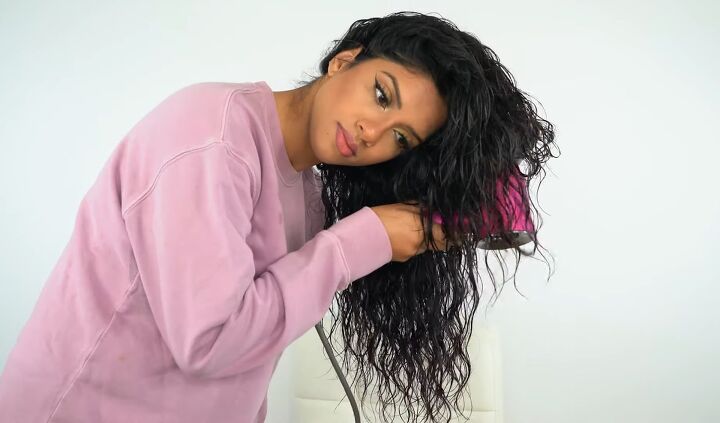
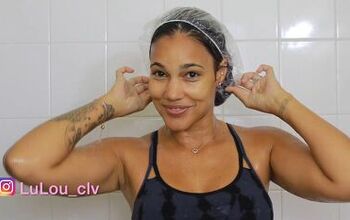
3. Diffuse your hair
Add your diffuser attachment to your hairdryer, tip your head upside down and diffuse.
Blast your blow dryer on low heat and high air. The higher you put the air, the more likely it is that your hair will go frizzy. So you want to keep the air on low, heat on high, and dry your hair until it is about 50% dry.
If you have very fine hair, you can stop at 20% or 30%. You basically want to stop diffusing your hair once you see it starting to get a little frizzy.
As you’re diffusing your hair, you will see your curls start to come to life.
4. Dry the roots
The reason you want to dry your hair only to 50% is so your ends don't get frizzy. But the problem with that is that it also leaves your roots a bit damp.
If you dry your roots 100% right away, that's when you get the most amount of volume, but you can't really do that with a diffuser because you’re going from the bottom of your hair and holding it upwards rather than going in at the root.
So I go in with a smoothing nozzle. It's not supposed to be for curly hair. It's technically for smoothing, but I go right into the roots, and I find that it activates the mousse in my hair. It gets my hair roots to stand up and give me that volume and that extra kick.
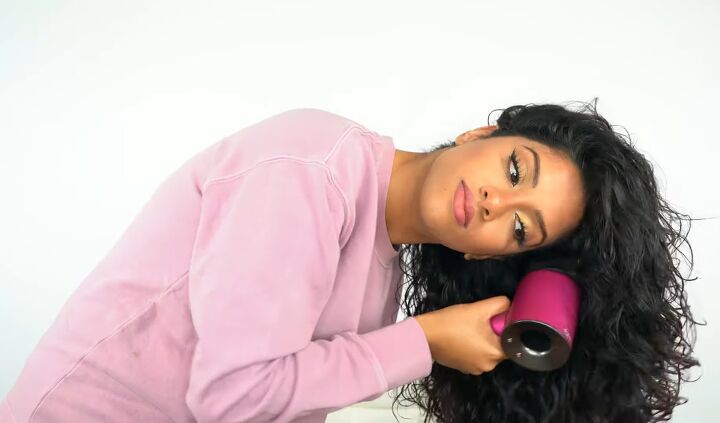
You want to dry your roots with your head upside down so that the roots are standing. Make sure that the rest of your hair doesn’t get completely dry.
5. Let your hair dry
Now let the rest of your hair dry naturally.
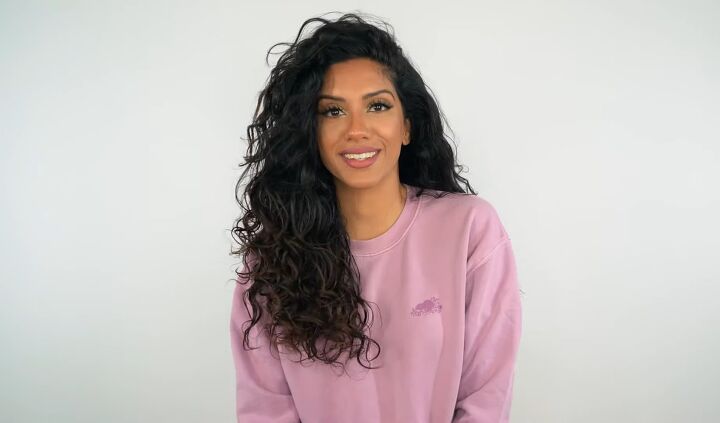
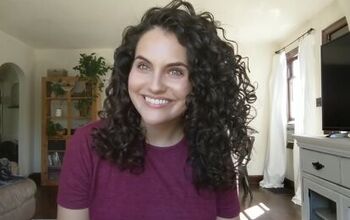
Easy curly hair routine
This is the final look. Look at the amount of volume I was able to achieve!
I have tons of definition in my hair. The curls are not frizzy, they're not greasy looking, and they don't look wet. They look fluffy, and they feel fluffy.
And I do get quite a bit of longevity from this style because the mousse has so much hold in it. This will probably last me all week.
I'll definitely be able to maintain the volume as well because of the extra steps that I took to make sure my roots dry standing up.
If you enjoyed this tutorial, leave a comment down below and check out my post on How to Do a Sexy 70's Blowout At Home.
The author may collect a small share of sales from the links on this page.


Comments
Join the conversation
Would you mind re-reading this and clarifying if the heat should be LOW or HIGH and if
the air should be LOW or HIGH?
Blast your blow dryer on low heat and high air. The higher you put the air, the more likely it is that your hair will go frizzy. So you want to keep the air on low, heat on high, and dry your hair until it is about 50% dry.
Many thanks!
Thank you so much for the great hair tip.
I am going to try it soon. Your hair is so beautiful. My hair is just like yours just shorter. Have a wonderful day.😊