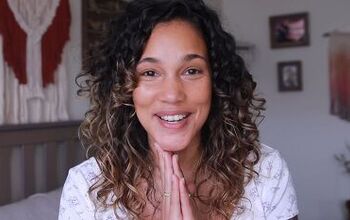
Quick Hair Routine for Curly Hair

Today, I'm going to show you my hair routine for curly hair. Follow along with me as I show you how I apply my styling products on wash day. If you want to say hello to voluminous curls and goodbye to frizz, this is for you.
Tools and materials:
- Spray bottle
- Conditioner
- Gel
- Claw clip
- Towel
- Hair oil
- Diffuser
1. Wet your hair
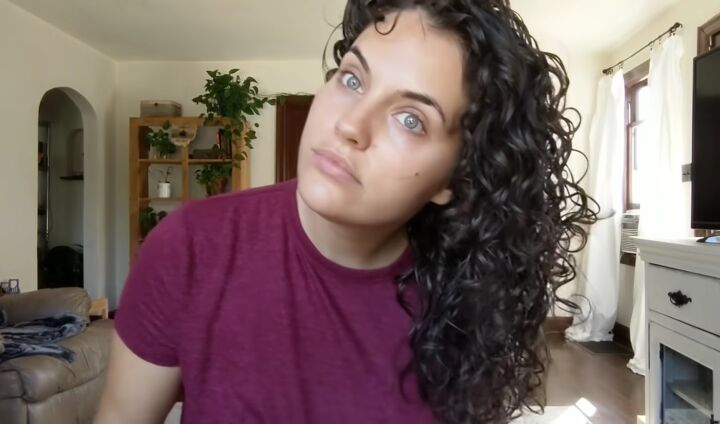
I've already washed and conditioned my hair, and it is tied up in a t-shirt towel.
Normally I apply my products to soaking wet hair while I'm still in the shower, but for the sake of this tutorial, I am just going to re-wet my hair with a spray bottle until it's dripping wet (if you are going to be applying the products while you’re in the shower though then you can skip this step).
I like to apply my products to soaking wet hair because I see a lot less frizz and more curl definition when I apply my products this way and it makes my curls look a lot better.
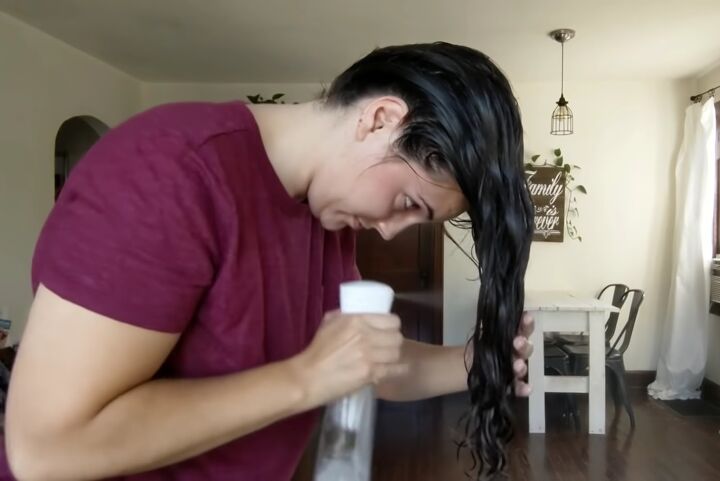
2. Add conditioner
Once your hair is dripping wet, apply some conditioner. I like to add a conditioner when I style my hair to ensure that my hair has enough moisture because usually, I extend my wash days for 3 to 5 days.
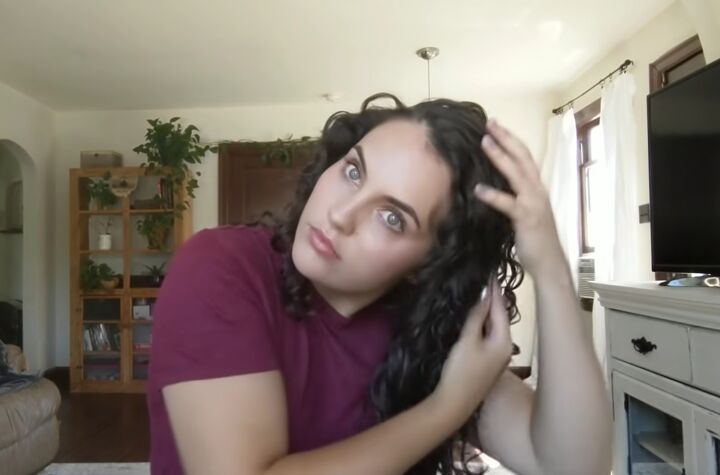
To apply, I'm going to rake the product in. I like to rake it in to ensure that the product is evenly distributed, but when I do this, I like to avoid my roots so that they don't get oily and weighed down. When I apply products from the roots, I see a lot less volume. Keep raking it in until it's totally distributed.
3. Apply gel
Next, apply an instant freeze gel. I apply a dollop by rubbing it between my hands and then doing a combination of smoothing and raking in my hair.
Smoothing it will create less frizz and bigger curl clumps and raking helps distribute the product and breaks up clumps.
If you like really big curl clumps, then I suggest that you smooth and if you like smaller curl clumps then you should rake. I'm then applying more gel to make sure that all of my hair is totally coated.

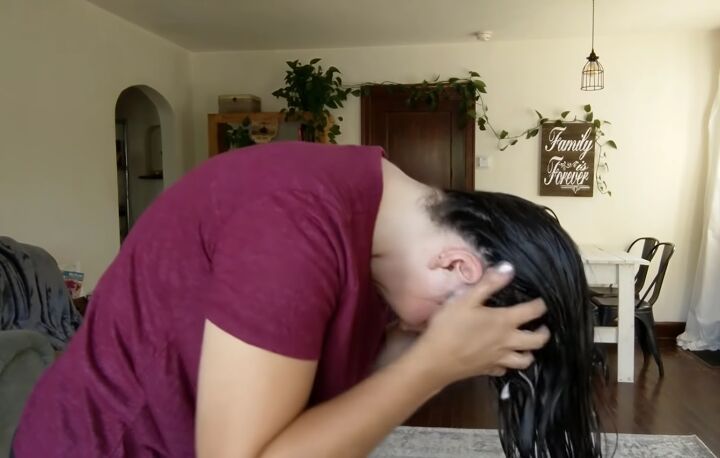
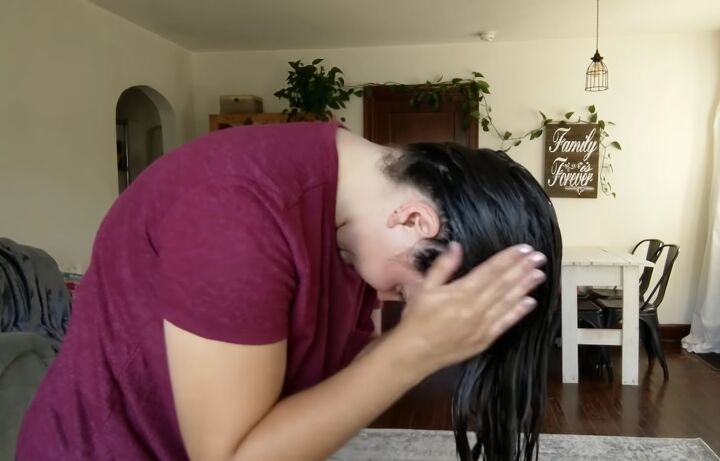
4. Scrunch
Once your hair is coated in gel, start scrunching. Lots of water coming out is a sign that your hair is properly hydrated and won't end up with frizz. Scrunch up to your scalp and pulse your fist and this helps get more of the water out.
Then flip to the side to break up those curls in the back. Continue scrunching this way until you no longer see or feel water coming out of your curls. If I scrunch any further than that I start seeing a lot of frizz. Once there isn’t any more water coming out, you are finished with scrunching.
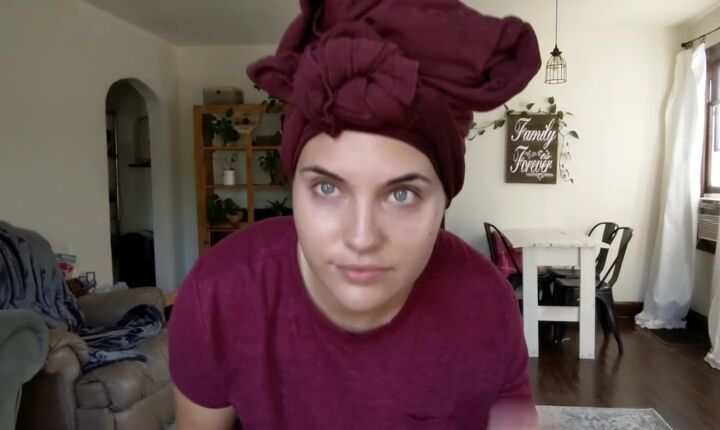
5. Let dry in towel
After that, flop your hair in a towel for about 15 minutes. Then let your hair down and scrunch out any excess water with a towel.
6. Air dry
Next take a small claw clip and pin back the front pieces. This moves them away from your face while they’re drying and also gives you some lift and volume.
Let your hair air dry until you feel the crunchy gel cast. Once it is that way, take out the claw clip and every 15 minutes or so flip your part from side to side. This gives me a ton of volume because my roots aren't just sitting on my scalp. Use a diffuser on your hair when it is about 90% dry.
7. Hair oil
To finish off, I’m going to use some hair oil because I see a lot less frizz when I use it. You can also use olive oil, any kind of oil or no oil at all this is not a totally necessary step.
I like to smooth the oil over that top section because that's where I see the most frizz and then I'm going to start scrunching until I no longer feel the crunchy gel cast. My goal is never perfect definition, my goal is always volume, so I like to shake out my roots because I see a lot more volume and it breaks up some of those bigger curl clumps.
Then, I like to switch my part from side to side to see which way my hair wants to lay. Any small top curls that are kind of sticking straight up will lay after a little while.
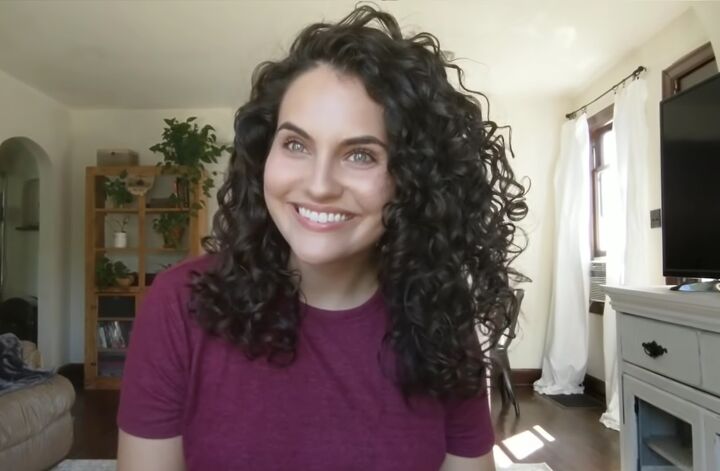
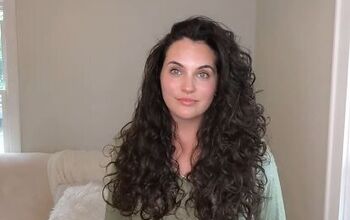
Hair routine curly hair
And there we have it - gorgeous healthy hair that is nice and voluminous and has beautifully defined curls. I hope you enjoyed this hair routine for curly hair, and you’ll try it out for yourself. Share your results in the comments below!
The author may collect a small share of sales from the links on this page.


Comments
Join the conversation
I do the same routine as you do and it looks beautiful. However, how do you keep your curls looking fresh after sleeping on them? Thank you so much!
Silk pillowcases not satin but silk and loosely put hair up into a ponytail on top of head with a scrunchy your curls will still be there in the morning