How to Sew a Garden Apron
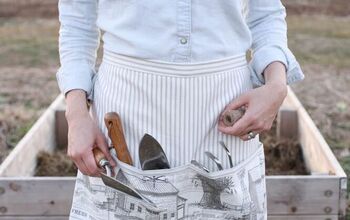
I needed an apron for gardening, so I had to figure out how to make a garden apron that would fill all my requirements. My garden apron had to be washable and have pockets to hold my seeds, twine, and garden tools.
Since I enjoy gardening and will be using this apron a lot, it needed to be washable, functional, and comfortable.
 You can find all my sewing must-haves HERE.

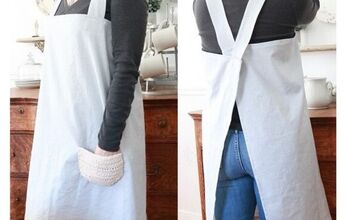
DIY Garden Apron
If you love to garden too, you might enjoy our DIY Trellis, Obelisk, Raised Garden Beds, Compost bins, floating deck, hanging planters, window flower boxes, and hose post.
**If you enjoy thrift store upcycling, then you will want to check out the other upcycle inspiration at the end of this post.
How to Make a Garden Apron
Supplies and Tools
- Main Fabric ( heavy fabric like this one)
- Contrast Fabric for Bias (I like a fun plaid)
- Measuring tape
- Quilting ruler ( I use one for all my sewing projects)
- Chalk fabric marker
- Water-soluble marker
- Scissors
- Mini iron ( this is the one I used)
- Bias tape maker ( this is the one I used)
- Sewing pins
- Thread
- Sewing machine
- I never sew without one of these (I still make mistakes)
Gather all your sewing supplies and fabrics.
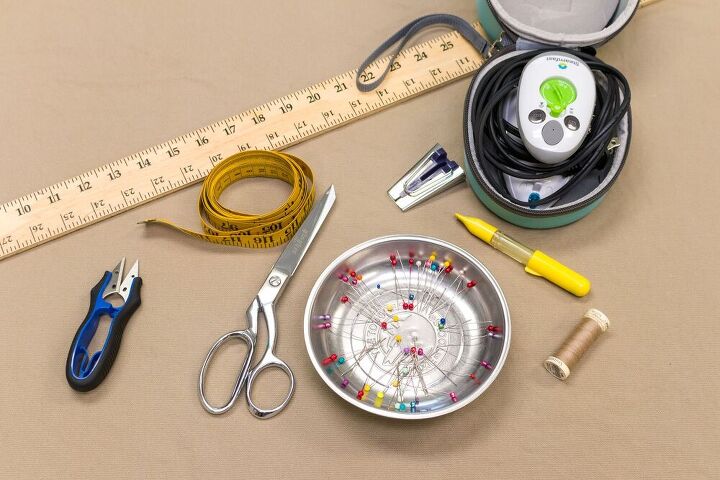
Apron Sewing Supplies
For my inspiration, I used my husband’s old nail apron. It had a nice shape, but I wanted my apron longer and wider.
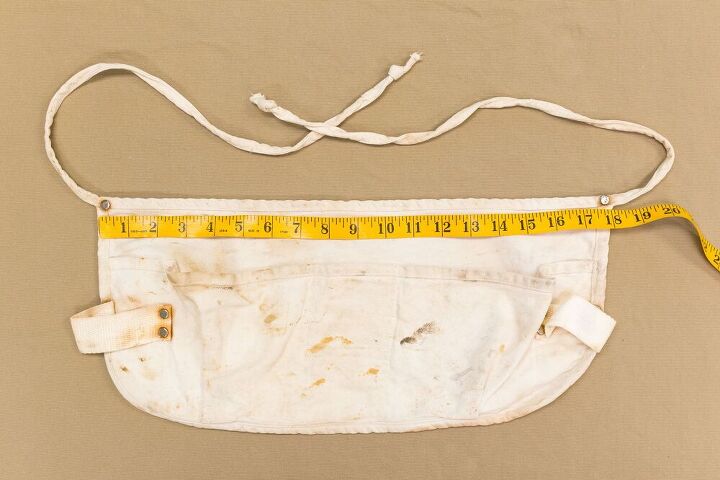
Apron pattern inspiration
Fabric Cuts
Main fabric:
- Apron Body (25″ by 9″)
- Pockets (25″ by 6″)
- Waistband (25″ by 3.5′)
- Apron ties cut 2 each (39″ by 3.5″)
Contrast fabric:
- Bias tape cut on the bias of the fabric one at (26″ by 2″) and cut one (42″ by 2″)
The first step to any sewing project is to get your fabric thread perfect. I used a quilting mat and quilt ruler ( this is the one I used) to straighten my fabric.
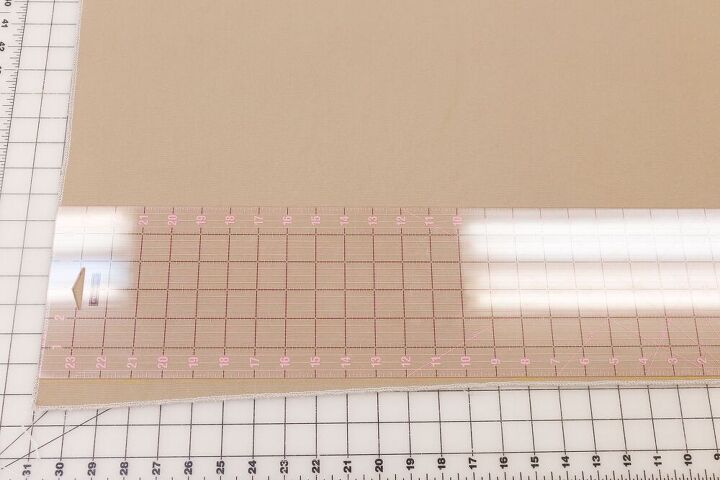
Cut main fabric pieces.
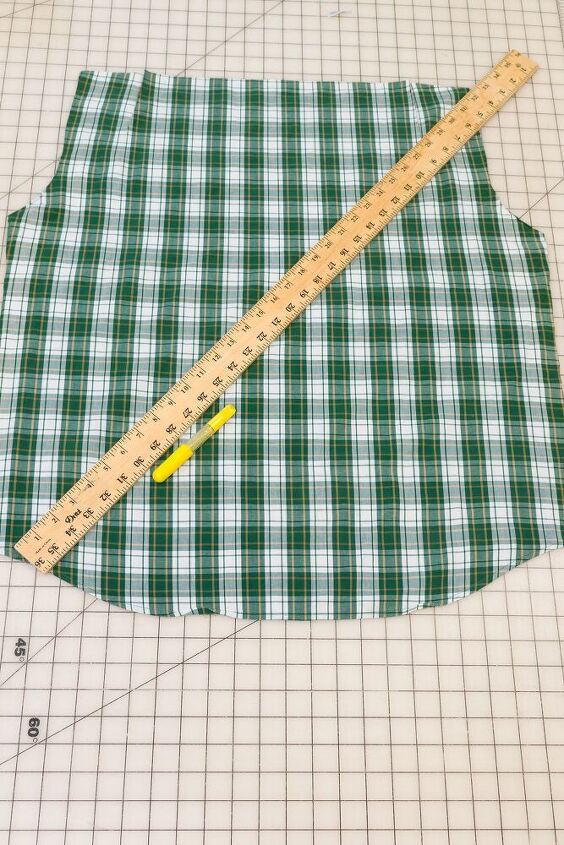
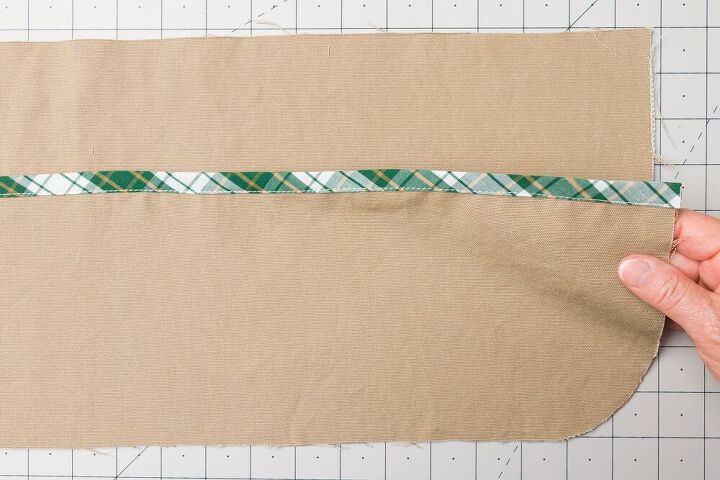
After I cut out my apron and apron pocket, I placed the pocket piece on the top of the apron with the bottom edges matched.
I used a plastic lid as a guide to trace the bottom side curve. Then I cut along the traced lines.
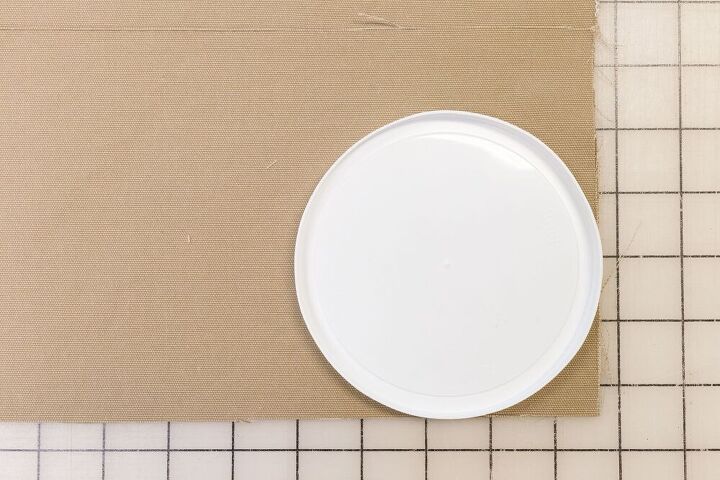
Using a Plastic Lid for corner curves
To find the center of the apron, I folded it in half. I marked the centers using a water-soluble maker (this is the fabric marker I used).
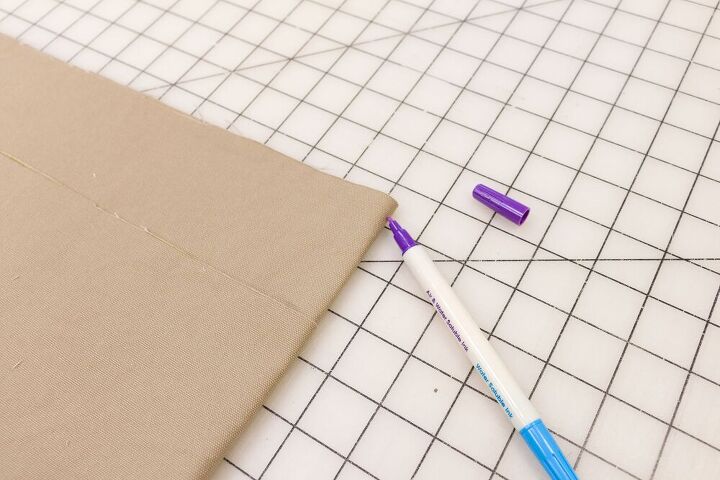
Fold the Apron in Half and Mark Centers
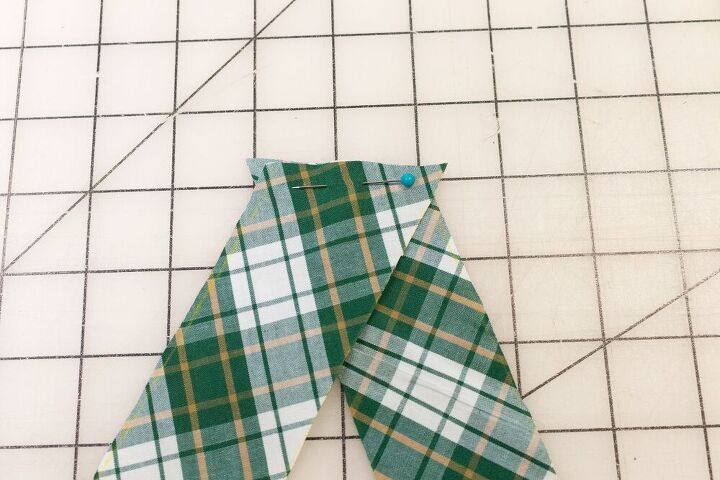
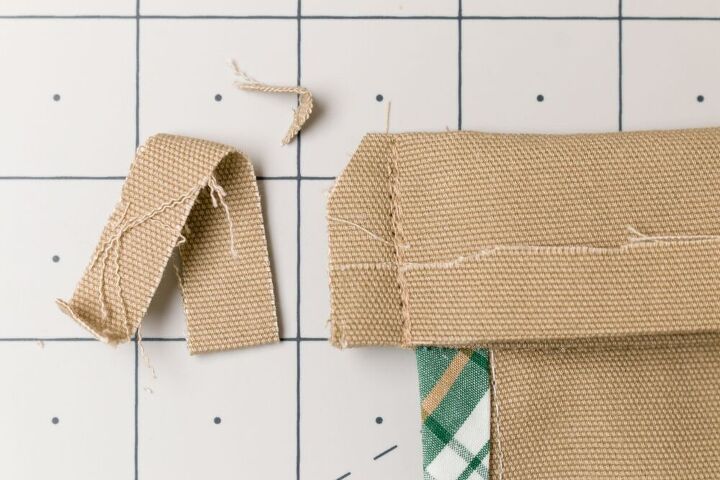
Make Apron Ties
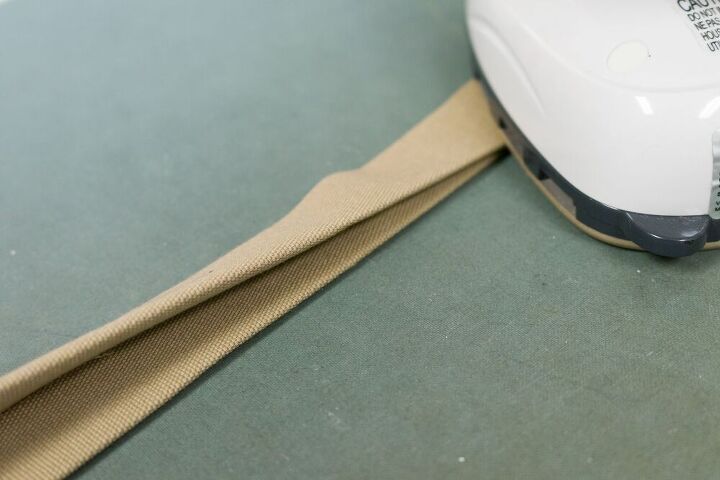
To make my apron ties, I used the same fabric as the apron and pocket. I folded in one of the short sides 1/2″ and ironed it down. Then I folded it in half and ironed it. Next, I folded the long sides to meet in the center and pressed it ( using a mini iron).

Ironing the three sides of the ties.
Fold the ties and iron.
Fold the ties in half and press.
Ironing tie in half.
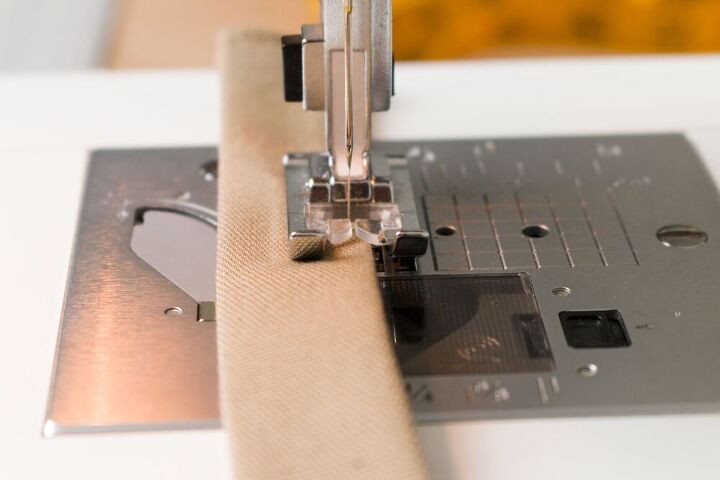
Stitch Apron Ties
Topstitch the ties on the three turned-down sides.
How to Make Bias Tape
I adore plaid and green is my favorite color so this green plaid shirt was perfect as my trim (bias tape). When I purchased this shirt from the local Goodwill I planned to use it to make Fabric Pumpkins, but it was too perfect not to use for this project.
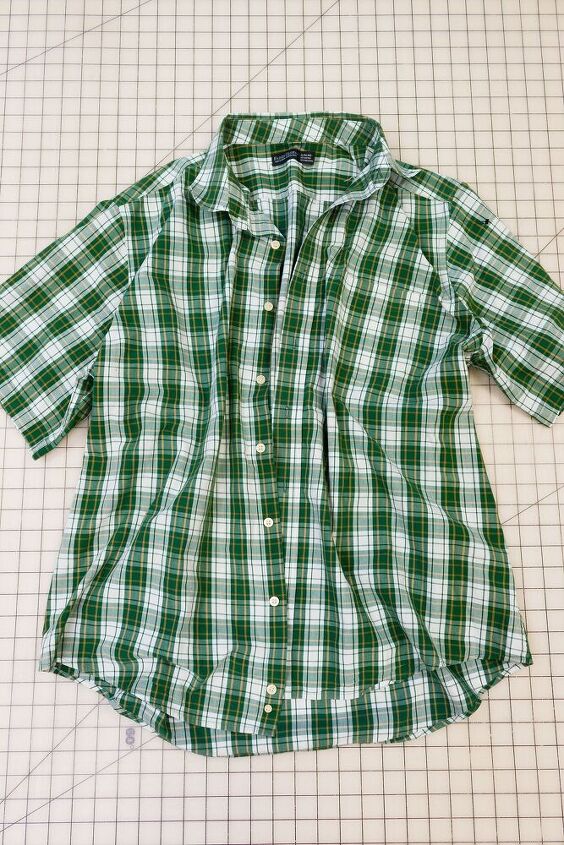
Upcycle fabric DIY Garden Apron
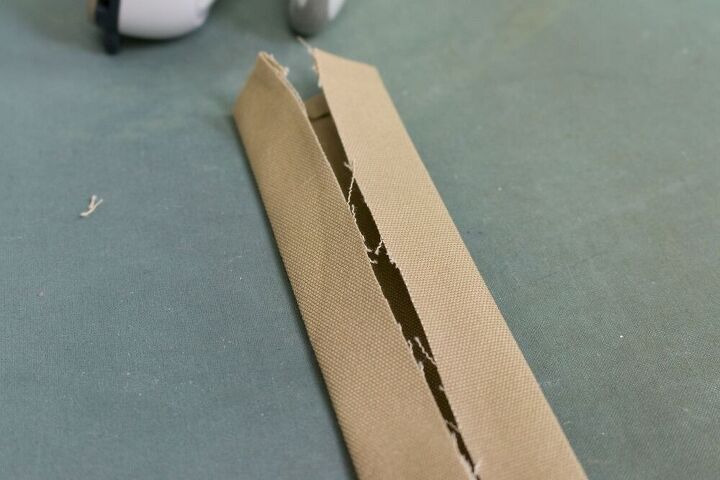
It was impossible to get the backside of the shirt to lay flat so I cut open the side seams.

Goodwill Shirt Side Seams Cut Open
Then I cut it off the back yoke. Using a yardstick, I marked the bias strips with a chalk marker.
Mark Contrast Bias Strips
For the long piece of bias tape, I had to sew together two pieces together.
Sew bias strips together
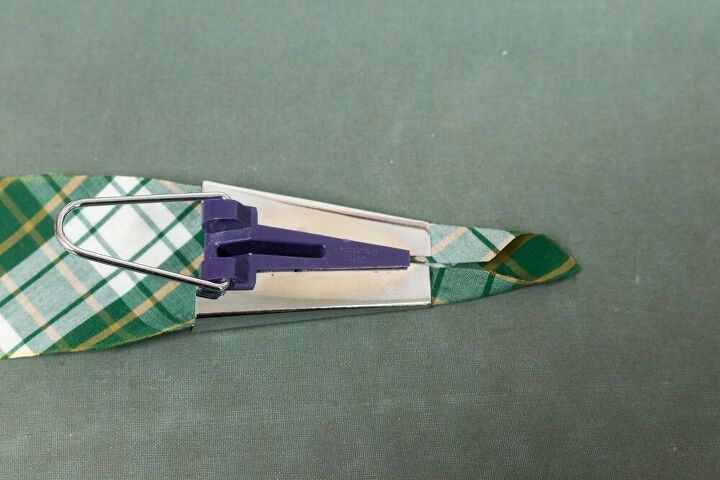
I used a bias tape maker ( this is the one I used). It has a slot in the top where I use a pin to push the fabric through.
You can see how to make bias tape in this VIDEO it is a face mask video, however, making bias tape is the same method.
Feed Bias strip into the bias tape maker
While holding the metal handle of the bias tape maker, pull it back and iron the tape as the maker moves over it.
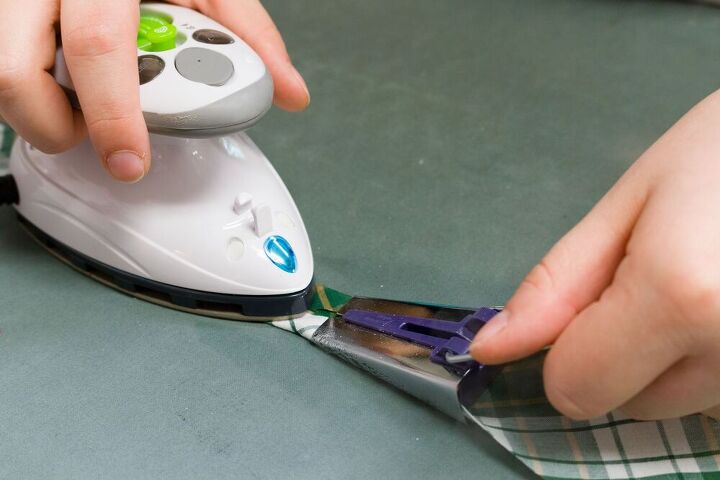
Iron bias tape.
Checking the length of the bias tape
Sewing on the Bias Tape
I unfolded the bias tape and pinned it to the wrong side of the top edge of the pocket.
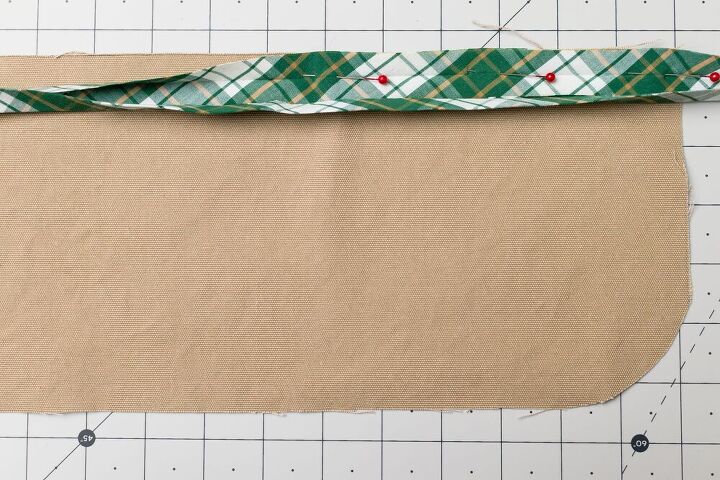
Pin the bias tape to the top pocket edge.
Then I sewed it along the first fold line.
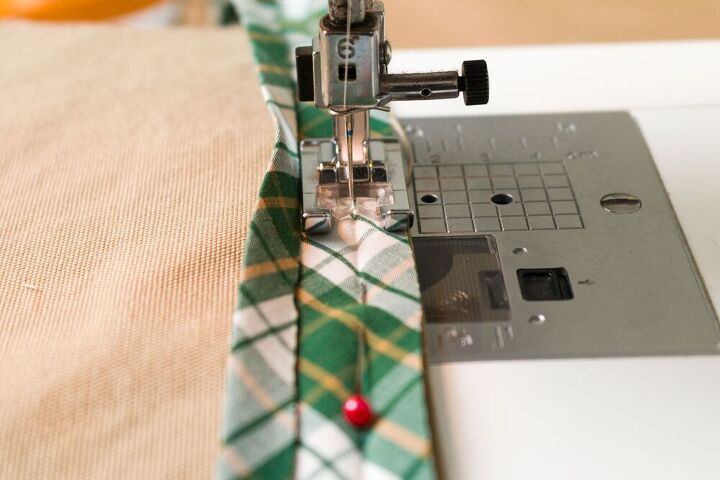
Sew the bias tape to the top edge of the pocket
Once I sewed on the bias tape, I folded it over to the front of the pocket and pinned it in place. Then I stitched it in place.
Pin the bias tape to the front side of the pocket. Stitch close to the edge.
Place the pocket on the front of the apron
Next, I sewed in a basting stitch line along the pocket sides and bottom.
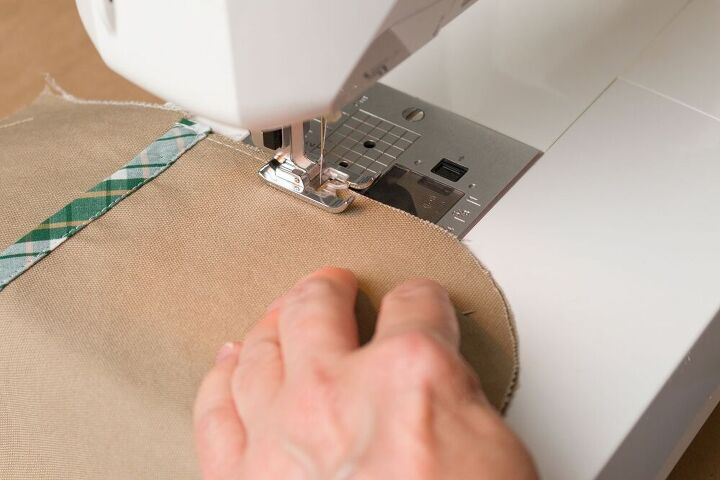
Basting stitch pocket in place
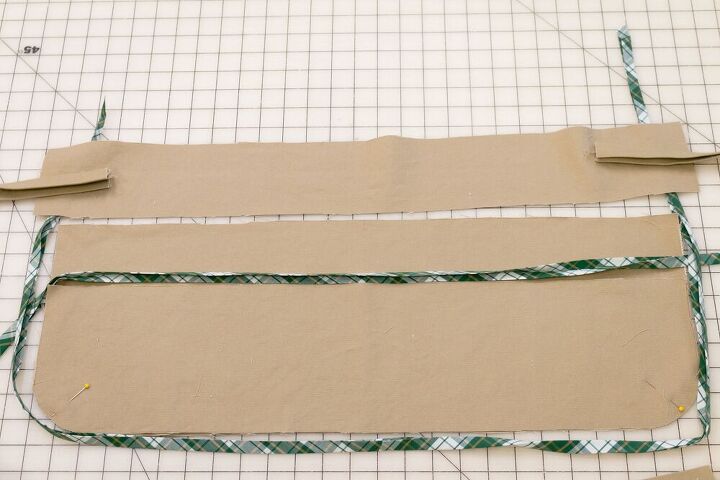
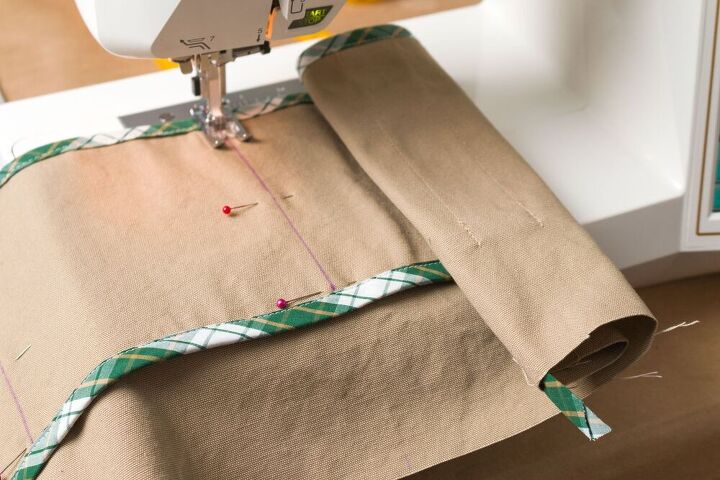
Then I opened the bias tape and pinned it along the sides and bottom of the backside of the apron.
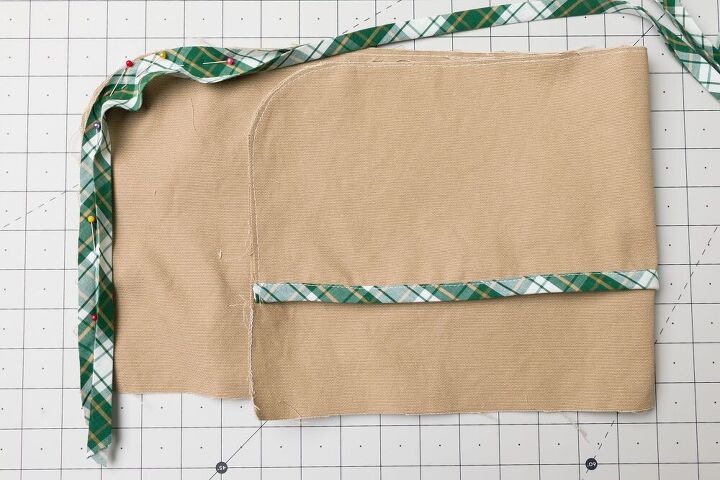
Pin bias tape around the sides and bottom.
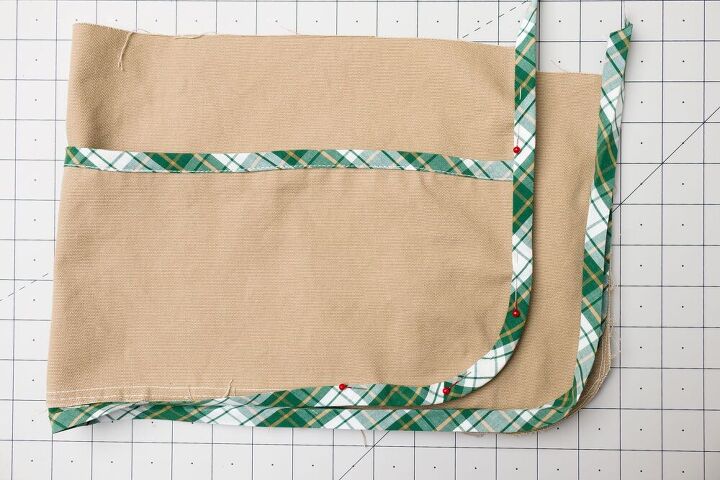
Pinned bias tape
How to Make Pocket Sections
Mark and sew the pocket sections.
Stitch pocket sections
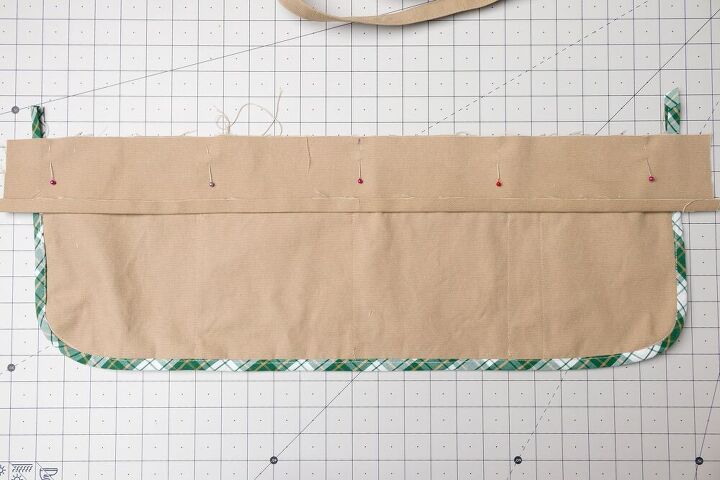
Apron Waistband
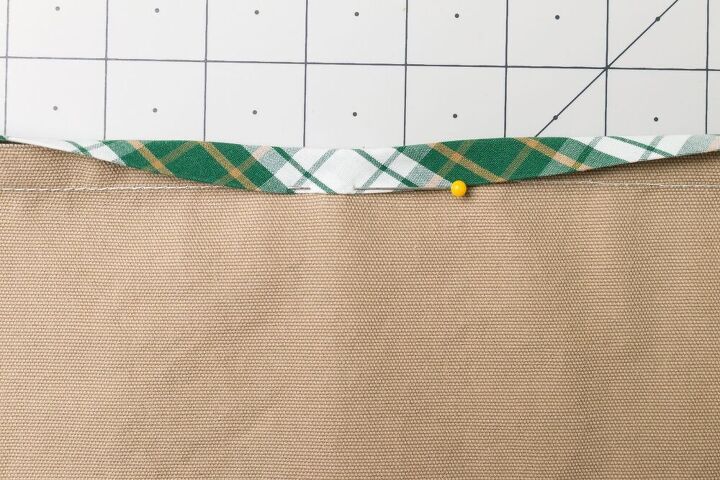
Fold over 1/2″ on one of the long sides of the waistband and press. Place waistband over the backside of the apron matching the center marks on the raw edges and pin in place.
Pin waistband to apron top edge
Stitch the waistband in place. Then press the seam towards the top.
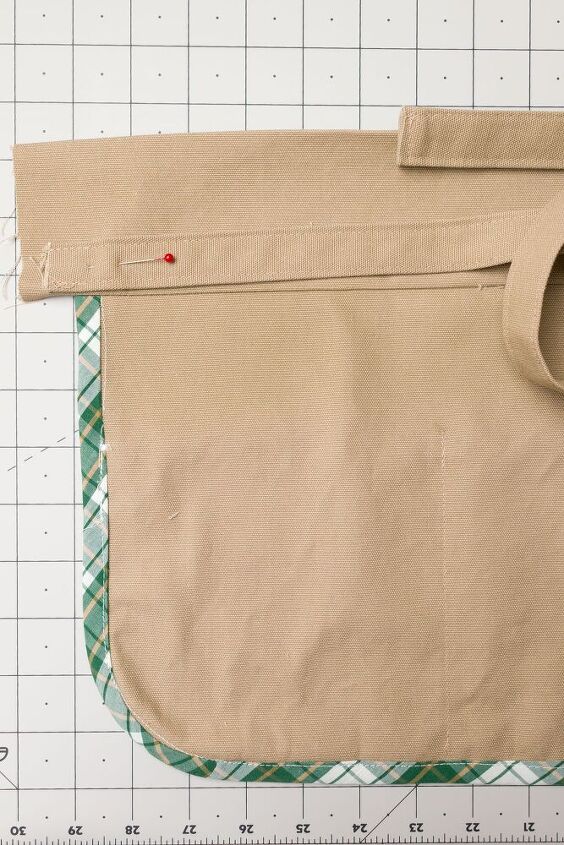
Pin the ties to the waistband
Fold the waistband over the tie and stitch. Trim the seam and the corner.
Fold the waistband over and stitch.
Turn right side out and press.

Stitch down the waistband
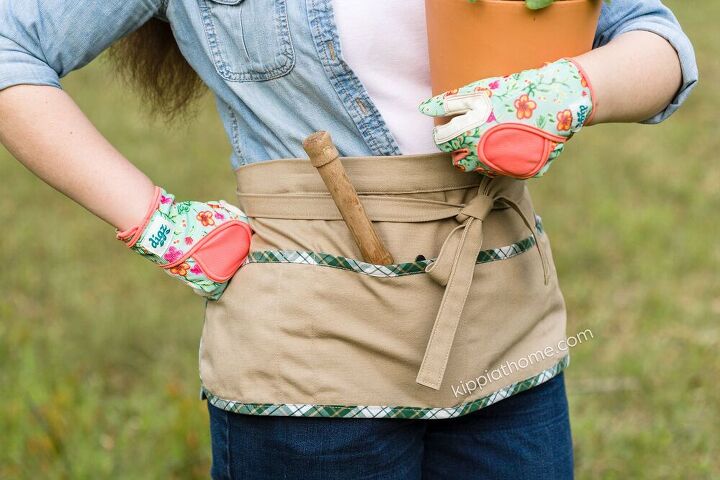
DIY Garden Apron
You might enjoy these other sewing projects, how to make a face mask, DIY pillow covers, DIY Christmas stockings, how to make cushion covers, and DIY Cornice Boards, Pillow shams, DIY tote bags, and duvet covers.
Please join me ( HERE) as we craft up some fun. You can look forward to receiving new inspiration every week. As well as special online crafting events, seasonal and holiday crafting too.
See you soon,
Kippi
The author may collect a small share of sales from the links on this page.


Comments
Join the conversation
Super cute and so clever! I love its usefulness! I plan on making one for me and one for my husband!! Thank you so much for sharing!
Such a good idea .Love the trimming .