DIY A Fabric Belt In 20min (so Easy)
Today I’m showing you how to make a fabric belt.
Why would you want to make a fabric belt, you ask?
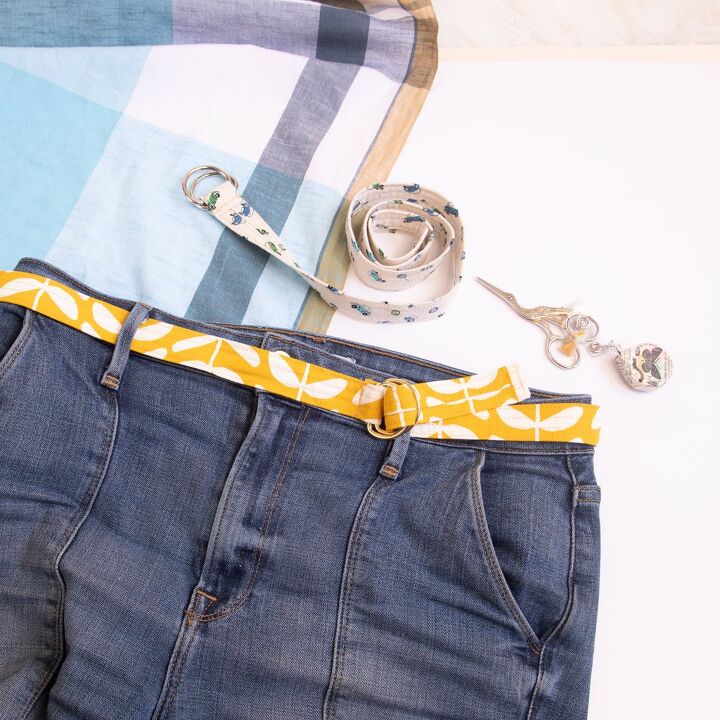
A Fabric covered belt is such an easy accessory to make yourself. You need just a little hardware, some solid interfacing and about 20 minutes.
Plus making your own fabric belts is a simple way to practice your topstitching skills all while creating a custom belt for your favorite jeans. Or if you’ve every wanted to know how to make a belt for a dress that’s matchy matchy, give this easy tutorial a try.
Did I mention that this diy fabric belt is a great project for using up all kinds of weird bits of fabric that are too small for other projects?
Sign me up. So grab some D-rings and let’s dive into how to make a fabric belt.
Table of Contents
Types of DIY fabric belts you can make
This tutorial focuses on showing you how to make your own fabric belts with simple D rings.
That being said, there’s all kinds of different hardware you can add to fabric covered belts. Check out A Beautiful Mess for their tutorial on fabric belts with vintage belt buckles. Seamwork also has a good tutorial for fabric belts with covered buckles.
On to showing you how to make belts from fabric.
Supplies for making fabric belts
- 1/8-1/4 yard heavy cotton, linen, denim, or canvas fabric
- Pellon Decor Bond ( interfacing
- 2 1″ D-rings
- clear quilting ruler ( love this one)
- rotary cutter ( Love my Olfa)
- all-purpose sewing machine foot
- measuring tape
- Turn-it-All tubes
- Wonder Clips (optional) or sewing pins
- Zipper foot
A note about interfacing for belts (from fabric belt kits)
Once upon a time people made their own fabric belts with fabric belt kits. Inside these kits you’ll find cover buckles and a rather stiff interfacing.
You can still find these kits on Ebay, in thrift stores and among vintage notions at antique shops.
You can absolutely make a belt with these, but note that the interfacing in these kits is stiff and inflexible. It makes for a nice looking belt, but I personally do not find them comfortable to wear. That’s why I’m recommending either fusible fleece or weft interfacing.
How to make a fabric belt
Measure yourself for your DIY fabric belt
First things first, measure yourself around the place where you want to wear your belt.
A couple things to keep in mind: wear whatever garment you’ll be wearing with the belt. Also, when I say measure where you want the belt to sit, that may or may not be your waist or hip measurement.
In the case of jeans, thread your measuring tape through the belt loops so that the tape is measuring around your hips at the belt loop level. If you’re making a fabric belt for a dress or a coat, wear that garment and put the measuring tape around where the belt is going to hang.
By measuring around the garment that you’re wearing, you’ll be sure to get an accurate number so that you’ll have enough length when you go to wear your fabric belt.
It’s no fun going through the process of making a belt that’s too small in the end. Belts that require you to wear Spanx are awful to wear. Ask me how I know!
Multiply your measurement by 1.25.
The extra length will give you some overlap for the belt to fasten and some space to sew on the buckles.
Cut your fabric
Next step in how to make a fabric belt is cutting the fabric. For 1” D-rings, cut a piece of fabric 2.75”x the length from the last step.
Mark it right on your fabric with a ruler and cut with a rotary cutter or your favorite fabric scissors.
What if I don’t have enough fabric to my DIY fabric belt?
Piecing your fabric together to make a belt that’s long enough is totally okay. If you don’t have enough length for your DIY fabric belt, here’s what to do.
If your length measurement is longer than the width of the fabric you’re using, divide that number in half and add 1/2”.
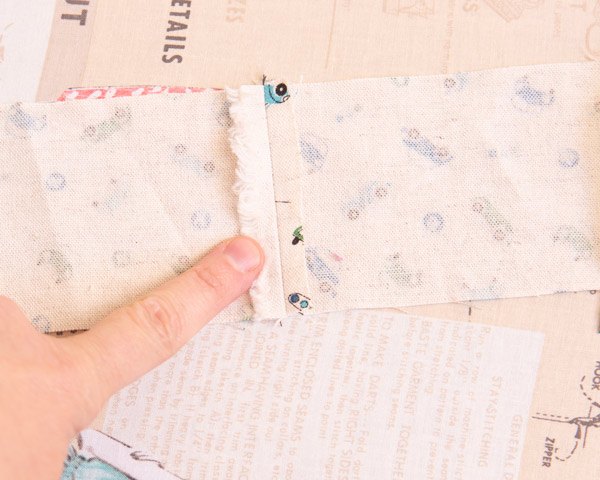
Sew a seam joining the short ends of your belt pieces together.
Press it open. Now you have a belt piece that’s as long as you need.
Don’t worry about there being a seam in the belt. The topstitching we’re going to do will cover over everything, and nobody will notice it anyway.
Cut the interfacing
From here, cut a piece of interfacing 1” wide and the length of the belt. Set it aside.
How to sew a belt
Next, fold the belt piece right sides together along the long edge.
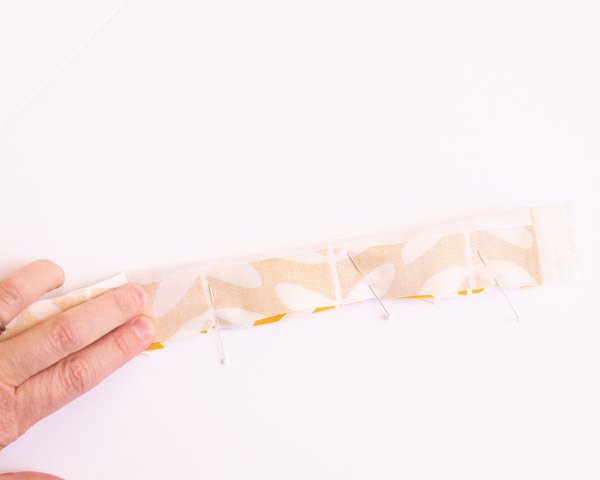
Clip the edges with Wonder Clips if you like.
Sew through both layers of fabric along the long edge of the belt with a 3/8” seam. Backstitch at the beginning and end of your seam.
Roll the tube so that the seam is in the middle of one side. Press the seam open.
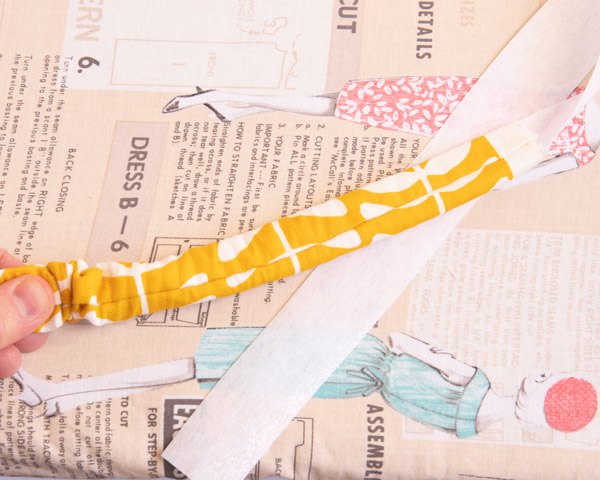
Turn the belt
Slide the large tube from the Turn-it-All tube set inside the belt tube so that it’s near the stitched end.

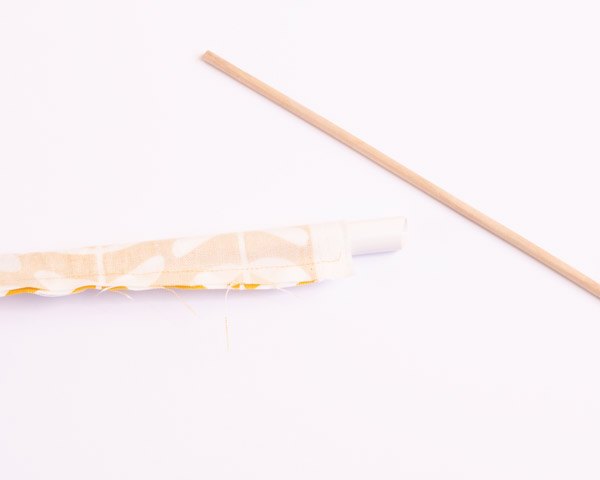
Using the dowel, push the fabric through the tube to turn the belt.
Use the dowel to tease out the corners of the belt. Hold the belt ends and use your fingers to wiggle out the rest of the corners.
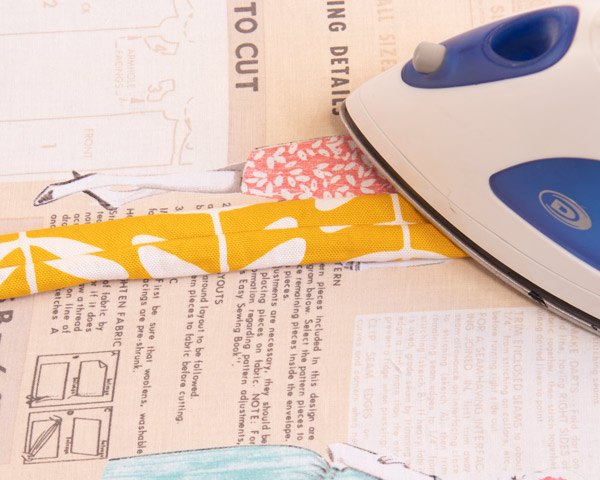
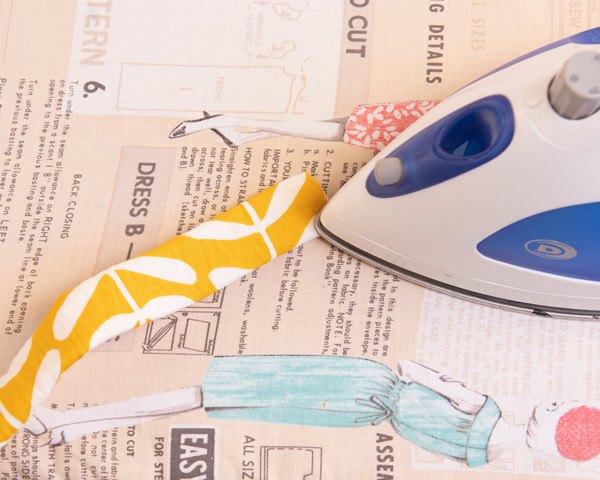
Press the belt well.
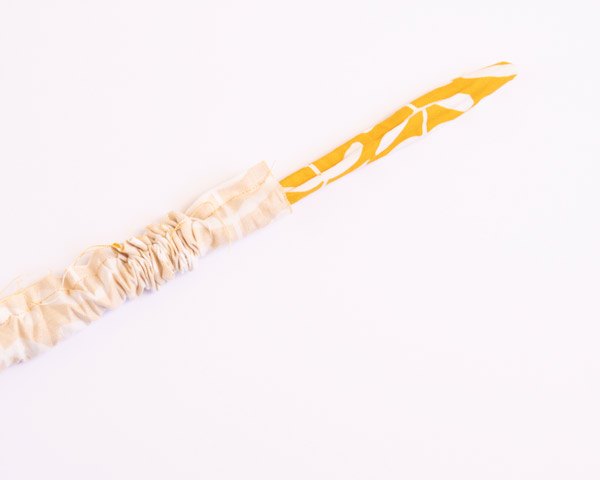
Add the interfacing to the fabric belt
From here, attach a safety pin to your strip of interfacing. Slide it through the tube until you get to the other side.
It might seem weird to add interfacing at this step in the process, but a tube without interfacing is much much easier to turn than one with interfacing.
Once you’ve moved the interfacing all the way through the tube, remove the safety pin. Press to fuse the interfacing in place.
Turn in the raw edges of one end by about 1/4”. Press this short end.
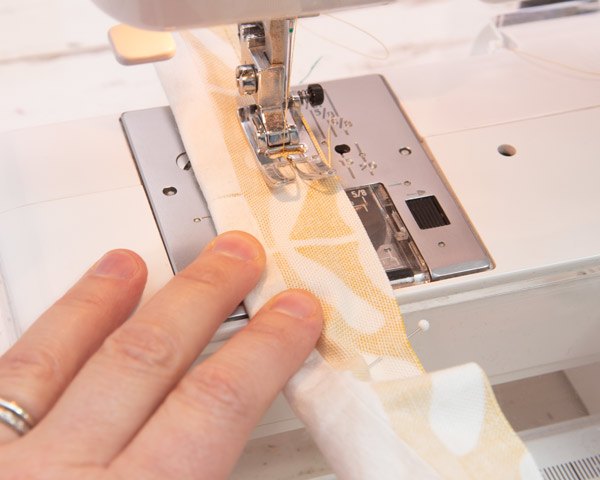
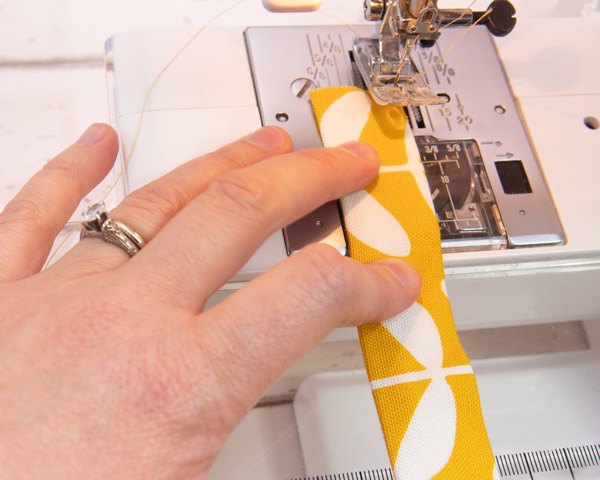
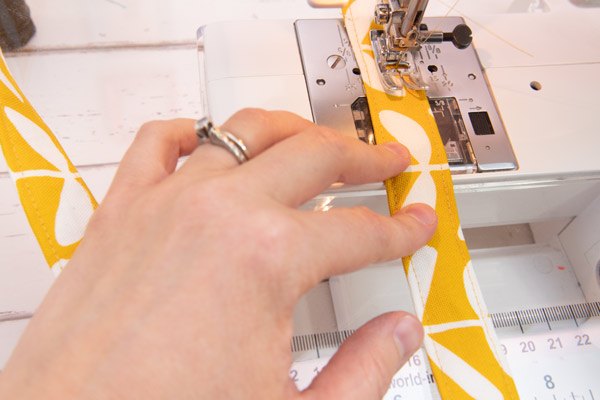
Topstitch the belt
Start sewing down one long edge 1/8″ from the edge.
When you get to a corner, stop, putting the needle down into the corner. Lift the presser foot, pivot the belt, and stitch to the next corner. Pivot again and stitch down the second long side 1/8″ from the edge. Keep stitching all around the belt, pivoting as needed until you get to where you started.
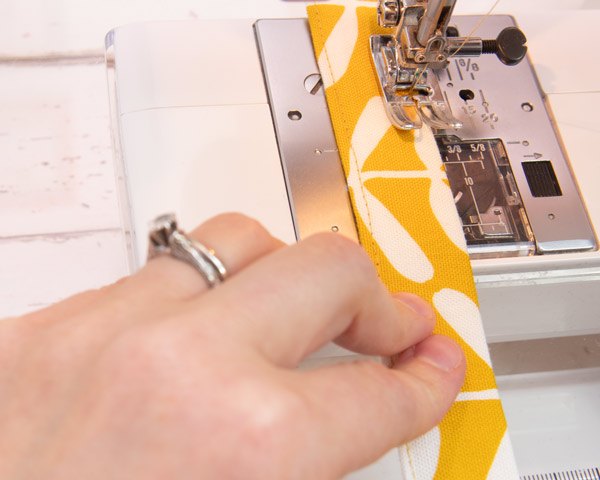
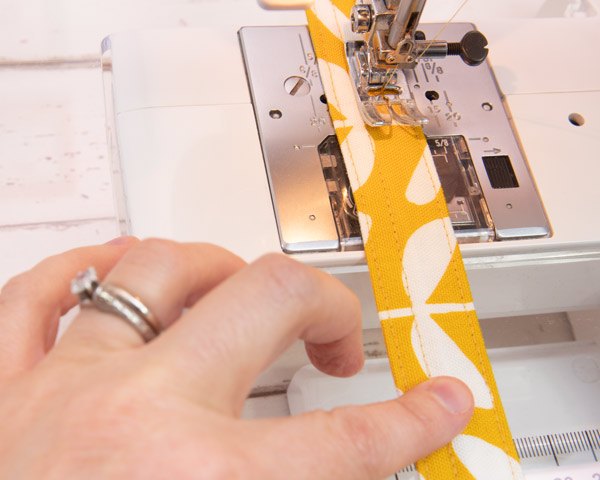
If you like, make more rows of topstitching down the center of the belt. You can draw on lines with a ruler or simply sew 3/8” from both of the edges.
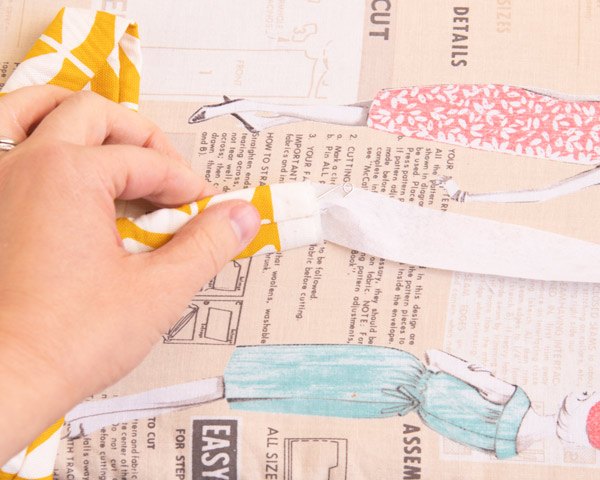
Make a loop (optional)
If your belt is for a dress or something else where there are no belt loops, here’s how to make a belt loop to hold the end of your belt in place.
Cut a piece of fabric 2”x2”. Fold the fabric right sides together and stitch down one side with a 3/8” seam allowance.
Use the medium size tube in the Turn-it-All set to turn the loop. Press the loop well.
Fold the loop around the belt, holding the ends together. Stitch the short ends together with a 1/4″ seam allowance. Backstitch at the beginning and the end.
Thread a hand needle and knot it. Stitch a few hand stitches to secure the ends of the seam in place. Flip the loop around the belt so that you can’t see the seam.
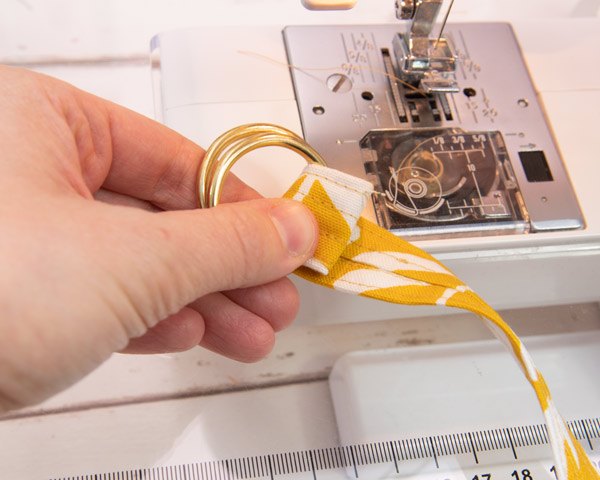
Sew on the D-rings
Slip the D-rings on the end of the raw edge of the belt. Press back the raw edge by 1/4”, then wrap the pressed edge around the rings.
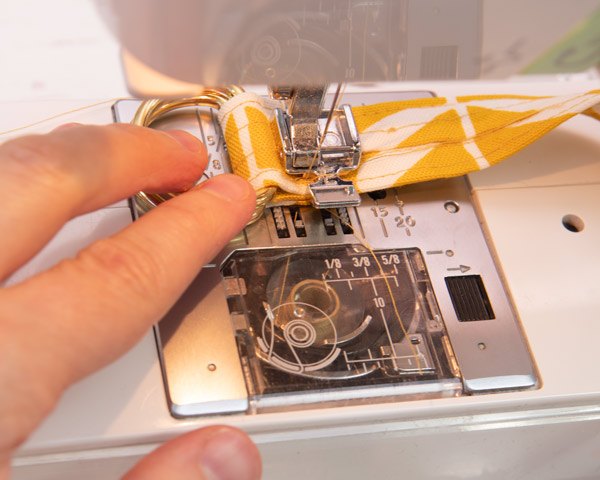
Switch your presser foot to a zipper foot. With your fabric marker, draw a rectangle that measures 1/4” x1”.
With the zipper foot, stitch close across the pressed edge of the belt along the marked lines. Stitch around the rectangle twice for extra security.
Conclusion
So that’s how to make a fabric belt. You’ll love how easy this project is to make! To show off your new fabric belt, slide the ends through both D-rings. Wrap the end around and through one D-ring, then slide the end through the belt loop for simple classic look.
For mo
The author may collect a small share of sales from the links on this page.


Comments
Join the conversation
Love this idea! Belts are so expensive and often don't fit right. This eliminates those problems. Can't wait to start! Thank you for sharing.