How to Make a Half and Half Face Mask

I’m going to show you how to make a face mask step by step. I’ve gone for a half and half face mask to combine safety with a little touch of style. Who said that you can’t have the best of both worlds? Here is the pattern that I’ll be using for this DIY - Ready, set, sew!
Tools and materials:
- Two different types of material
- Scissors
- Metal wire
- Elastic
- Needle and thread
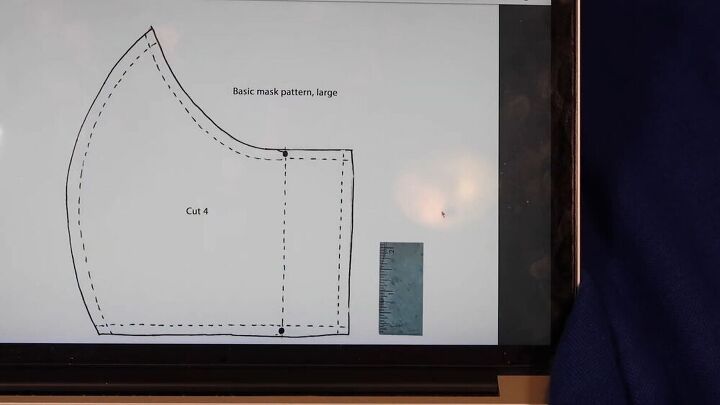
Print and cut pattern
The first thing that you’re going to want to do is print out the pattern for this facemask. If you’re like me and you don’t have a printer at home to print off your pattern, I got you. What you need to do is go to the pattern link and blow up the pattern to its full size. The great thing about this pattern is that it is drawn to scale, so you can place a piece of paper on the screen and literally just trace the shape.
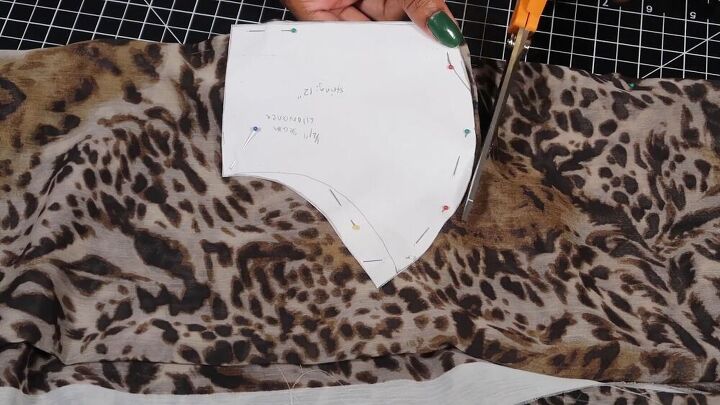
Cut the pieces
Place the pattern onto your fabric and cut out the shape. I’m using a leopard print fabric on one side of my facemask, and because it is thin, I cut out four pieces so that I could double it up. If you are using a thicker fabric, however, you can just cut out two pieces. Because I wanted this mask to be half and half, I grabbed some white cotton fabric, and I placed the pattern on top of that and cut out the shape. So, in the end, I ended up with two pieces of white fabric and four pieces of leopard print fabric.
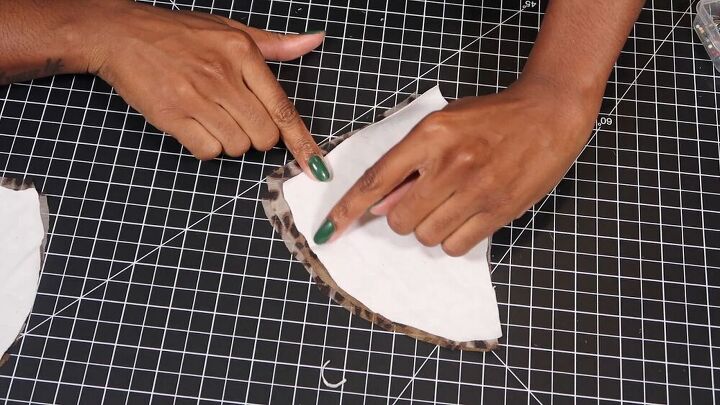
Sew the pieces together
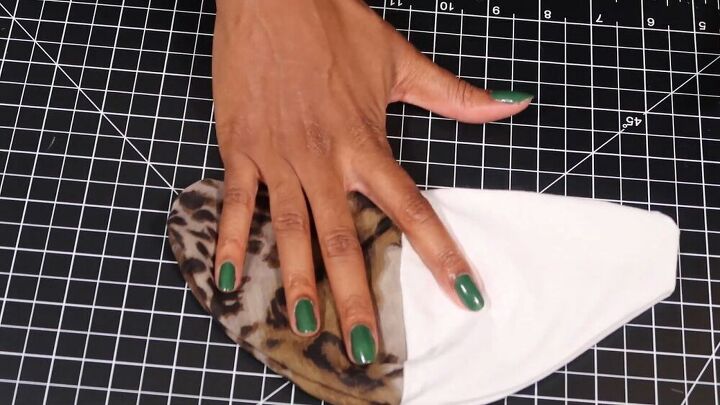
Then you need to stack half of your printed fabric together with one of the white pieces and sew along the curve of that shape. Do the exact same thing to the remaining pieces of fabric. Once you’re done, place the two pieces of fabric together so that the right sides are touching, and then sew around the parameter of the shape, making sure to leave a 1-inch gap so that you can flip the fabric right side out.
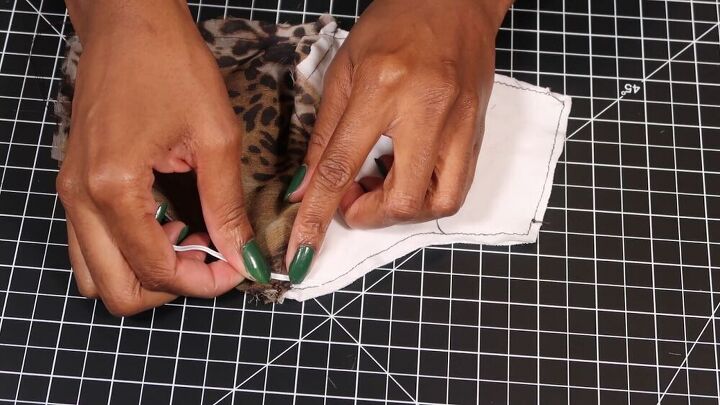
Add wire around the nose
This next step is optional, but I found that adding wire helps create a better seal around the nose, and it helps the mask lay properly on your face. I’m using some wire that I got from an old disposable mask, but you could use a paperclip, craft wire, or whatever you find that is bendy and flexible. Cut off a small piece of that wire and sew it onto the very top of the mask.
Sew the opening shut
The next step is to turn your mask right side out, iron it out, and sew the 1-inch opening shut.

Add the elastic
Now you’re going to go ahead and add the elastic string. As far as comfortability, the thinner the elastic, the better. Cut out the string about 8 inches in length, and then place the elastic on one end of the mask, fold the mask in about ½ inch, and sew it down. Do the same thing on the other side. Then you need to sew the two ends of the elastic together. To seal the deal, push the part of the elastic that you’ve sewed together inside of the casing so that you can’t see it.
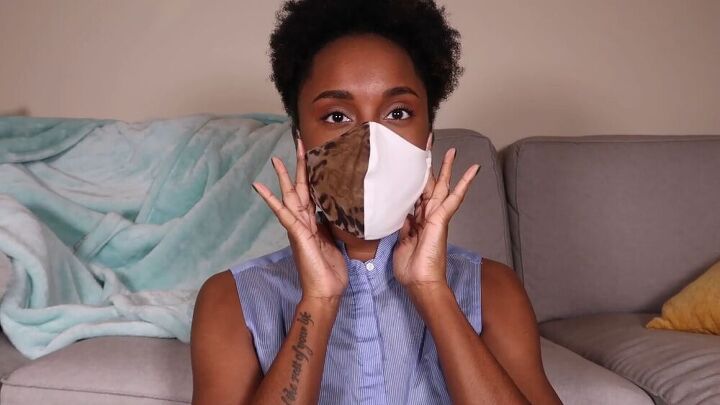
This is how the facemask turned out - I think that it looks fun, fresh, and funky. I love the boldness of the leopard print and how it contrasts with the white fabric, but you can, of course, choose whichever prints and colors of fabric you like. This mask is so quick and easy to make; there’s no excuse not to!
The author may collect a small share of sales from the links on this page.


Comments
Join the conversation