How to DIY 12 Cute and Easy Christmas Hair Accessories

Today, I’m going to show you some DIY Christmas hair accessories.
We’re going to be making a whole bunch of cut hair accessories that you can easily make with bits and bobs that you have at home.
Tools and materials:
- Hair bands
- Hair clips
- Hair combs
- Hair barrettes
- E6000
- Glue gun
- Rhinestones
- Fringe trim
- Chain
- Jump ring
- Pliers
- Lobster clasp
- Trim
- Fabric applique
- Scalloped trim
- Scissors
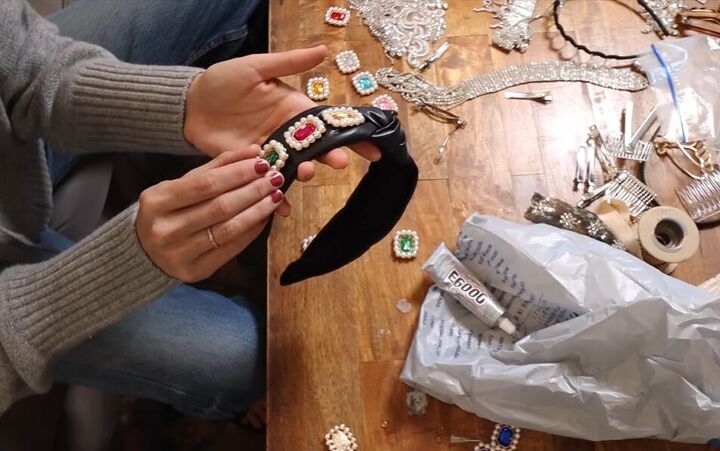
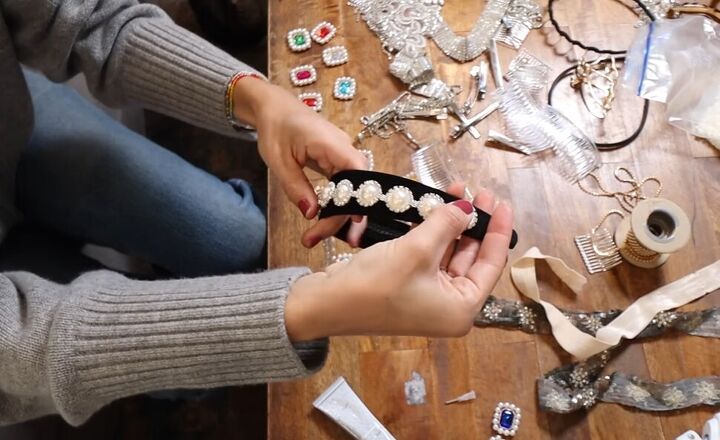
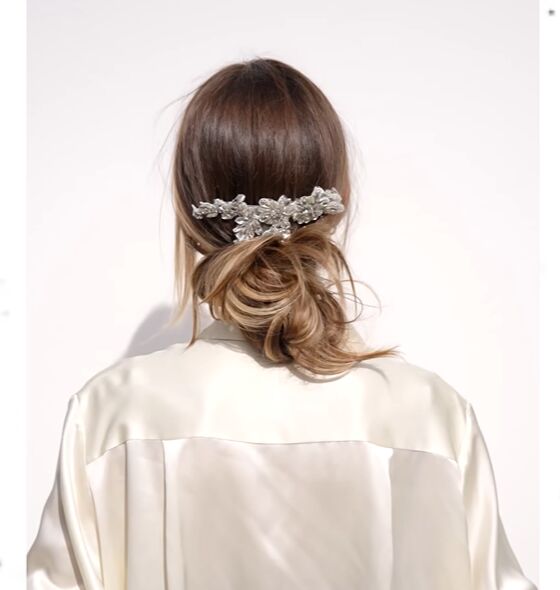
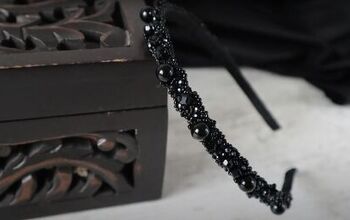
Bejeweled headband
1. Place jewels on headband
Take a thick black headband together with some rhinestones with pearls or jewels around them.
Create the design by picking your colors and your spacing so that when it's time to glue them, you can just add them on.
Leave the bottom inch of the headband untouched so that you don't end up with a rhinestone right behind your ear.
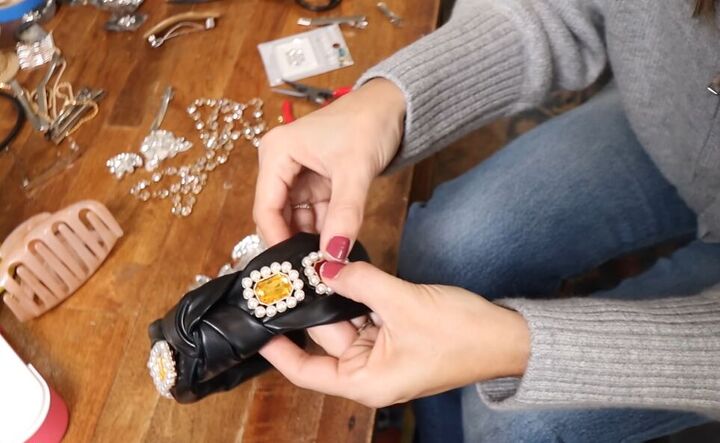
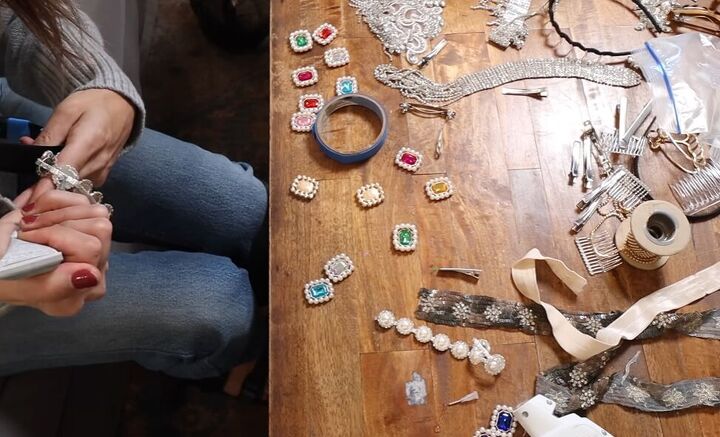
2. Glue one side
Glue on one side and then give it 30 minutes to dry.

3. Glue the other side
Once it's time to move to the next side, you really want to make sure you're matching your first side.
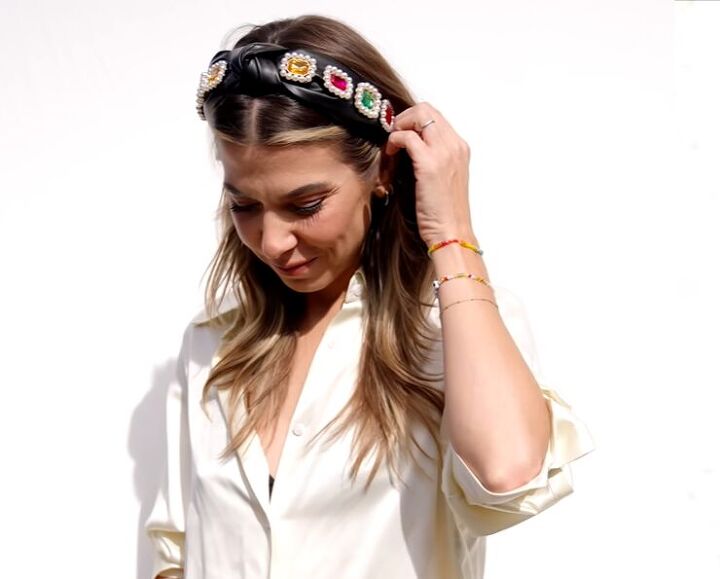
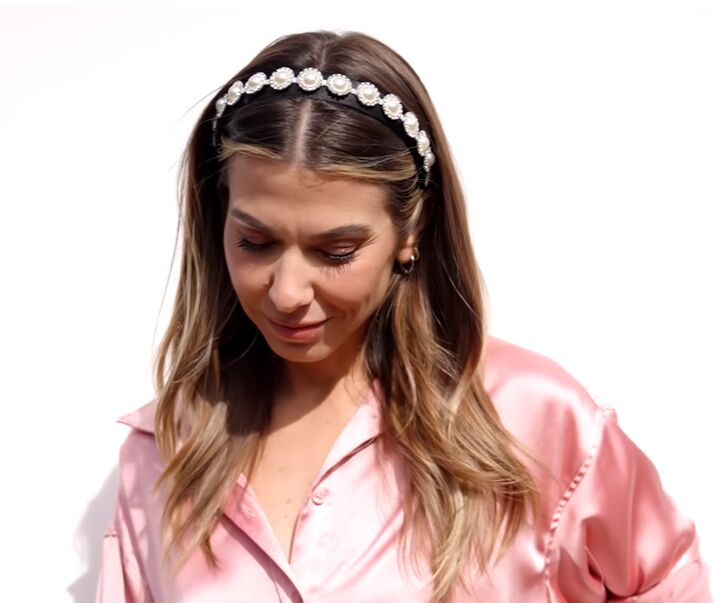
This is the finished result! I think that it’s perfect for the holiday season.
Fringe trim hair comb
1. Glue fringe to comb
Take a clear hair comb, grab some fringe trim, and glue it on with E6000.
If you like, you can make two rows of fringe trim by stacking one on top of the other.
I love the movement of this piece. I did a French twist and added the comb vertically alongside it, and it looks great.
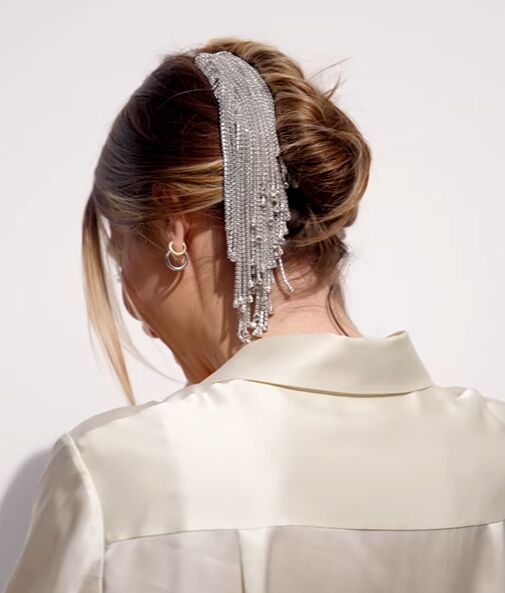
Jeweled clip
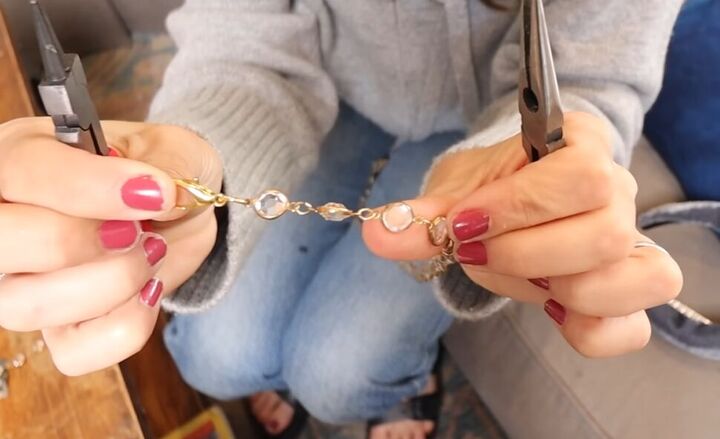
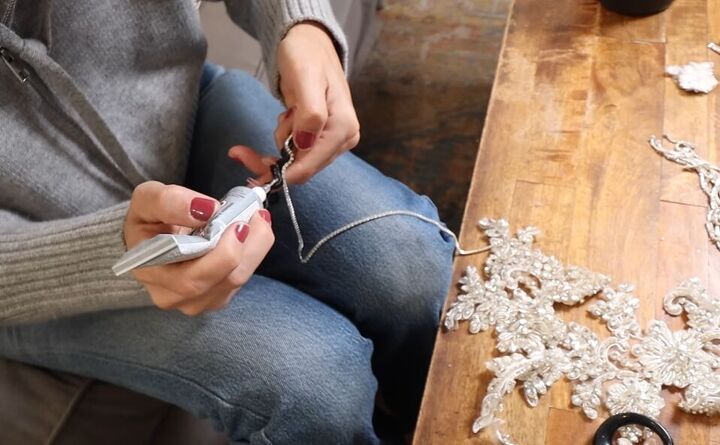
1. Add jump ring and clasp to chain
Open a jump ring, slide your chain onto one side, the lobster clasp onto the other, and then close the jump ring back up.
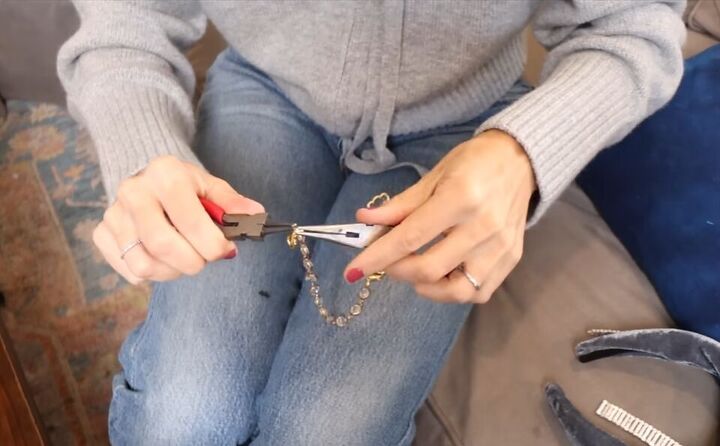
2. Repeat
Repeat on the other side of the chain.

3. Add more chains
Now, we’re going to add two more chains on - each chain longer than the previous one.
Open up the jump ring again on either side and add the two other chains onto it. Now, simply hook it onto your claw clip.
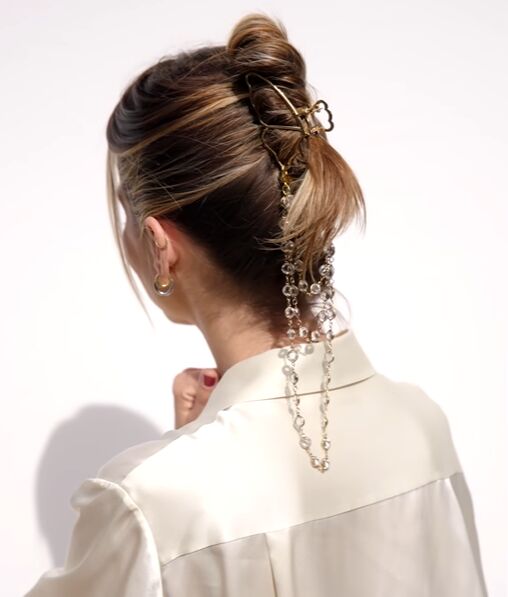
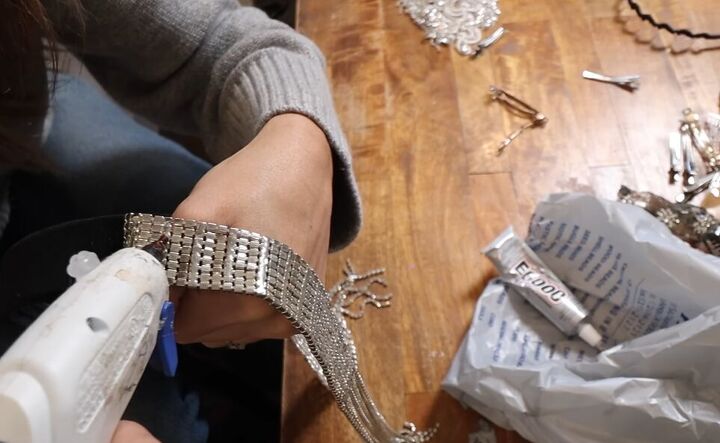
Look at how cool that looks! This is an awesome thing that you can do with an old necklace.
Headband with trim
1. Cut trim to length
Next up, take a velvet headband and some decorative trim.
Cut the trip so that it is the length of the headband, again avoiding the area right behind your ears.
2. Glue on
Glue it on with E6000, starting in the center and working outwards.
The trim on the headband has a sparkle, and it just has a really cool vintage, romantic, feminine effect.
Headband with fringe
Now we’re making another headband, this time using some silver trim that is solid three-quarters of the way down and then becomes a fringe.
1. Glue fringe on headband
Apply your hot glue only to the solid areas and not the open areas so that when you press it down, you're not going to see any of the glue through the other side.
I attached the solid part to the headband and then left the fringe parts loose.
Here is the finished look!
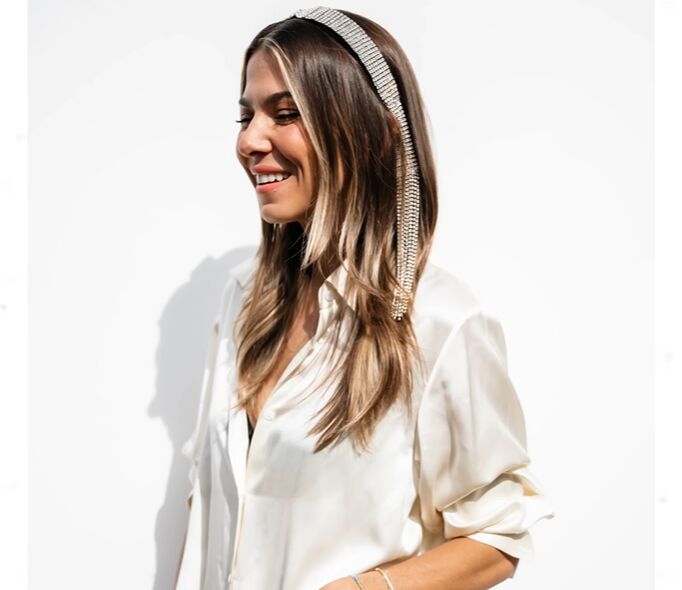
Applique hair combs
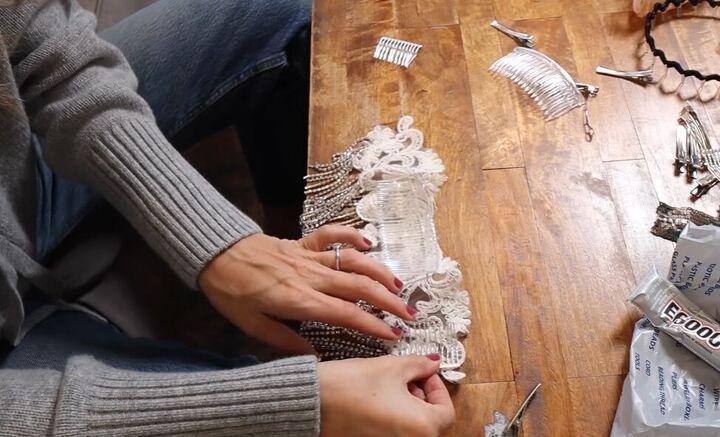
1. Attach combs to applique
Take some fabric and sequined applique and attach clear plastic hair combs to it with hot glue.
Apply some combs in the center and then another two at either edge.
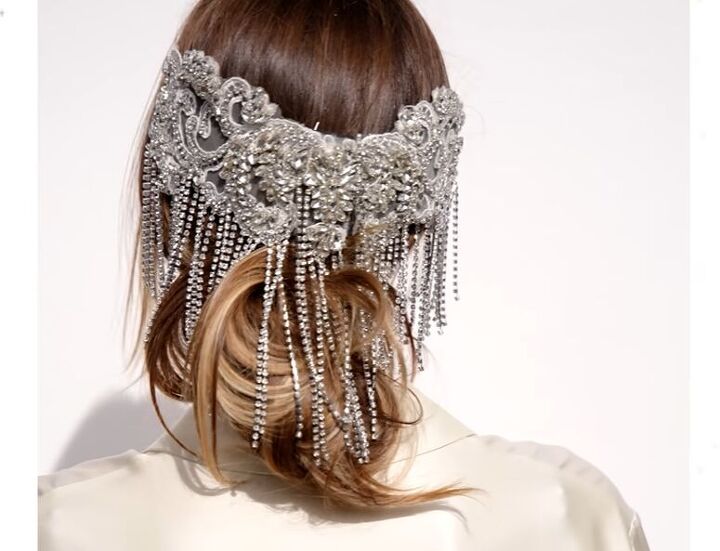
Here, I threw my hair in a low, messy bun and then clipped it on. This is so epic, and the clips hold it in place perfectly.
Cut-up applique
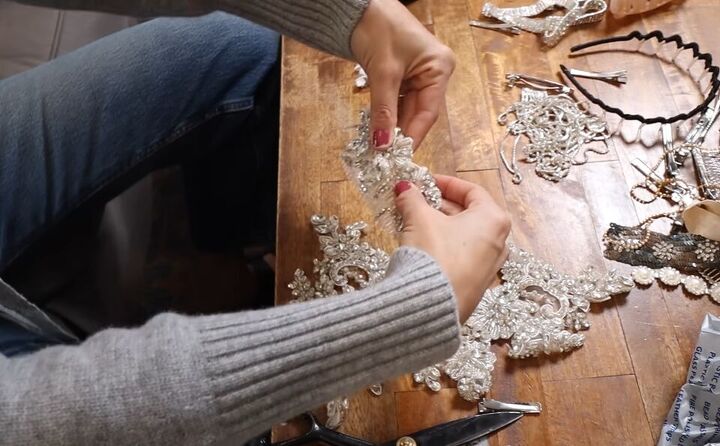
1. Stick applique to comb
Use little pieces of cut-up applique left over from other projects. Take your glue gun and stick some pieces onto the top of a clear comb.
It looks so pretty, and it's such a cool way to elevate a simple ponytail.
Giant bow
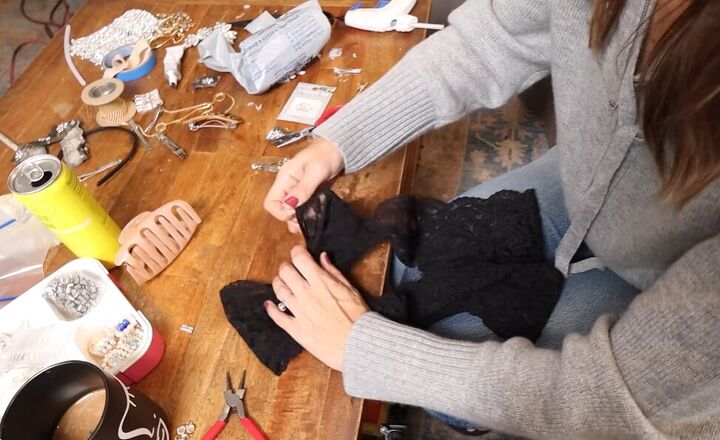
1. Tie a bow
Take some trim that is scalloped on both sides and tie a big bow with two super-long tails.
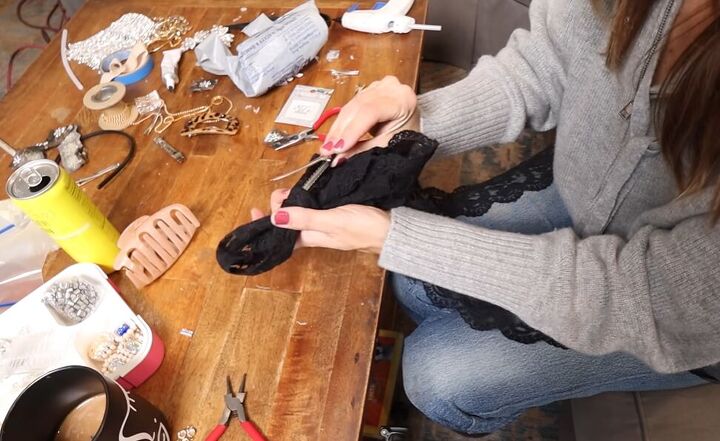
2. Insert clip
Then, take a crocodile clip and clip it through the back, and that’s it - no glue required.

3. Cut off ends
Cut the end of the tails at a point and then clip it into your hair.
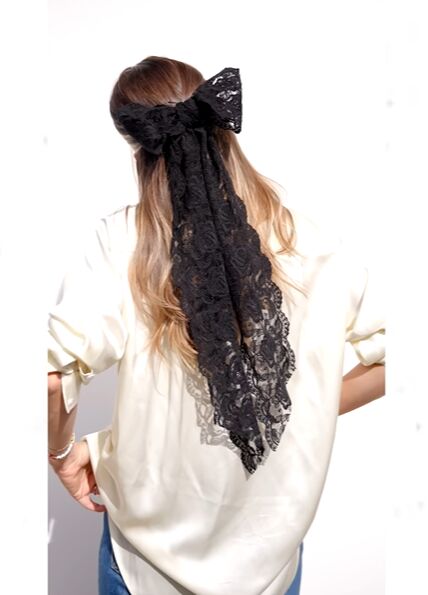
It is really feminine and a little goth-like.
Zigzag hair band
1. Glue trim to headband
Take a zigzag headband and glue some studded trim on it with E6000.
This does take some time because you need to wait for each section to dry and then give the completed headband 24 hours to fully dry.
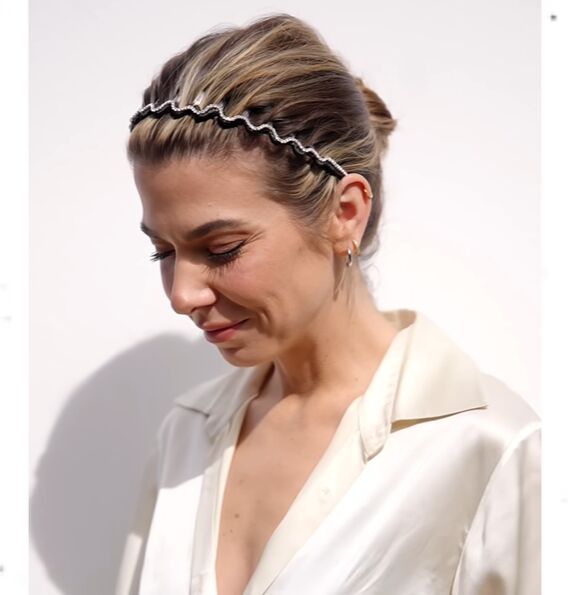
The headband now sparkles in such a beautiful way and creates a really cool detail in your hair.
DIY Christmas hair accessories
There we have loads of different stylish hair accessories that you can make for the festive season with bits and bobs that you have in your art supplies box.
Let me know which accessory you like best.
Next, learn 3 Sparkly Ways to Embellish a Tulle Skirt for a Cute DIY Party Outfit.
The author may collect a small share of sales from the links on this page.


Comments
Join the conversation