How to DIY a Pretty Christmas Hair Accessory

Let’s make some Christmas hair accessories!
In this tutorial, I will show you how to make a stunning DIY Christmas hairband with crystals and beads.
This handmade headband will look beautiful at holiday gatherings and parties, and it’s so easy to make, you could make some as stocking stuffers too!
Tools and materials:
- Plain metal hairband
- Satin ribbon
- Match
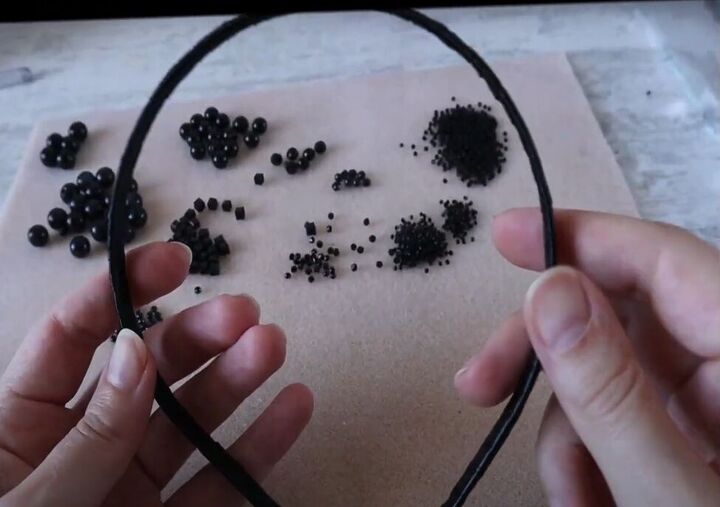
- Assorted beads and crystals
- Glue
- Tape measure
- Marker
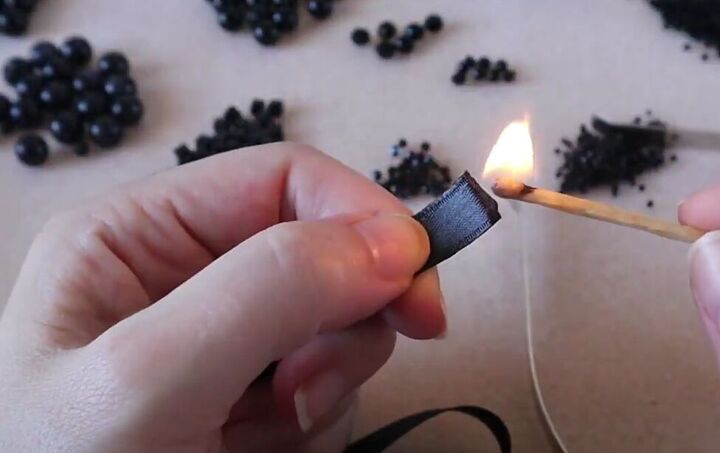
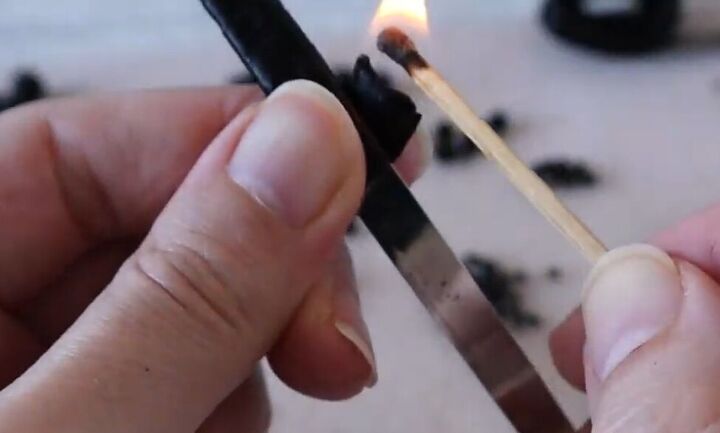
1. Seal the ribbon end
You don’t want your satin ribbon fraying, so before you start using it, simply sear the edge with a lit match. That will seal the edge to keep it from fraying.
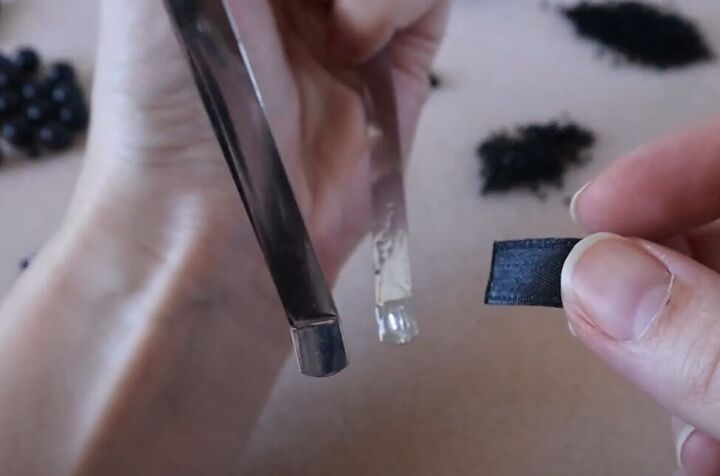
2. Wrap the hairband
Starting at one bottom side of your metal hairband, apply some glue to the inside of the hairband and place the sealed end of your ribbon on the glue.
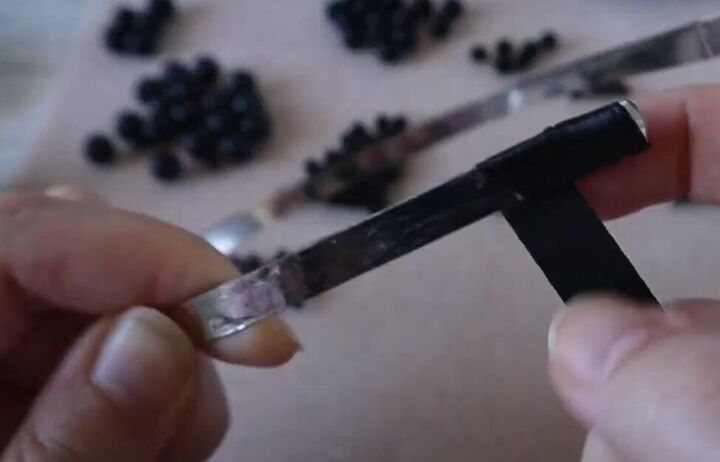
Working in small sections, wrap the ribbon around the hairband on a slight diagonal, adding glue to the back and front of the hairband as you go.
Continue wrapping until you are at the top of your hairband. Glue it to the top of the hairband and cut the ribbon.
Seal the cut end as you did with the beginning of the ribbon.
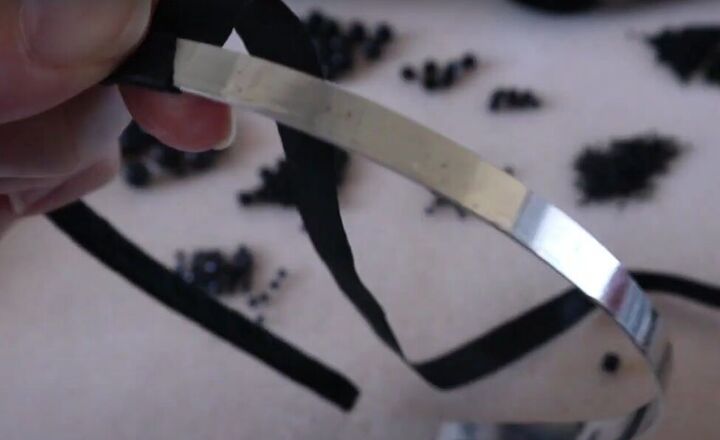
Repeat the wrapping on the second side of the hairband, again starting at the bottom and ending at the top.
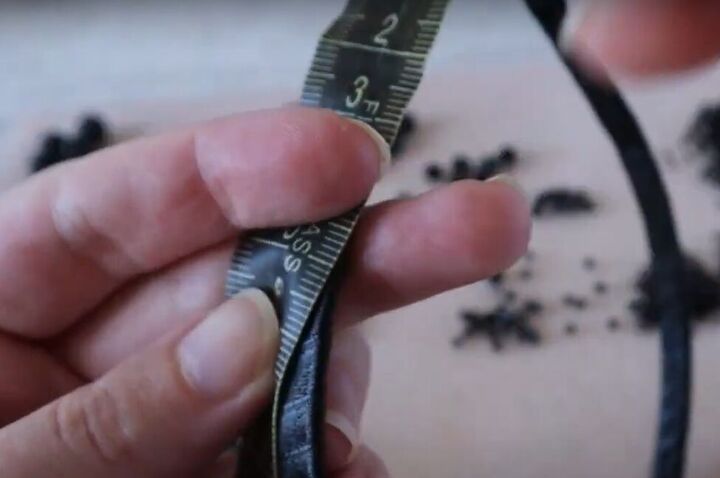
3. Mark the hairband for decoration
Measure and mark 6 centimeters (2.3 inches) from the bottom in each side of the hairband.
Those bottom sections of your hairband will sit behind your ears, so you don’t want to attach any beads there.
Also measure and mark the center-top of the hairband.
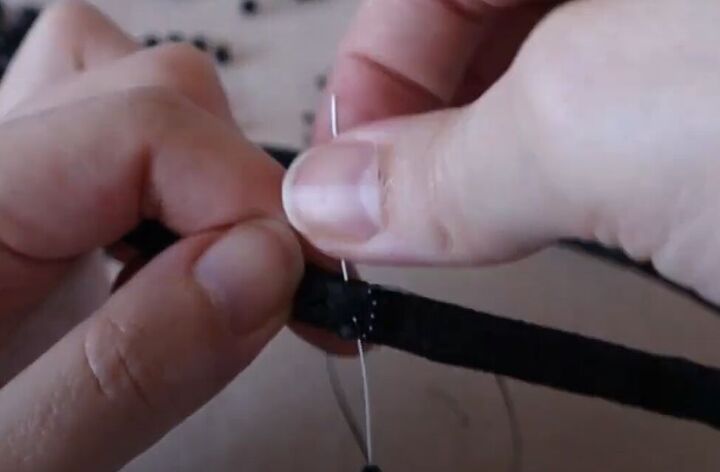
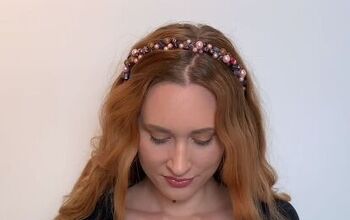
4. Attach beads and crystals
Use a needle and thread to attach your beads and crystals to your hairband, between the two ear markings.
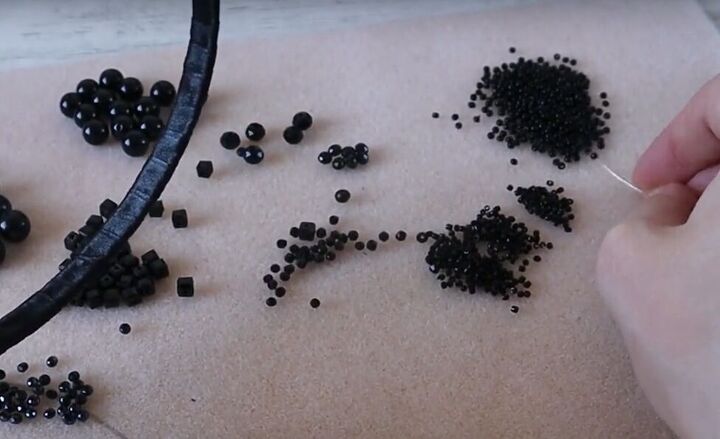
An easy way to pick up the smallest beads is to lift them onto your threaded needle with the needle itself. You can pick up several small beads at a time this way to add a little row of beads.
For larger crystals, pass your needle through the ribbon twice to make it secure. You can add more small beads around the larger crystals to cover the thread.
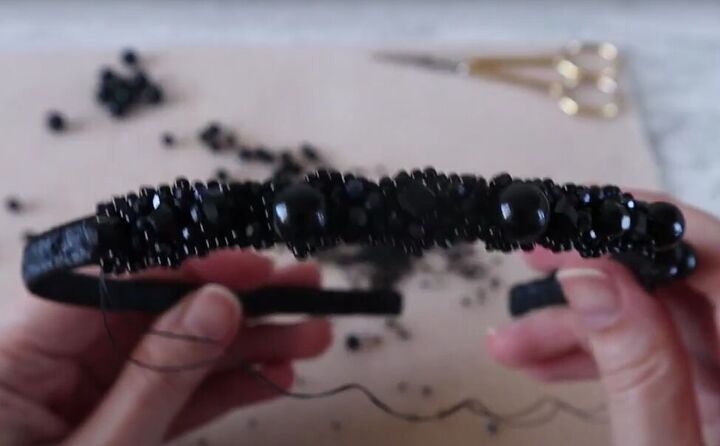
Continue adding beads and crystals until you are at the top center mark of the hairband.
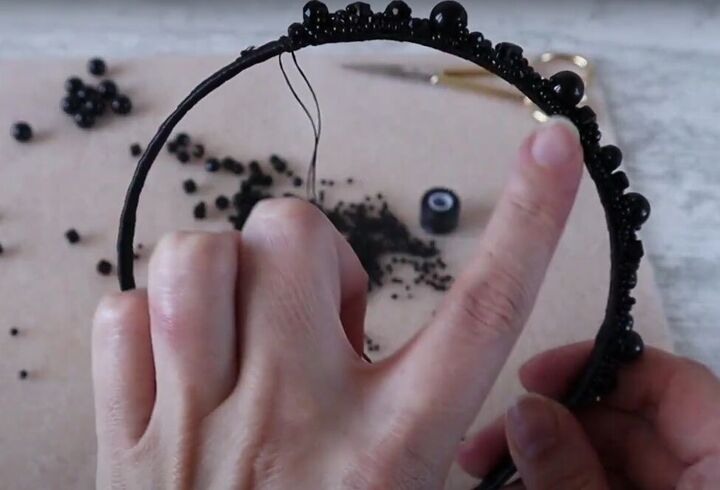
Now, add beads and crystals on the other side of the hairband, this time from the top center down to the ear mark.
You want to get a mirror image of the first side, so keep your eye specifically on the large crystals, ensuring that they line up on both sides of the hairband.
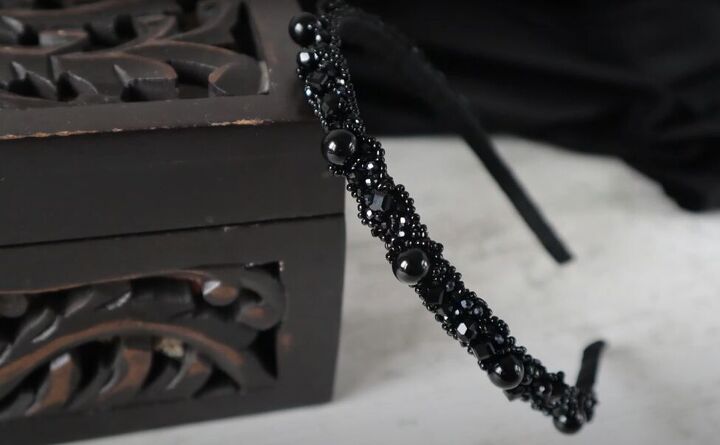
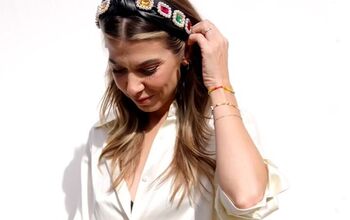
This DIY Christmas hairband is so glamorous! I chose all black, but of course you can make yours in any color, or as many colors as you wish. In fact, why don’t you make several to match all your holiday outfits!
Please leave a comment to let me know how you liked this tutorial, and how many Christmas hairbands you made.
The author may collect a small share of sales from the links on this page.


Comments
Join the conversation