Simple, Super Cute DIY Visor

Looking for some cute summer headgear? Check out this tutorial to learn how to make a DIY visor. You can use fabric with a bright pattern, or a more reserved pastel. Either way, you’ll enjoy this simple and fun project that is perfect for beginners. Keep reading for step-by-step instructions.
Tools and materials:
- Baseball cap (to trace)
- Paper
- Pen
- Fabric
- Stable, flexible plastic
- Velcro closure
- Fabric chalk
- Measuring tape
- Sewing machine
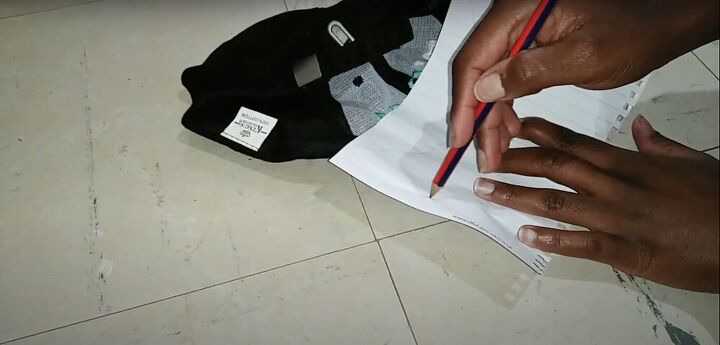
Trace
To begin this easy DIY visor project, I traced the bill of a baseball cap onto a piece of paper.
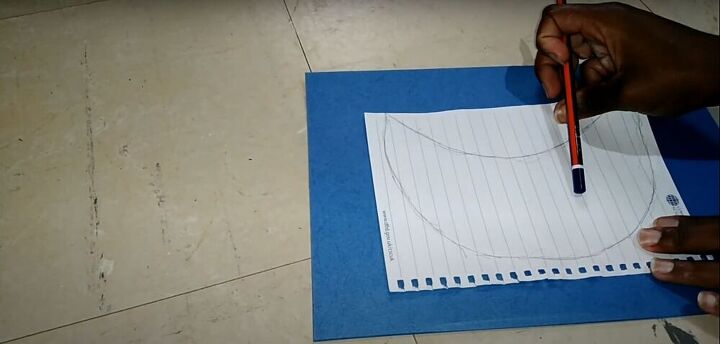
Trace and cut
Next, I traced the shape of the visor onto a piece of plastic, and cut it out.
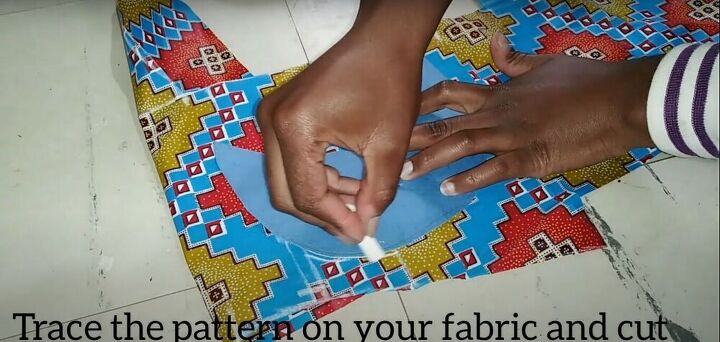
Then, I traced around the cut-out plastic shape onto my folded fabric and cut around it, leaving a ½-inch seam allowance.
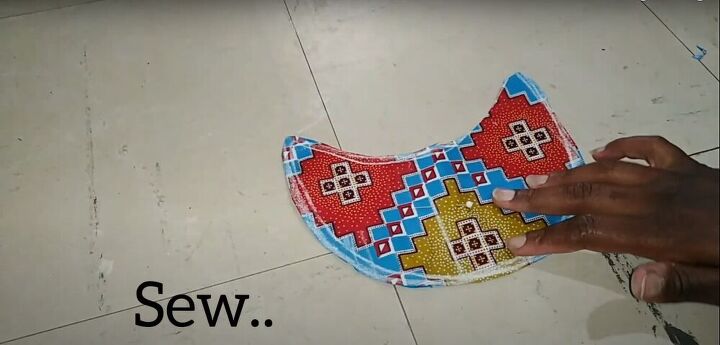
Sew
I sewed the two pieces of fabric together around the bottom curve, leaving the top curve open.
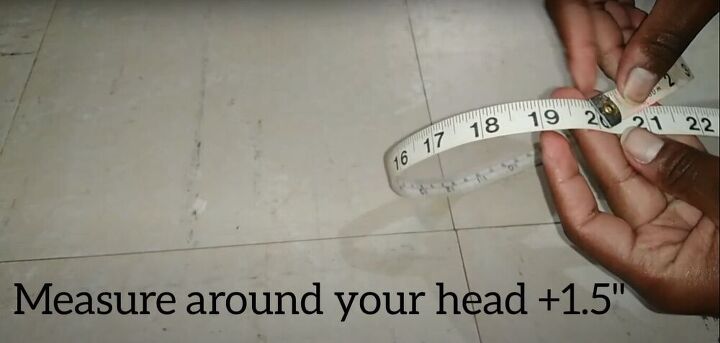
Measure
Next, I measured the circumference of my head and added 1½ inches to that number.

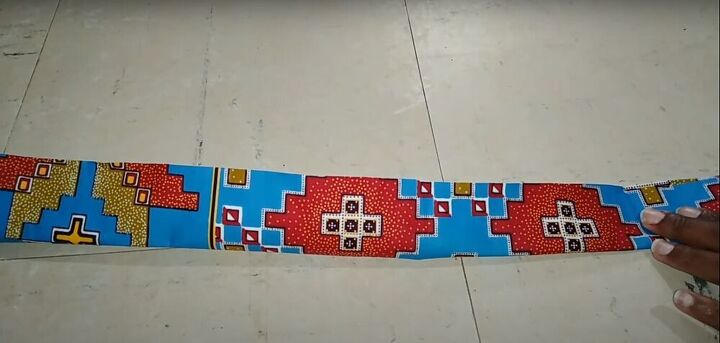
Measure, mark, and cut
I measured out a strip of fabric the same length as my head measurement, and 3½ inches wide, and cut it out.
Fold and sew
Then I folded the strip in half lengthwise and sewed down the long edge and one short edge.
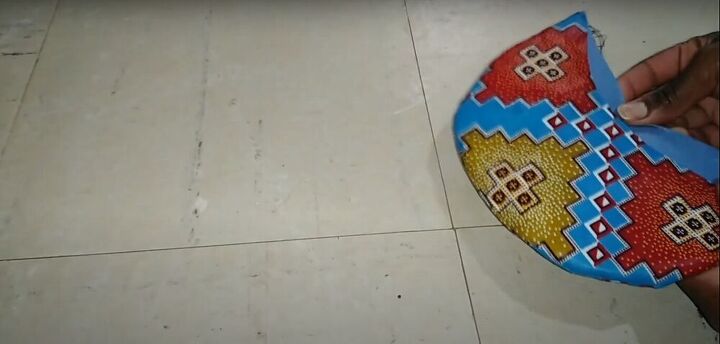
Insert the plastic
I turned the curved fabric right side out, so the seams were hidden inside. Then I inserted the curved plastic shape between the two curved fabric layers.
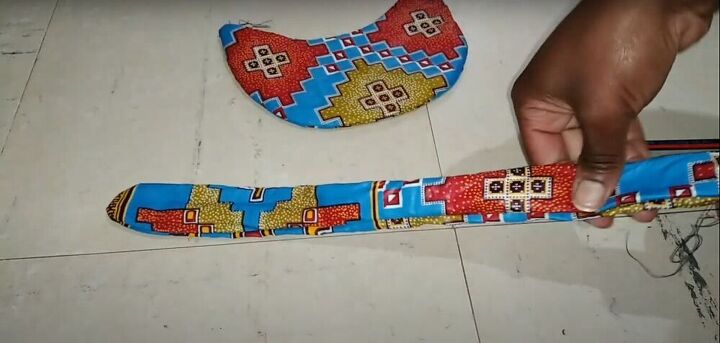
Turn and iron
Next, I turned the long strip of fabric right side out and ironed it flat.
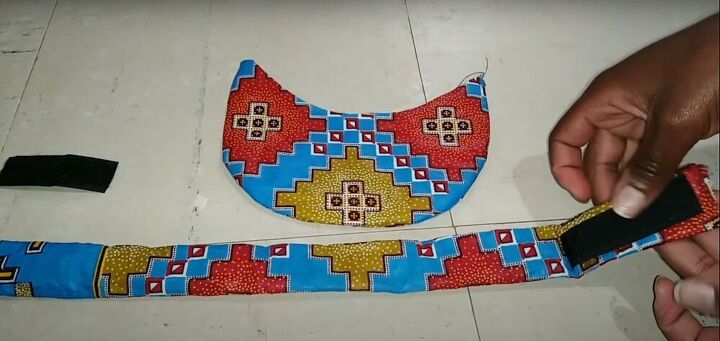
Attach velcro
On either end of the strip of fabric, I attached the appropriate pieces of velcro by sewing down each piece of velcro around the edges.
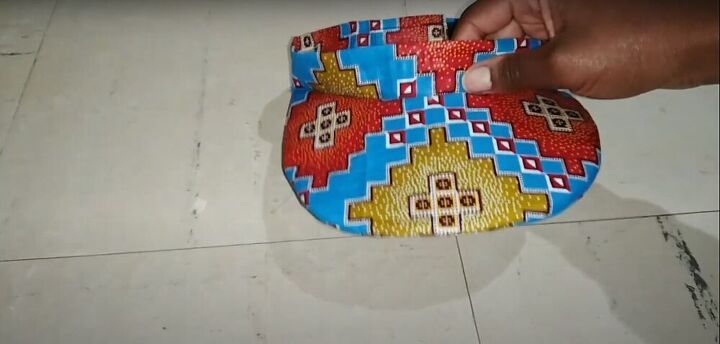
Sew
Then, I sewed the curved piece to the center of the strip. And my basic DIY visor was complete!

I love how this project turned out. This visor is so cute and fun. Let me know if you make a DIY visor of your own. I’d love to see the results.
The author may collect a small share of sales from the links on this page.


Comments
Join the conversation
I will be trying this myself. You did a fantastic job and made it look so easy!
Great ideal and very pretty to. Love the bright colors.