DIY an Amazing Upcycled Winter Hat

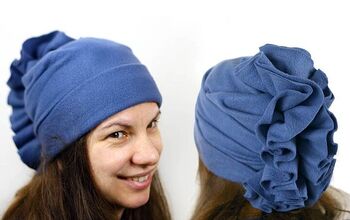
I was looking for a new winter hat when I decided to just refashion one! It’s so easy to make the perfect hat from nothing but an old sweater you have sitting in your closet. If you are looking to add an amazing accessory to your winter look this is definitely the tutorial for you! Upcycle a comfy sweater to create an awesome winter hat to get you through the cold season! Follow my simple, step-by-step guide and get started on making this DIY winter hat that will definitely become a winter wardrobe essential!
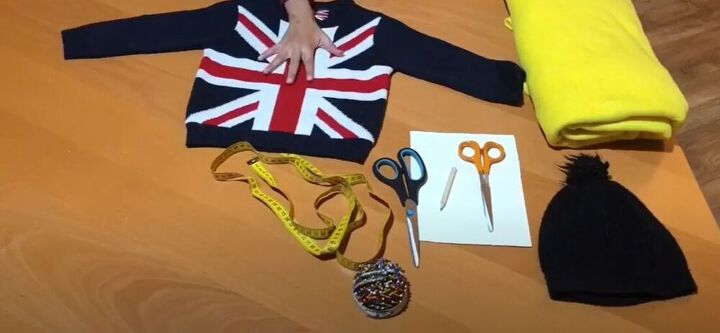
Tools and materials:
- Old sweater
- Hat
- Scissors
- Measuring tape
- Pins
- Pen and paper
If you don’t have an old hat then it’s important to take a few measurements. Take a measurement of the circumference of the head and a measurement from the forehead to the back of the head. Make sure to divide all the measurements by 2.
Next, turn your sweater inside out and make sure that the front and back pieces are properly aligned.
Place your hat onto your sweater and cut around the hat. If you don’t have a hat, use your measurements when cutting. Make sure to leave ¼ inch seam allowance.
Once your fabric is cut out, pin around the edges to hold the two pieces securely in place. Then hop on over to your sewing machine and sew a zig-zag stitch around the pinned edges. It’s amazing to see how easily this winter hat comes together!
Once you have finished sewing, add a little detail to your hat to give it the perfect finish. Remove the label from your sweater using a seam ripper and add it to your new hat.
Pin the label to the back of your hat above the ribbing to add a little bit of flair to the piece! Sew the label on using a straight stitch or a zig-zag stitch.
This awesome hat is so easy to make! What other design elements would you add to it? Let me know in the comments below!
Enjoyed the project?
The author may collect a small share of sales from the links on this page.


Comments
Join the conversation
Great idea!
Nice job! Love the matching mittens.