How to DIY a Cozy Winter Trapper Hat

In this sewing tutorial, I’m going to show you a DIY winter hat.
We will be sewing a trapper hat which I think is the most ideal hat to wear in cold weather. It is guaranteed to keep your head nice and toasty.
This trapper hat is made from only one pattern piece, and I designed the shape so it's as simple as possible and quick to make. Let’s get started.
Tools and materials:
- Measuring tape
- Pencil
- Paper
- Shearing fabric
- Scissors
- Round object
- Ruler
- Pins
- Needle and thread
- Buttons
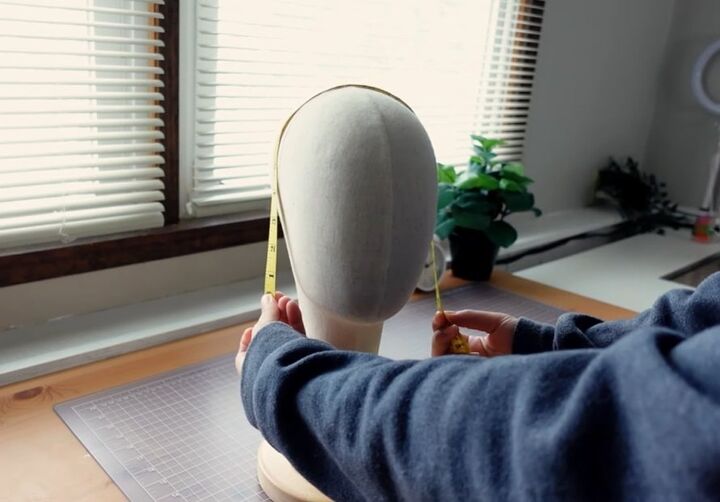
1. Take your head measurements
Measure your head circumference by placing the measuring tape at the widest part of your head.
Decide how long you want your hat’s ear flaps. Take ear-to-ear measurements from the top of one ear to the top of the other ear over the head.
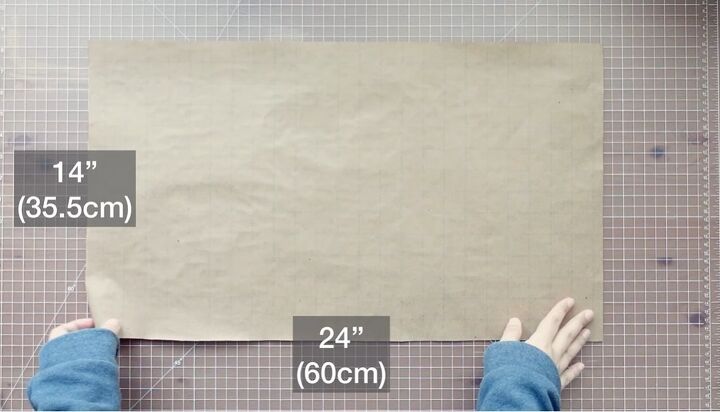
2. Cut out a rectangle
On your paper, mark the length as your head circumference.
In order to accommodate the thickness of the fabric, you want to add about 0.5 inches - 1.5 inches (1.3-3.8cm) to this measurement.
Then, draw a width line that is half of the measurement between the tips of ear flaps over your head. Cut this rectangle out. The picture shows my measurements.
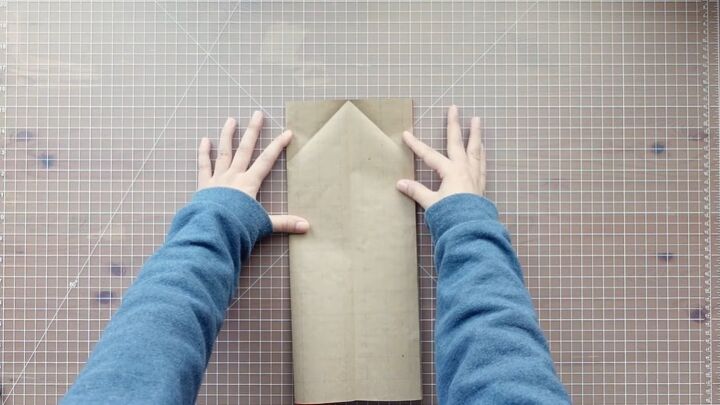
3. Make the pattern
Fold the rectangle in half, fold it in half again and then fold it in half again.
Open the last fold and fold the two corners at the top to create two 90-degree fold lines.
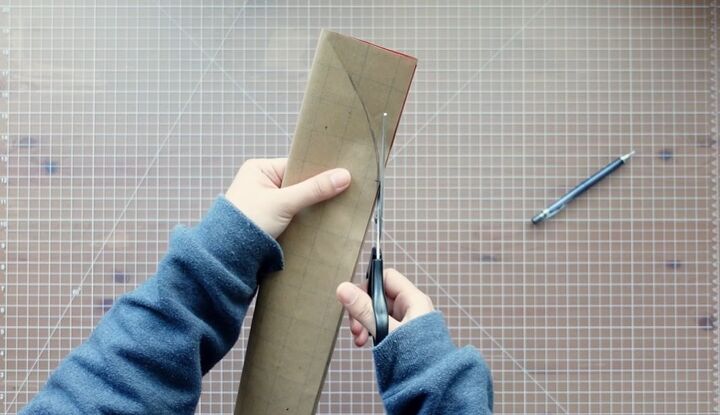
Measure down 4-5 inches (10-12.7cm) from the top. From the middle of one of the fold lines, draw a curved line to the mark you just made. Hold all layers tightly and cut on the line.
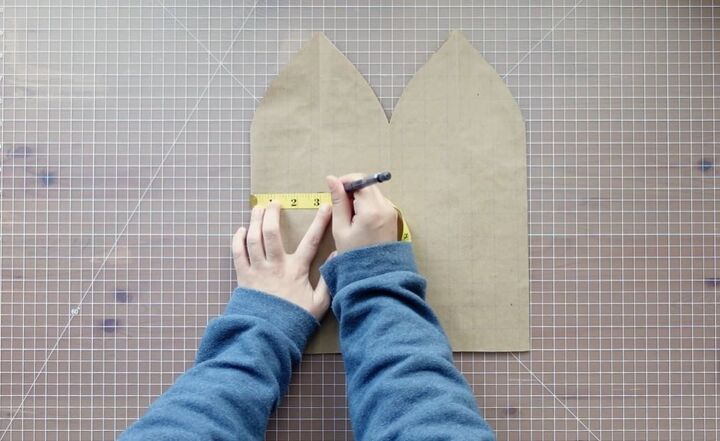
Unfold the paper and then fold it in half just once. At 7 inches (17.8cm) or half of your ear-to-ear measurement, draw a mark. Then measure 3.5 inches (9cm) from the fold and draw a line.
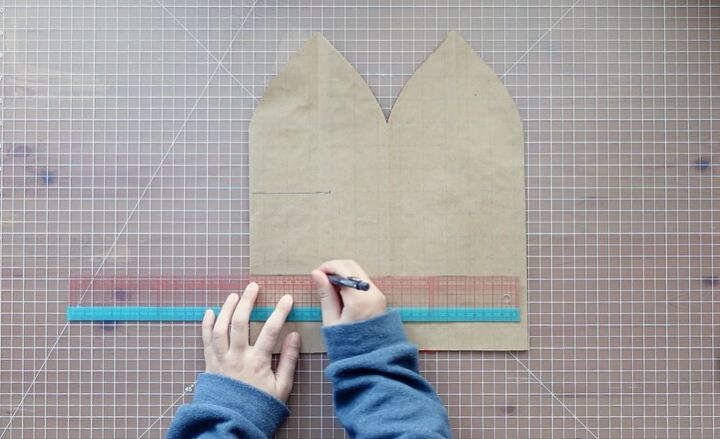
From the line, measure down 3.5 inches (9cm) again. Then draw another line parallel to the line above and also 3.5 inches (9cm) long.

Draw a line parallel to the fold from the edge of the top line down to the bottom of the paper.
This is optional but I rounded the edge of the front flap using a round object.
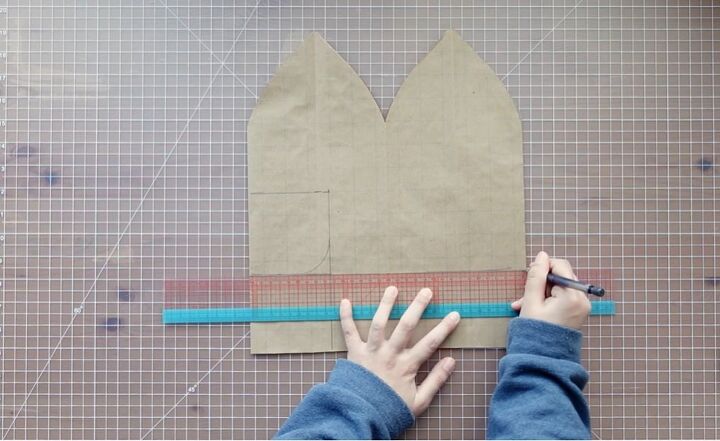
Draw a line for the back of the hat. For my head, this happened to be the same level as one of the lines we’d already made.
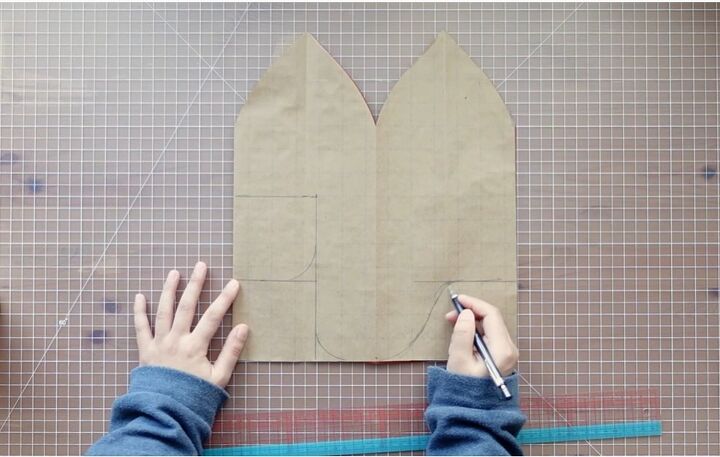
Now draw the ear flap shape. This is your design choice but I rounded the front side with a round object and freehanded the back side.
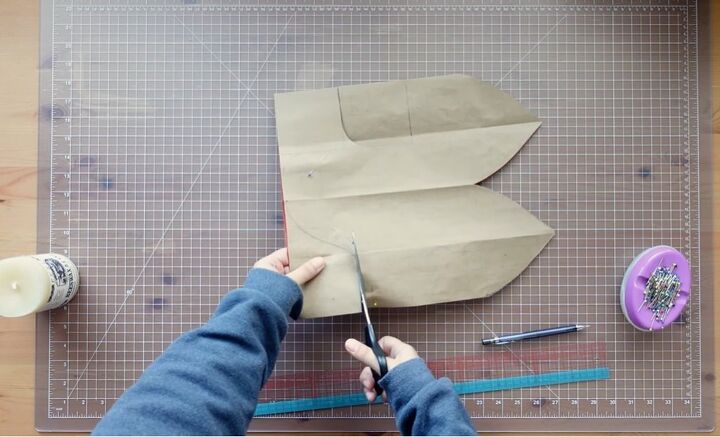
4. Cut the pattern
Proceed to cut on the lines you’ve marked. I used some pins to keep the two layers from shifting around.
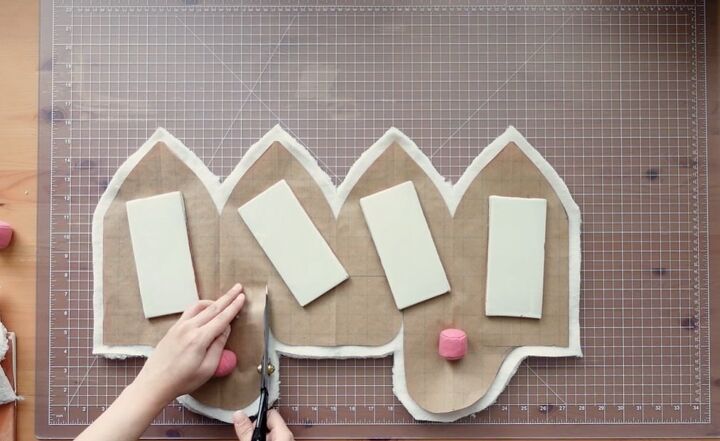
5. Cut the fabric
Place pins or weights on the pattern and cut around it, adding 0.5 inches (1.3cm) of seam allowance.
For the front opening, cut off the seam allowance like this so you can cut into the front flap shape with a straight line. Cut out the same shape from the lining material. In my case, I cut the same shape twice from the same fabric.
6. Sew darts
Sew darts first. When you are working with thick and fluffy materials like this use longer stitches than usual. When you come to the end of the dart, make a curve along the edge.
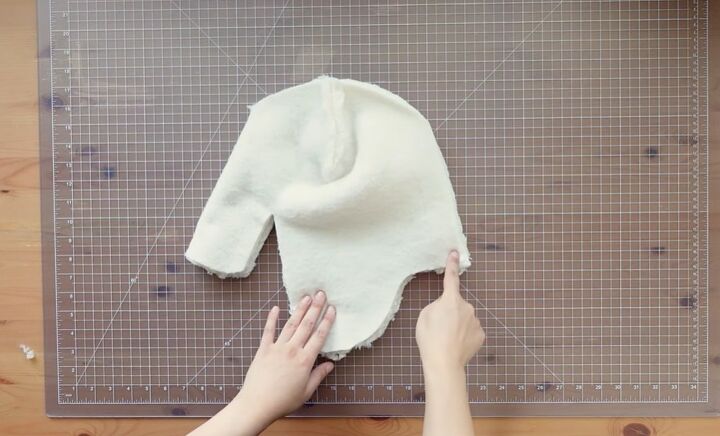
7. Sew the center seam
Fold the piece in half and sew the center seam.
When you come to the darts, open the seam allowances on both sides to reduce the bulk.
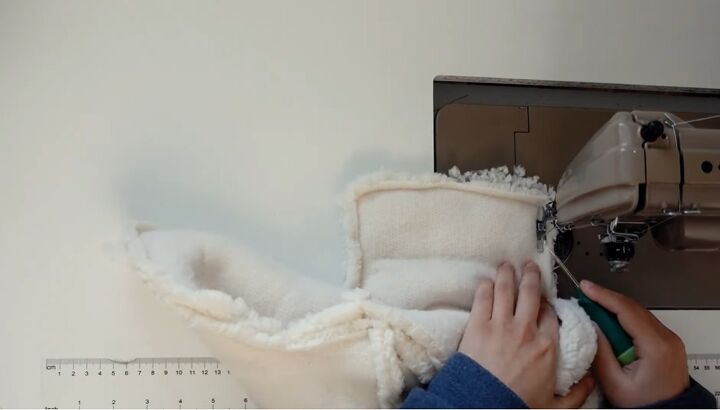
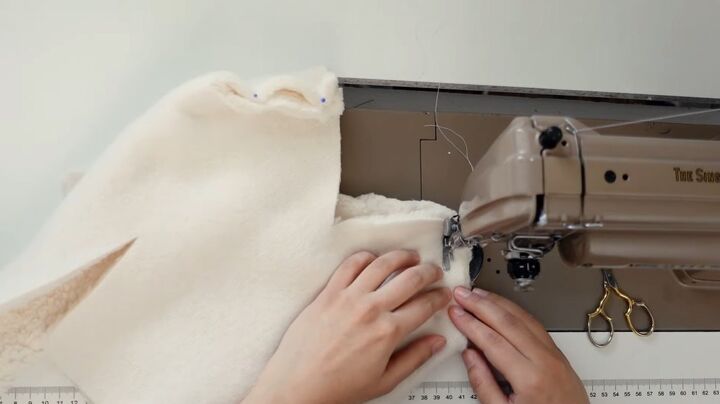
8. Sew the two layers together
Then put the two layers together with the right sides of the fabric facing each other. Leave about 4 inches (10cm) at the center back so you can flip the hat right side out later. Starting from this point, sew 0.5 inches (1.3cm) from the edge all around.
When you come to the sides of the front flap area use 0.25 inch (0.6cm) seam allowances.
When you come to the base of the front flap, make one stitch perpendicular to the cut edges and pivot.
Then continue stitching. I use a lighter stitch to close up the center back opening.

9. Add buttons
I added buttons when I sewed the front flap in place. Finish off by digging out fur from the seams.

DIY winter hat
Here is the finished DIY trapper hat!
I tested it in below-freezing temperatures, and it was very warm. It could do with some kind of closure to bring the ear flaps together but otherwise I’m very happy with the finished result.
If you enjoyed this tutorial, check out my post on How to Sew a Super Cozy Beret.
The author may collect a small share of sales from the links on this page.


Comments
Join the conversation