How to Sew a Super Cozy Beret

In this tutorial, I’m going to show you how to sew a beret. I made a beret hat recently and I absolutely love it. All the pieces are cut on the bias and as a result, the hat sits nicely on top of my head.
Tools and materials:
- Pattern
- Brushed cotton
- Cotton flannel
- Flat elastic
- Chalk
- Measuring tape
- Ruler
- Sewing machine
- Scissors
- Clips
- Needle and thread
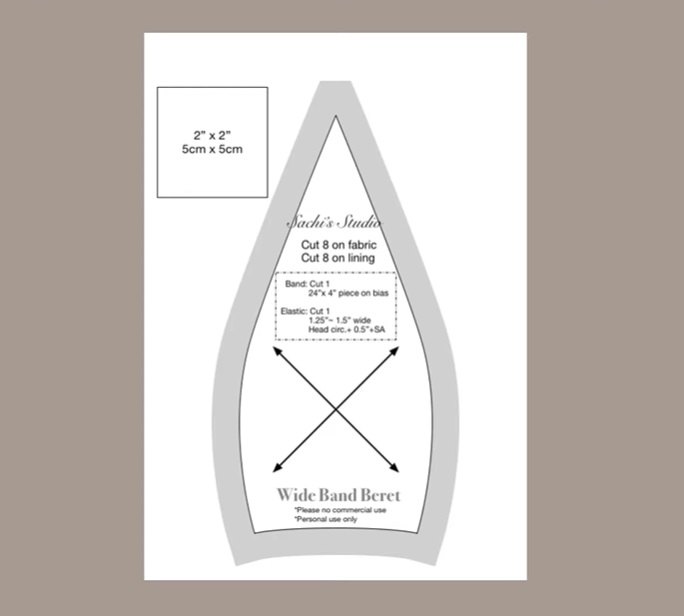
1. Cut out the pattern
First, cut out the pattern for the beret.
The shadowed area represents a 0.5inch (1.3cm) seam allowance. You can change the seam allowance to 0.25inches (0.6cm) if you prefer not to trim it later.
2. Cut out the outer fabric
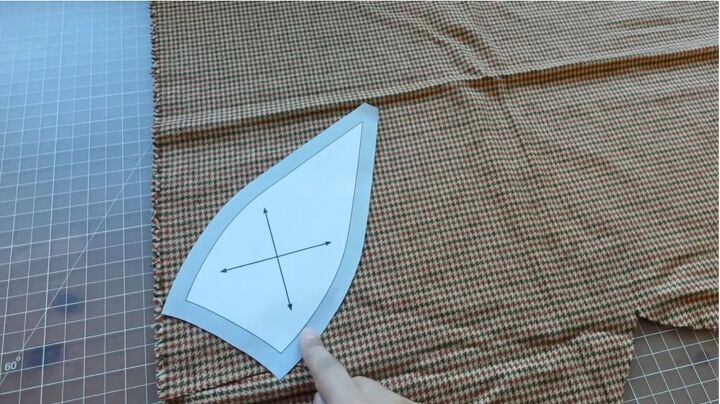
Take your brushed cotton on the fold. On the pattern, the arrows represent grains of the fabric. Place the pattern so that it is on biased grain.
Cut eight pieces of the same shape and then cut one band piece on the bias; it needs to be 24 inches by 4 inches (61x10cm). To cut the piece easily, I made the bias fold in and measured 2 inches (5cm) from the fold.
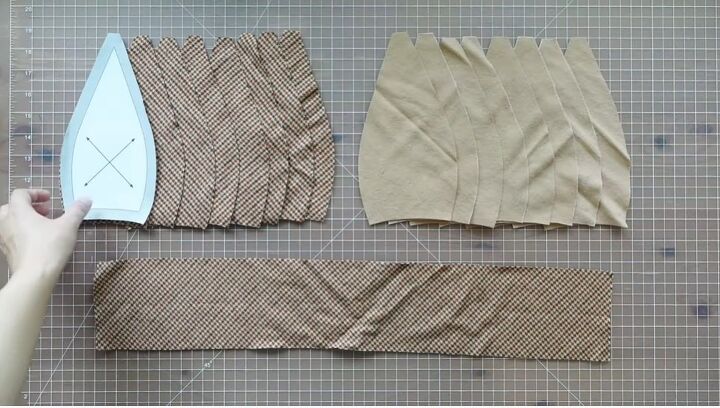
3. Cut out the lining pieces
Cut eight lining pieces out of cotton flannel pieces.
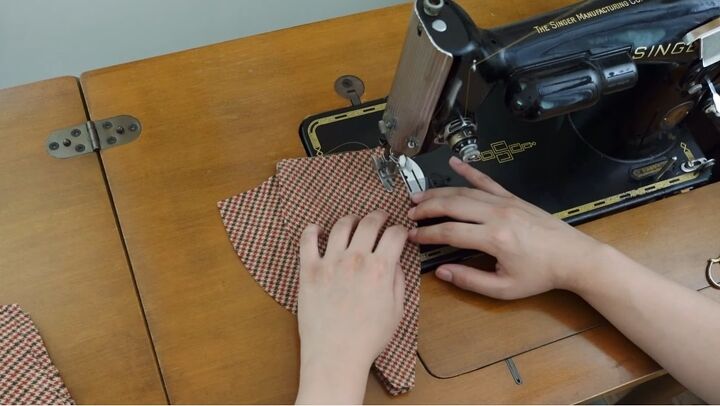
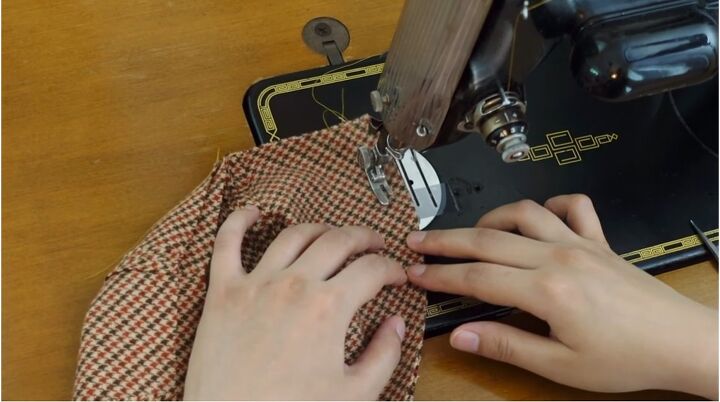
4. Sew the outer pieces together
Sew pieces together with the right sides facing each other. Start sewing at the base and stop at the center of the hat. Repeat with two more pieces so you attach half of the hat together.
When you get to the center of the hat, make sure to go one stitch past the center point so that there is no chance of making a small hole at the center top of the hat.
When you're dealing with bias-cut pieces, you want to avoid pulling on fabric as much as possible, so the pieces don't stretch out of shape.
But you also want to keep the two layers from shifting around under the presser foot. I try to push the top layer forward while I slightly pull the under layer toward me with my thumb.
Also, since these pieces are curved, I try to rotate the piece with my left hand.
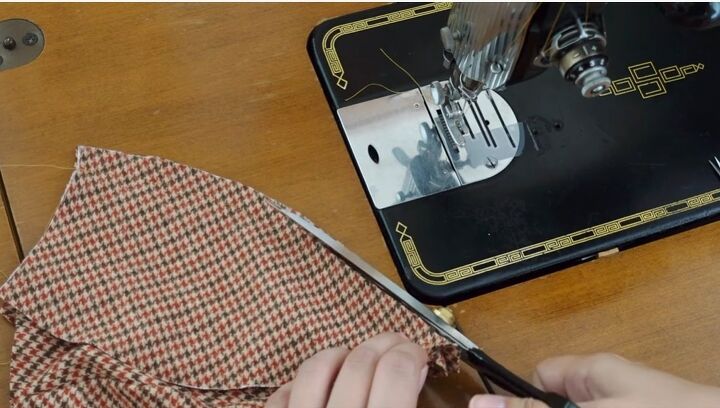
5. Trim the seam allowance
Trim the seam allowances to about ⅜ of an inch. Make sure not to cut the actual stitches. Trim just enough to lay the seam allowance open without too much bulk.
Open the seam allowances and from the right side of the fabric, stitch down the seam allowances 3/16 of an inch from the seam.
6. Attach the two sides together
Make two of the half sides and put their right sides together. Make sure the center points are matching and stitch with a 0.5-inch (1.3cm) seam allowance.
Then, trim the seam allowance and stitch them down as before.
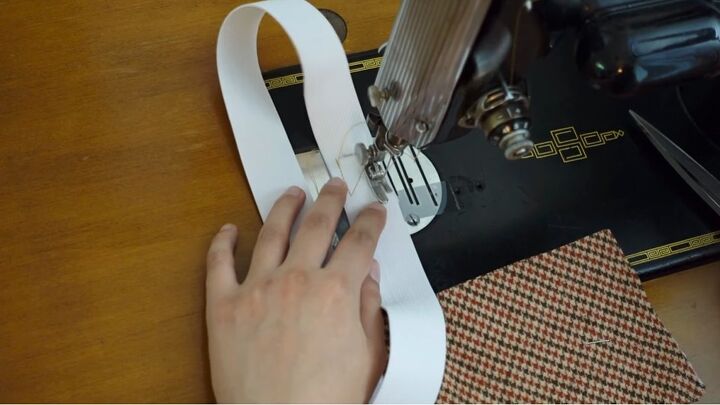
7. Sew the elastic
Take a 1.25-inch wide (3.8cm) flat elastic for the inside of the band. Mark your head circumference plus a 0.5-inch (1.3cm). Sew the connection with a D pattern.
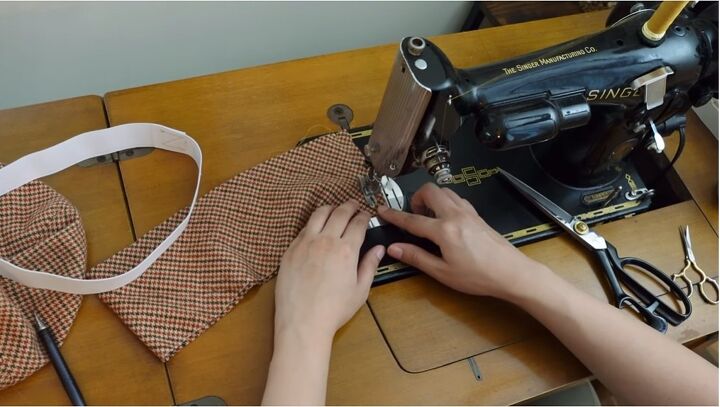
8. Sew the band
Sew the short ends of the band piece together to make a circle.
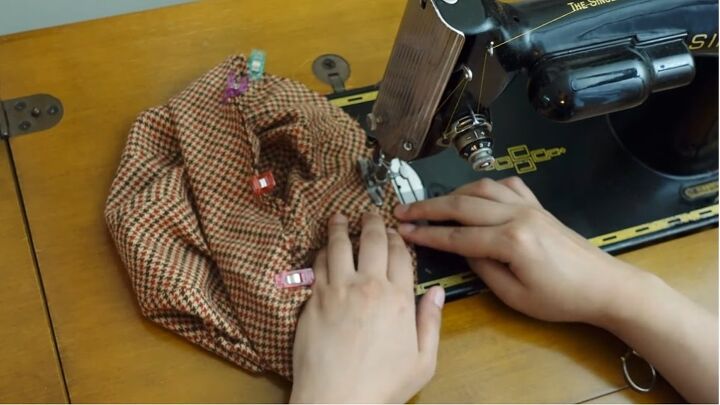
9. Attach the elastic to the hat
Open the seam allowance and place the elastic inside. Sandwich the elastic with the band fabric. Fold at the seam to find the opposite side of it and make a small knot to mark the halfway point.
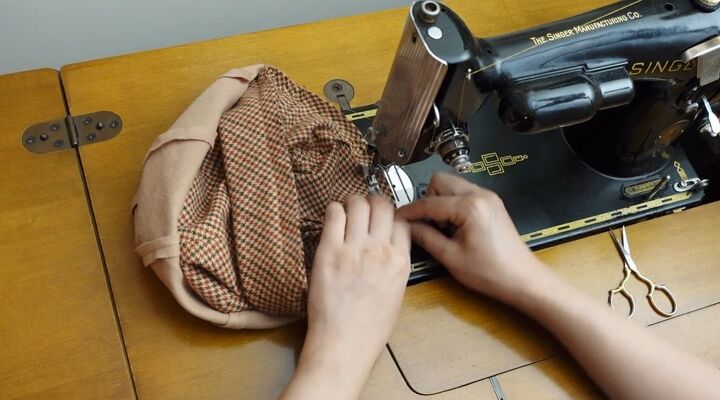
Align the seam on the band with one of the seams of the hat and align the clipped notch in the band with the opposite seam of the hat. The band is actually cut smaller than the hat base so stretch it out to fit the base.
Distribute the band evenly and place clips to keep it in place. Sew the band to the hat with a 0.5-inch (1.3cm) seam allowance. Push the elastic toward the inside of the folded edge so it doesn't get caught in the stitch.
10. Attach the lining to the hat
Put together the lining pieces in the same way. Fold the seam allowance and attach the lining at the seam. Align one of the seams on the hat and one of the seams of the lining with the right sides of fabric facing each other.
Start stitching and line up the next seams as you sew on the previous stitch. Leave enough length open to flip the hat right side out. Hand stitch the opening closed.

How to sew a beret
This beret will not only keep my head warm in the winter, but it also looks incredibly chic and high-end. I made sure to be meticulous when making it and all my hard work paid off.
I hope I’ve inspired you to sew your own winter hat. If so, let me know in the comments below!
The author may collect a small share of sales from the links on this page.


Comments
Join the conversation