How to DIY a Cute and Cozy Winter Hat

I can’t wait to show you guys how I made this adorable DIY winter hat.
I will show you how to create a winter hat sewing pattern as well as guide you through the sewing process.
I used a serger for my DIY winter hat but a sewing machine will work as well.
Tools and materials:
- Serger/sewing machine
- ½ yard warm fleece fabric
- 2-3 sheets of standard 8x11 inch printer paper
- Straight ruler
- Curved ruler/dinner plate
- Tape
- Pencil
- Scissors
- Fabric shears
- Rotary cutter
1. Make the pattern for the hat
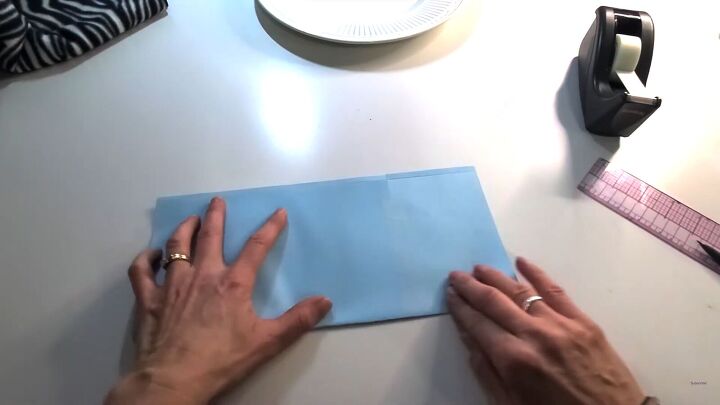
Take 2 pieces of paper and put them right next to each other side by side.
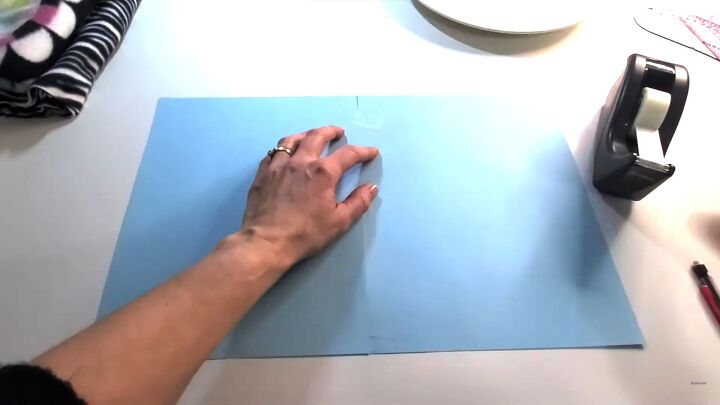
Then tape them together to make one large piece of paper.
Turn your paper the long way so the 11-inch width runs horizontally.
11 inches is exactly what we need because the pattern is going to be 22 inches wide on the fold.
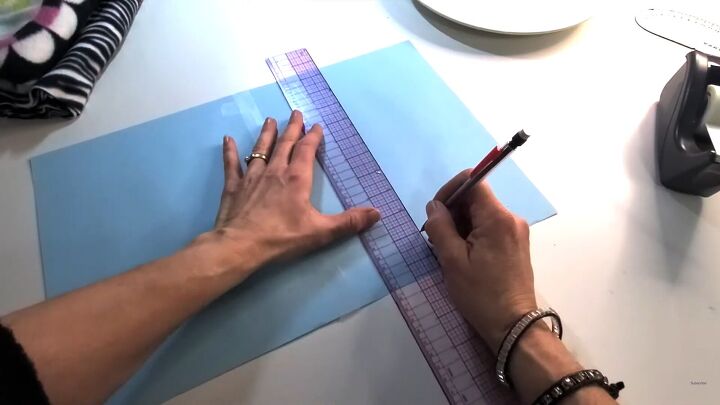
Measure 12 inches up from the bottom and mark it. Then cut the rest of the length of the paper.
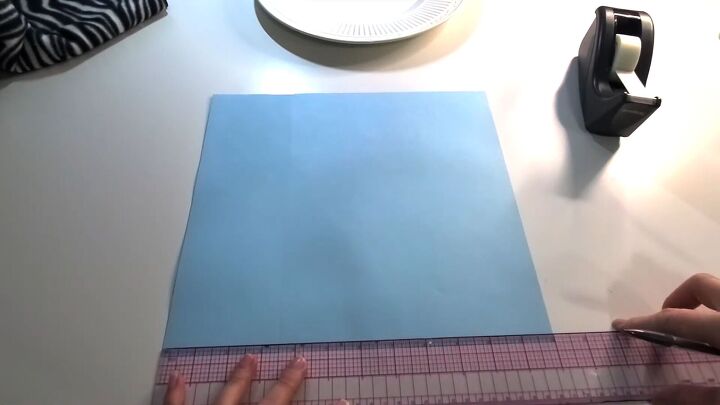
Now you have a piece of paper that measures 11 by 12 inches.
On the 12-inch side draw another line ¼ inch in from the edge.
Now take the other 12-inch side and fold it up to that ¼ inch line. Then fold the bottom up again toward the ¼-inch line.
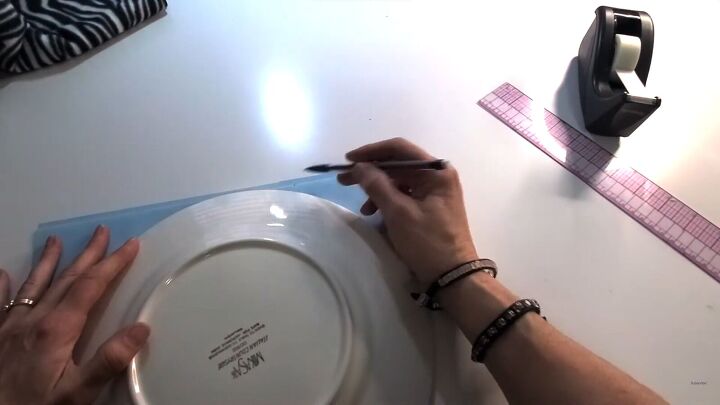
Now measure 3 inches in from the corner and mark it.
Use your curved ruler, or a dinner plate if you don’t have a curved ruler, to connect the 3-inch mark to the bottom corner of the paper.
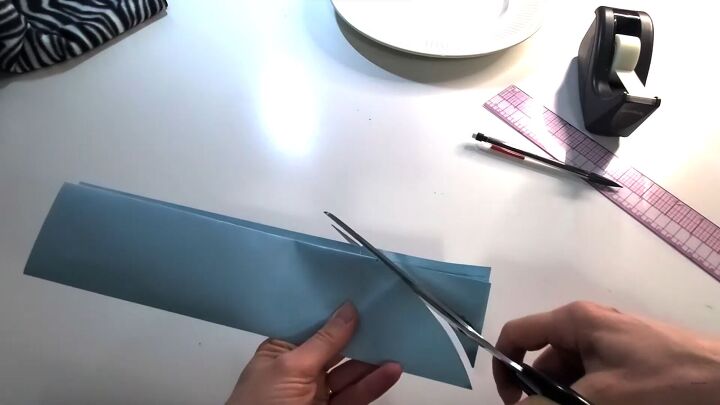
Use your scissors to cut on that curved line.
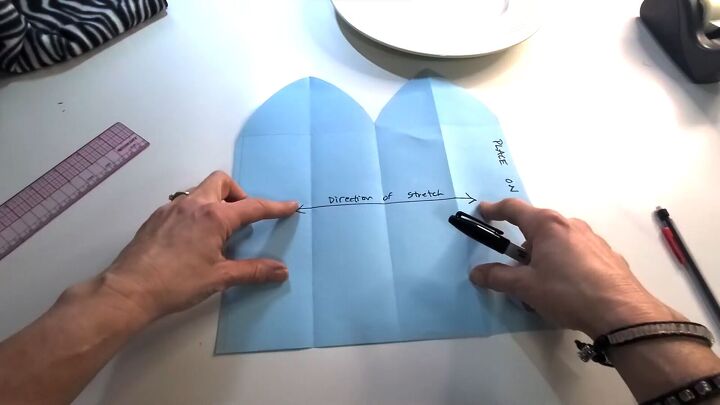
Unfold your paper and you now have your pattern piece. It should have 2 peaks and a ¼ inch seam allowance on one side.
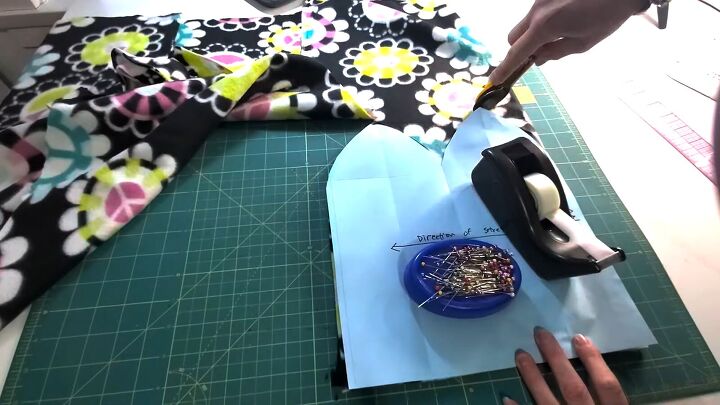
Write down, ‘place on fold’ on the opposite side.
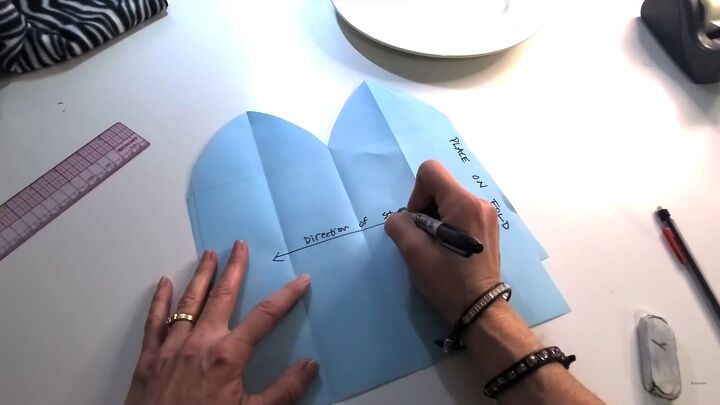
Draw a line going horizontally across the pattern, making an arrow at each end, and write, ‘direction of stretch.’
This is different from the grain line. The lengthwise grain of the fabric is going to be going up and down.
We want the stretch of the fabric to go around the base of the hat.
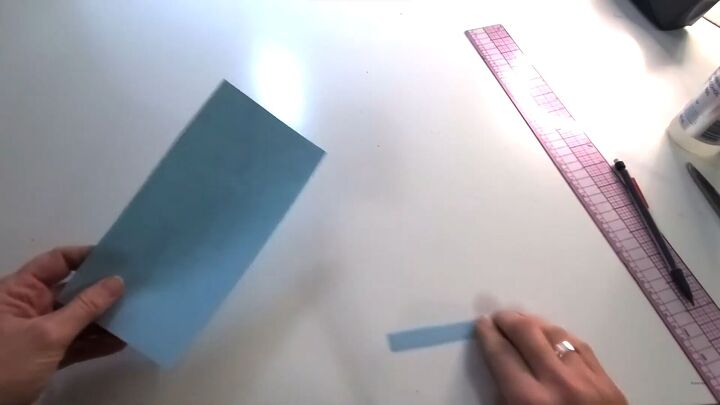
2. Optional pom pom pattern
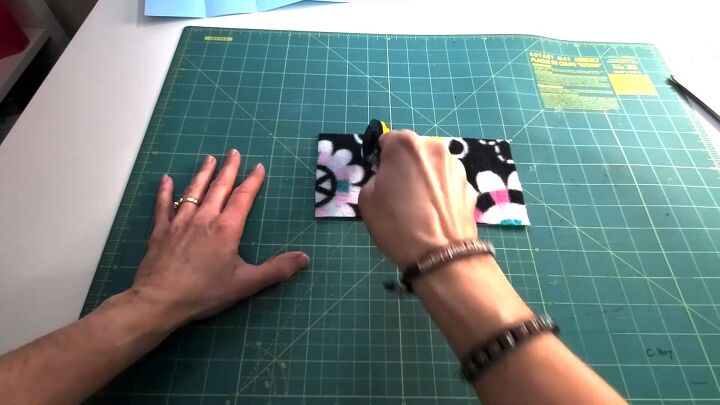
You don’t even really need a pattern for the pom pom but if you would like to make one, it should be about 8 inches by 4 inches.
You will also want another small strip of fabric to secure the pom pom. That can be a ½ inch by 4-inch piece.
The direction of the stretch does not matter for the pom pom.
3. Cut your fabric
You will only need the fold of your fabric to be as wide as your pattern piece.
Place the pattern on the fold and use either a rotary cutter or some fabric shears to cut your fabric.
Again, make sure the direction of the stretch is going the right way.
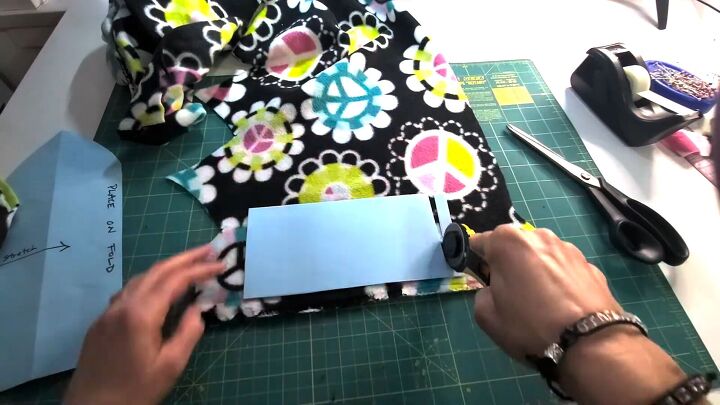
Cut out the pom pom pieces as well.
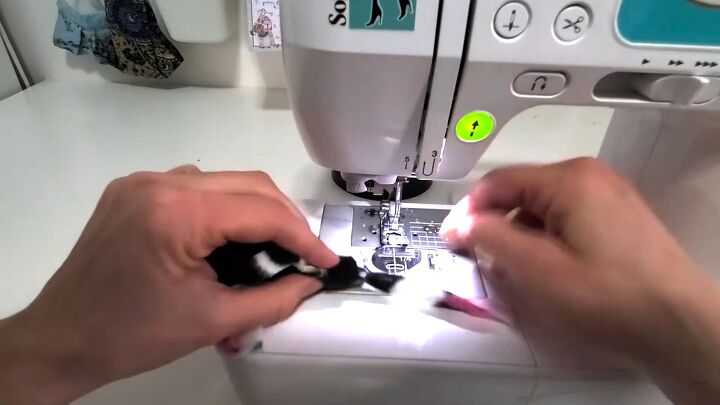
4. Sew
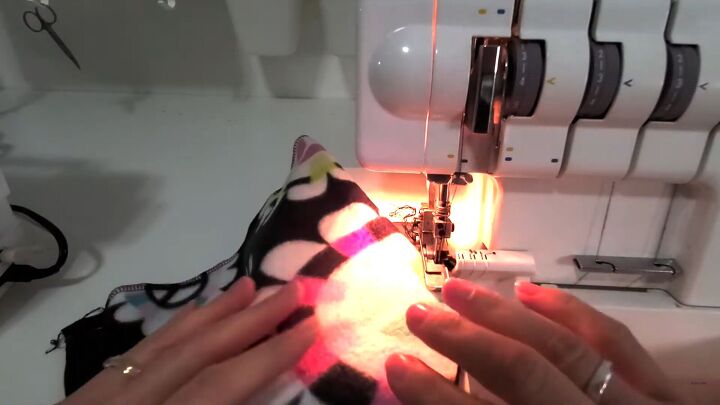
If you have a serger, start by serging the bottom edge of the hat. It’s always easier to surge on a straight edge.
If you don’t have a serger, don’t worry. These types of fleece fabrics don’t require serging.
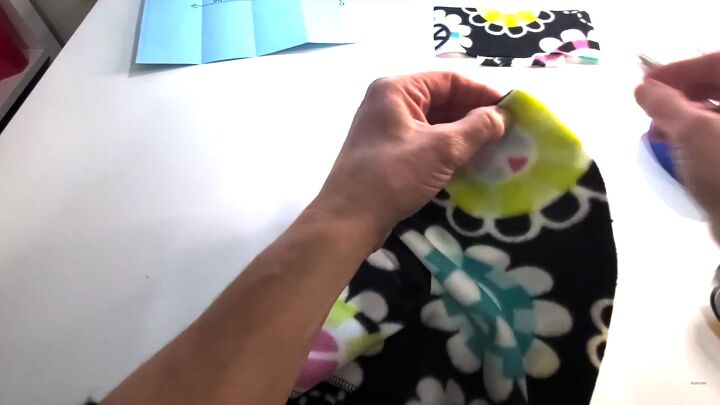
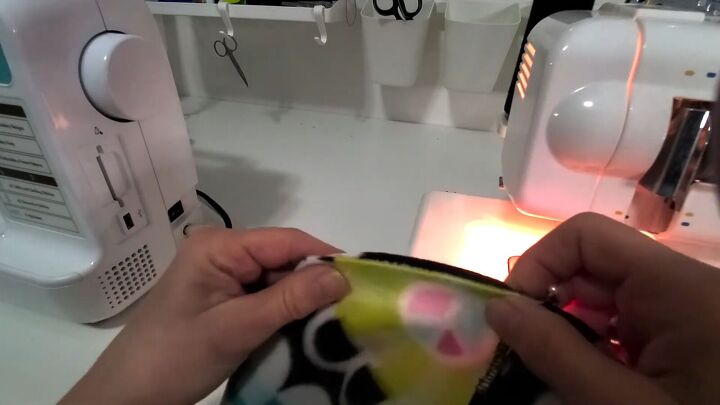
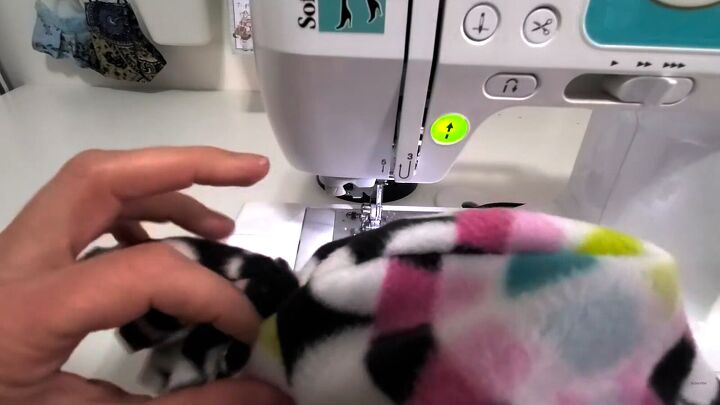
Now fold the fabric with the right sides facing in. Match and pin the top point and the bottom corners.
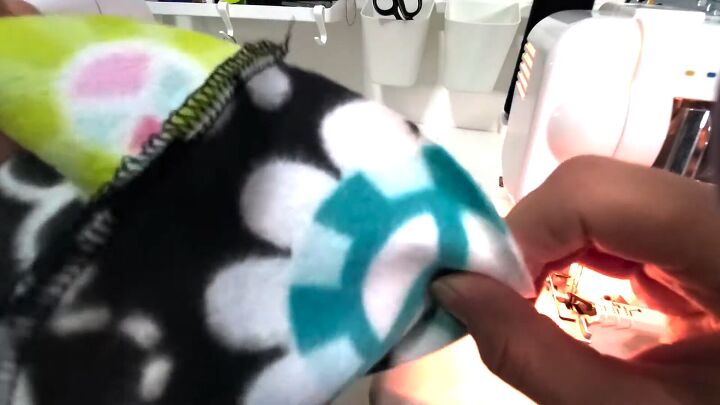
Serge or sew a straight stitch along the length of the hat, as well as the outer parts of the peaks.
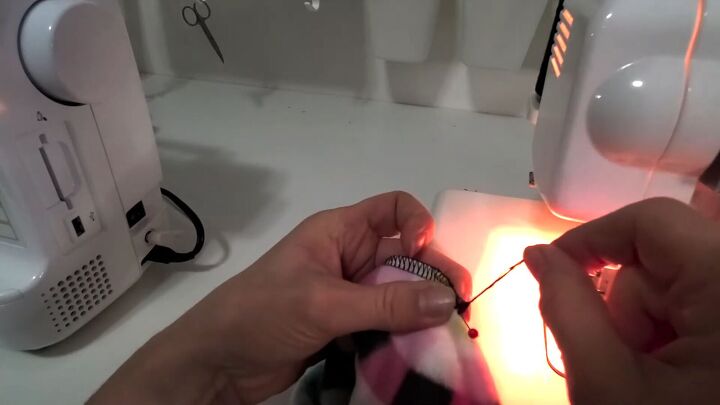
To prevent the ends of the serge from unraveling, tie a knot with the hanging threads, using a needle to get the knot as close as possible to the fabric.
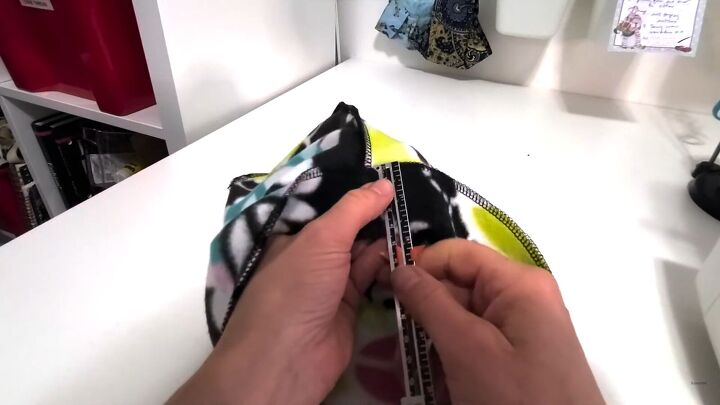
Go to the opening of the inner peaks and pull the fabric to sew the opposite edges together.
Put in a pin to match up the center seams to each other.
Then serge or straight stitch across the top of those edges.
If you’re doing the optional pom pom, leave a little gap where the center seam meets.
If you’re not doing a pom pom, just sew straight across.
For the seam, fold the bottom of the hat in 1 and ¾ inches in. Pin in place and sew around with a zigzag stitch for stretch.
5. Optional pom pom
Take your pom pom piece and cut strips along the length of it, leaving everything connected ¼ inch from the top.
Sew that small securing strip to the wrong side of the pom pom piece.
Now roll the pom pom up. Use a needle and thread to sew that thick roll together.
Thread that small anchor strip of fabric into the gap in the stitching at the top of the hat.
Sew the pom pom in place while closing that open seam.
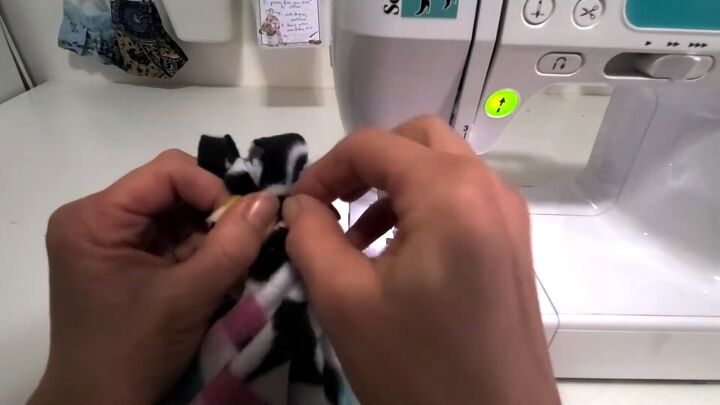
If your pom pom isn’t sitting well on the hat, use a needle and thread to get it secured in its place.


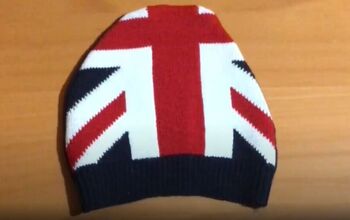
DIY winter hat
What an adorable and practical winter hat. I hope you guys enjoyed learning how to sew a hat by creating your own hat-sewing pattern.
Make sure to leave me a comment and let me know how your hat came out.
Next, learn How to Upcycle Jeans.
The author may collect a small share of sales from the links on this page.


Comments
Join the conversation
Can’t see it. Disappearing project.