How to Upcycle Jeans: DIY Jeans Makeover Tutorial

I loved wearing my white skinny jeans last year, but this season they just look dated.
I wanted to come up with a new way of how to upcycle jeans and I just happened to have a pair of white denim sleeves left over from another project.
Any fabric strips would work though, even contrast colors if you like that look.
Tools and materials:
- Skinny jeans
- 2 sleeves or strips of matching fabric
- Seam ripper
- Scissors
- Pins
- Fabric marker
- Piece of cardboard
- Sewing machine
- Serger (optional)
1. Prepare the fabric
I used my seam ripper to remove the cuffs from the sleeves and put them aside to use later.
I also unpicked the side seams of the jeans from the hip to the bottom edge.
As the sleeves were wider than I needed anyway, I just cut the main seam off those.
2. Cut the sleeves
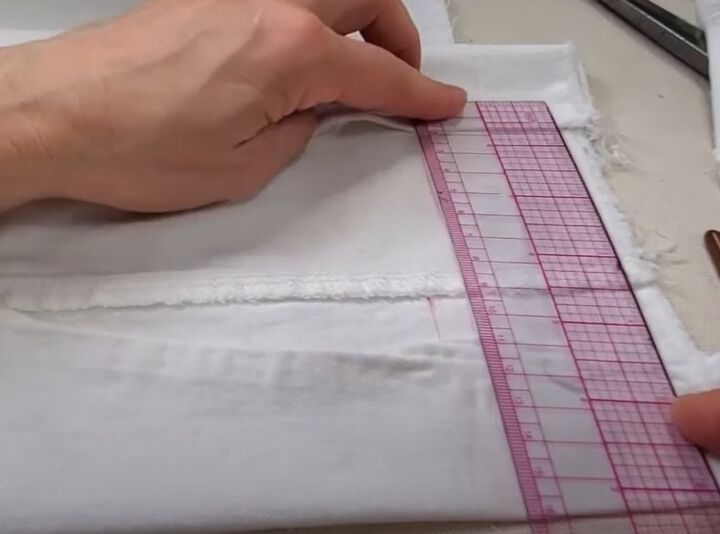
I laid the pants flat with the side seams open and measured the width of the insert I needed, which was about 5 inches wide at the bottom and 30 inches long.
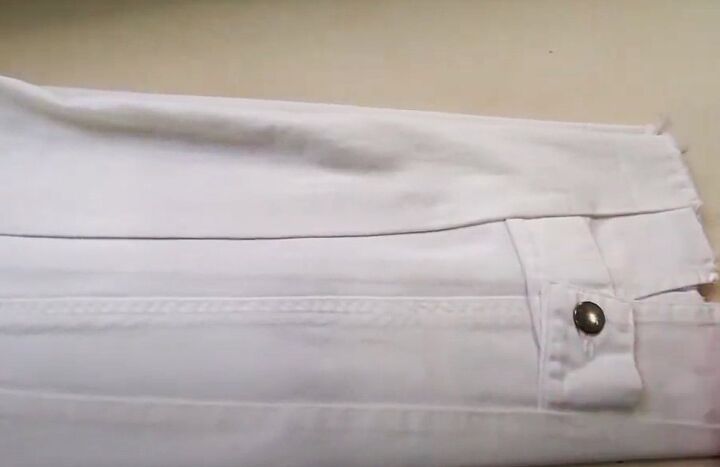
I wanted if possible to use the placket at the end of each sleeve as a feature of the jeans hem.
I cut a 5 inch wide strip from each sleeve, with the placket in the center.
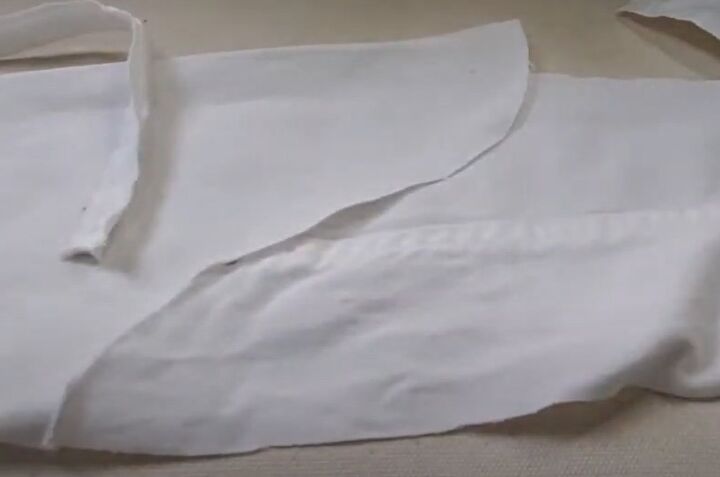
I had to join two strips together to get the length I needed, so I decided to use the shape of the sleeve head to make a curved seam.
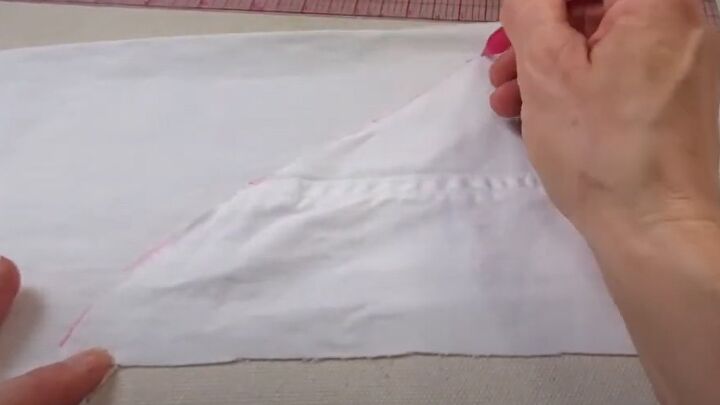
I overlapped the two parts of the sleeve head vertically and traced one curve on to the other.
I added a seam allowance and cut the second curve to match the first.

I joined the two parts of each sleeve together at the curves and serged the raw edges.
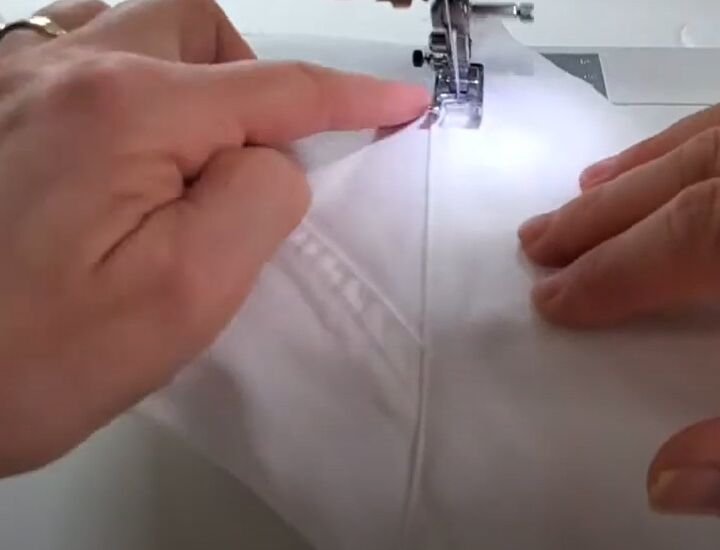
I pressed the seam flat and decided to top stitch the curved seam so it matched the vertical felled seam visually.
3. Pin the inserts in place
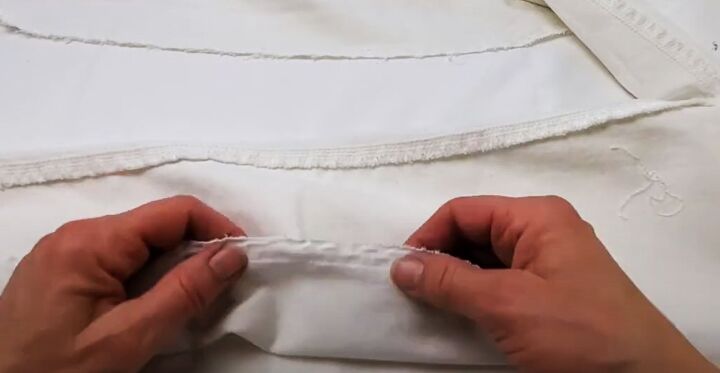
I placed the insert strip inside the opened side seam of the jeans, matching the placket to the bottom edge.
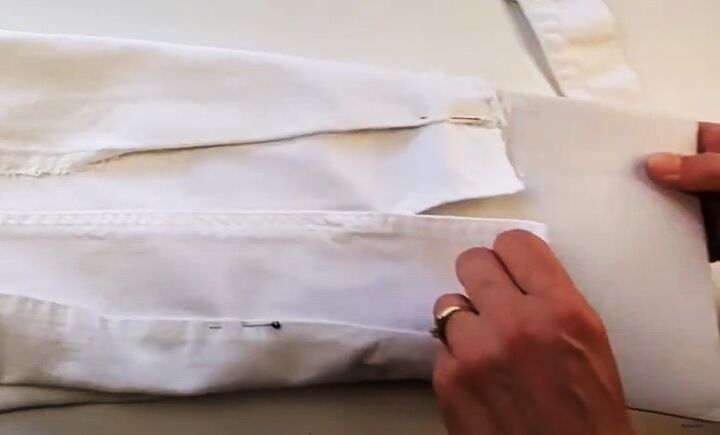
I let the seam fall naturally into a straight leg and placed a piece of cardboard inside the leg to keep the width even.
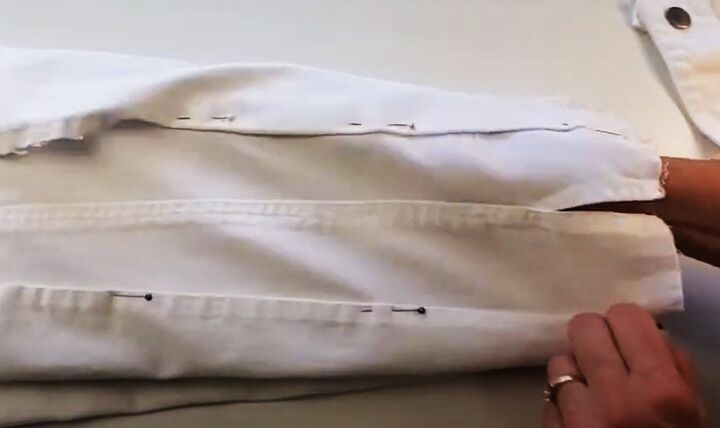
I turned the raw edges of the seam under as I pinned them to the inserts.
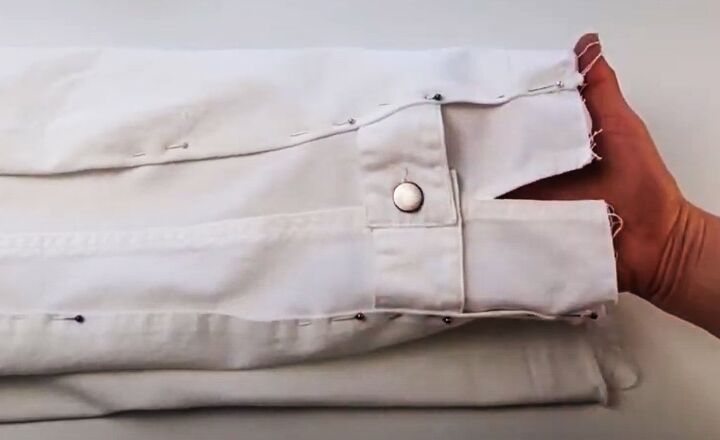
Then I tried the jeans on to make sure they fell as I intended and pinned the cuff in place just above the placket.
I felt this made more sense visually than having it higher up the leg.
4. Sew the inserts
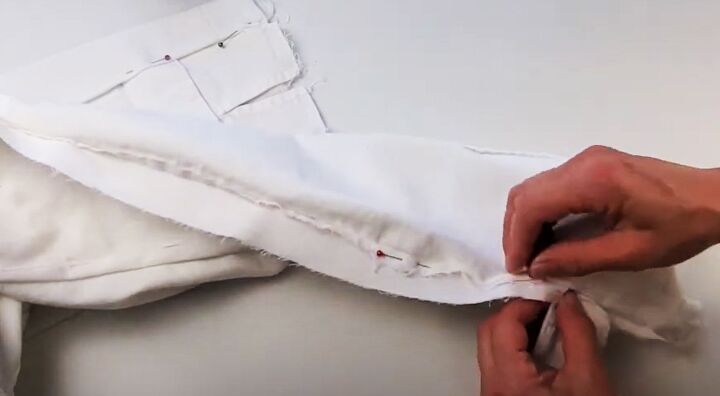
I turned the jeans inside out and re-pinned them from the inside.
Before I could sew them, I had to turn the pants right side out and remove the pins from the other side, then flip them wrong side out again.
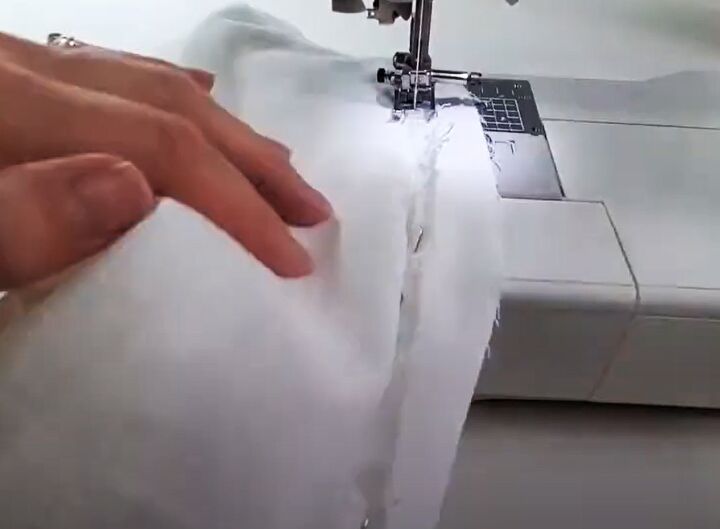
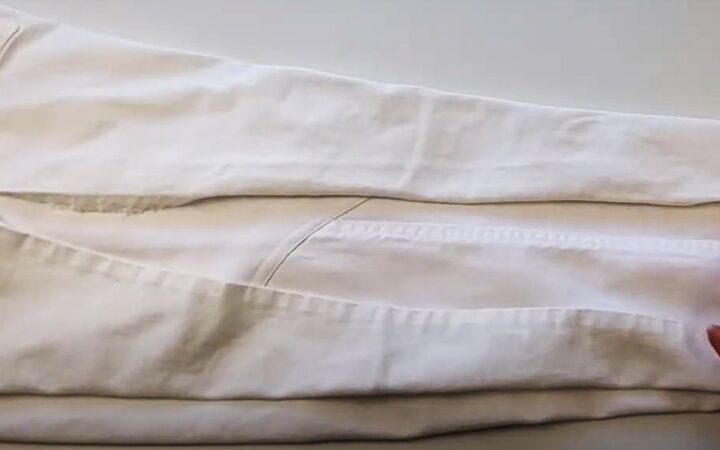
I sewed the insert to the jeans along the original stitching lines.
I sewed all four seams and tried them on one more time to make sure I was really happy with the fit before trimming the excess fabric.
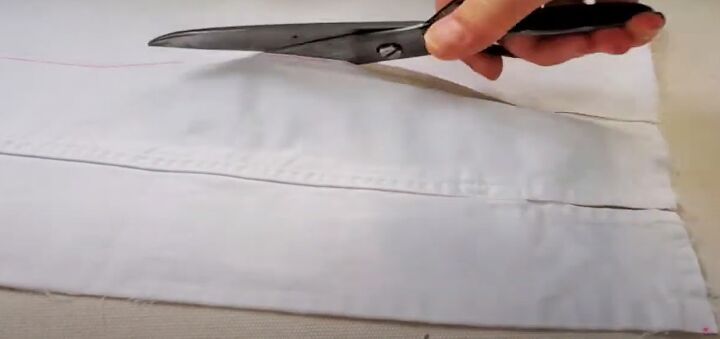
I cut away the excess fabric at the sides and top of the inserts with scissors first, then serged the raw edges.
If you don’t have a serger, use a zigzag or overlock stitch to prevent the denim from fraying.
How to upcycle jeans: DIY jeans makeover
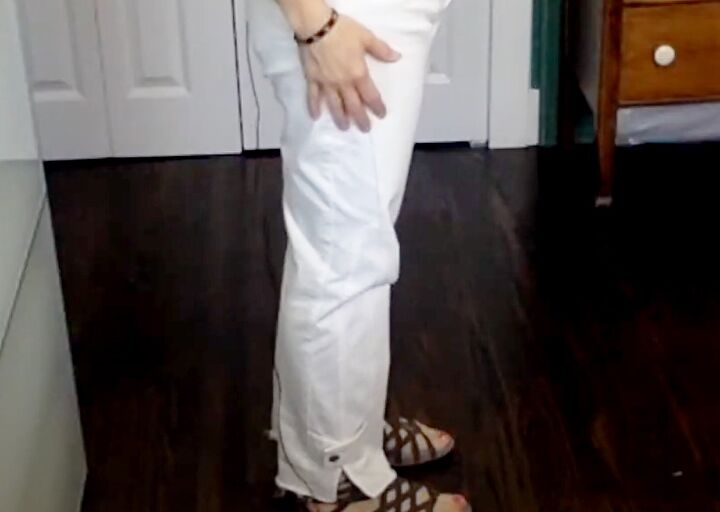
I gave my upcycled old jeans a final press, and I could already tell I was going to love them!
I think they look much more flattering and up to date. I really like the new visual elements of the curved seam and the cuff, they make the jeans something special and look intentional.
It’s so much fun to get creative and re-use what you’ve already got instead of just throwing things out.
I’d love to hear what you think of these! Please let me know in the comments below.
Next, check out my Sleeve Hem Tutorial: How to Shorten Jacket Sleeves.
The author may collect a small share of sales from the links on this page.


Comments
Join the conversation