How to Sew a Cozy DIY Shawl Vest - Perfect for Winter

Winter is here! A lovely way to stay warm and cozy is with a DIY shawl vest. Making a women’s shawl collar sweater vest looks complicated but if you have basic sewing skills, you’ll be able to manage it. Here’s how to sew a shawl vest that you can wear today!
Tools and materials:
- Yard of tricot fabric
- Scissors
- Marking or tailor’s chalk
- Sewing machine
- Pins
- Measuring tape
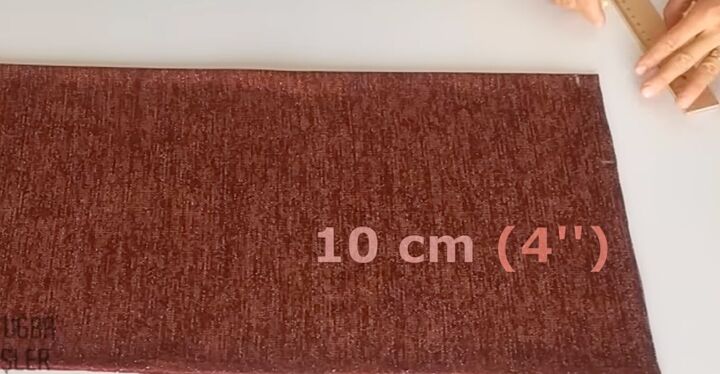
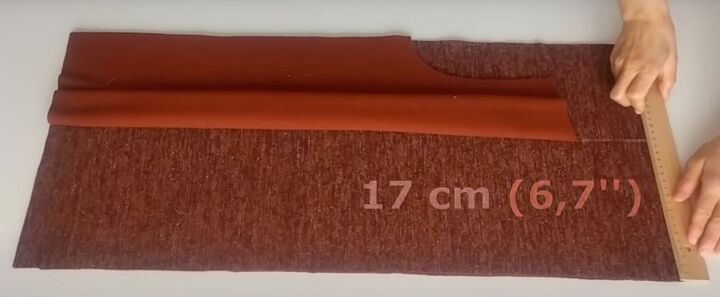
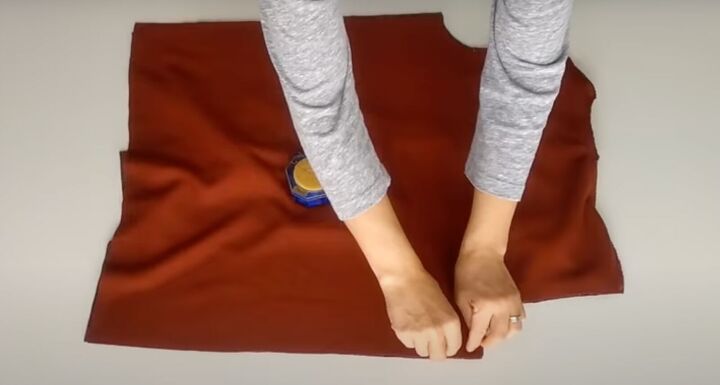
1. Make the back
Fold the fabric in half. Measure 26 X 12 inches. On the right side of the fold, mark in 1 inch and down 4 inches.
Connect them with a curve and then measure an additional 4 inches mirroring the other curve.

From the top measure 8.3 inches. Mark down 10 inches. Connect the lower 4 inch mark to this 10 inch mark.

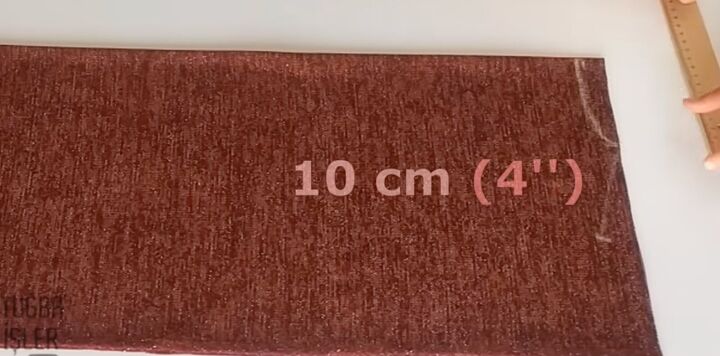
At the left end of the fabric mark down 10 inches and then match it across to the other 10 inch mark.
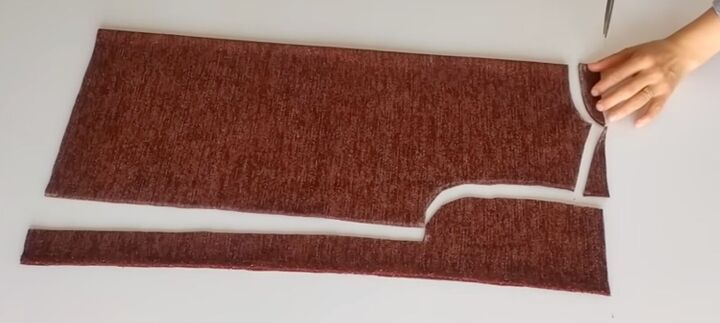
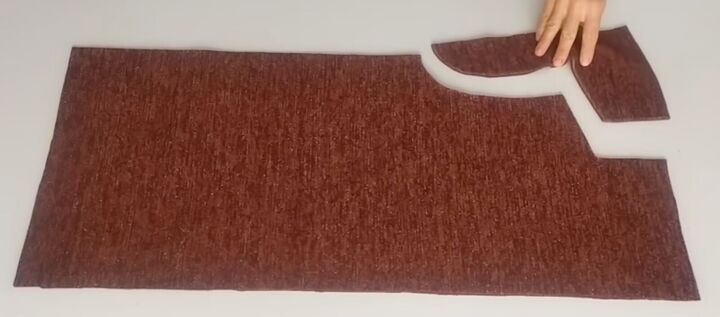
Cut those pieces out.
The back piece should measure 25 X 10 inches. The inner portion should be 16.2 inches and the shoulder line 4 inches.
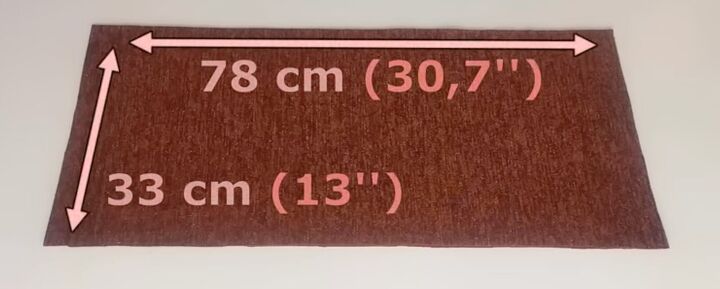
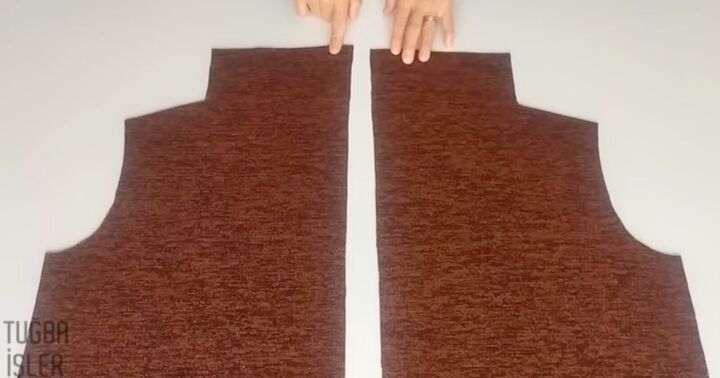
2. Make the front
Measure two pieces of fabric to be 30.7 X 13 inches. Have two pieces of fabric laying on top of each other.
Lay the back pattern on top folded. Copy the shoulder line and the arm hole. Fold the back piece so it is right up to the shoulder line. Measure 5 inches from the top at the edge of the shoulder line. Then measure 6.7 inches.
Cut the two pieces along the measurement.
3. Pin the pieces together
Lay the two front pieces right side up.
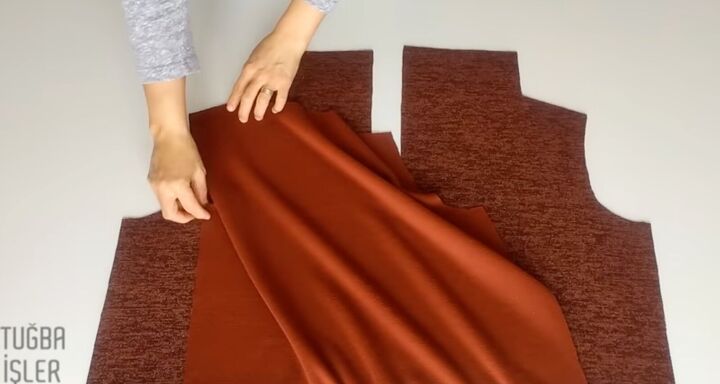
Lay the back pattern on top of them so their right sides are facing each other.
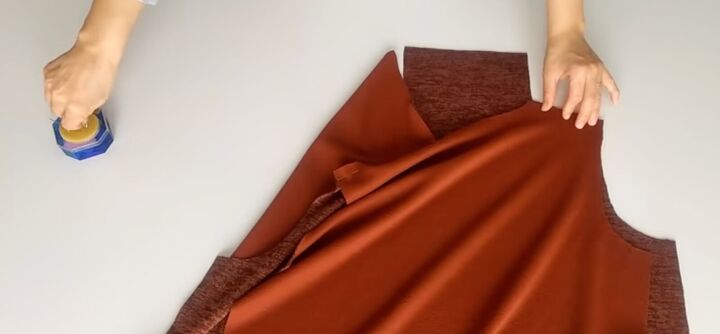
Match each shoulder and pin in place.
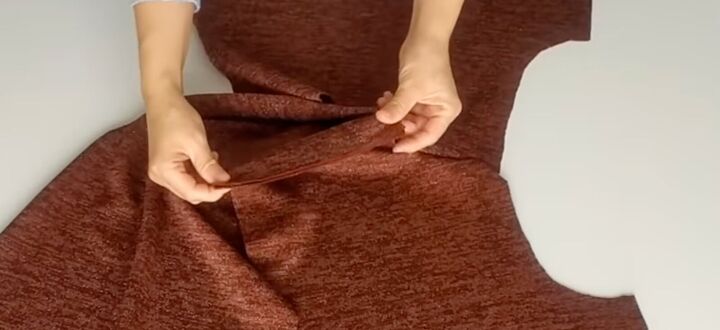
Pin the excess fabric at the top, matching the seams across.
Pull that piece back and pin the neckline in place.
It should look like this.
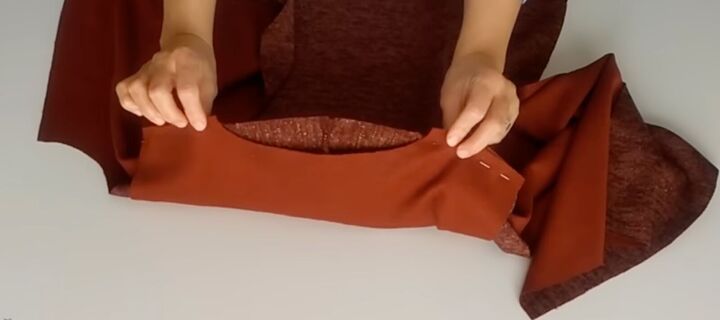
4. Sew the DIY shawl vest
Sew the shoulders with a zigzag stitch.
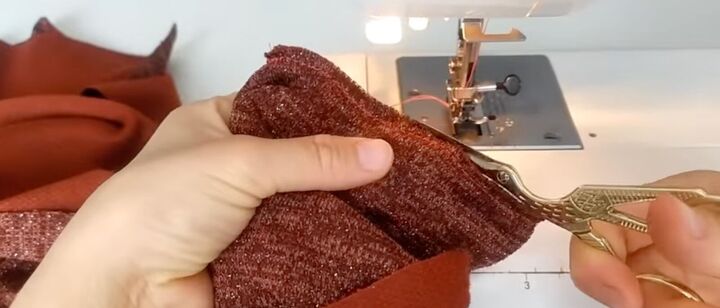
Sew the neckline. For a more detailed version of how to do this, watch the video from 5:30 to 6:47. Cut off any excess seam allowance. Topstitch the shoulders.
Fold in the armhole. Pin the side seams. Sew the armholes with a zigzag stitch. Then sew the side seams with a zigzag stitch on the wrong side.
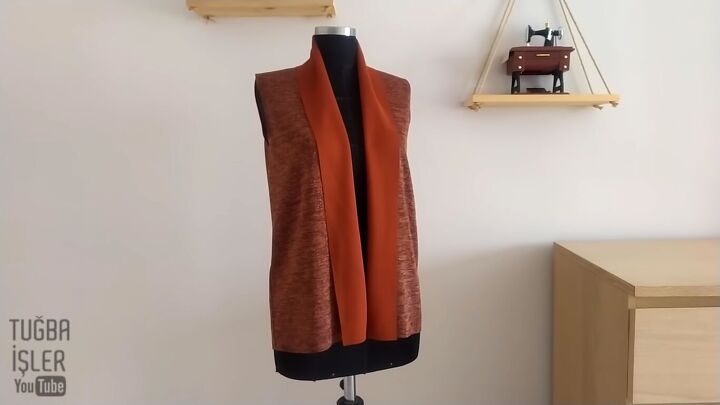
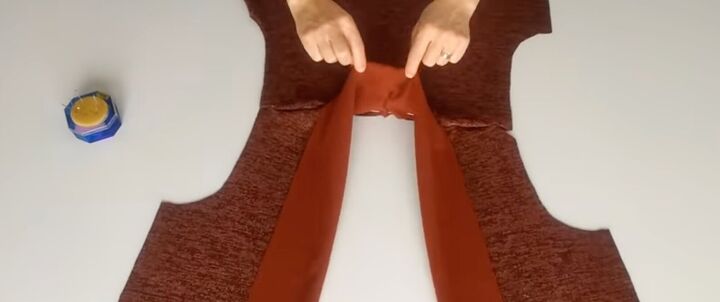
DIY shawl vest tutorial
Your beautiful women’s DIY shawl vest is ready! You’ll get so many compliments on how great it looks! Let me know in the comments if you made it!
To see more of my DIY sewing tutorials, follow me on TikTok @tugbaisler.
The author may collect a small share of sales from the links on this page.


Comments
Join the conversation