How to Tie-Dye a Bucket Hat & Decorate It With Mirror Work Embroidery

I have an exciting tutorial for you today! Get ready to learn how to tie-dye a bucket hat and then do shisha embroidery, otherwise known as mirror work embroidery. This is a beautiful embroidery technique from Pakistan.
This is a fantastic project for beginners, too, as I’ll show you a unique way how to tie-dye a bucket hat with string! Let’s get to it.
Tools and materials:
- White bucket hat
- Powder base tie dyes
- Pot
- Salt
- String
- Scissors
- Kitchen utensils
- Needle
- Thread
- Shisha mirrors
Tie-dye bucket hat DIY
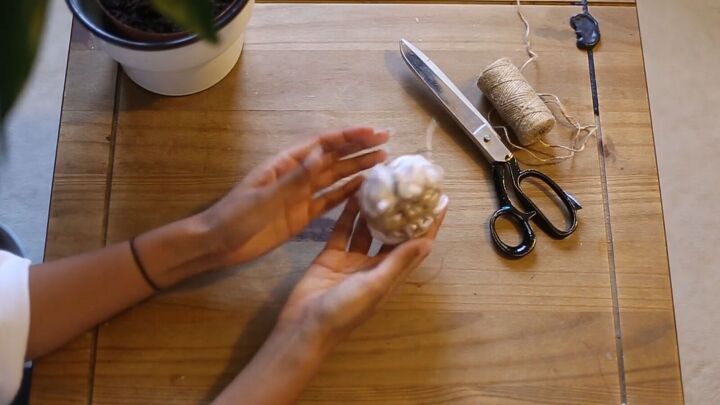
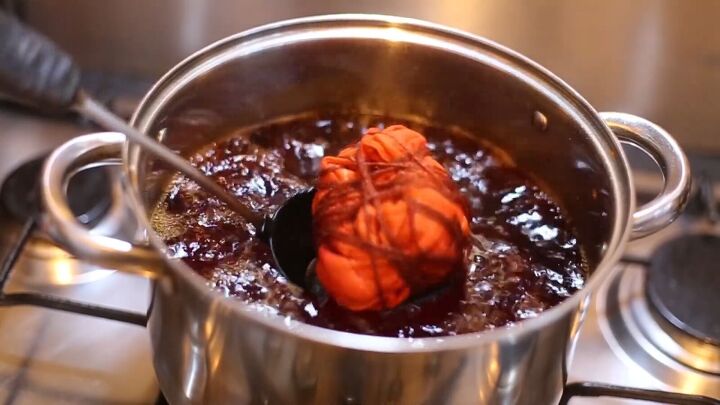
Scrunch up your hat and tie a piece of string around it. Make sure you tie it as tightly as possible. In the end, it should be shaped like a little ball.
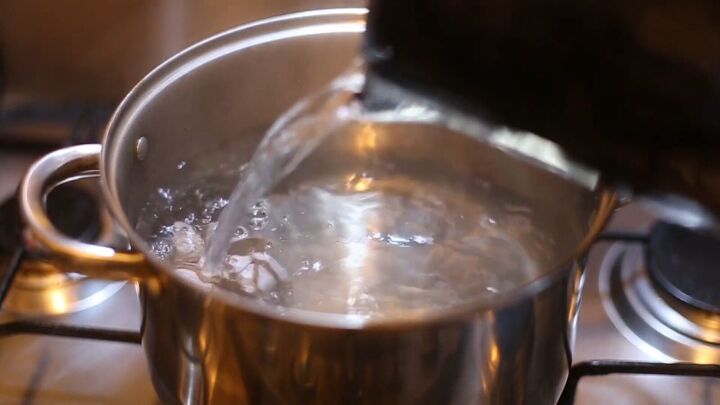
Place the hat in a pot of hot water. Make sure the hat is immersed in water and turn the heat up to the max. Powder dye needs heat to be activated.
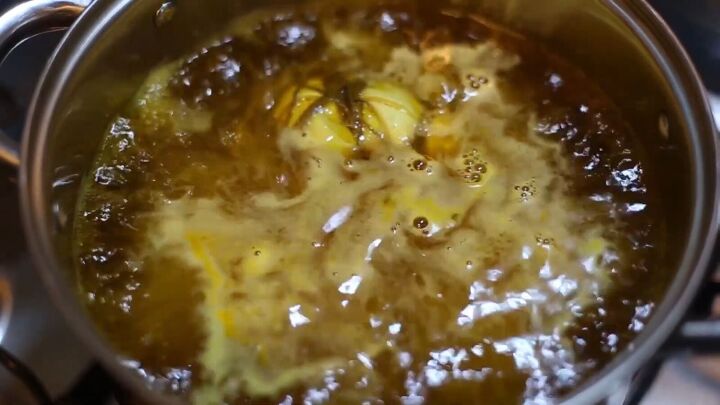
Next, take out your powder dye and add a little to the water. You’ll need to estimate how much you need based on the brightness and intensity you want. Remember, powder dye is very pigmented, so be mindful of how much you put in.

Once you feel the dye has absorbed into the bucket hat, grab your other color and add it in. I’m using a mixture of red and yellow to make a lovely orange. However, I made a bit of a mistake by adding too much red dye.
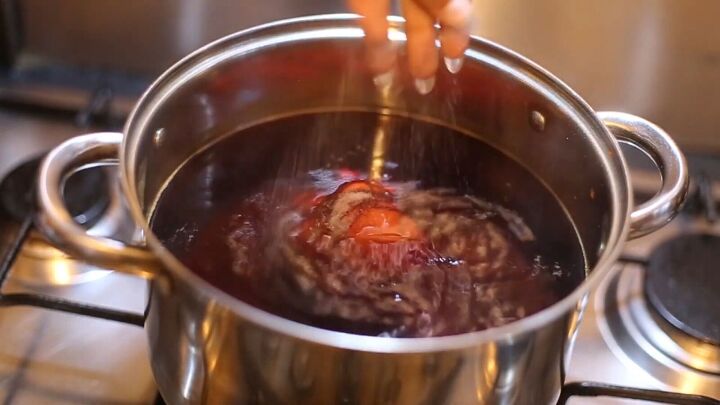
Next, add the binding component to the water; salt! This will keep the color from washing out over time.
Use a handful of salt for 7L (3.5 cups) of water.
Here’s the bucket hat, in all of its Cheeto glory! This whole process took around 10 minutes.
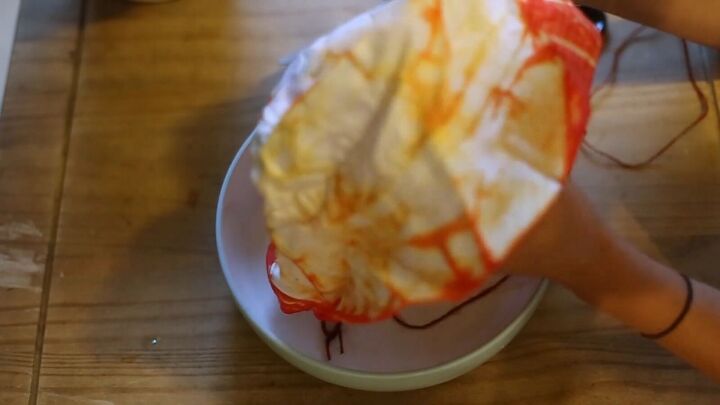
Now, unravel the string.
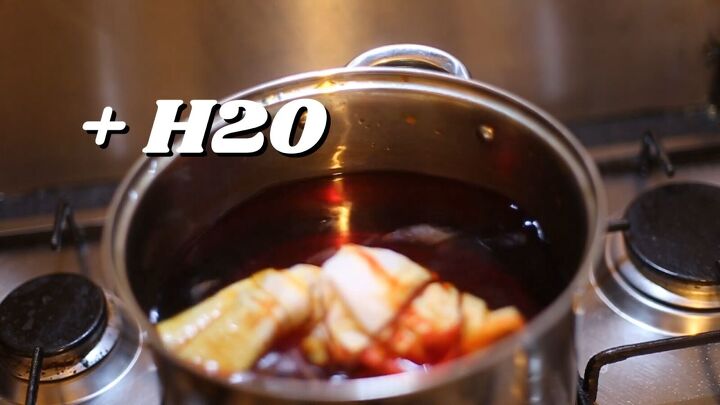
I didn’t like the way mine looked, so I went back to the dye water, added some H20, and managed to fill in the white spots with a pastel orange.
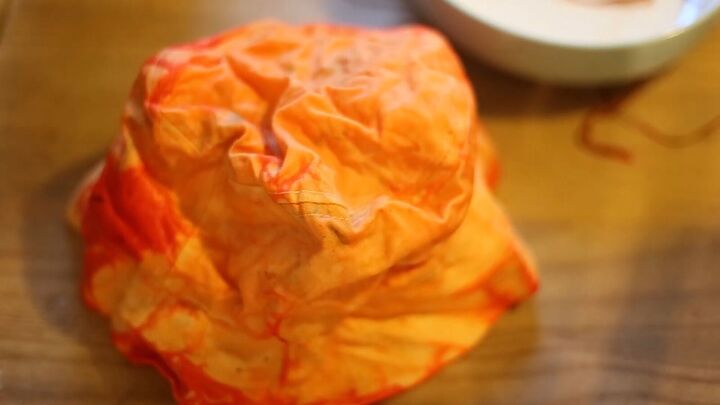
Now, this is a much prettier color!
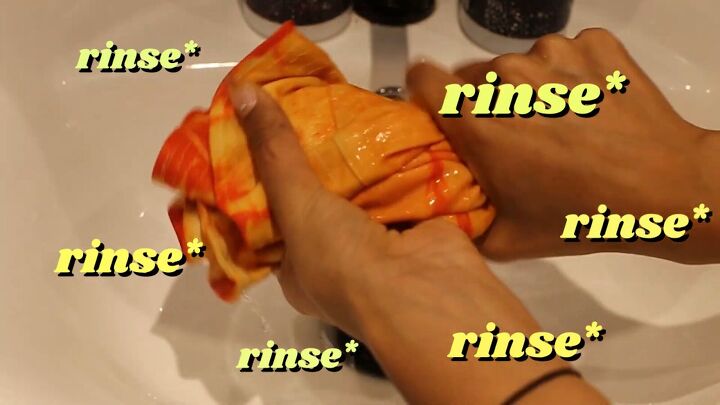
Rinse your bucket hat to wash out in bits of dye.
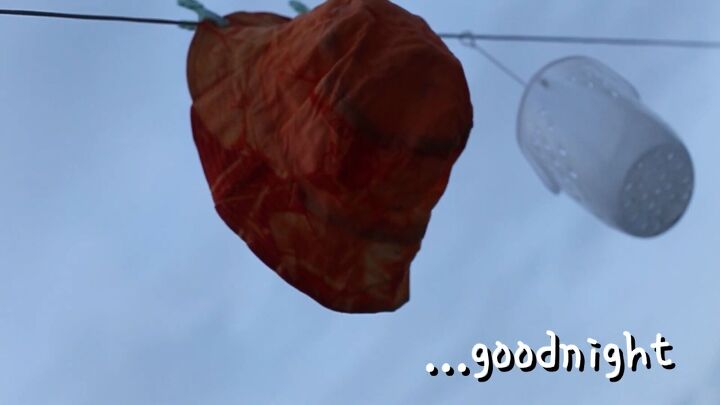
Then leave it to dry before starting the mirror embroidery.
Mirror work embroidery
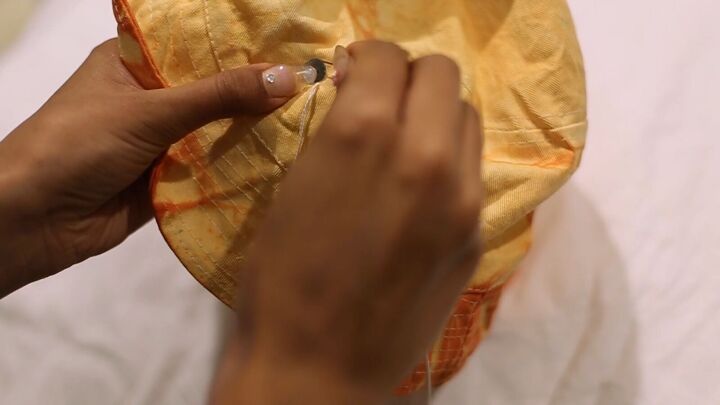
Get your needle, thread, and mirrors out because we will start embroidering!
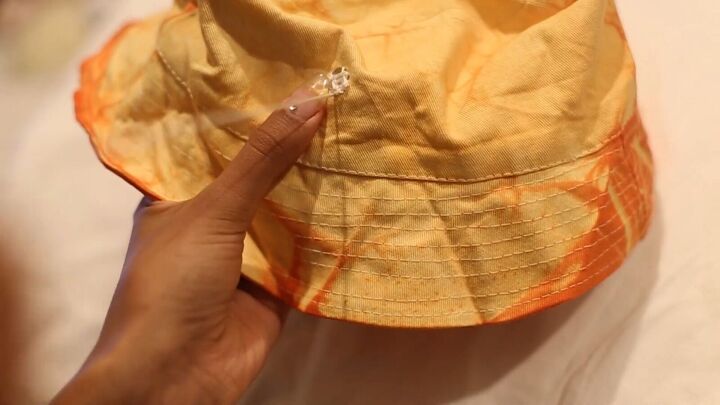
First, put your thread through your needle, and tie a knot at the end. Place your mirror on the DIY tie-dye bucket hat, and feed the needle through from under the hat.
You’re going to be doing a cross-hatch stitch to secure the mirror with the thread.
Tip: If you want to get some of these types of mirrors, simply search online for “shisha mirrors” and make sure they are without glue.
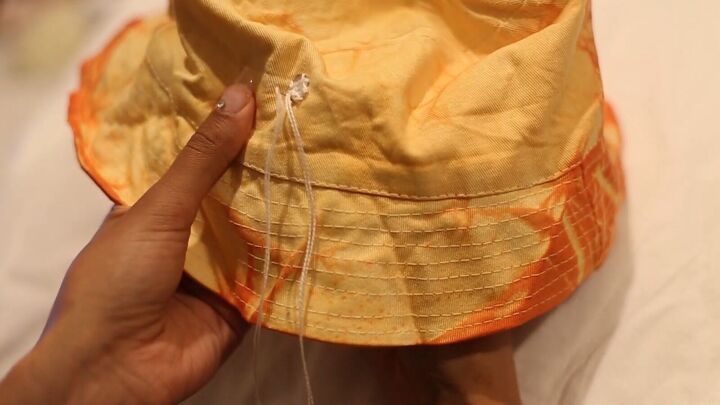
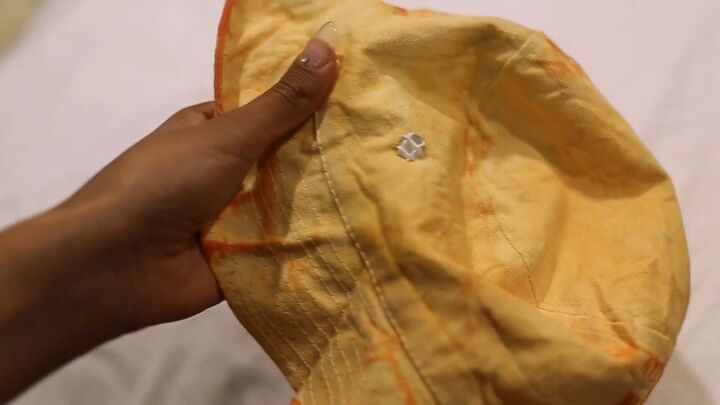
Now that you have your crosshatch locked in place, you’ll be locking it in place by making a ring around the mirror.
Put your needle through the nearest crosshatch stitch.
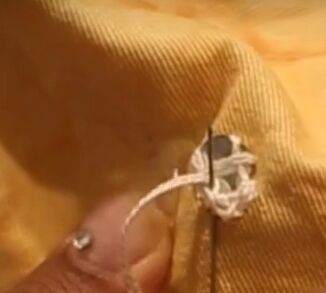
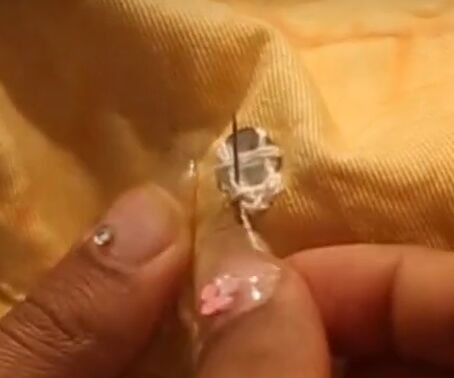
Wrap your thread around your needle once and pull the needle upward to tighten the stitch.
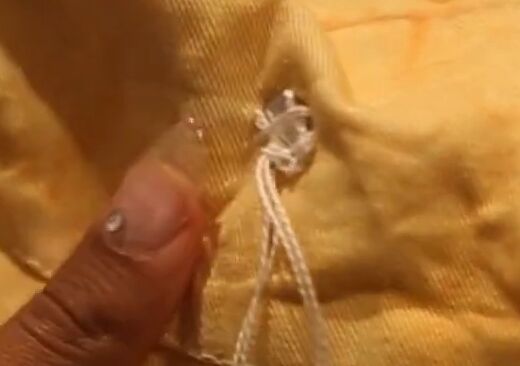
Then, bring your needle back down. Repeat this process and fill in the gaps around the mirror.
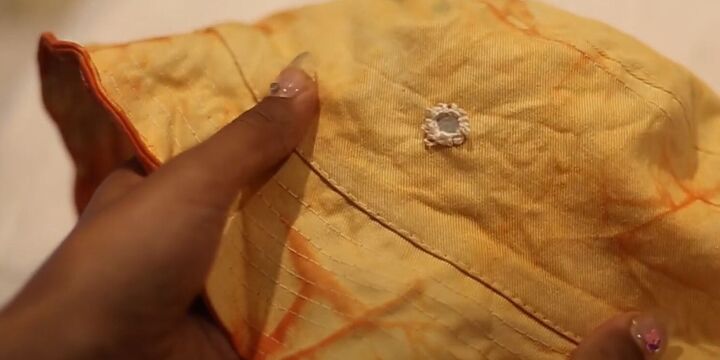
Here’s what the shisha embroidery looks like.
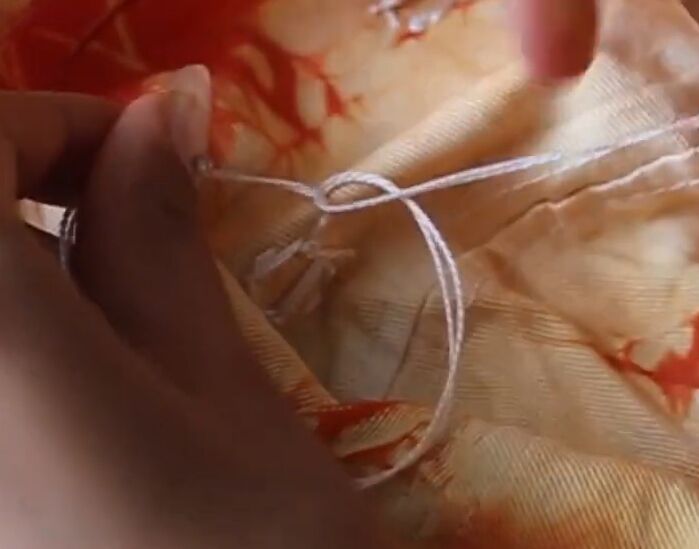
When you’re done, tie a knot through the bottom. Feel free to embroider as many mirrors as you like; this is your creation!
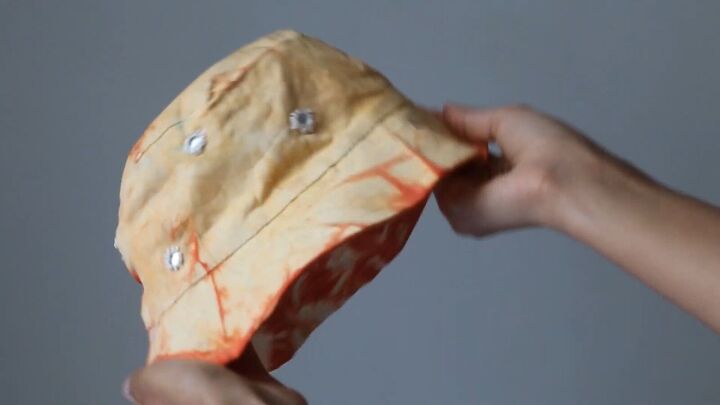

How to tie-dye a bucket hat & add shisha embroidery
We are done! This tie-dye bucket hat DIY is looking festive and simply fabulous!
From tie-dying the hat to perfecting the mirror work embroidery, there are a whole lot of skills and ideas to take away from this tutorial. Thanks for joining me, and have fun!
The author may collect a small share of sales from the links on this page.


Comments
Join the conversation