Want to Learn How to Easily Sew a Beret? Follow These 4 Simple Steps

In this tutorial, we'll show you how to sew a beret! French beret hats have been around for a long time: they are super cute and cozy. Follow this simple DIY beret guide and our beret hat sewing pattern that will have you making tons of French beret hats. You can even use old clothes for the fabric!
Tools and materials:
- Fabric
- Paper
- Ruler
- Pencil
- Pins
- Thread
- Scissors
- Sewing machine
- Sewing needle

1. Create the beret hat sewing pattern
On a large sheet of white paper, mark the middle of the paper and then measure 28 centimeters (11 inches) for the diameter of your pattern, marking 14 centimeters (5.5 inches) out on either side of the middle dot.
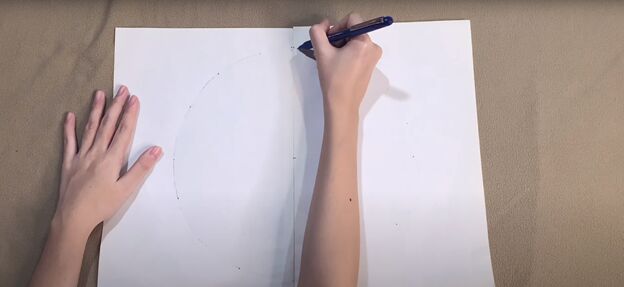
Then use your ruler to make as many 14-centimeter (5.5-inch) dots around the middle dot as you want, so that you will then be able to connect the dots to get a complete circle.
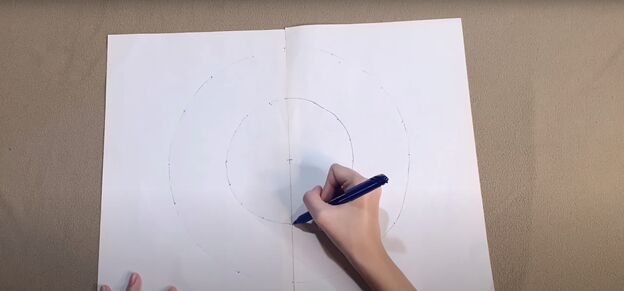
To get the inner circle for the beret hat sewing pattern, measure 6.5 centimeters (2.5 inches) in from the outer circle. Create dots as you did for the outer circle, continuing to measure 6.5 centimeters (2.5 inches) in and then connect those dots.
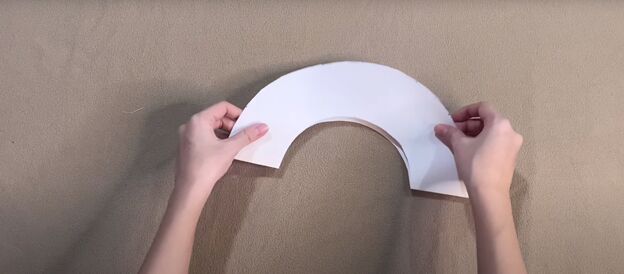
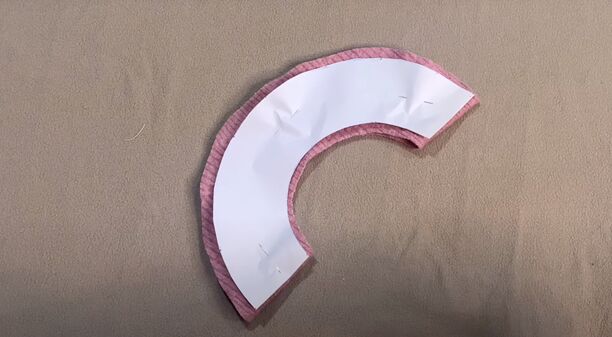
Fold the paper in half widthwise and cut out the outer circle, and then the inner circle.
2. Cut the beret hat fabric
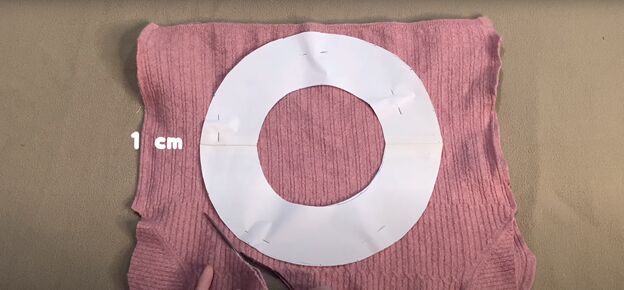
Fold your fabric in half and pin the circle beret hat pattern onto your fabric. Cut out the outer circle, adding a one-centimeter (0.39 inch) seam allowance.
Remove the beret hat pattern and separate the two circles of fabric. Fold one piece of fabric in half and fold the paper beret hat pattern in half.
Lay and pin the folded pattern onto the folded fabric. Cut out the inner circle from the fabric adding a one-centimeter (0.39 inch) seam allowance. Remove the pattern.
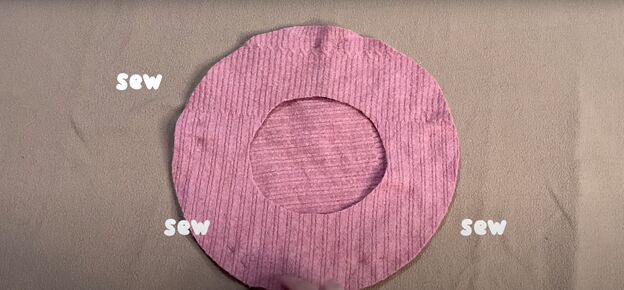
3. Sew the beret hat
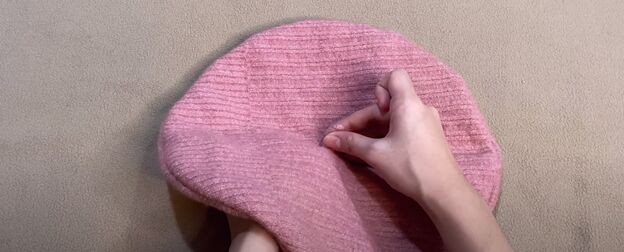
Place the two pieces of fabric together, with right sides facing in, and pin them in place. Sew the pieces together around the outer edge using a straight stitch.
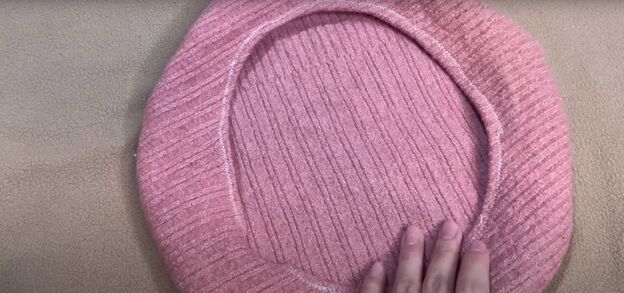
Turn the beret hat right-side out and fold in the edge one centimeter (0.39 inches). Sew around the edge of the inner circle hole using a zigzag stitch. If your sewing machine doesn’t have a zigzag stitch, use a straight stitch on number 9.
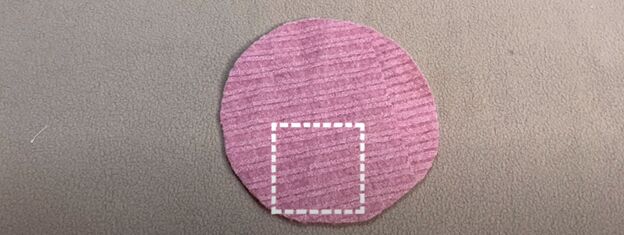
4. Add a tail to the beret hat
From leftover beret hat fabric, cut out a square measuring 4 centimeters by 4 centimeters (1.57 inches by 1.57 inches.)
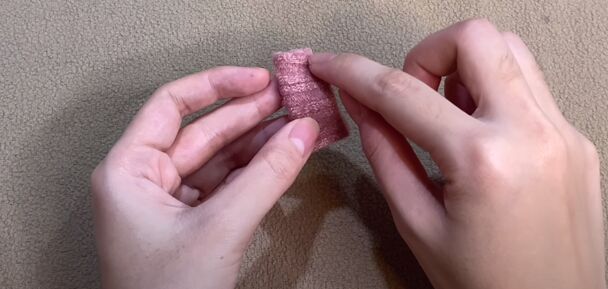
Fold the square in half with right sides together and sew two of the open sides together.
Turn the rectangle right-side out and hand sew it on top of the beret hat right in the middle.

How to sew a beret tutorial
What a pretty French beret hat! Just think about how many of these you can make with leftover fabric you have - different colors and patterns to match everything in your wardrobe! Leave a comment to let us know how your DIY French beret hat turned out.
The author may collect a small share of sales from the links on this page.


Comments
Join the conversation
Great, except in #1 the word circumference should be DIAMETER. My grammar school math from 65 years ago! Lol !