How to Quickly & Easily Sew DIY Mini Scrunchies By Hand

Come hand sew adorable mini scrunchies with me! I’m going to show you how straightforward it is to make these with a simple mini scrunchie pattern.
This is the perfect DIY for all those scraps you have lying around and would even make for a great gift. Also, if you’re sewing a specific outfit, you can use the leftover fabric to make a matching mini scrunchie. Let’s start!
Tools and materials:
- Fabric
- Scissors
- Measuring tape
- Thread
- Needle
- Elastic
1. Make the pattern
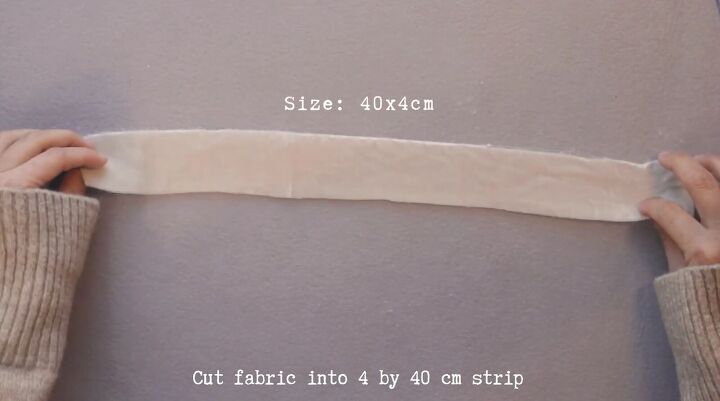
To make the mini scrunchie pattern, you’ll first need to cut a piece of fabric measuring 40cm x 4cm ( 15.74 x 1.57 inches).
2. Sew the mini scrunchie
Now, fold the fabric in half and pin the edges to keep the fold in place.
Thread through the eye of your sewing needle.
Next, hand sew a straight line across the whole edge.
Turn the piece right side out with the help of a long tool, such as a loop turner.
This is what you should have.
3. Insert the elastic
Cut a piece of elastic measuring 15cm (5.90 inches) and attach a safety pin to one end.
Feed the elastic through the tube.
Once you get to the end, remove the safety pin and stitch the ends of the elastic. Sew back and forth a few times to secure it in place.
4. Sew the ends
Next, neatly fold in the ends of the mini scrunchie and join the two sides with an invisible stitch.
DIY mini scrunchie tutorial
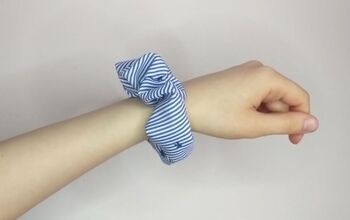
Your mini scrunchie is complete! How easy was that? Thanks for joining me on this tutorial on how to make hair scrunchies. Once you get the hang of it, you can make a bunch of these in a short time. Good luck!
Let me know what you think of these cute DIY mini scrunchies and whether you plan to make them in the comments below.
Enjoyed the project?
The author may collect a small share of sales from the links on this page.


Comments
Join the conversation