How to Sew DIY Hair Scrunchies by Hand

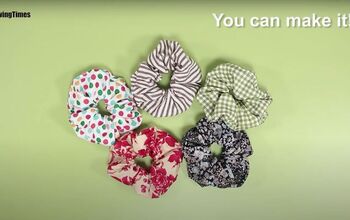
Have you always wanted to do a fashion DIY project but aren’t sure where exactly to begin? This DIY scrunchie tutorial is a great project to get you started. It’s quick, straightforward, and easy to make. If you’re a beginner at sewing, this project is also a great way to practice your sewing skills. In this tutorial, I’ll talk you through the steps involved.
Tools and materials:
- Piece of fabric (you’ll need to cut a 50x10cm [20x4 inch] rectangular piece). You can either buy a new piece or alternatively take a piece from an old item of clothing for a great upcycled look.
- Scissors
- Safety pin
- Elastic (25cm - 10 inch)
- Needle and thread
Cut the fabric
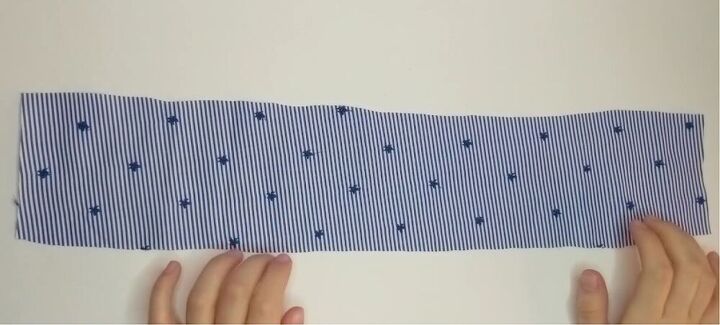
Measure and cut out a 50x10cm [20x4 inch] rectangle from any fabric of your choice. Don’t worry if it’s not completely straight, as you’re going to sew the sides together so any rough edges won’t feature in the finished product.
Fold
Fold the fabric in half lengthways. The good side will need to be facing inwards when you fold.
Sew the long side
Here’s where we begin to sew - you’ll need to sew along the long side using a blanket stitch. Again, don’t sweat if your stitching isn’t perfectly neat. As you’ll see with the next step, you’re going to turn the material inside-out, so the seam will be on the inside and won’t show on the finished product.
Turn it
Now you need to turn it right-side out. As you can see, the stitching is now invisible.
Join together
Sew the open edges together using a blanket stitch but only sew them about halfway. You’ll need to leave a small gap to be able to thread the elastic through.
Prepare the elastic
This is where we add the elasticity to the scrunchie. Take a 25cm [10 inch] piece of elastic and tie a safety pin to the end.
Thread the elastic
Pass the safety pin and elastic all the way through the fabric (full circle) and then bring it out the other end.
Knot the elastic
Remove the safety pin and tie a knot in the elastic. Snip off any excess.
Sew shut
To complete the scrunchie, sew the gap closed using a ladder stitch.
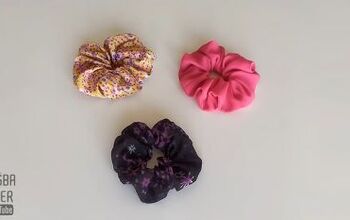
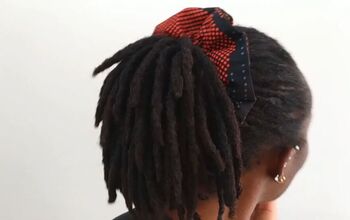
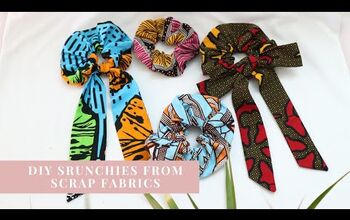
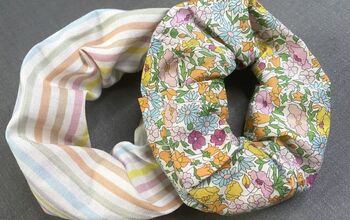
There you go! A fun and funky hair tie. No need to have to buy hair scrunchies ever again now that you know how to make your own.What was the first DIY fashion project that you ever made? Share below!
Enjoyed the project?
The author may collect a small share of sales from the links on this page.




Comments
Join the conversation
Yes