Create DIY Hair Scrunchies to Match Every Outfit

I hate waste! I decided that I needed to do a scrap busting project because I had a lot of scrap fabric sitting around. The perfect idea eventually came to me! I decided to use all my scrap Ankara fabric to sew the most beautiful, vibrant hair scrunchies. I couldn’t wait to get started!
Tools and materials:
- Scissors
- Measuring tape
- Pins
- Safety pin
- Elastic
- Sewing machine
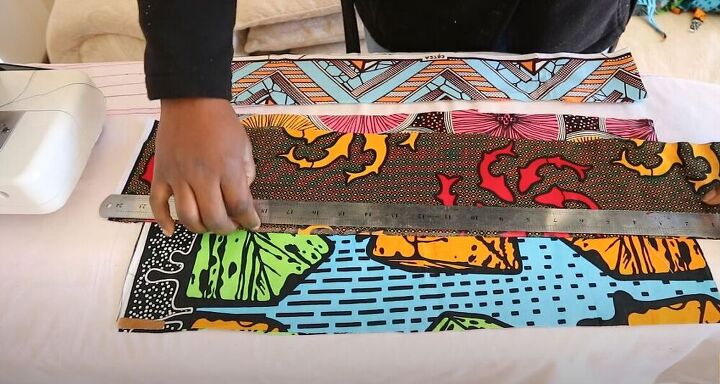
Cut the fabric
I knew that using scrap fabric meant that I wouldn’t be able to cut all my fabric pieces with the same dimensions. If you are also using scraps, don’t stress! Your scrunchies will turn out beautifully! I tried to keep my fabric between 23 to 30 inches long and between 4 to 6 inches wide. I also cut out 2 short pieces that I would later join together to make into a bow for the scrunchie.
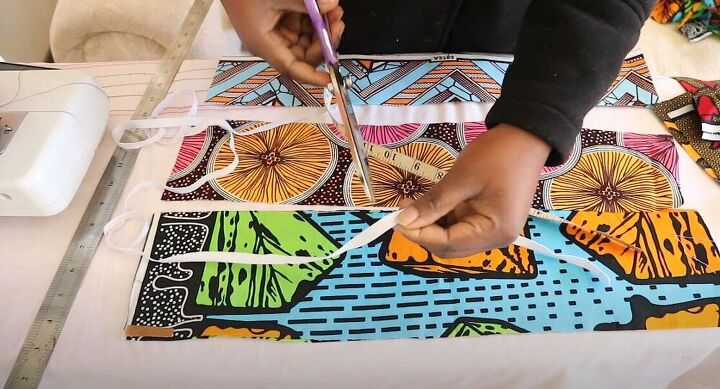
I also measured and cut the elastic pieces I would need to make the scrunchies.
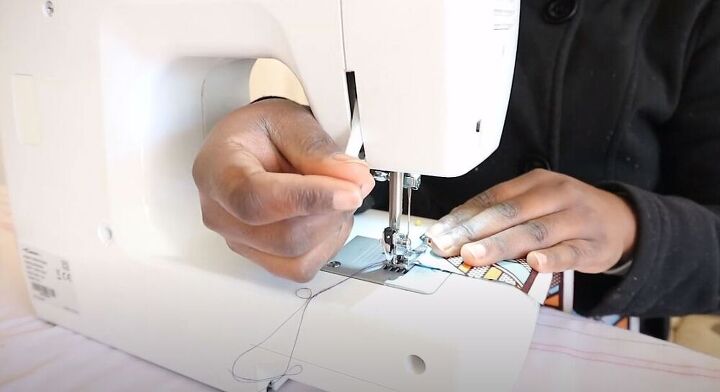
Sew the strips
The first thing I did was stitch along the long sides of the two strips that were facing right sides together. This particular scrunchie was 6 inches wide and 9 inches long.
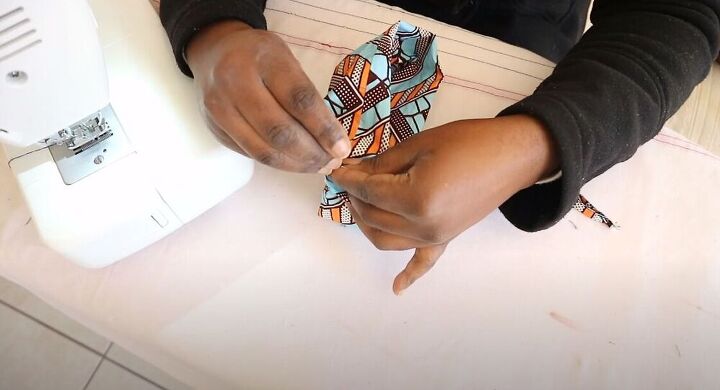
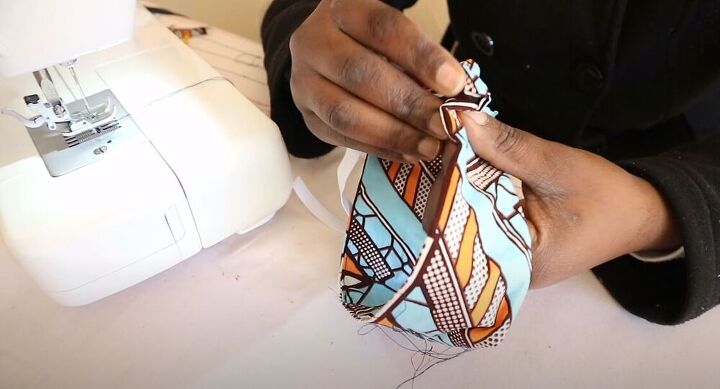
I then turned the fabric right side out. I matched up the two ends of the fabric tube and pinned the sides that were directly touching each other, together.
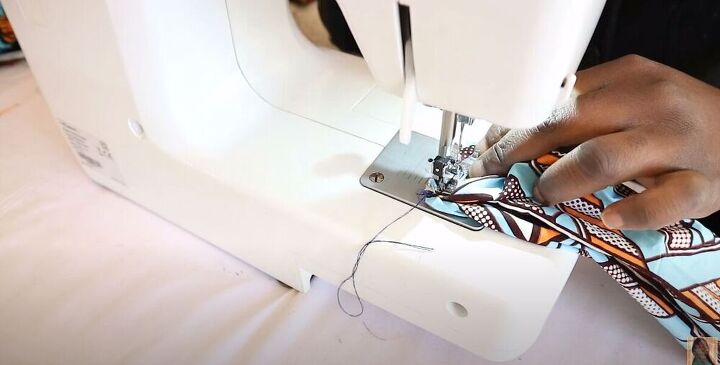
I went back to my sewing machine and sewed the circular opening closed leaving a small space to thread the elastic through.
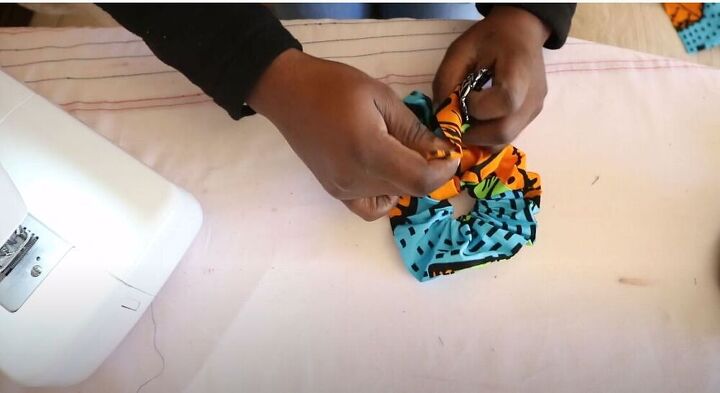
Add the elastic
Next, I attached a safety pin to one end of the elastic band and started to thread it through the small gap I had left in the scrunchie.
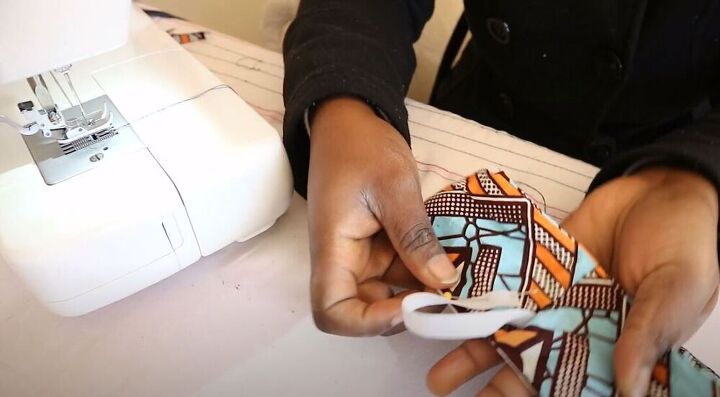
I pinned the other end of the elastic band to the scrunchie so that it wouldn’t enter the loop.
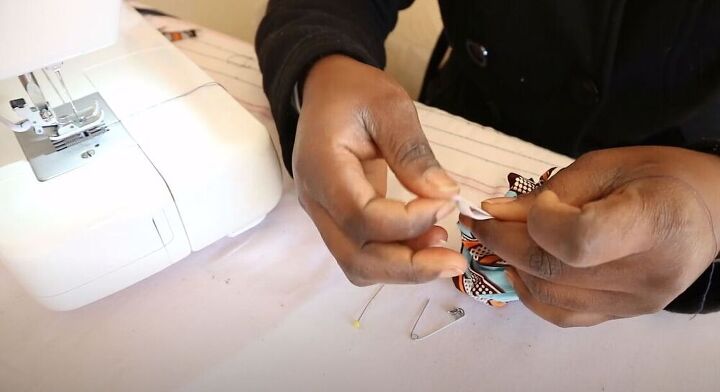
Once the elastic was all the way through, I joined both ends together by sewing several times with a straight stitch.
Next, I folded in the seam allowance and sewed closed the small gap I had left for the elastic.
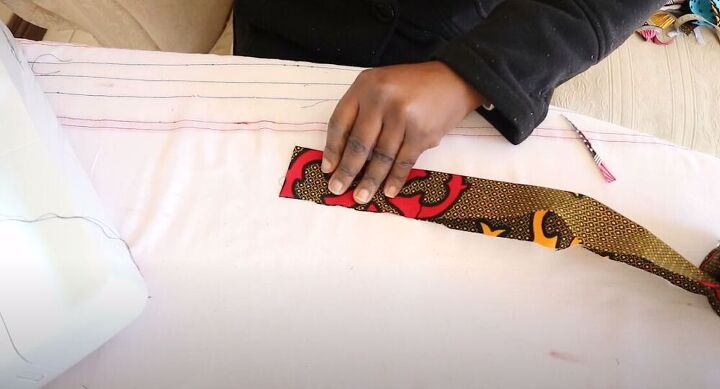
Make a strip for the bow
Next, I want to show you how I made the bow for the scrunchie. First, I sewed the two shorter strips together.
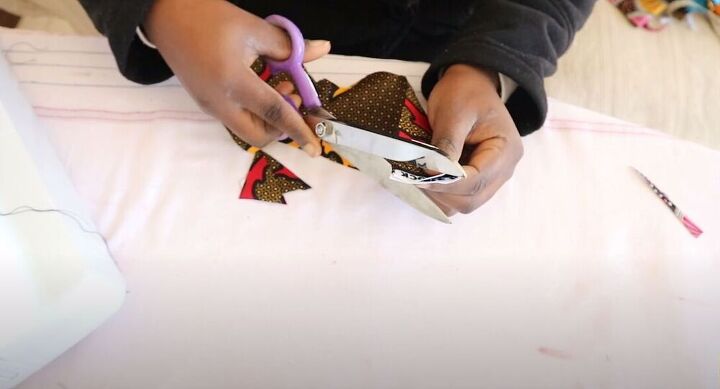
I folded the fabric right sides together, lengthwise, and cut the ends off at a slant. I then sewed all the sides closed but I left a 2-inch gap so that I could turn the fabric out later.
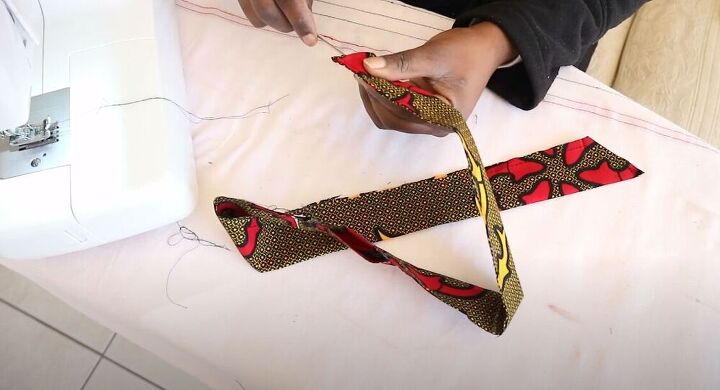
I used a loop turner to turn the fabric right side out through the gap I had left. I then sewed that small gap closed. All that I had left to do was press the strip and attach it as a bow to my scrunchie.
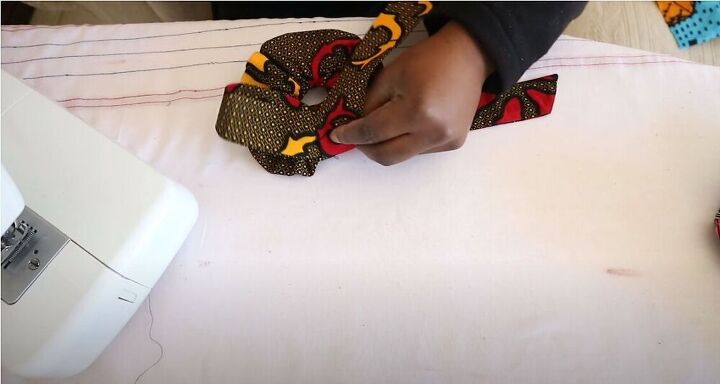
Add a tie
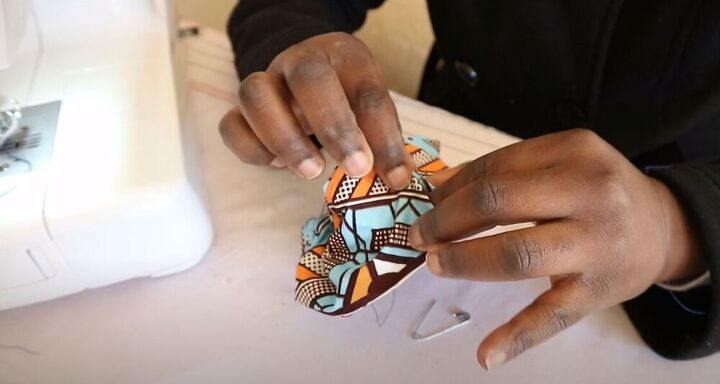
I have a shorter strip to show how I made the tie. I looped the strip around my scrunchie and tied a knot. It won’t come off but if you prefer you can use a needle and thread to attach it.
Add a bow
For the bow, I looped the strip over my scrunchie and then tied the bow, adjusting as I tied.
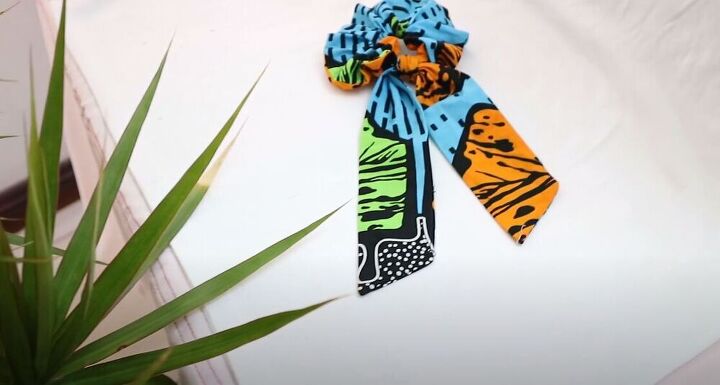
I love that I have so many different Ankara scrunchies to add to my hair accessory collection! Let me know what you think about this scrap busting scrunchie project in the comments!
The author may collect a small share of sales from the links on this page.


Comments
Join the conversation
Beautiful prints! Your instructions are A+! Thanks for sharing.
Love the trailing bow! I have such fine hair I have to make mine from the discardrd hems of t-shirts :(
But I may try adding a ribbon now that I've seen yours!