How To Sew A Velvet Loop Scarf In Under 20 Minutes
This post may contain affiliate links for products I love and recommend.
This season’s trends are all about plush velvet, rich textures, and extra-cozy fabrics. If you hate being cold as much as I do, you’re probably obnoxiously excited about being warm and stylish too. Don’t worry. I won’t judge. But seriously, when you feel absolutely chilled to the bone, I can’t think of a better way to warm up than by bundling up in luxurious-feeling fabrics and accessories!
That’s why for today’s tutorial, we’ll be learning how to sew a loop scarf in under 20 minutes. Really. Since this project is so quick and easy to complete, it also makes for an easy handmade gift. Make one for you…and then one for a friend. 😉
Before we get started learning how to sew a scarf, be sure to block out about 20 minutes of time and get your supplies together. This project goes quickly and is easy to make even if you are a beginning sewer. I’ve done the hard work for you and compiled a shoppable list for you to get everything you need without adding extra errands to your day.
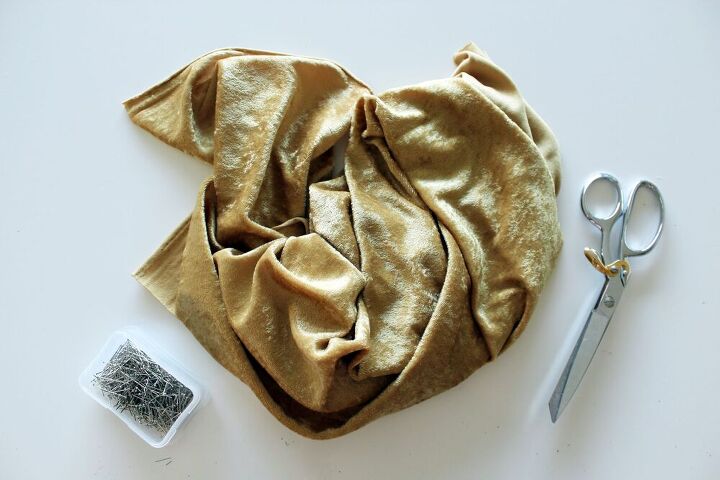
Loop Scarf Supplies:
- 1/2 Yard Velvet Fabric
- Dressmaker Shears
- Sewing Pins
- Basic Sewing Machine (Note: I’ll be using this serger for this tutorial but you can use a standard sewing machine with a zig-zag stitch as well.
How To Sew A Loop Scarf:
Now we get to actually put your project together and learn how to sew a scarf! Start by taking your fabric (1/2 yard) and folding it in half hot dog style with the plush (pretty) sides together. Pin your fabric into place along the long edge.
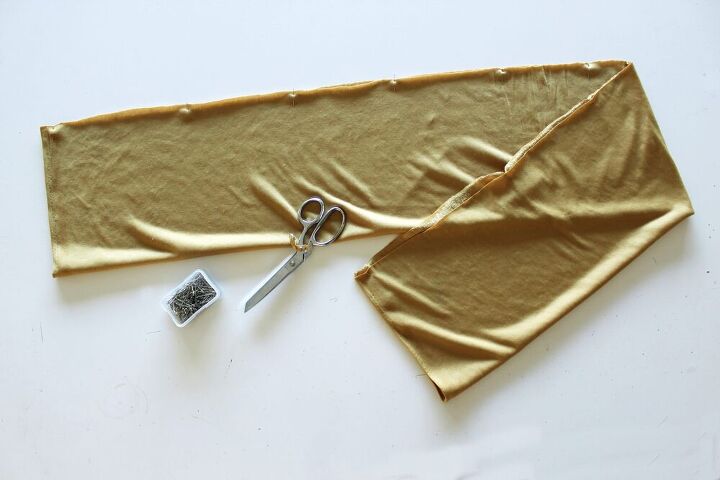
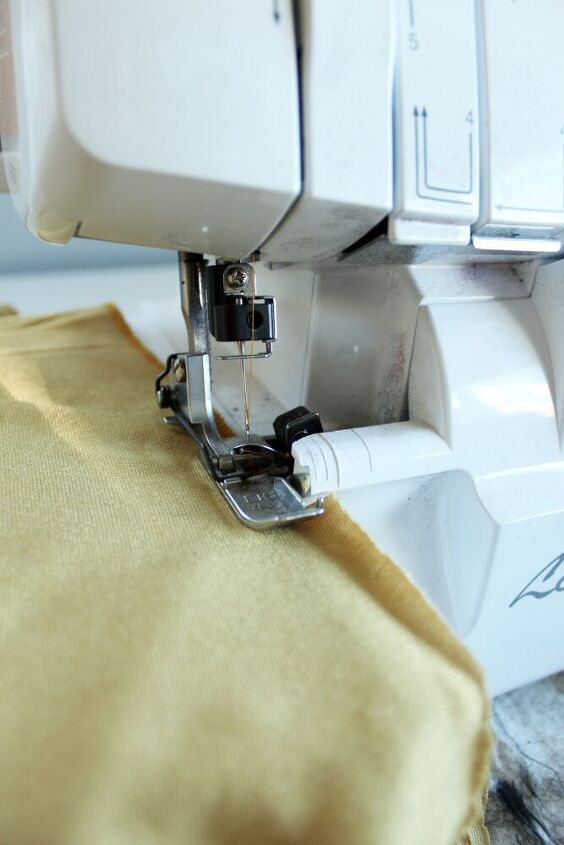
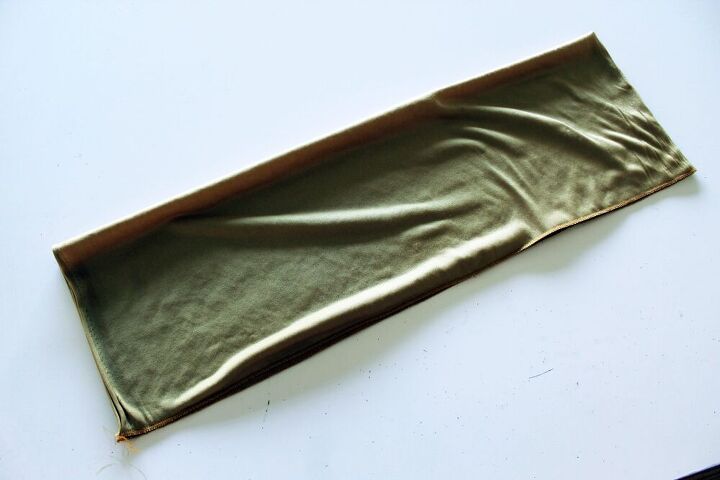
Now, sew the entire length of the velvet to create a long tube. I used a serger, but you can also use a standard straight stitch on a basic sewing machine.
Flip it inside out and fold it in half again. You should be left with something that looks like this:
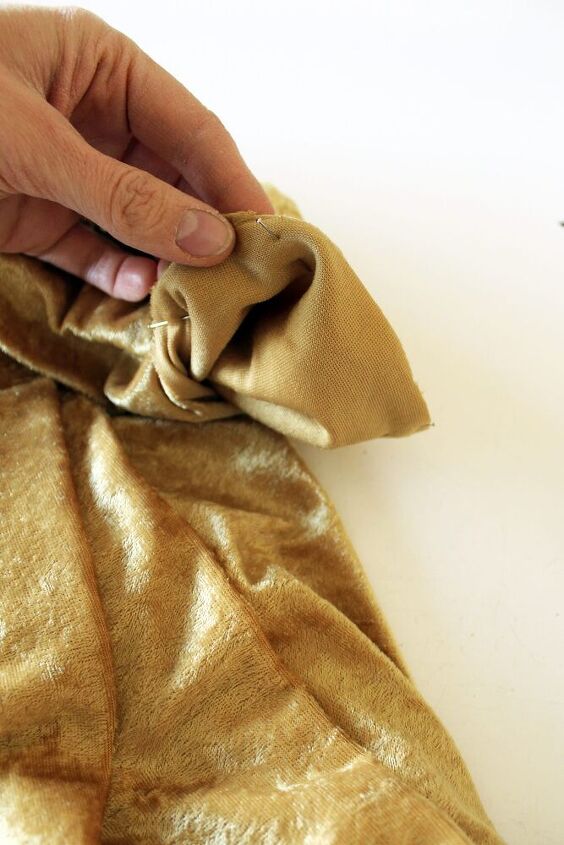
Believe it or not, you are almost done. Now we just need to attach the two ends together to create a full circle, thus making it an “infinity” scarf. To do this, pin the two ends together making sure to have the pretty side of the fabric facing the other pretty side.
Head back over to your sewing machine and begin. When you get close to making a full circle, stop and detach from the machine. You will finish the tiny hole on one side by hand.
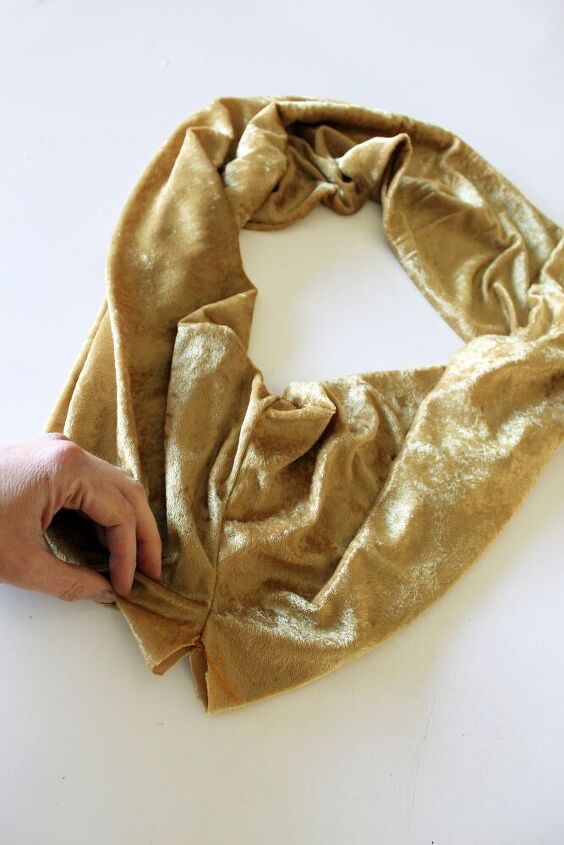
Your scarf should look nearly complete but have one small hole in the base like pictured. Use a hand-sewing needle to close up the hole and you are done.
Easy enough right?
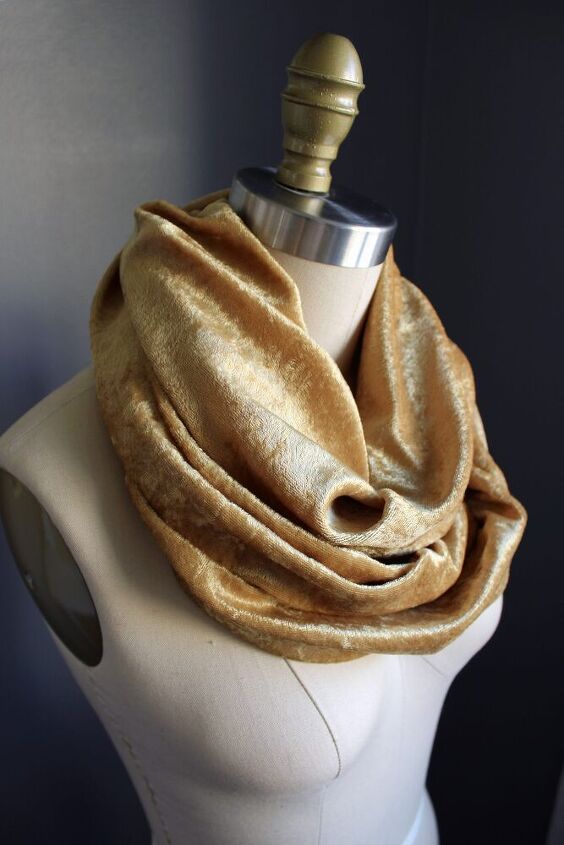
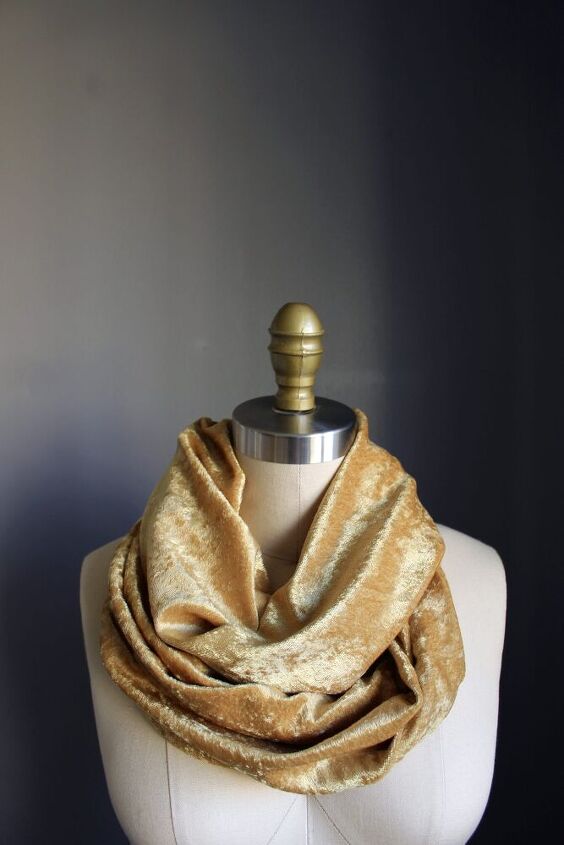
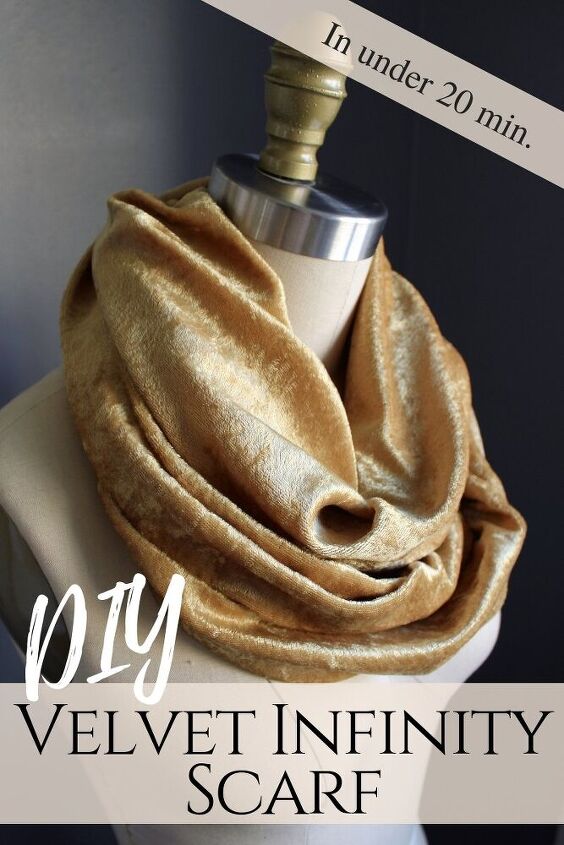
I love the versatile look of this scarf. It’s casual enough to wear with a basic t-shirt yet can also be dressed up a bit since it’s made of more elegant-looking fabric. It is soooo good at keeping your neck warm on frosty nights yet still feels surprisingly lightweight. You can wear this scarf either by looping it around your neck once for a longer, draped look or twice for a thicker, warmer scarf.
I hope you guys found this tutorial on how to sew a scarf useful and easy to follow. If you have any questions while you are making this infinity scarf, please let me know in the comments and I’d be happy to help out!

The author may collect a small share of sales from the links on this page.


Comments
Join the conversation