How to DIY a Super Versatile Scarf Top

I made a simple and elegant scarf top from knit lace fabric. The scarf can be worn and tied in many different ways, as I'll show you.
I chose to zigzag stitch all around the raw edges even though lace doesn't fray, but you could leave them unfinished if you prefer.
Tools and materials:
- Knit lace fabric
- Pins or fabric clips
- Scissors
- Measuring tape
- Sewing machine
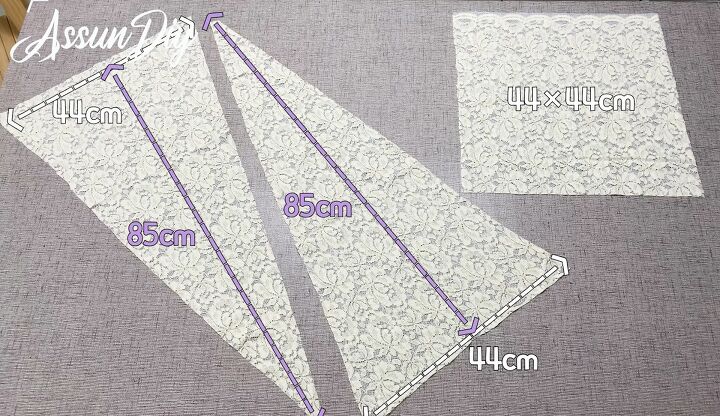
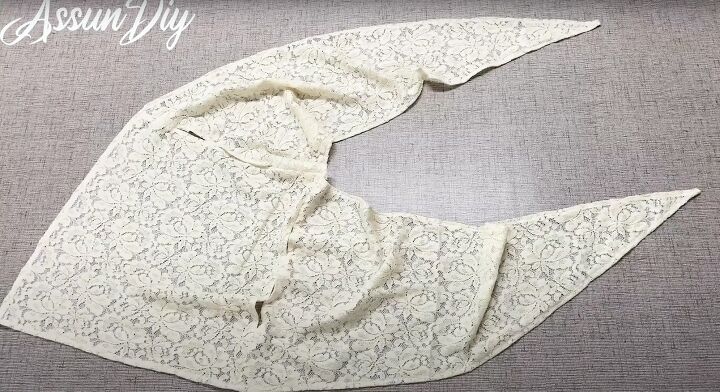
1. Cut fabric
Cut one square 17.25 inches (44 cm) by 17.25 inches (44 cm) and one rectangle 17.25 inches (44 cm) by 33.5 inches (85 cm).
Cut the rectangle in half diagonally so you have two triangles, each 17.25 inches wide at the base and 33.5 inches (85 cm) long.
2. Finish edges
Sew a zigzag stitch around all the edges. This step is optional, but I think it looks better.
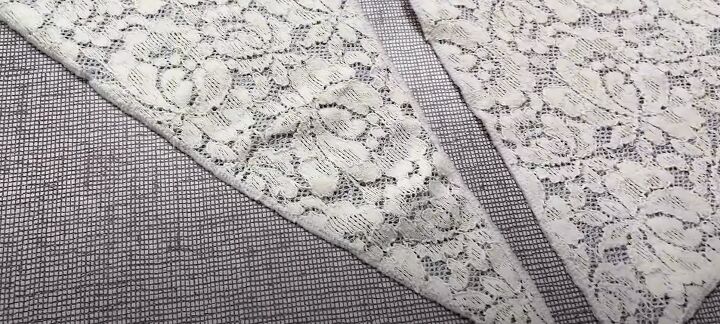
Turn in a narrow hem along the long edges of the triangular pieces and sew them in place.
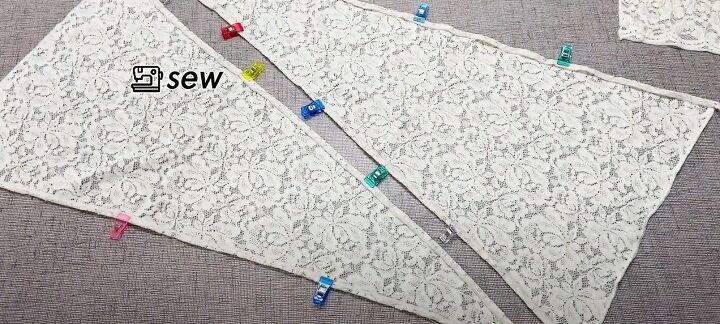
3. Construct scarf
Place one triangle over the square piece, right sides together, and line up the base with one of the side edges.
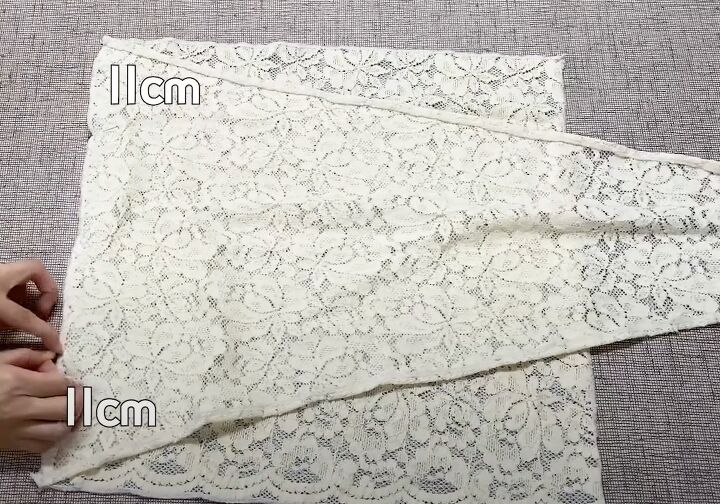
Measure and pin them together for 4.25 inches (11 cm) from each corner, leaving an opening of 8.5 inches (22 cm) in the center, and sew.
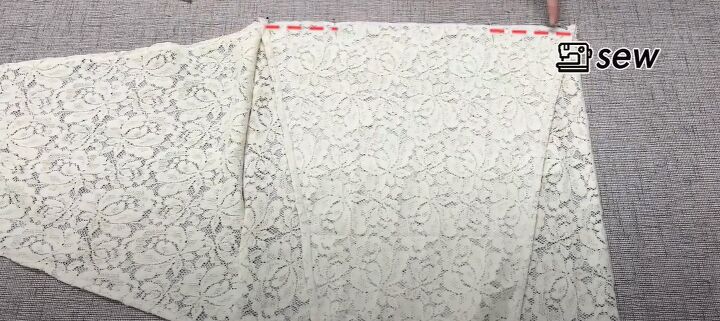
Join the other triangular piece to the adjacent edge of the square in the same way.
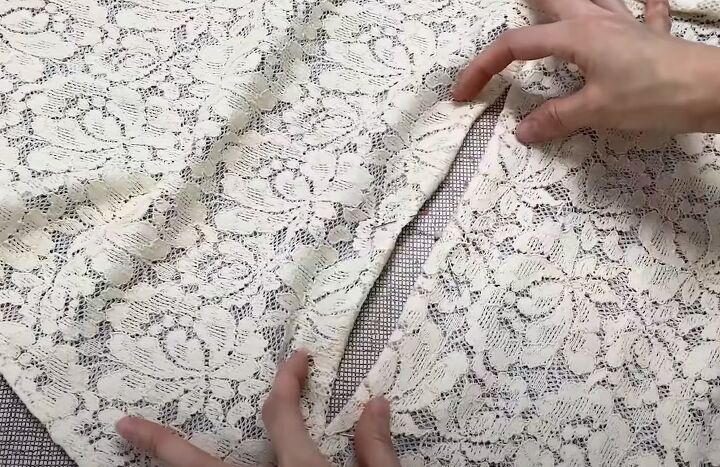
4. Armholes
Turn in a narrow hem along both sides of the openings, and top stitch along the long and short edges on the right side.
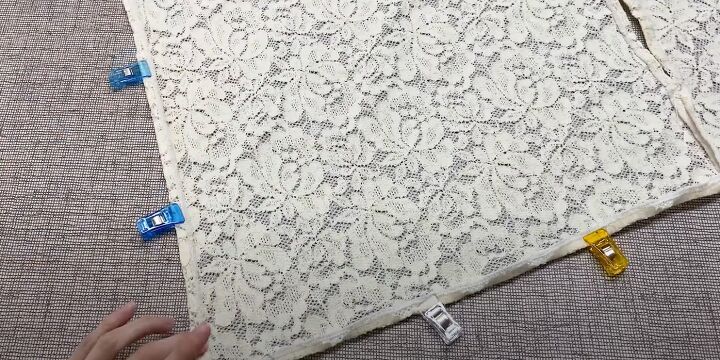
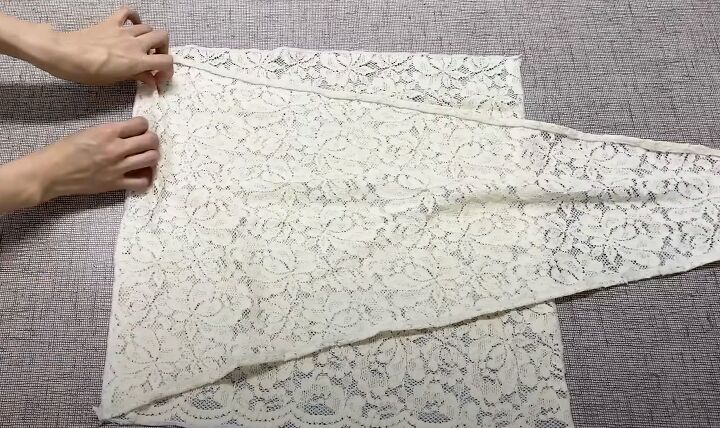
5. Finishing
Make the same depth of hem along the two open sides of the square and sew in place on the wrong side.
That's it! Your lace scarf is finished and now I'll show you how to tie a scarf top in five different ways.
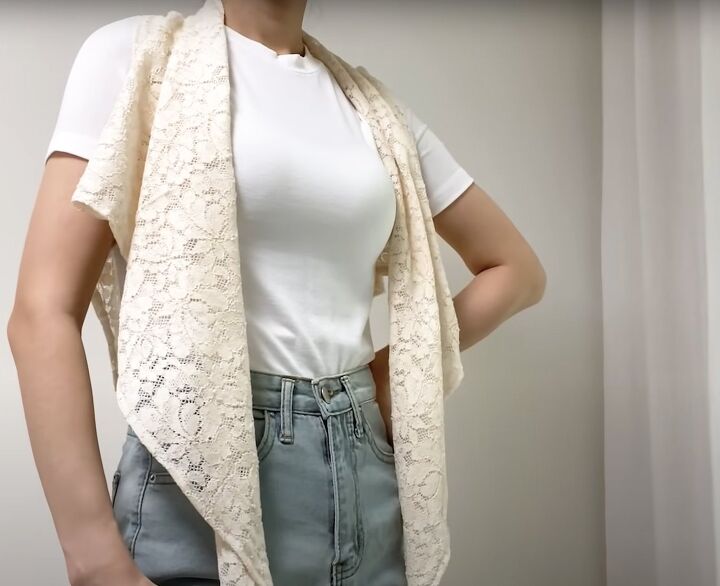
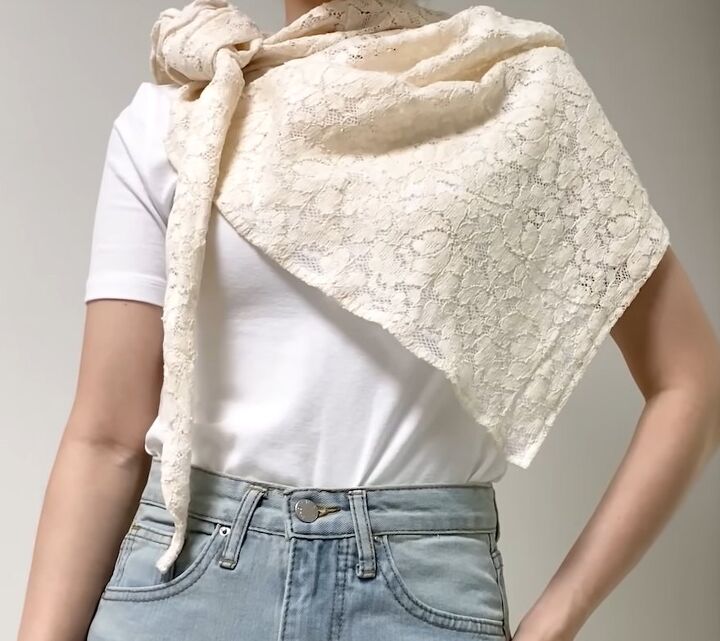
Look 1 - Simple lace scarf
Put your arms through the armholes and drape the triangular pieces over your shoulders.
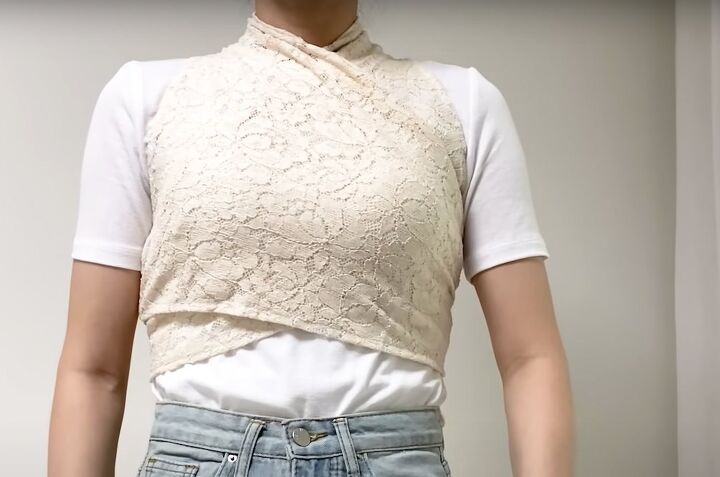
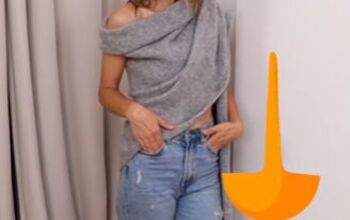
Look 2 - Scarf wrap top
With your arms through the armholes, cross the triangular pieces across the front of your body and tie them at the back.
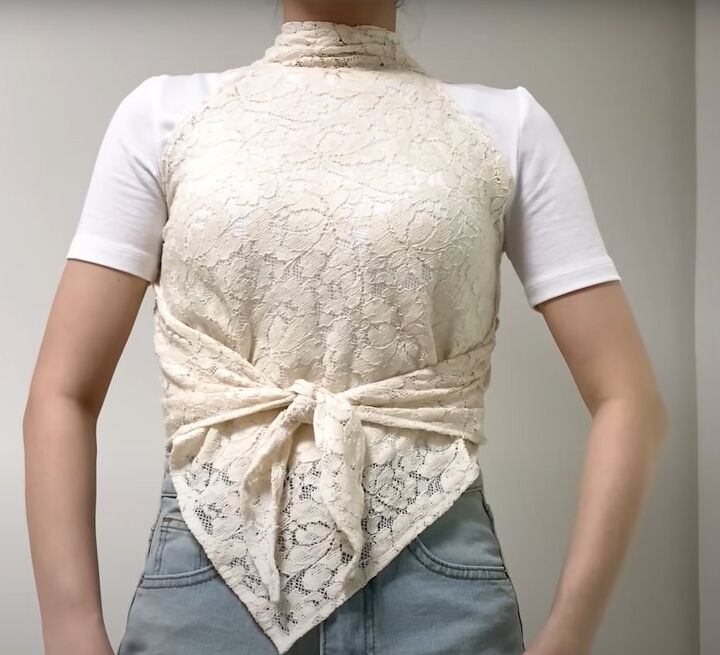
Look 3 - Reverse wrap
Hold the square section of the scarf in front of you and put your arms through the armholes. Cross the long pieces across your back and tie them at the front.

Look 4 - Cowl neck
With the square section in front of you, drape the scarf across your shoulders.
Cross the long sections and bring each one through an armhole from back to front. Leave the ends loosely draped.
Look 5 - Side tie
Hold the scarf in front of you with one arm opening in the center of your body.
Place the rest of the scarf over your shoulders, cross the long ends over one shoulder and tie them. You can also put one end through the arm opening before tying.
DIY scarf top
Can you come up with any other ways of tying this versatile scarf top? Please let me know in the comments.
The author may collect a small share of sales from the links on this page.


Comments
Join the conversation