Looking for a New Accessory? Try This Easy Scarf Weaving Tutorial

Looking to learn some scarf weaving techniques? Well, I’m here to show you just that! You’ll be surprised how easy this scarf weaving loom is to create (you really don’t need anything fancy), and it’s perfect for beginners, too.
So, grab your yarn, and let’s create something fun, unique, and out-of-this-world!
Tools and materials:
- Cardboard
- Scissors
- Ruler
- Lots of yarn
- Needle and thread or sewing machine
1. Make the loom
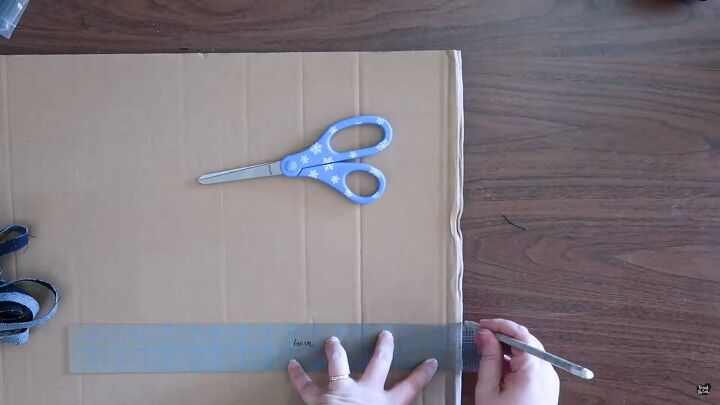
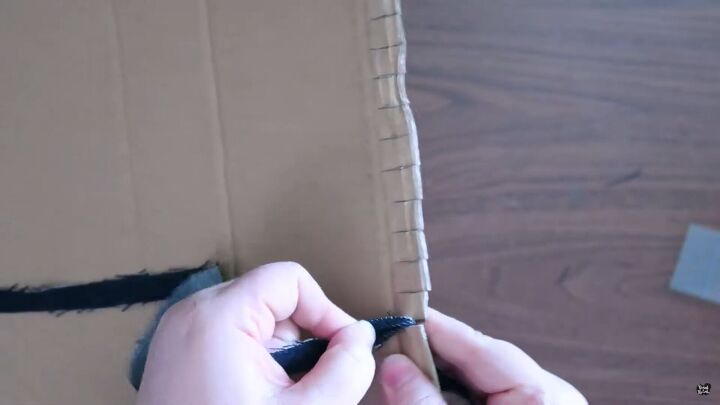
To make this makeshift loom, all you need is a piece of cardboard and a ruler. Measure and mark across the width of the cardboard in half-inch increments, as shown. I started measuring 5 inches from the edge.
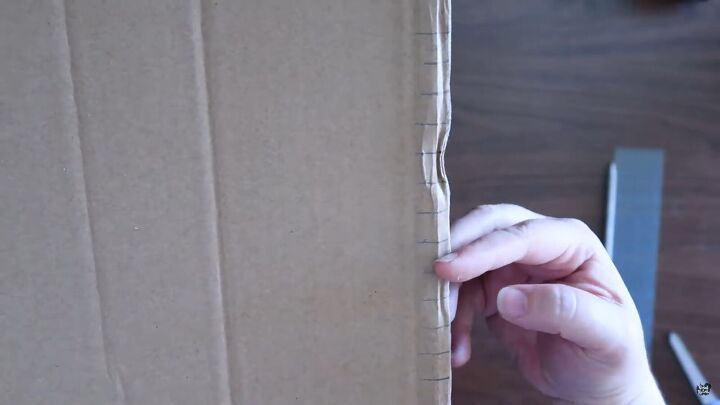
Now that you have the measurements on one side go ahead and do the same to the bottom edge. You have to pay attention to the marks; ensure that both sides’ marks are parallel.
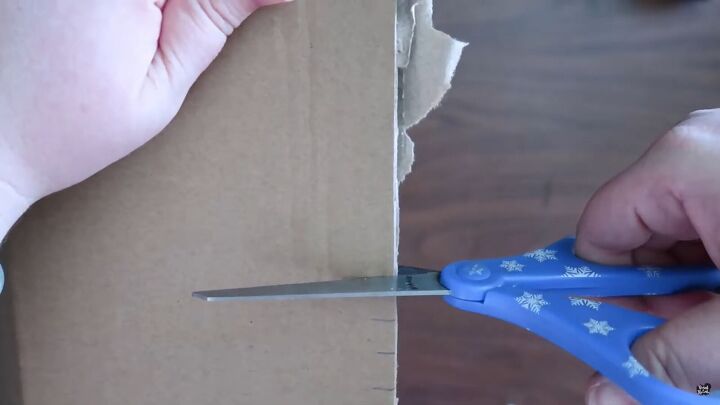
Then, cut into each mark.
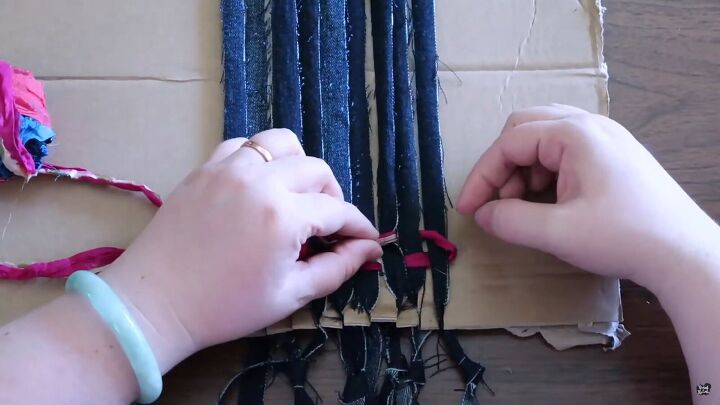
2. Add yarn to the loom
Before you go ahead and weave the scarf, measure how long you want your fringe to be. My desired length is 5 inches.
So, tie a knot at the 5-inch mark and hook it onto the cardboard.
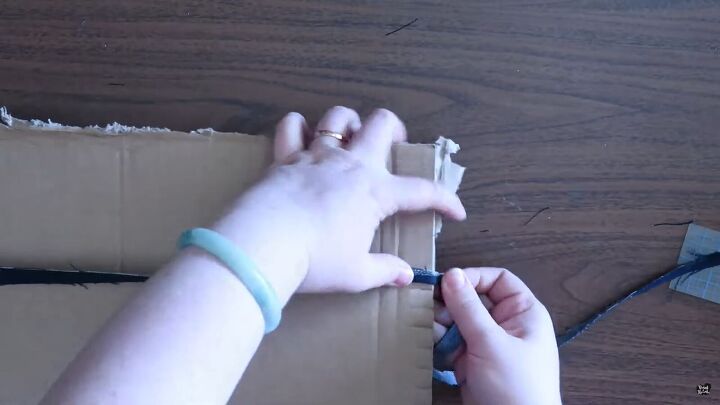
Then, do the same on the other side; tie a knot and hook it into the cardboard.
Repeat the process so you can warp the rest of the loom.
Tip: If you have trouble hooking in each knot to the loom, cut your slits deeper.
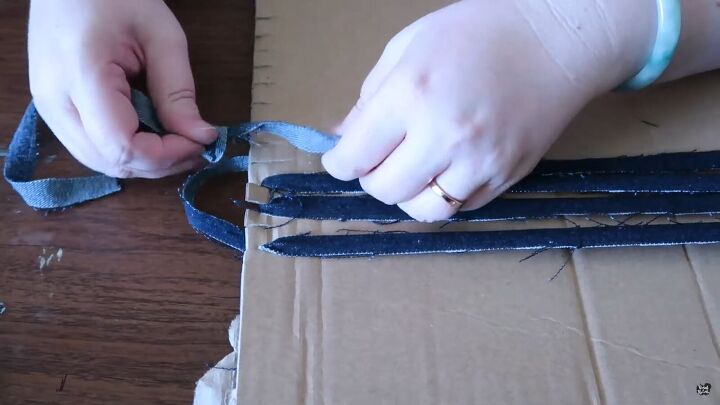
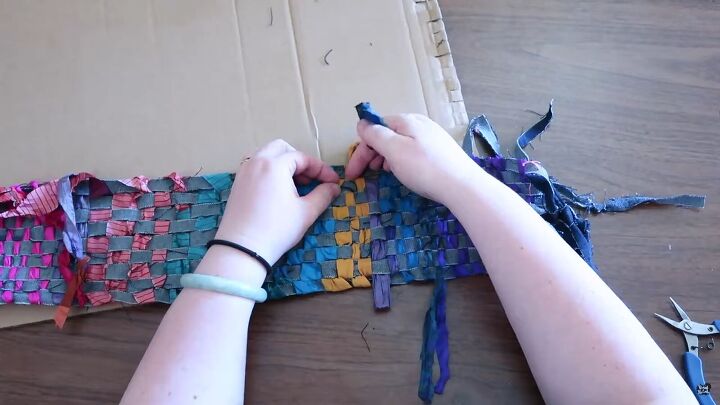
3. Start weaving
Now it's time to start weaving! Follow an under-over pattern across the whole loom. Pretty simple, if you ask me!
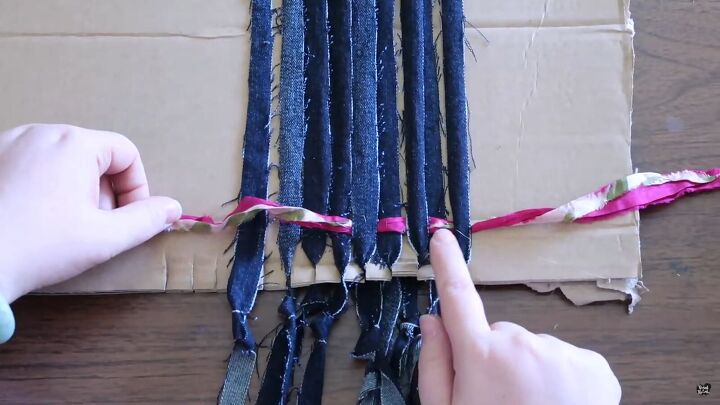
Now, keep building this one, using the same piece of yarm for the next row. Since I started under, I will now go over the next row. Also, don’t pull the yarn too tight; otherwise, it’ll bow.
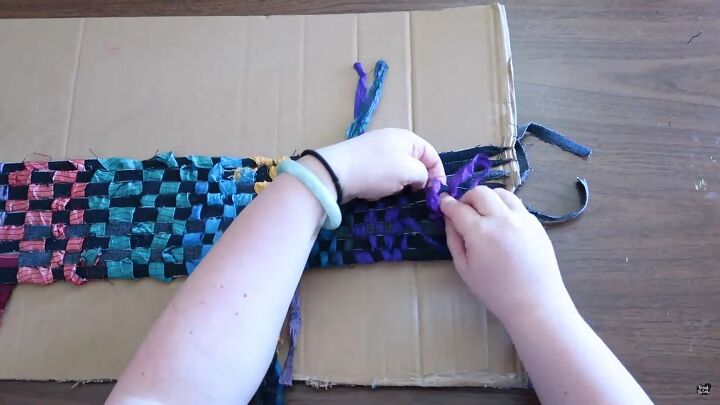
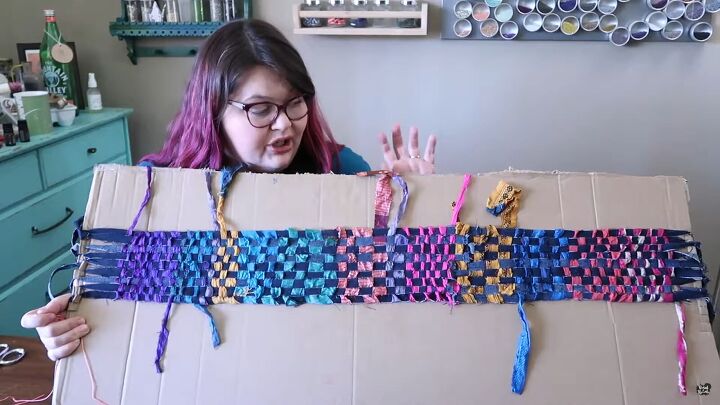
Keep going until you reach the other side. You can obviously choose any color you want for your weaved scarf- you are the artist! I used different colored yarn throughout my scarf, and I think the colors are so pretty.
4. Finish off your weaved scarf
Once you’re done with your weaving, go ahead and pull it off the loom, weave in the ends, and stitch the end pieces to secure the yarn within the weaving, so it doesn’t slide out.
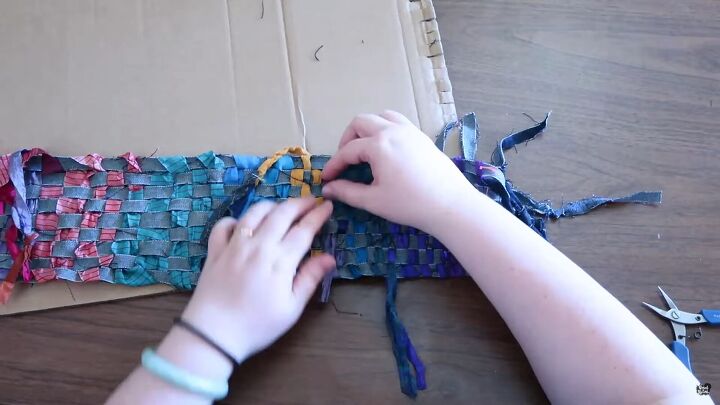
To finish off the ends, simply weave the yarn on the wrong side, following along the pattern, except that it’s on the back side.
Cut the ends off when you’re done.
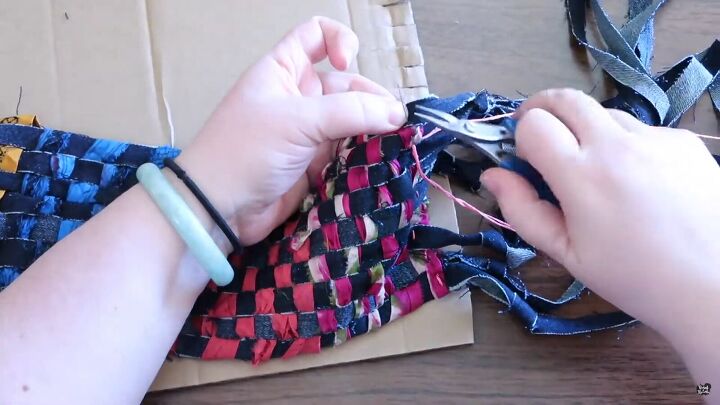
Then, stitch the weave in place on the first and last row. Be sure to tie knots, so everything stays in place.
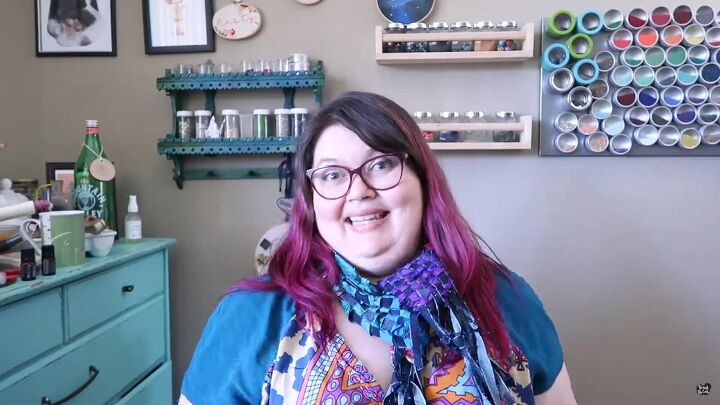
Scarf weaving tutorial
Your scarf weaving is complete! Wasn’t that super fun? There are so many scarf weaving patterns, but this has to be the easiest by far!
Now that you know how to weave a scarf, what color combo will you be going for? I hope you try this out. Thanks for joining me.
The author may collect a small share of sales from the links on this page.


Comments
Join the conversation