How to Sew a Charming Alice in Wonderland Apron for an Alice Costume

If you were thinking of dressing up as Alice for Halloween, you must have Alice in Wonderland’s apron! This cute cosplay apron is easy to sew, quick to make, and looks really impressive with an Alice in Wonderland costume.
I also made an Alice in Wonderland blue dress to go underneath, so be sure to check out that tutorial too if you want to make the full Alice in Wonderland costume.
Tools and materials:
- White fabric - about a yard
- Marking pen
- Sewing machine
- Scissors
1. Cut the fabric
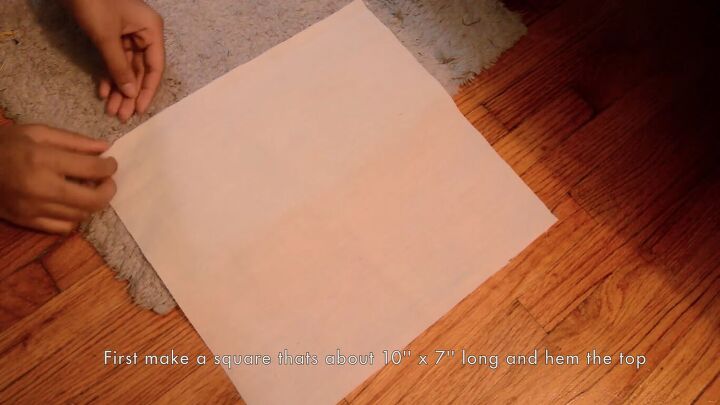
Cut a piece of fabric to make the bib. It should be 10 x 7 inches.
Cut 2 strips that are long enough to cross your body from the waist, over the shoulder, and towards the center of the back. They can be any width, though 2½ inches seems to be just the right size. Remember to add allowances because they cross over.
Cut the skirt fabric to be about one and half times or even twice the size of the bib. This depends on your measurements. As a baseline, you can cut 20 x 14inches.
Cut the waistband in a long rectangle to be at least 3 inches wide or more for a wider band. Add extra for allowance.
2. Make the top of the apron
Fold over the bib at the top. Pin in place. Sew a hem.
Take the 2 strips and pin them on each edge of the bib.
Once they’re sewn, fold the long apron straps in half. Fold in the raw edges lengthwise. Pin them down.
Sew them with a straight stitch.
3. Make the apron skirt
Hem around the fabric by folding the edges inward, pinning the fold into place, and then sewing it down. Leave the top part unhemmed.
Because this piece is bigger and wider than the bib, gather the fabric to the wrong side of the bib. Pin the fabric edges at either end of the bib. Make pleats with your hands.
Sew it to the bib, keeping the straps away.
It should look like this.
4. Make the waistband
Measure the waistband to make sure it’s long enough to tie around your waist. Fold in half lengthwise. Sew the short ends together and then the length of the band.
Turn the waistband inside out so the right side is showing from the unsewn short end using a skewer or other tool. Once the band is right-side facing, sew the band on the right side of the apron, covering the seam attaching the bib to the apron skirt.
5. Attach the shoulder and waist ties
Cross the shoulder ties underneath the right side of the apron. Try the apron on to see where the best place is to fit on your body. Pin the straps in place. Sew them down.
6. Make the shoulder ruffles
To make the ruffles, cut one large oval from the leftover fabric. Fold the oval lengthwise and cut it in half. Hem the curved end.
Lay the half oval with the hemmed and curved side out over the shoulder. Pin them in place around the bib and up the shoulder strap.
Go all the way around, pleating the fabric. Sew them into place. And you’re done!
Look how charming the apron is!
Alice in Wonderland apron tutorial
Put the apron on top of a blue dress, a headband on your hair and you are ready for Halloween! Let me know if this Alice in Wonderland apron DIY was easy for you to make!
Enjoyed the project?
Suggested materials:
- White fabric - about a yard
- Marking pen
- Sewing machine
- Scissors
The author may collect a small share of sales from the links on this page.


Comments
Join the conversation
What's the length of the ruffle sleeves? Or, how big is the oval supposed to be?